Three Walls Raised
May 23, 2020
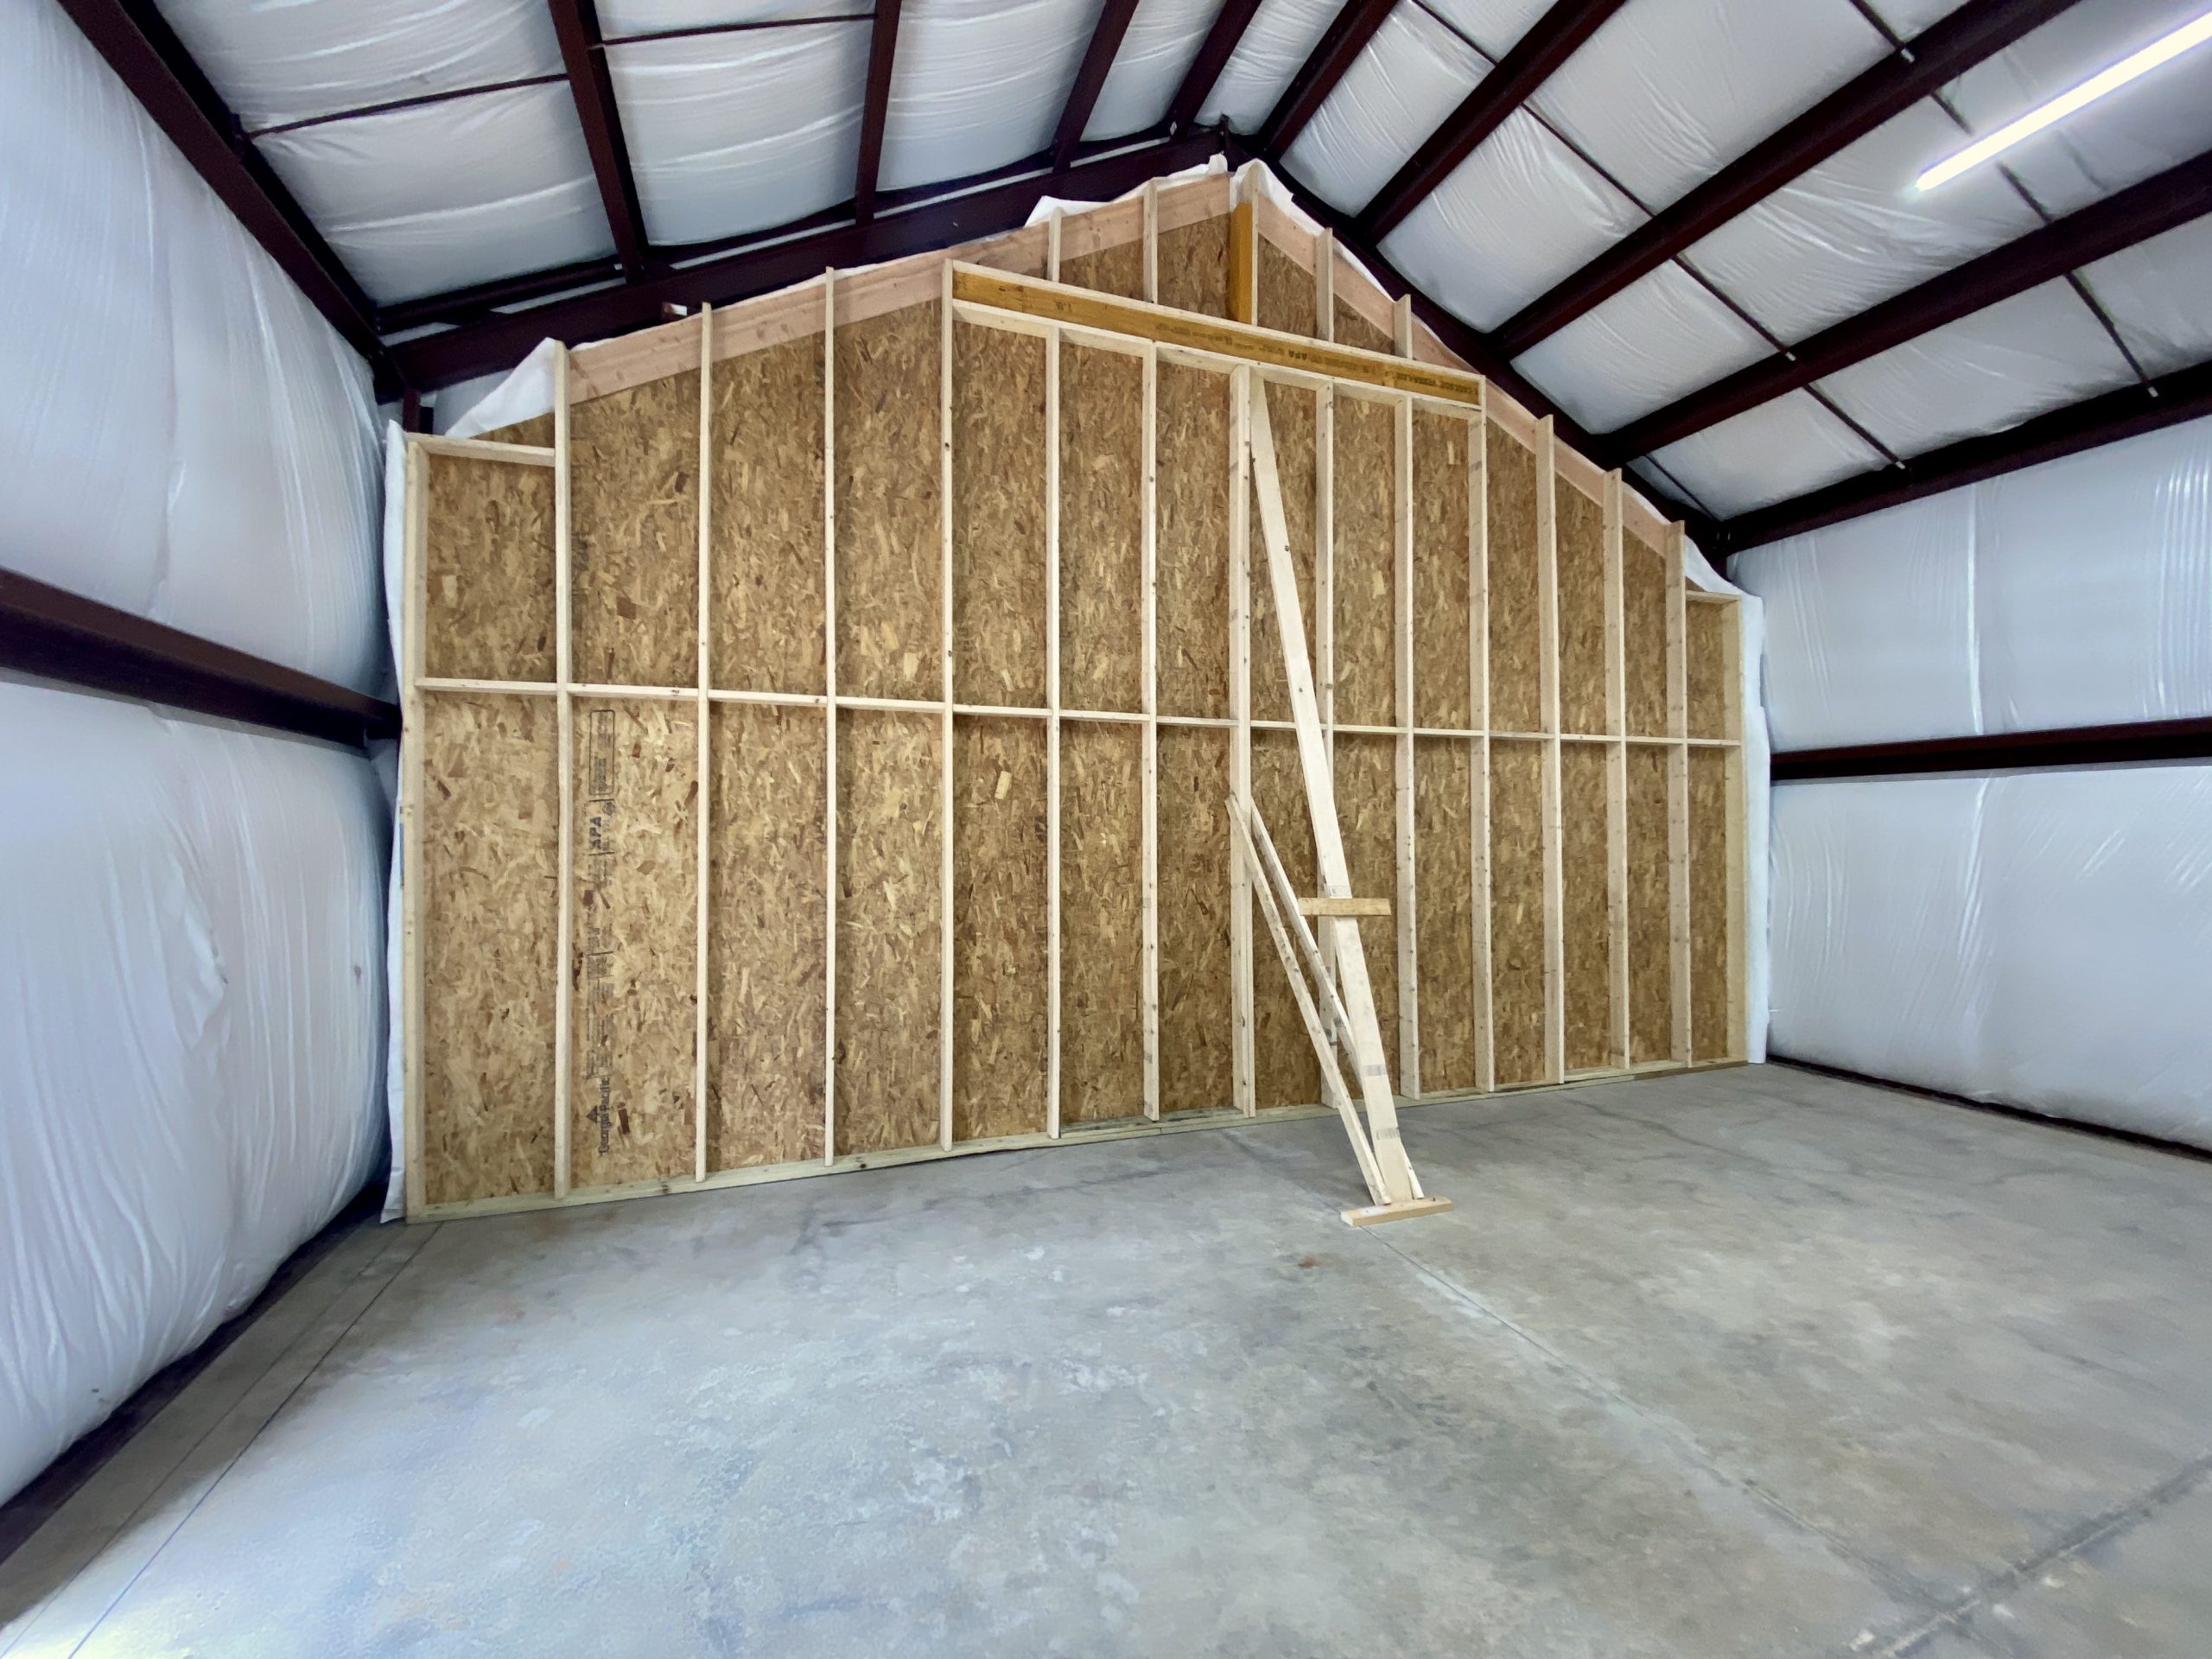
Today we raised the first end wall and built and raised two side walls.
It was a little tense a the wall lifted. The balloon framing design gave the wall lateral strength.
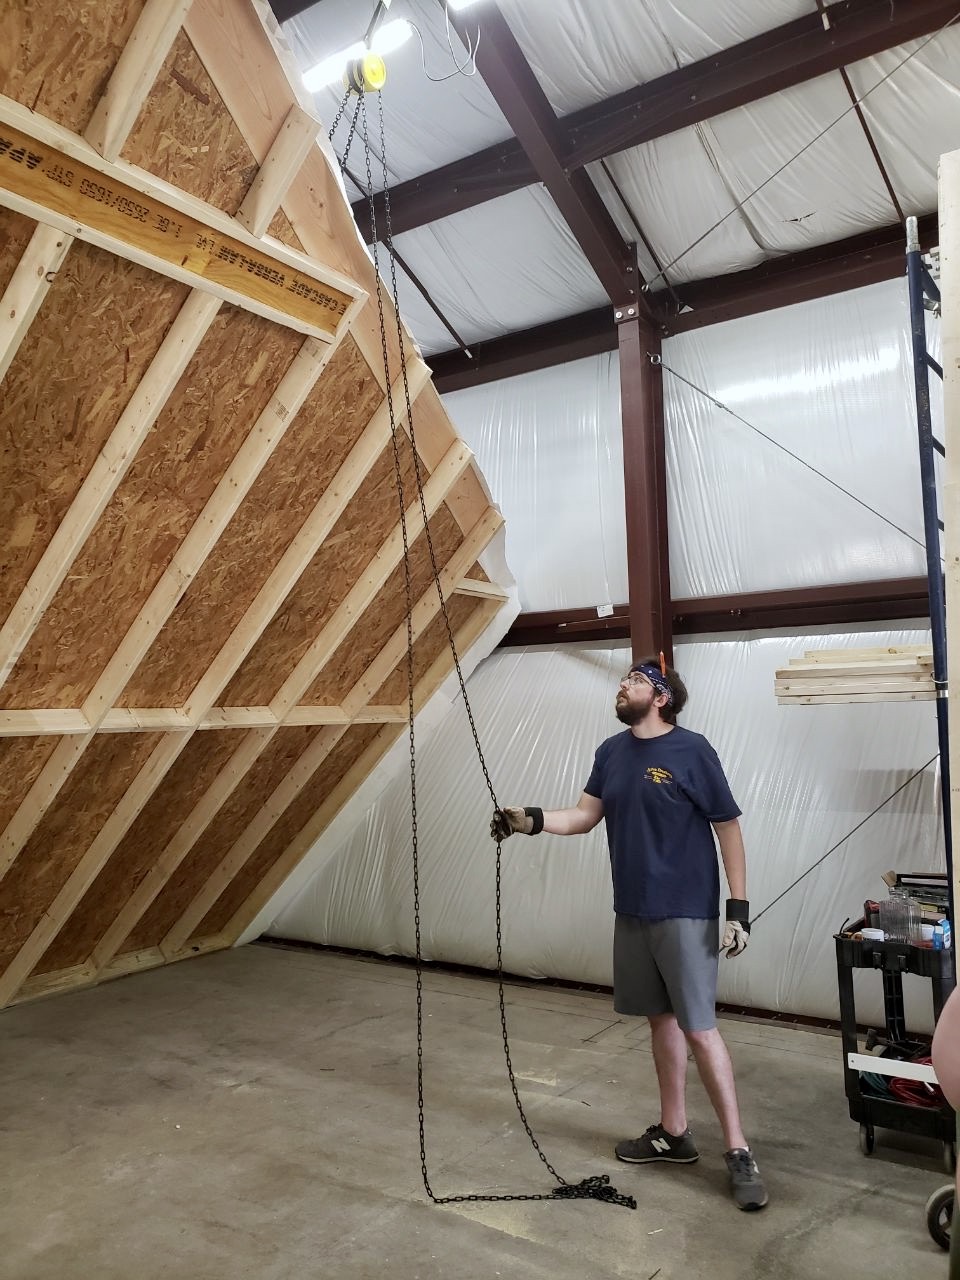
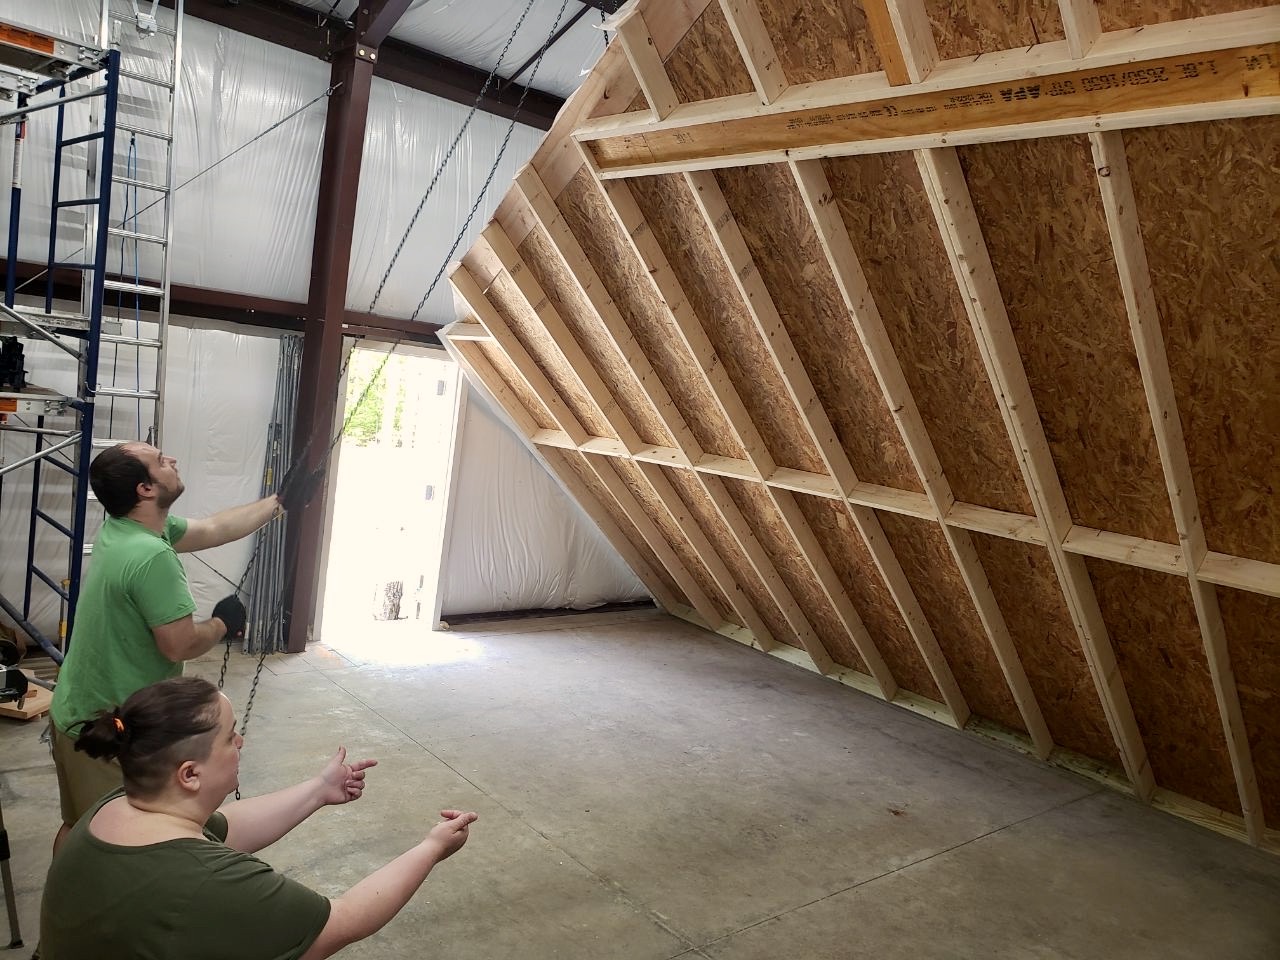
First we lifted the gable-end wall. The chain hoists worked great, raising the wall to about 45º as expected.
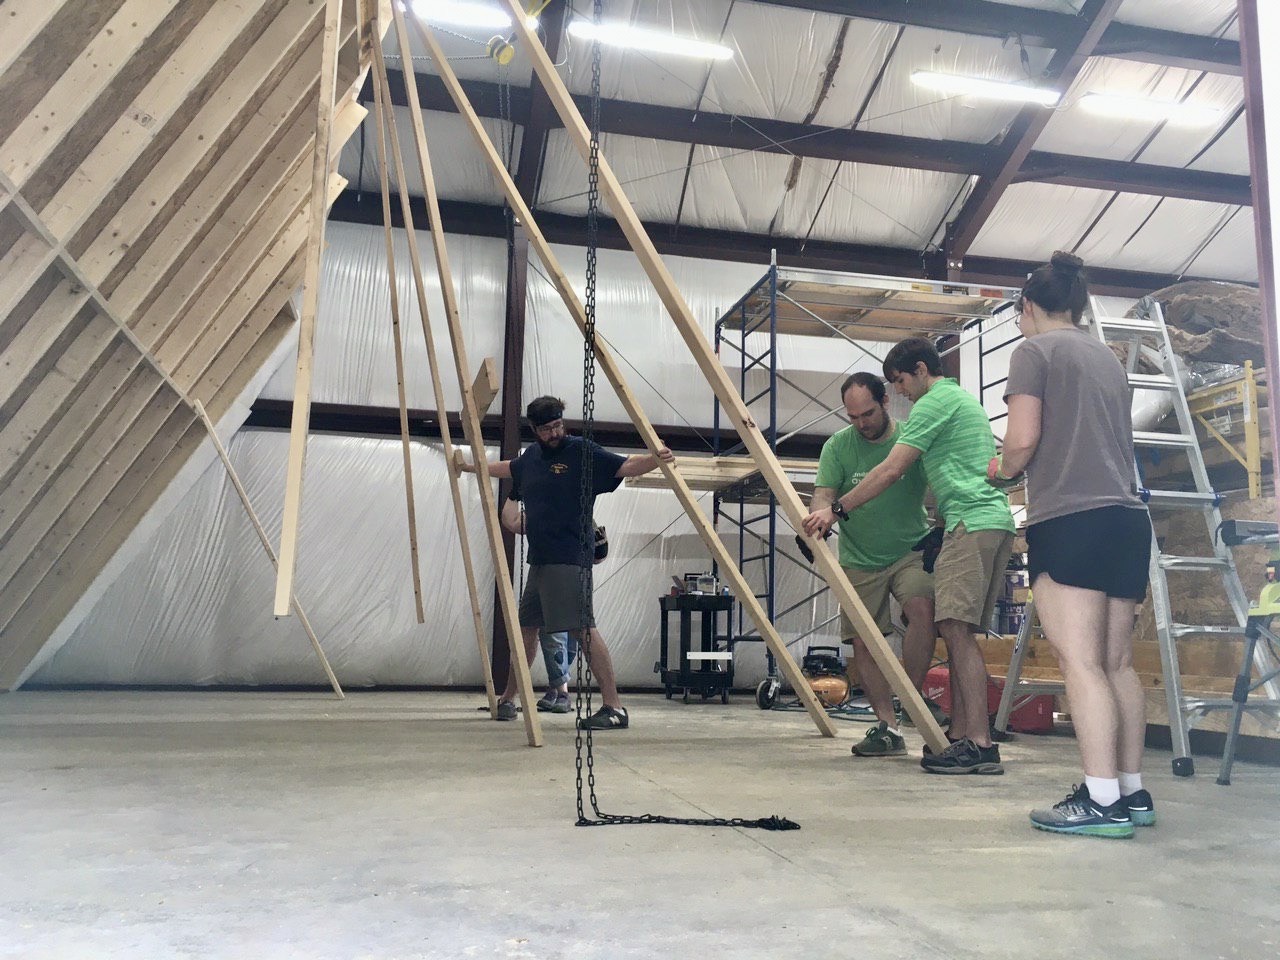
Next, as we pushed the wall the rest of the way up with long boards as we let out the chain hoists slowly.
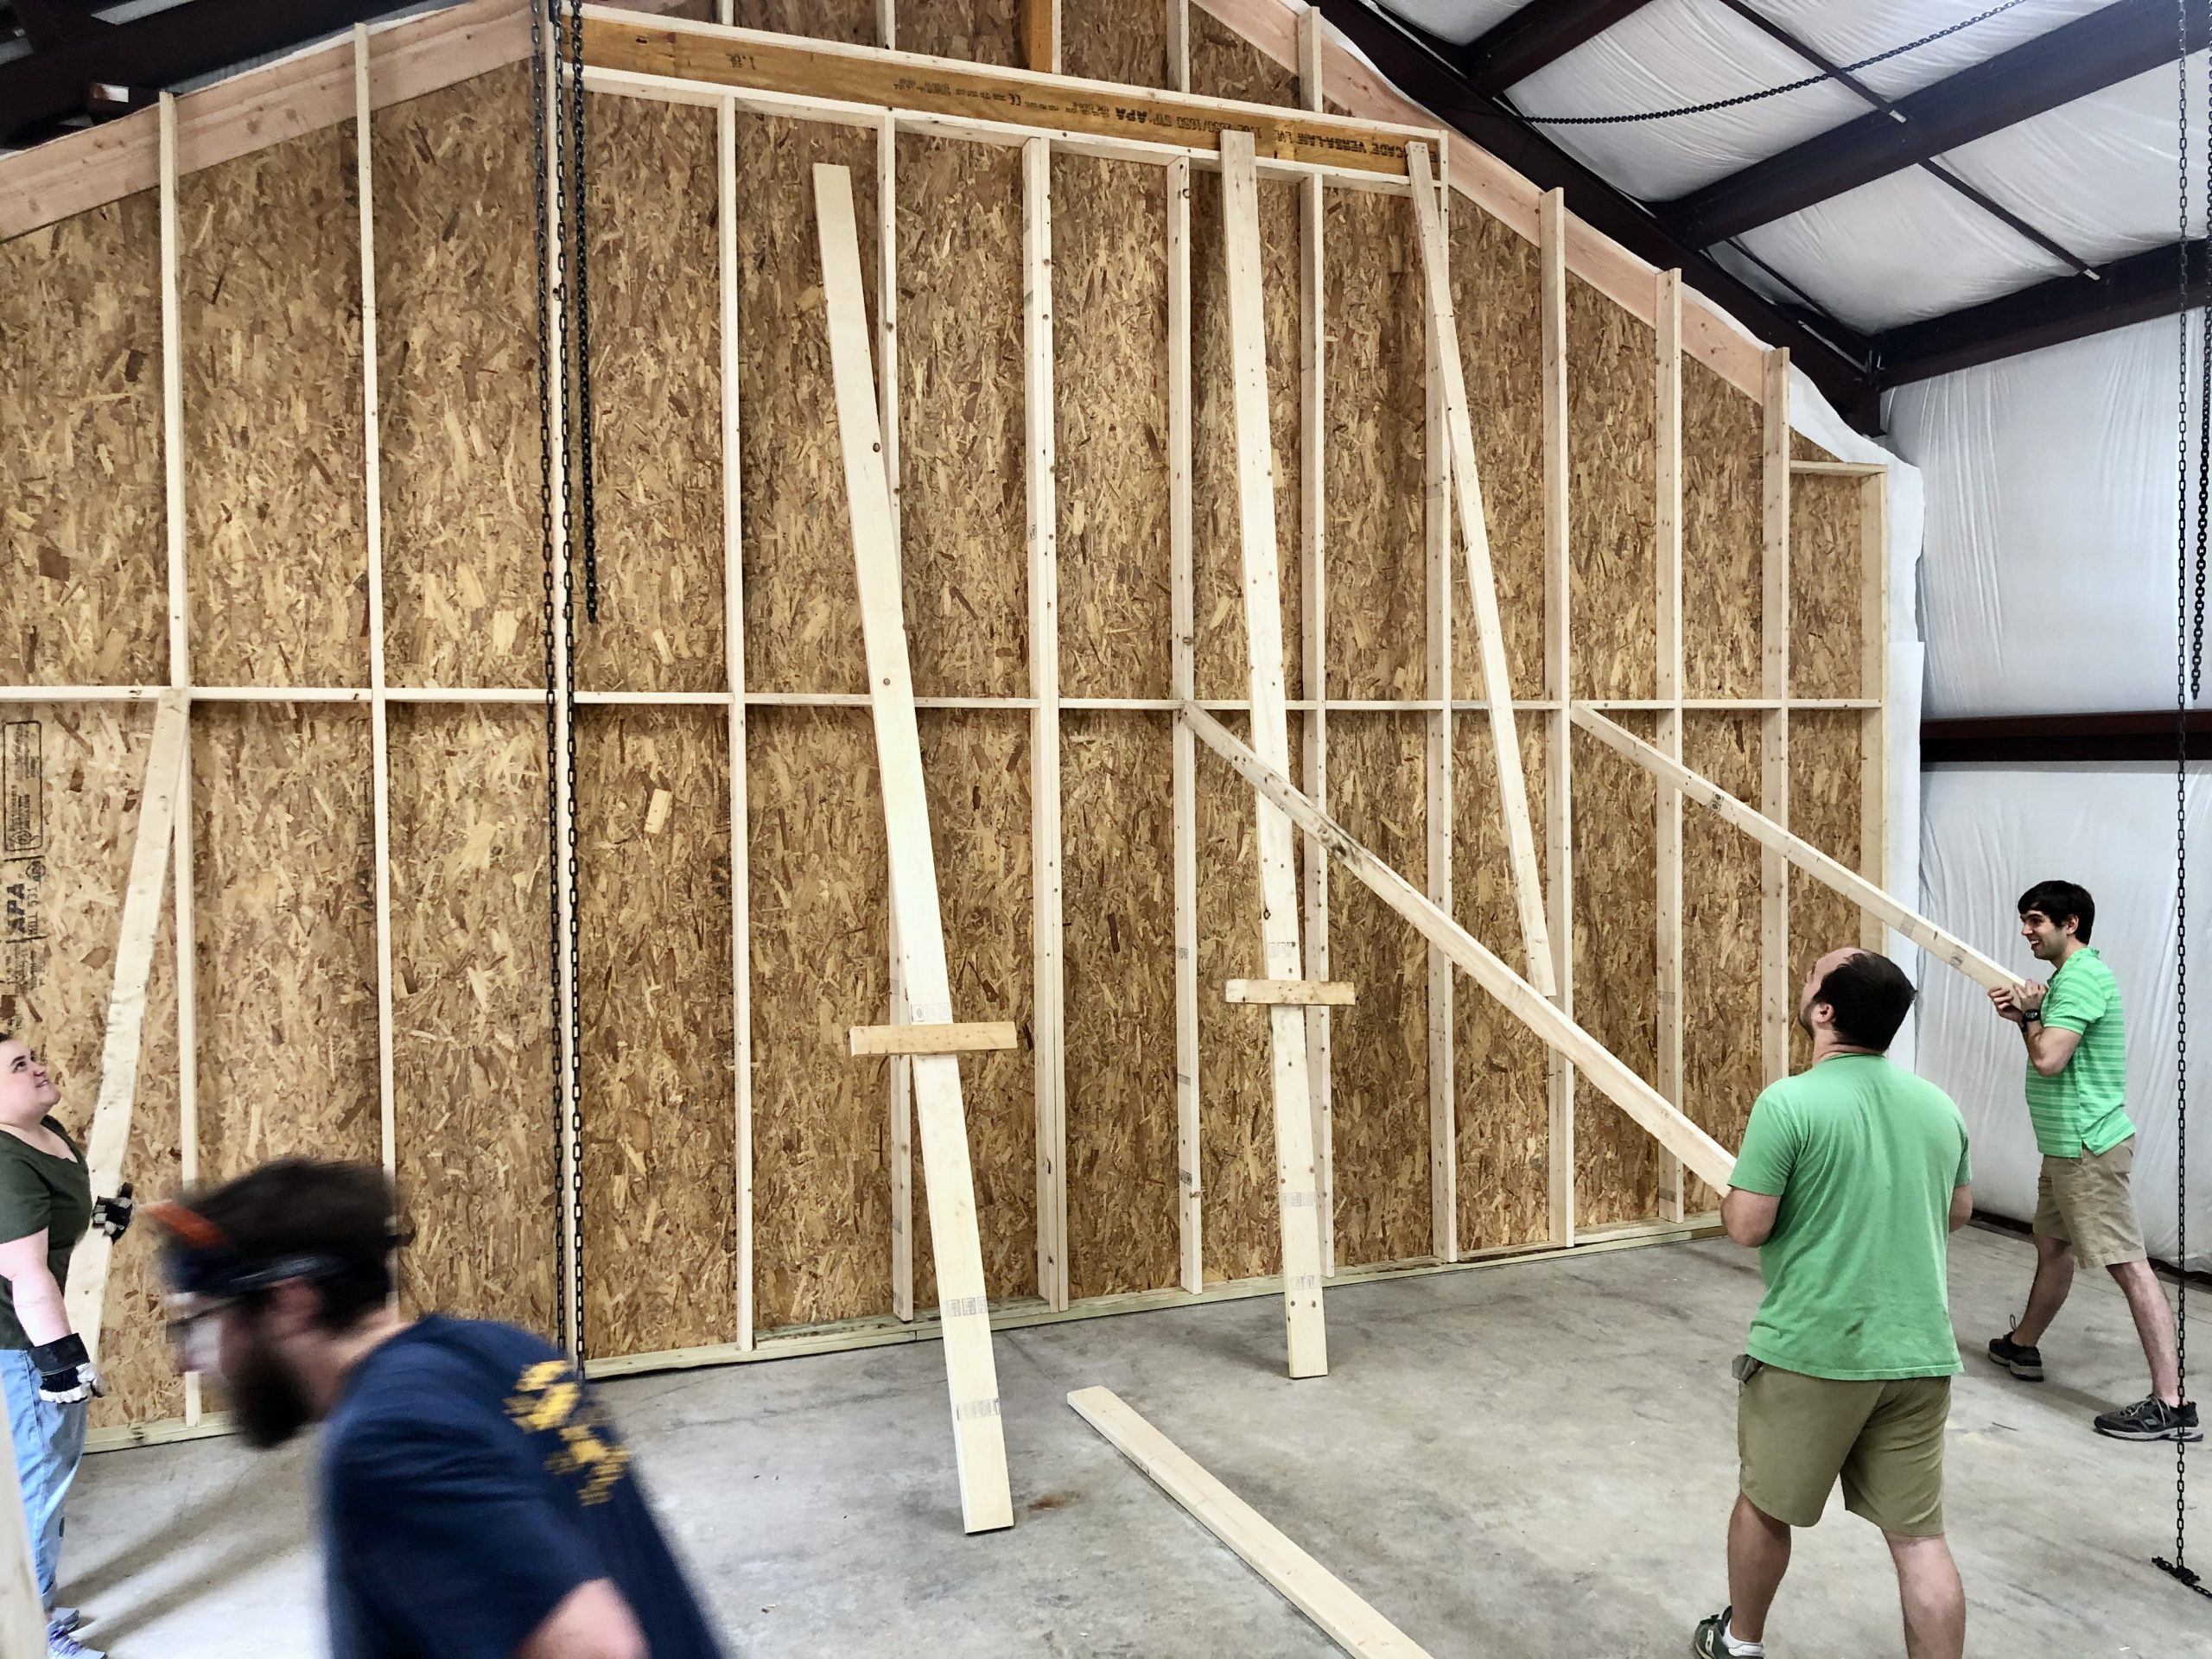
Once it was vertical we started working on bracing to keep it there. Peter brought a hammer drill so we used some concrete screws to anchor the supports.
With the first wall up and braced, we were ready to assemble the second and third walls, which are smaller and much easier to raise.
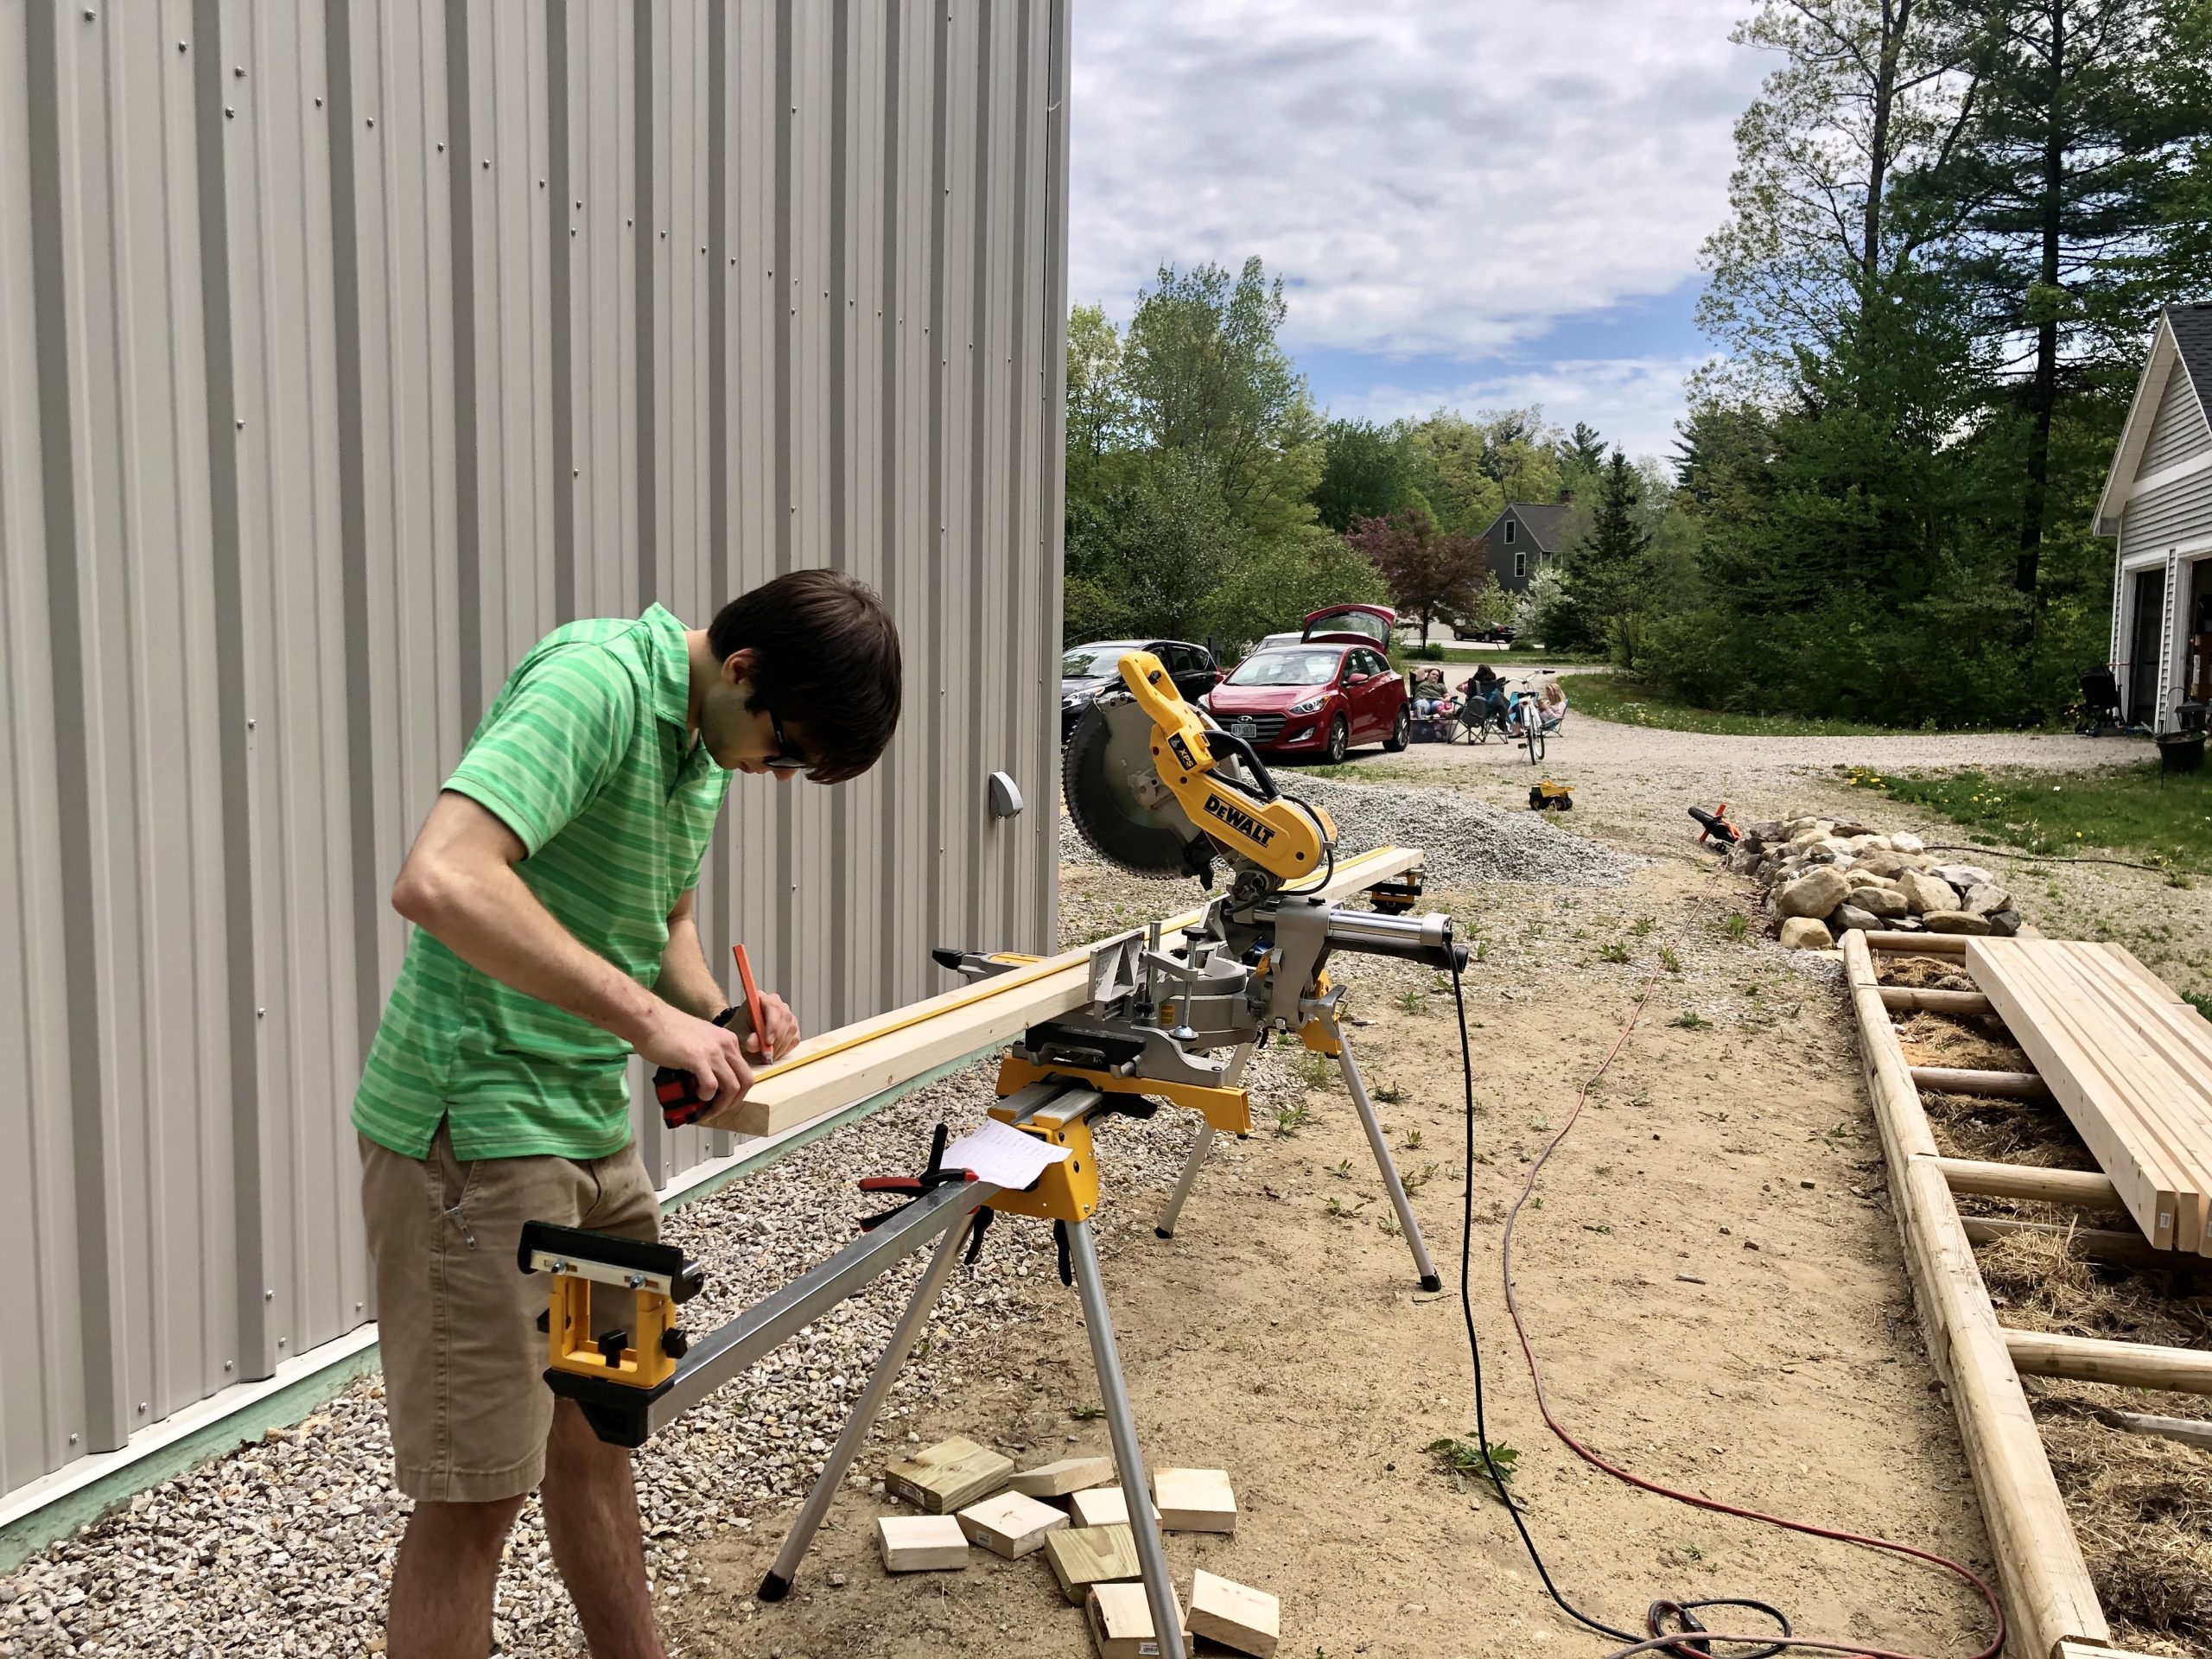
We then cut and laid out the materials for the side walls.
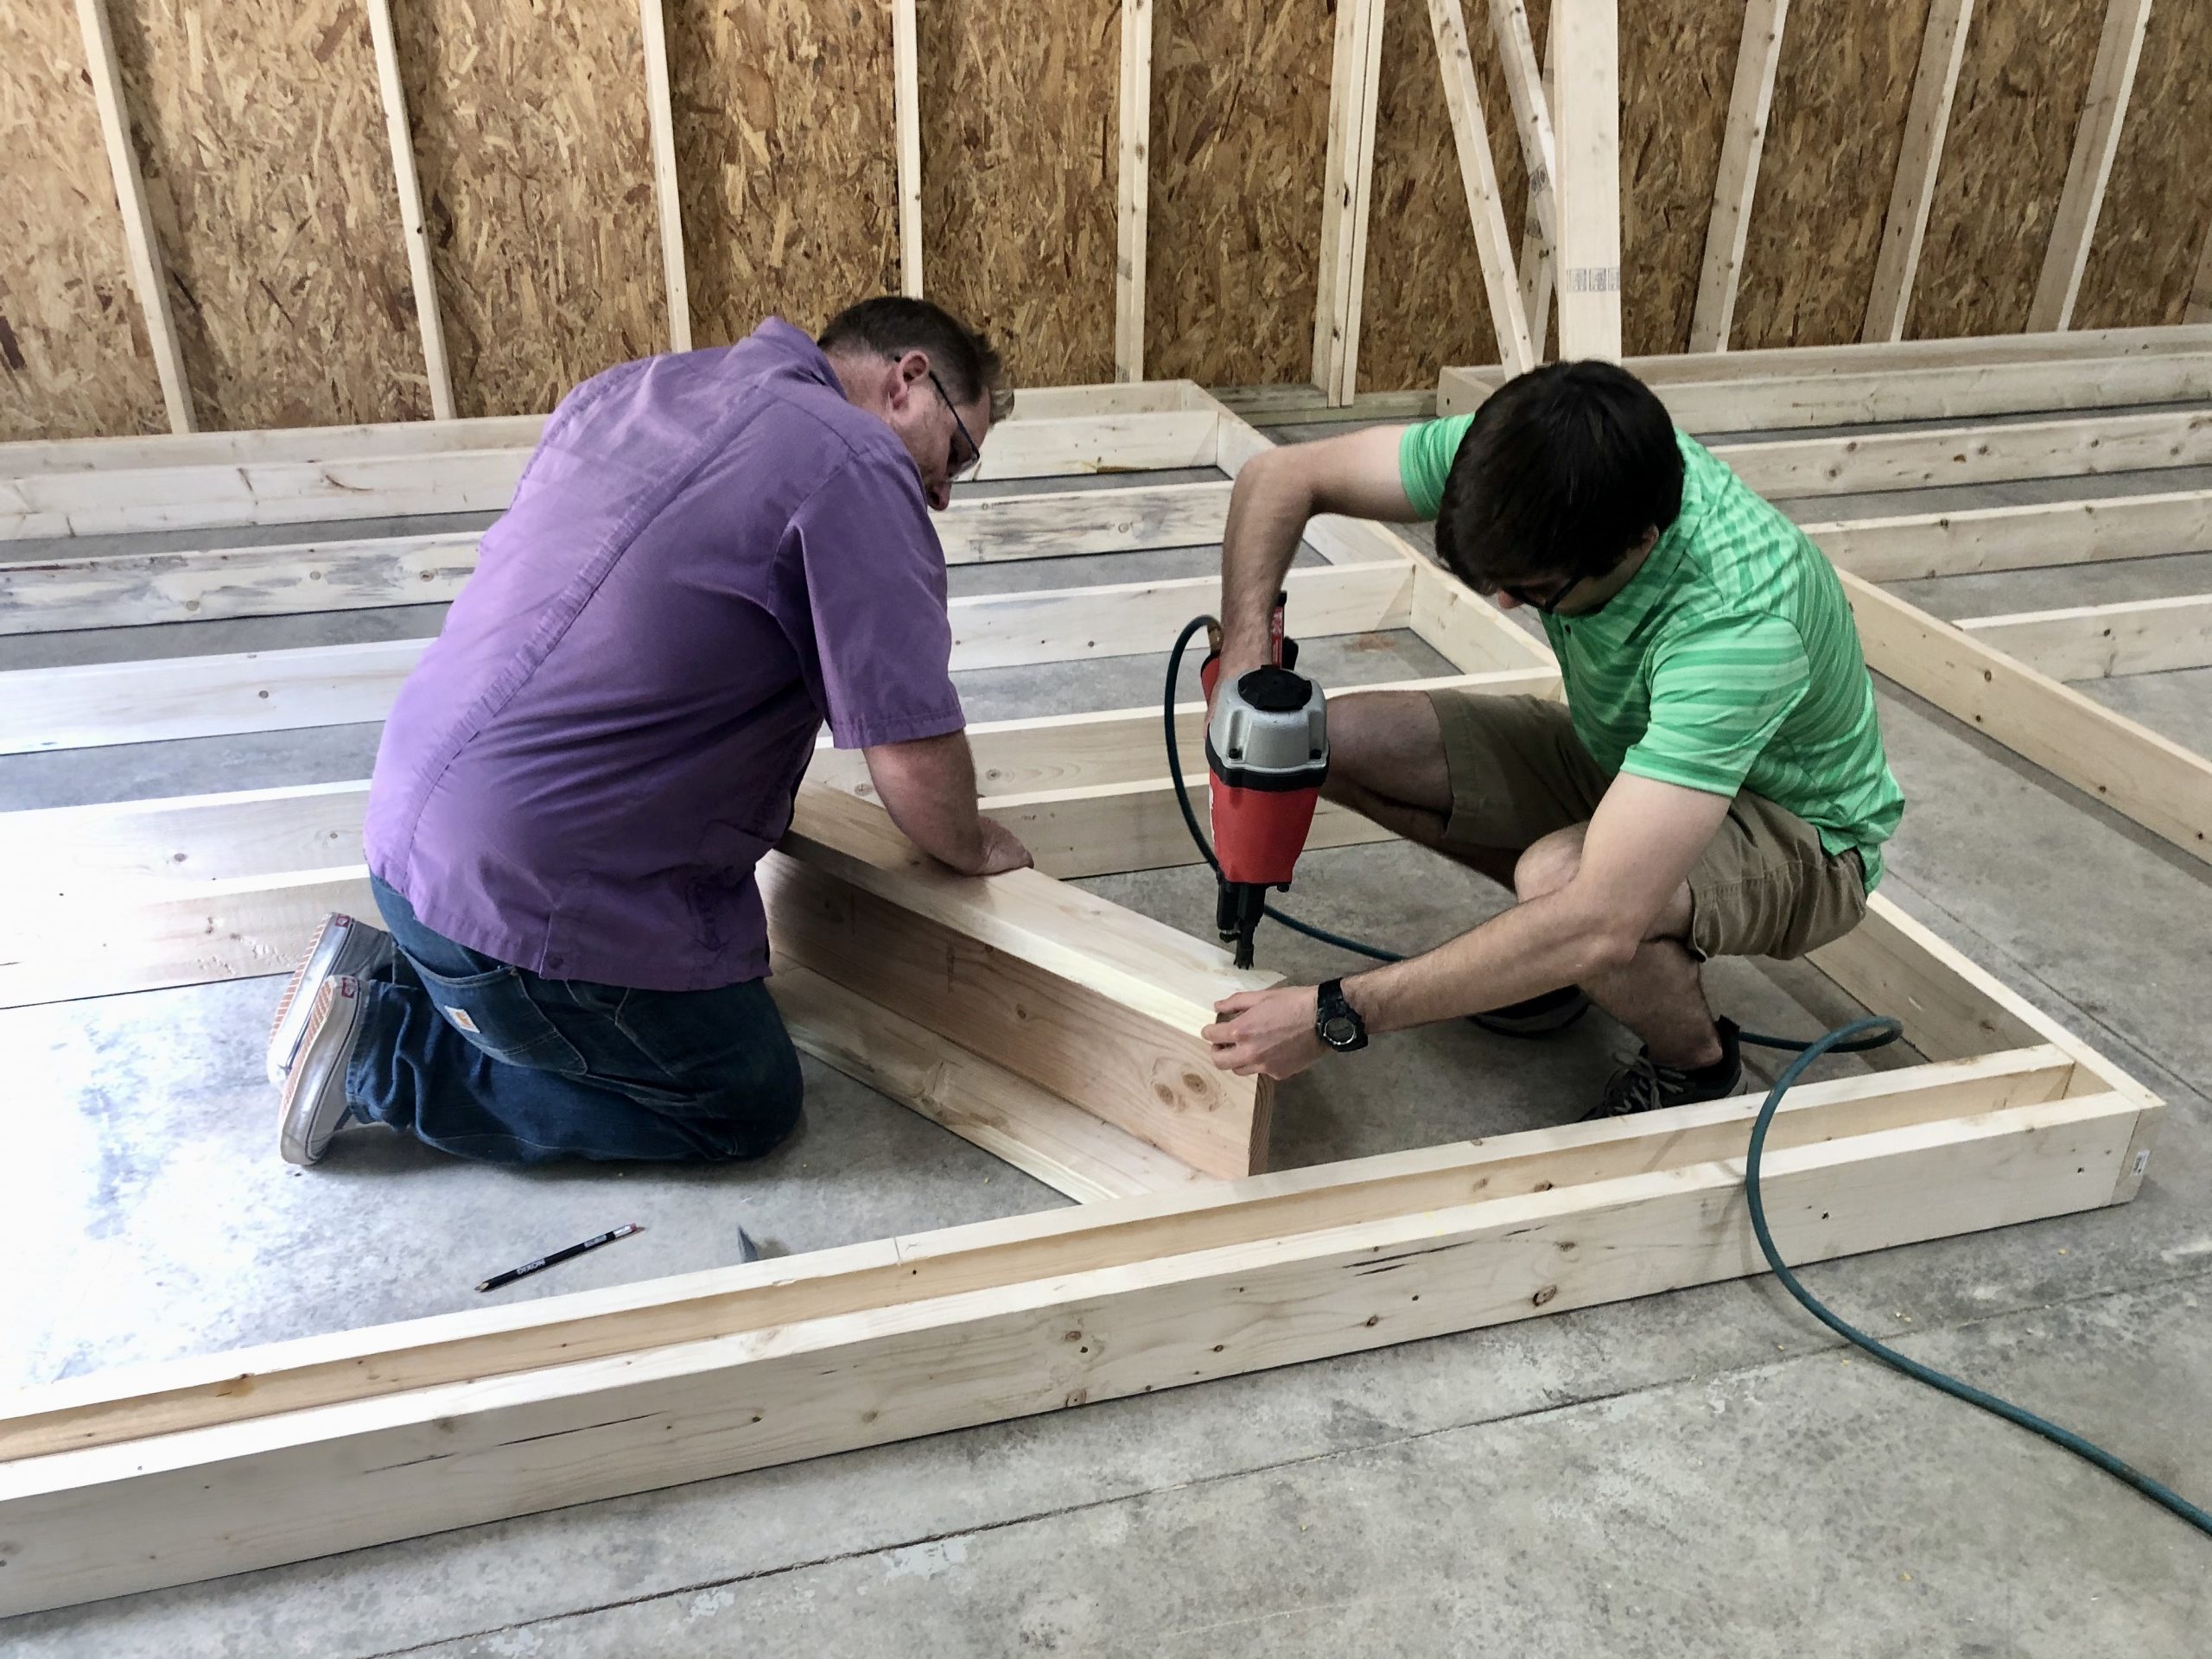
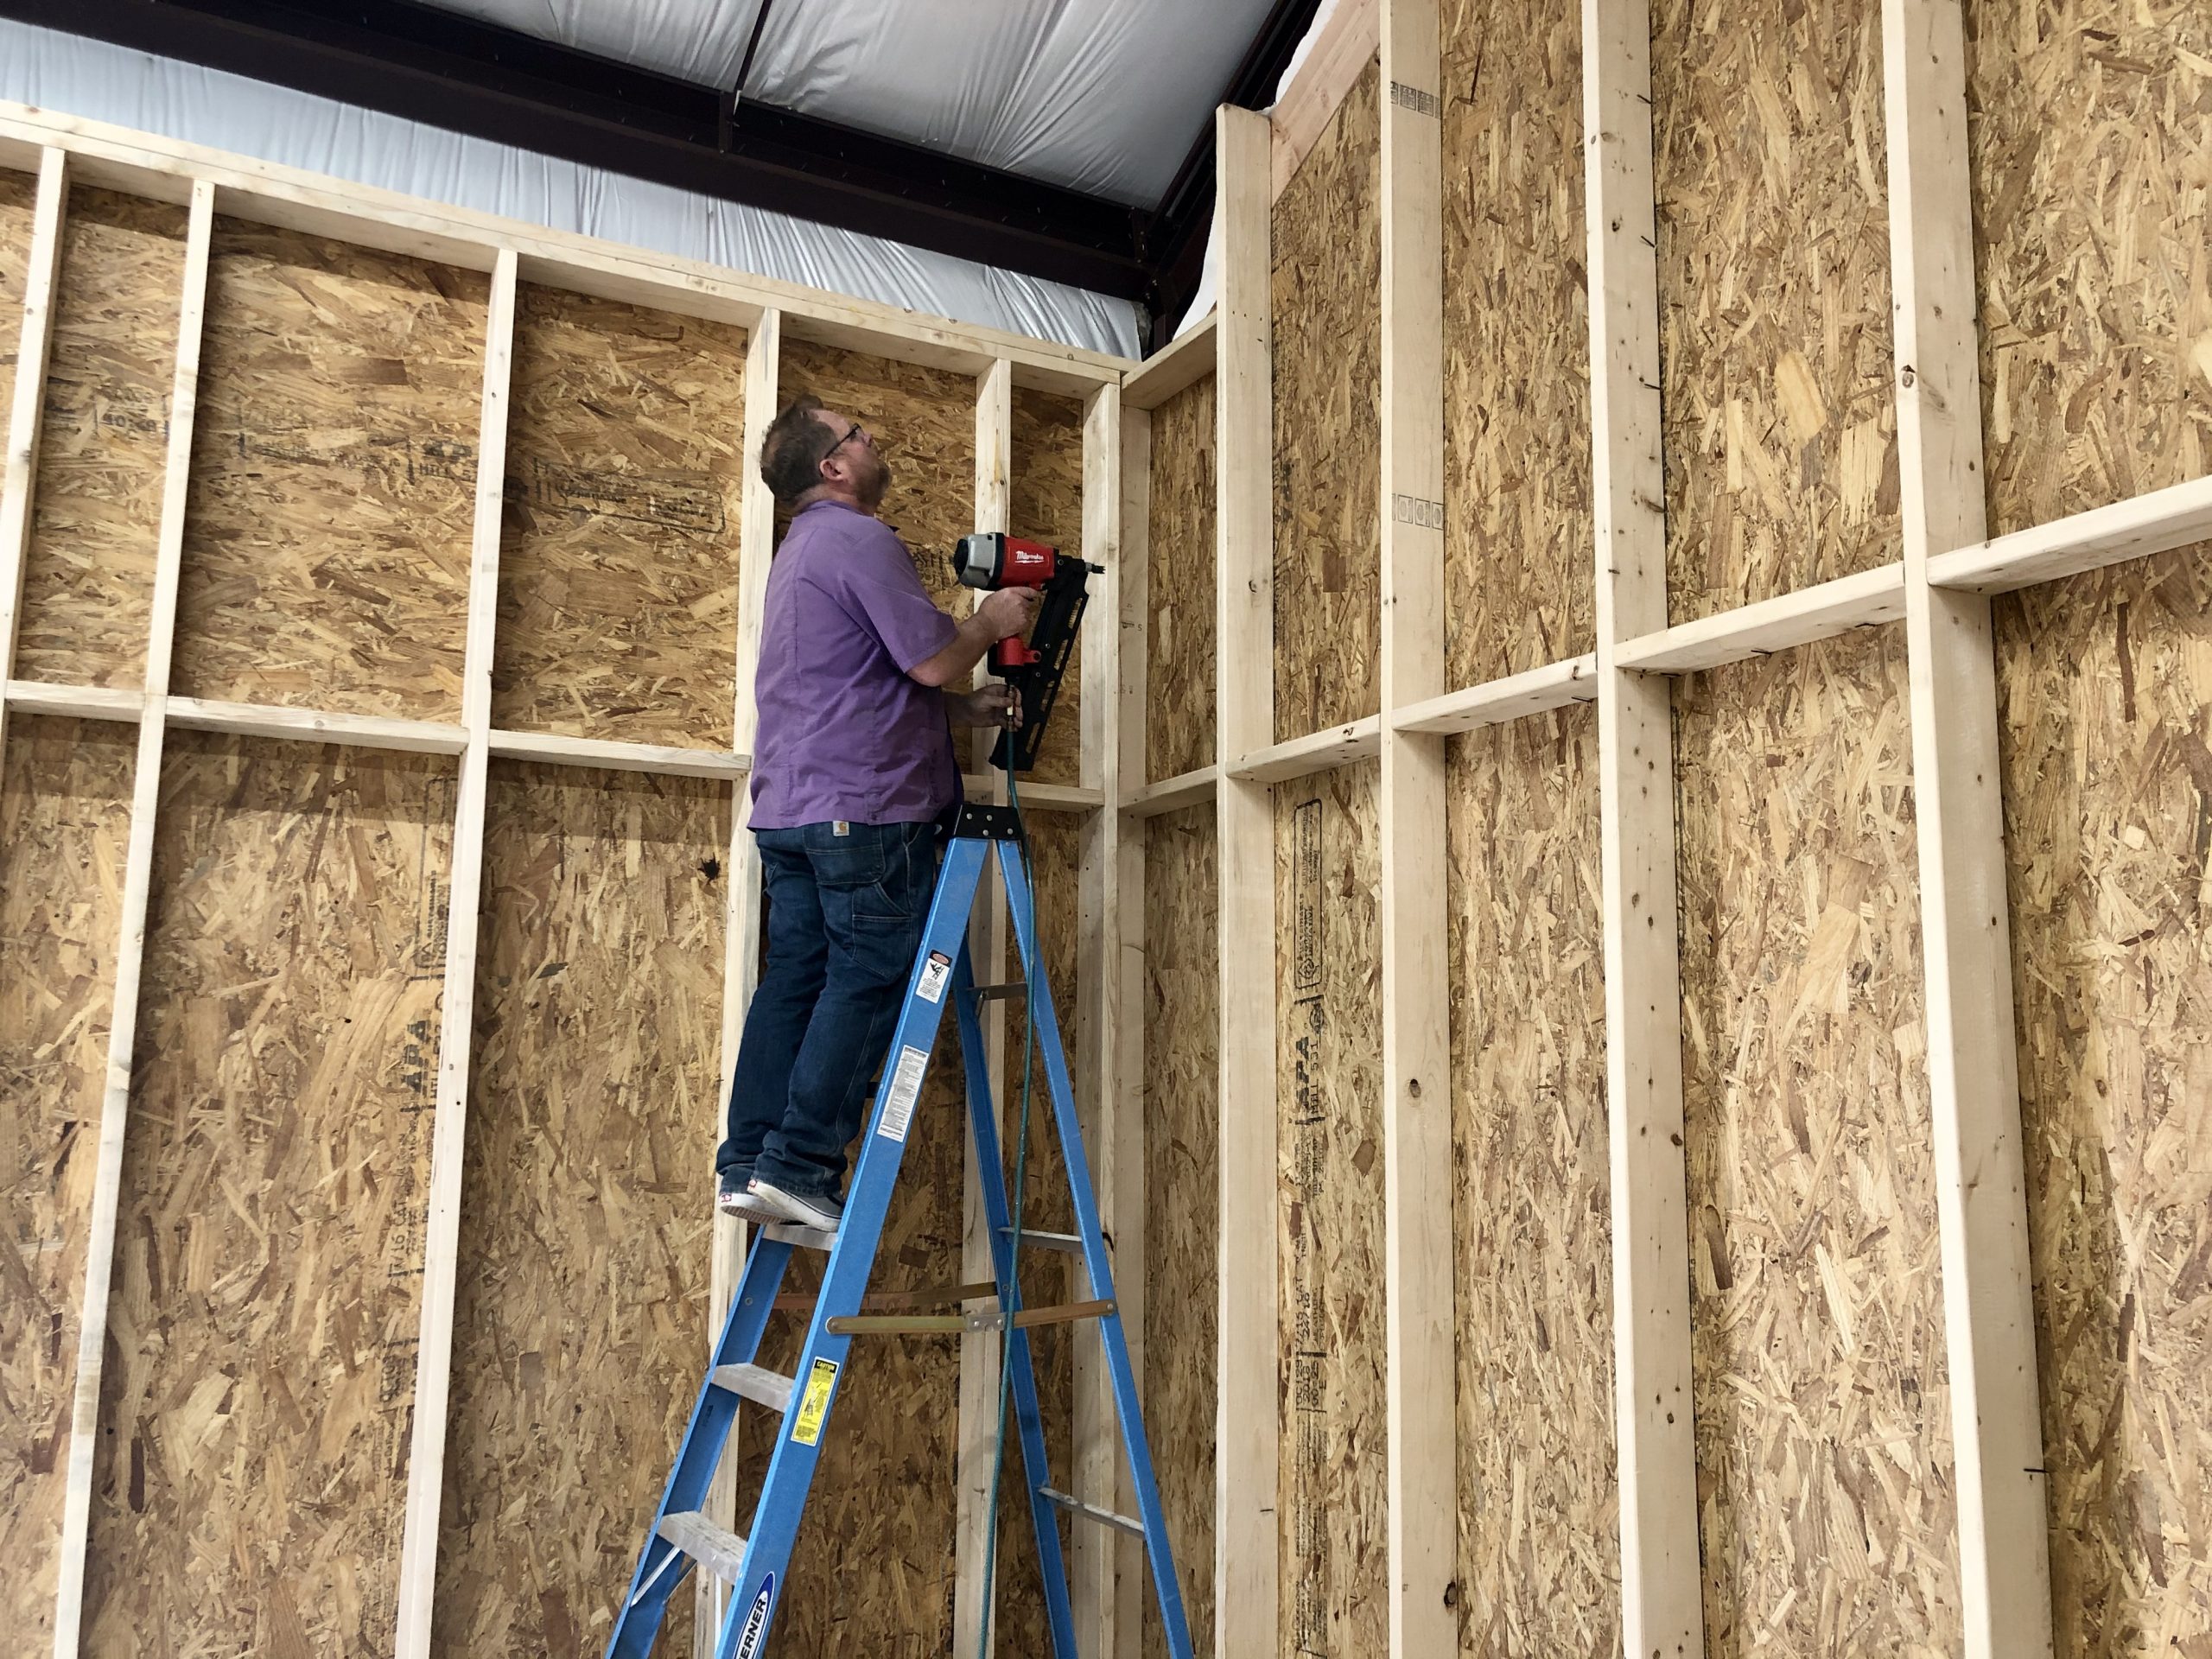
Adam arrived and helped assemble the side walls.
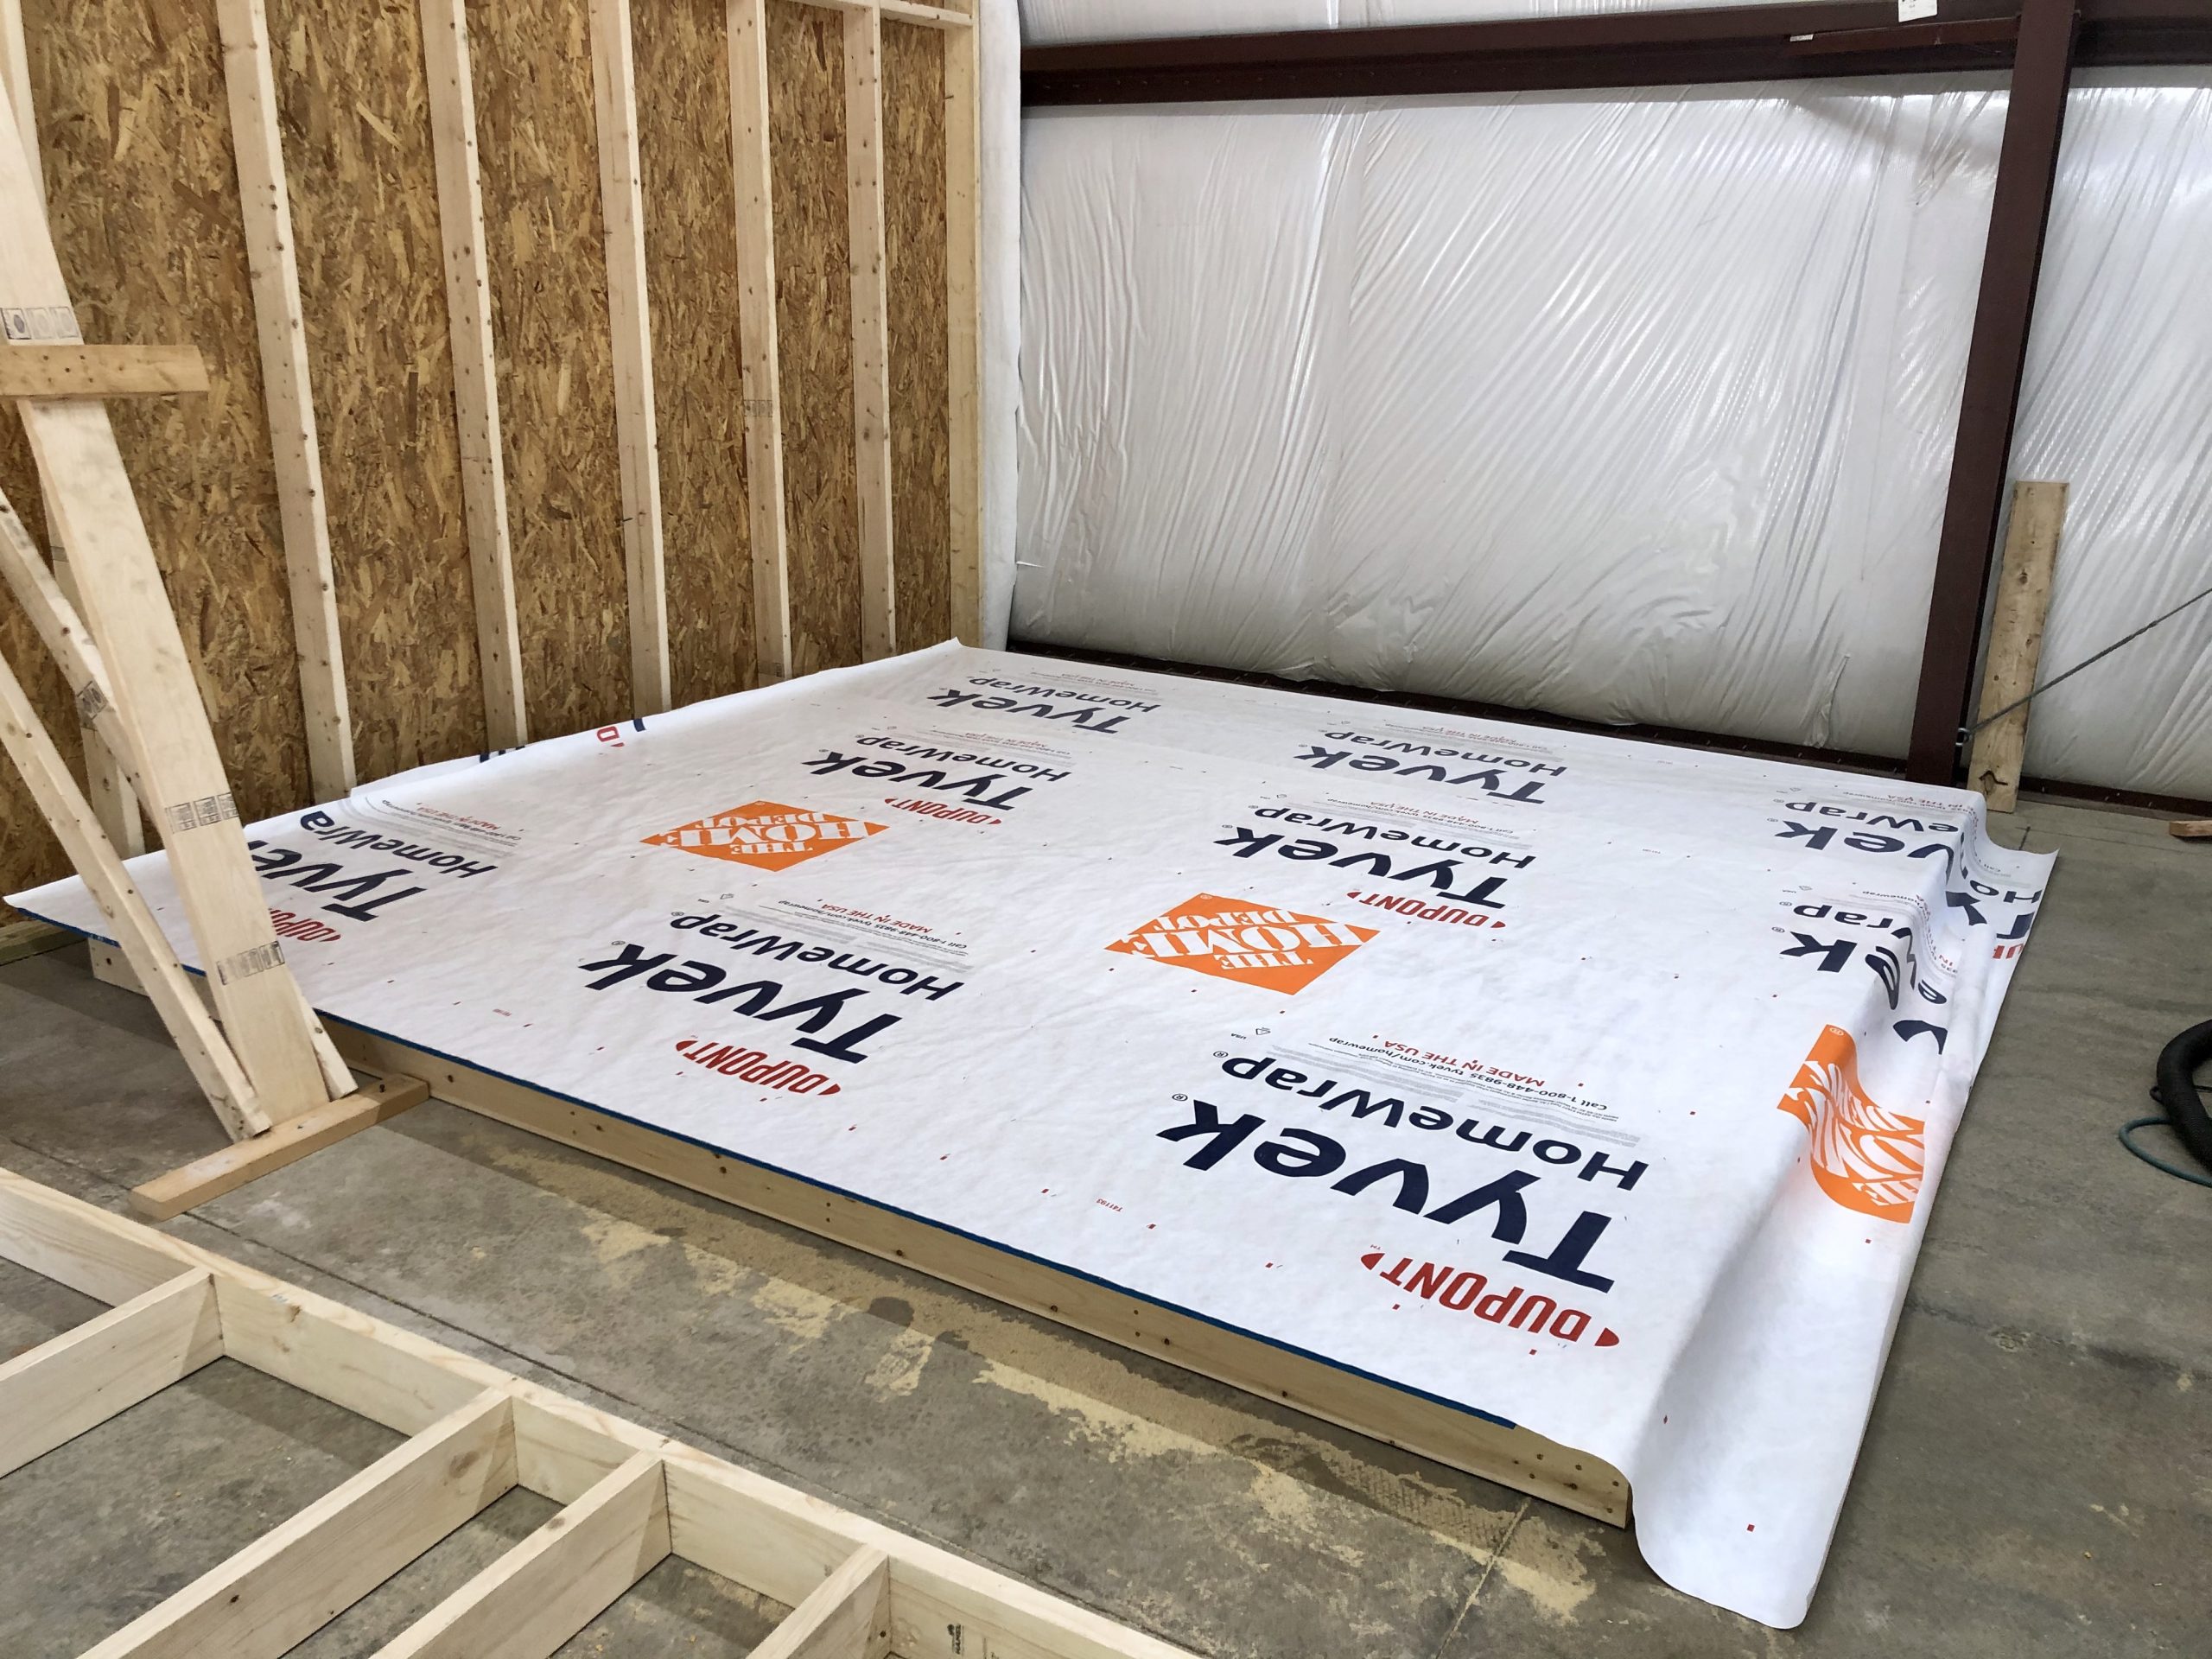
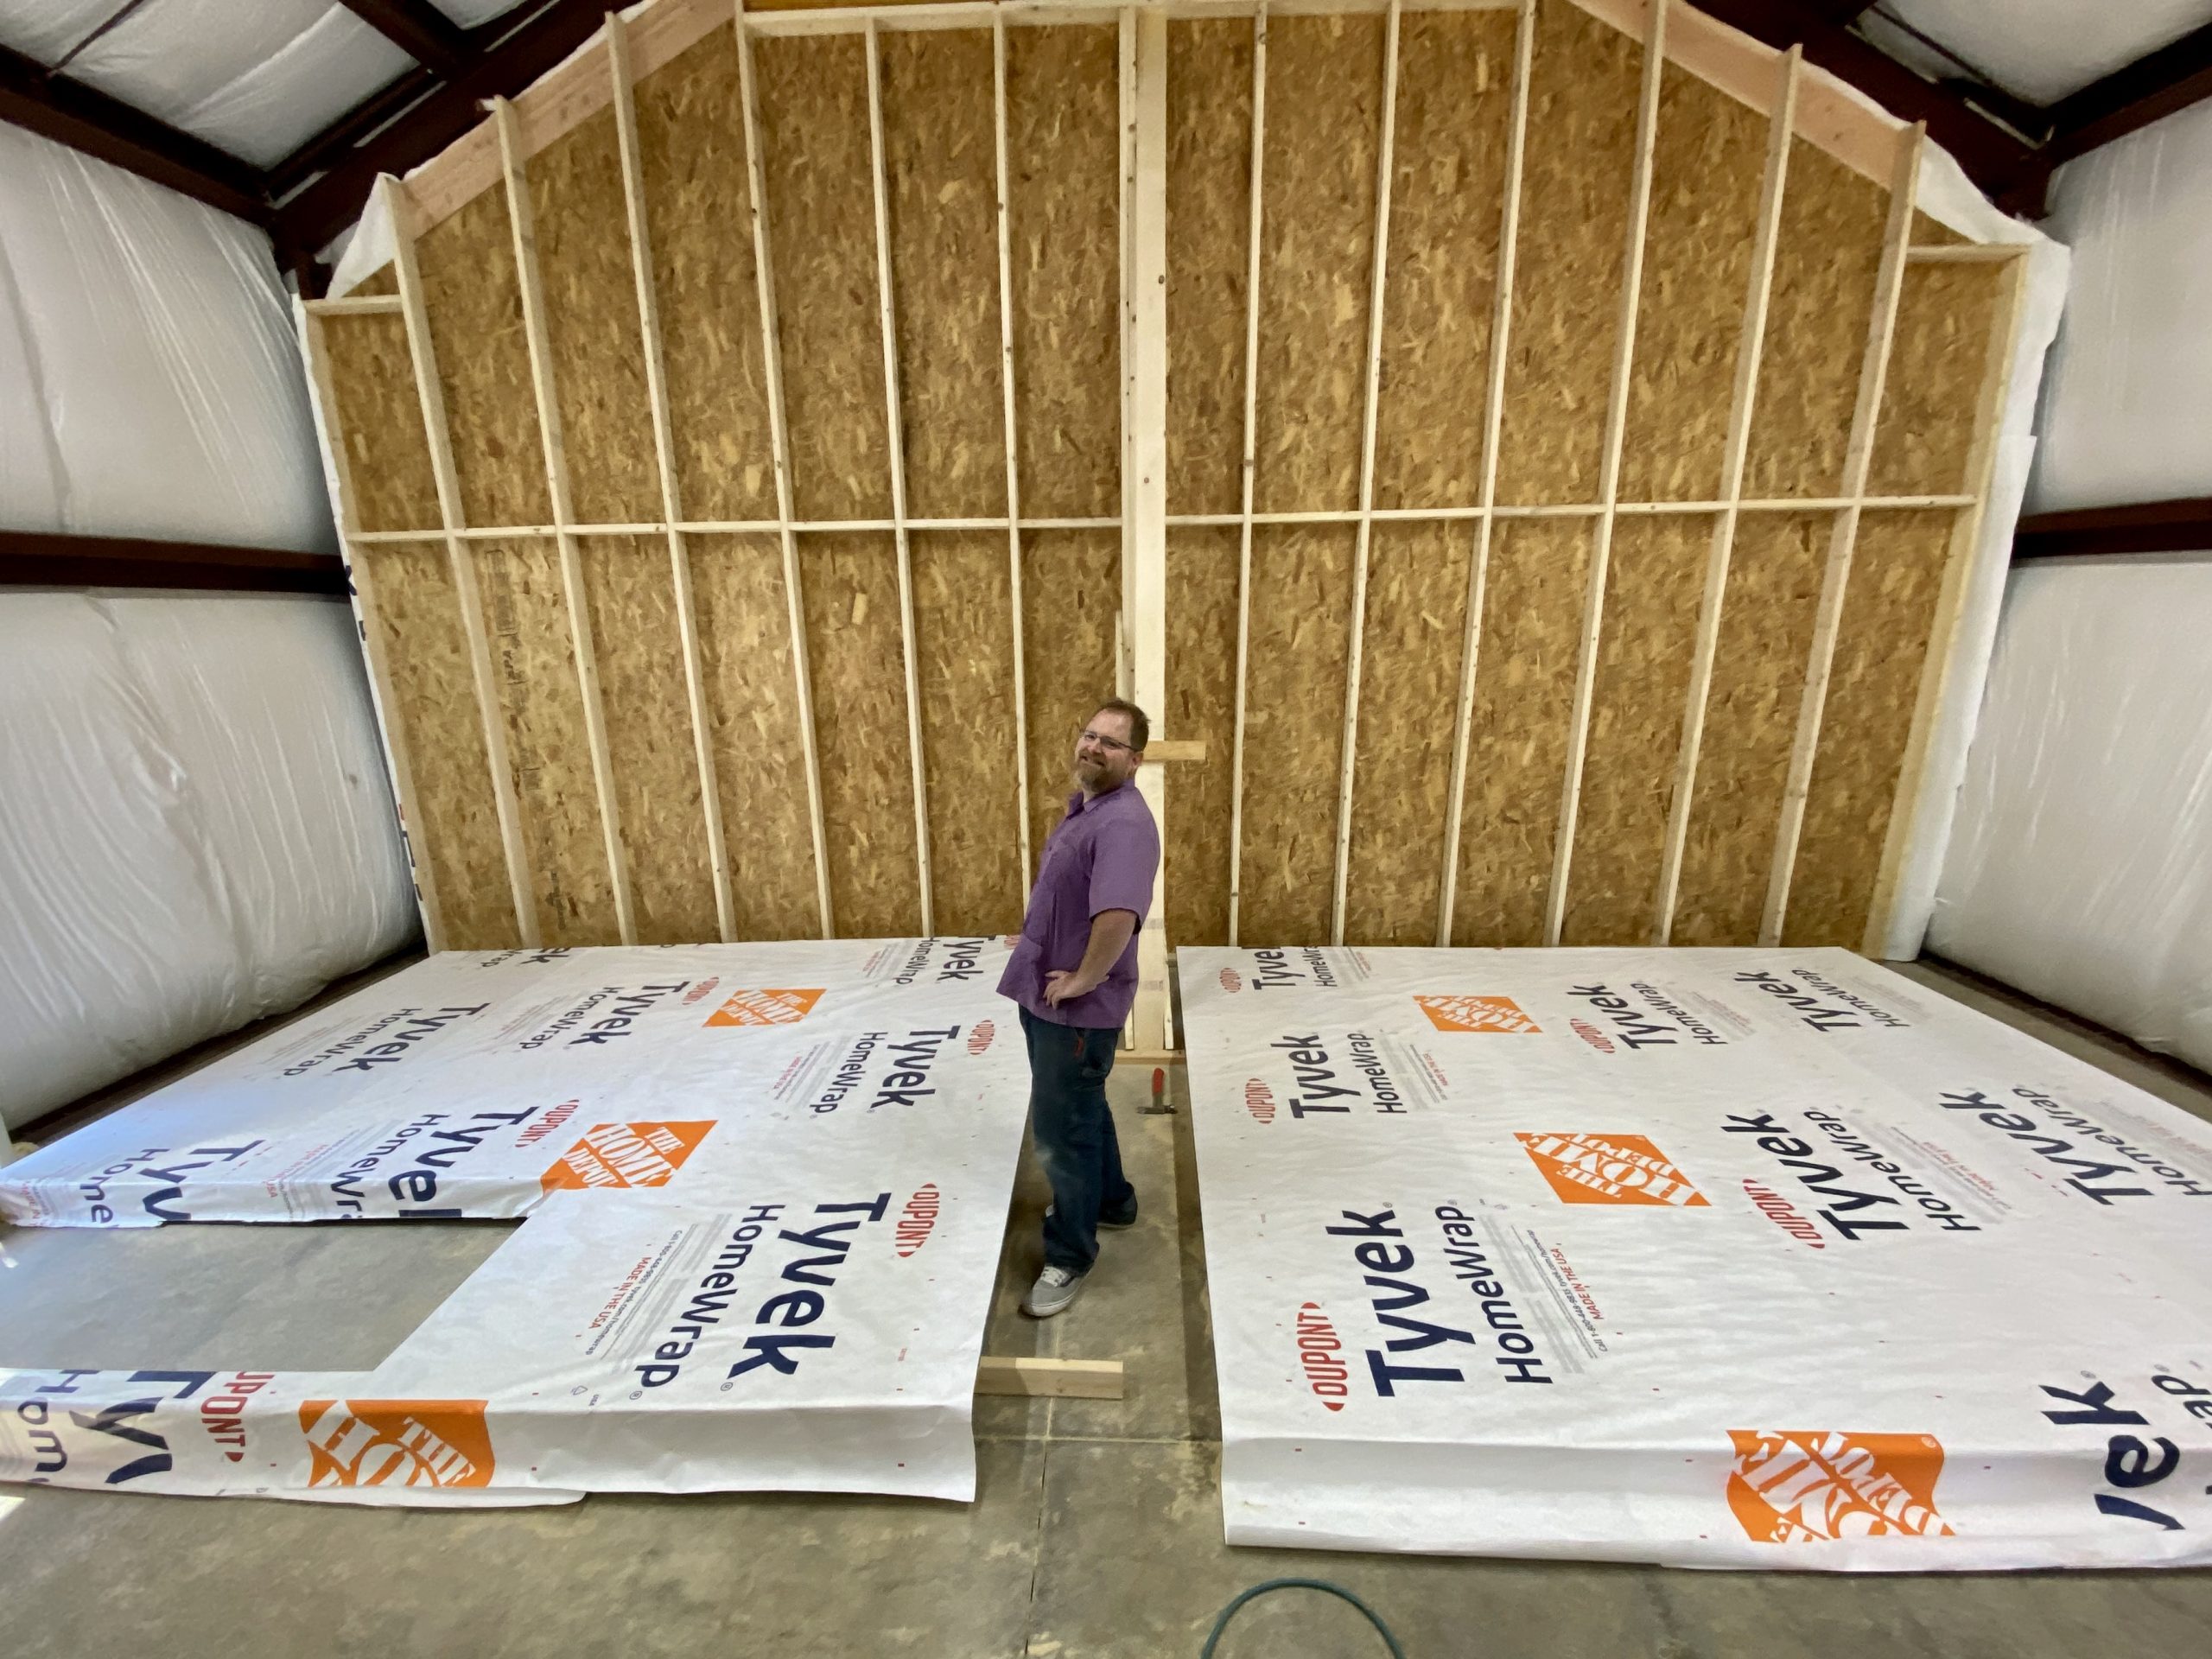
We covered the walls with OSB and Tyvek for structure and moisture control.
These walls were much easier to erect. Adam, Peter and I were able to lift them into place without any special tools.
We aligned the wall to the guides on the floor and tacked it into place.
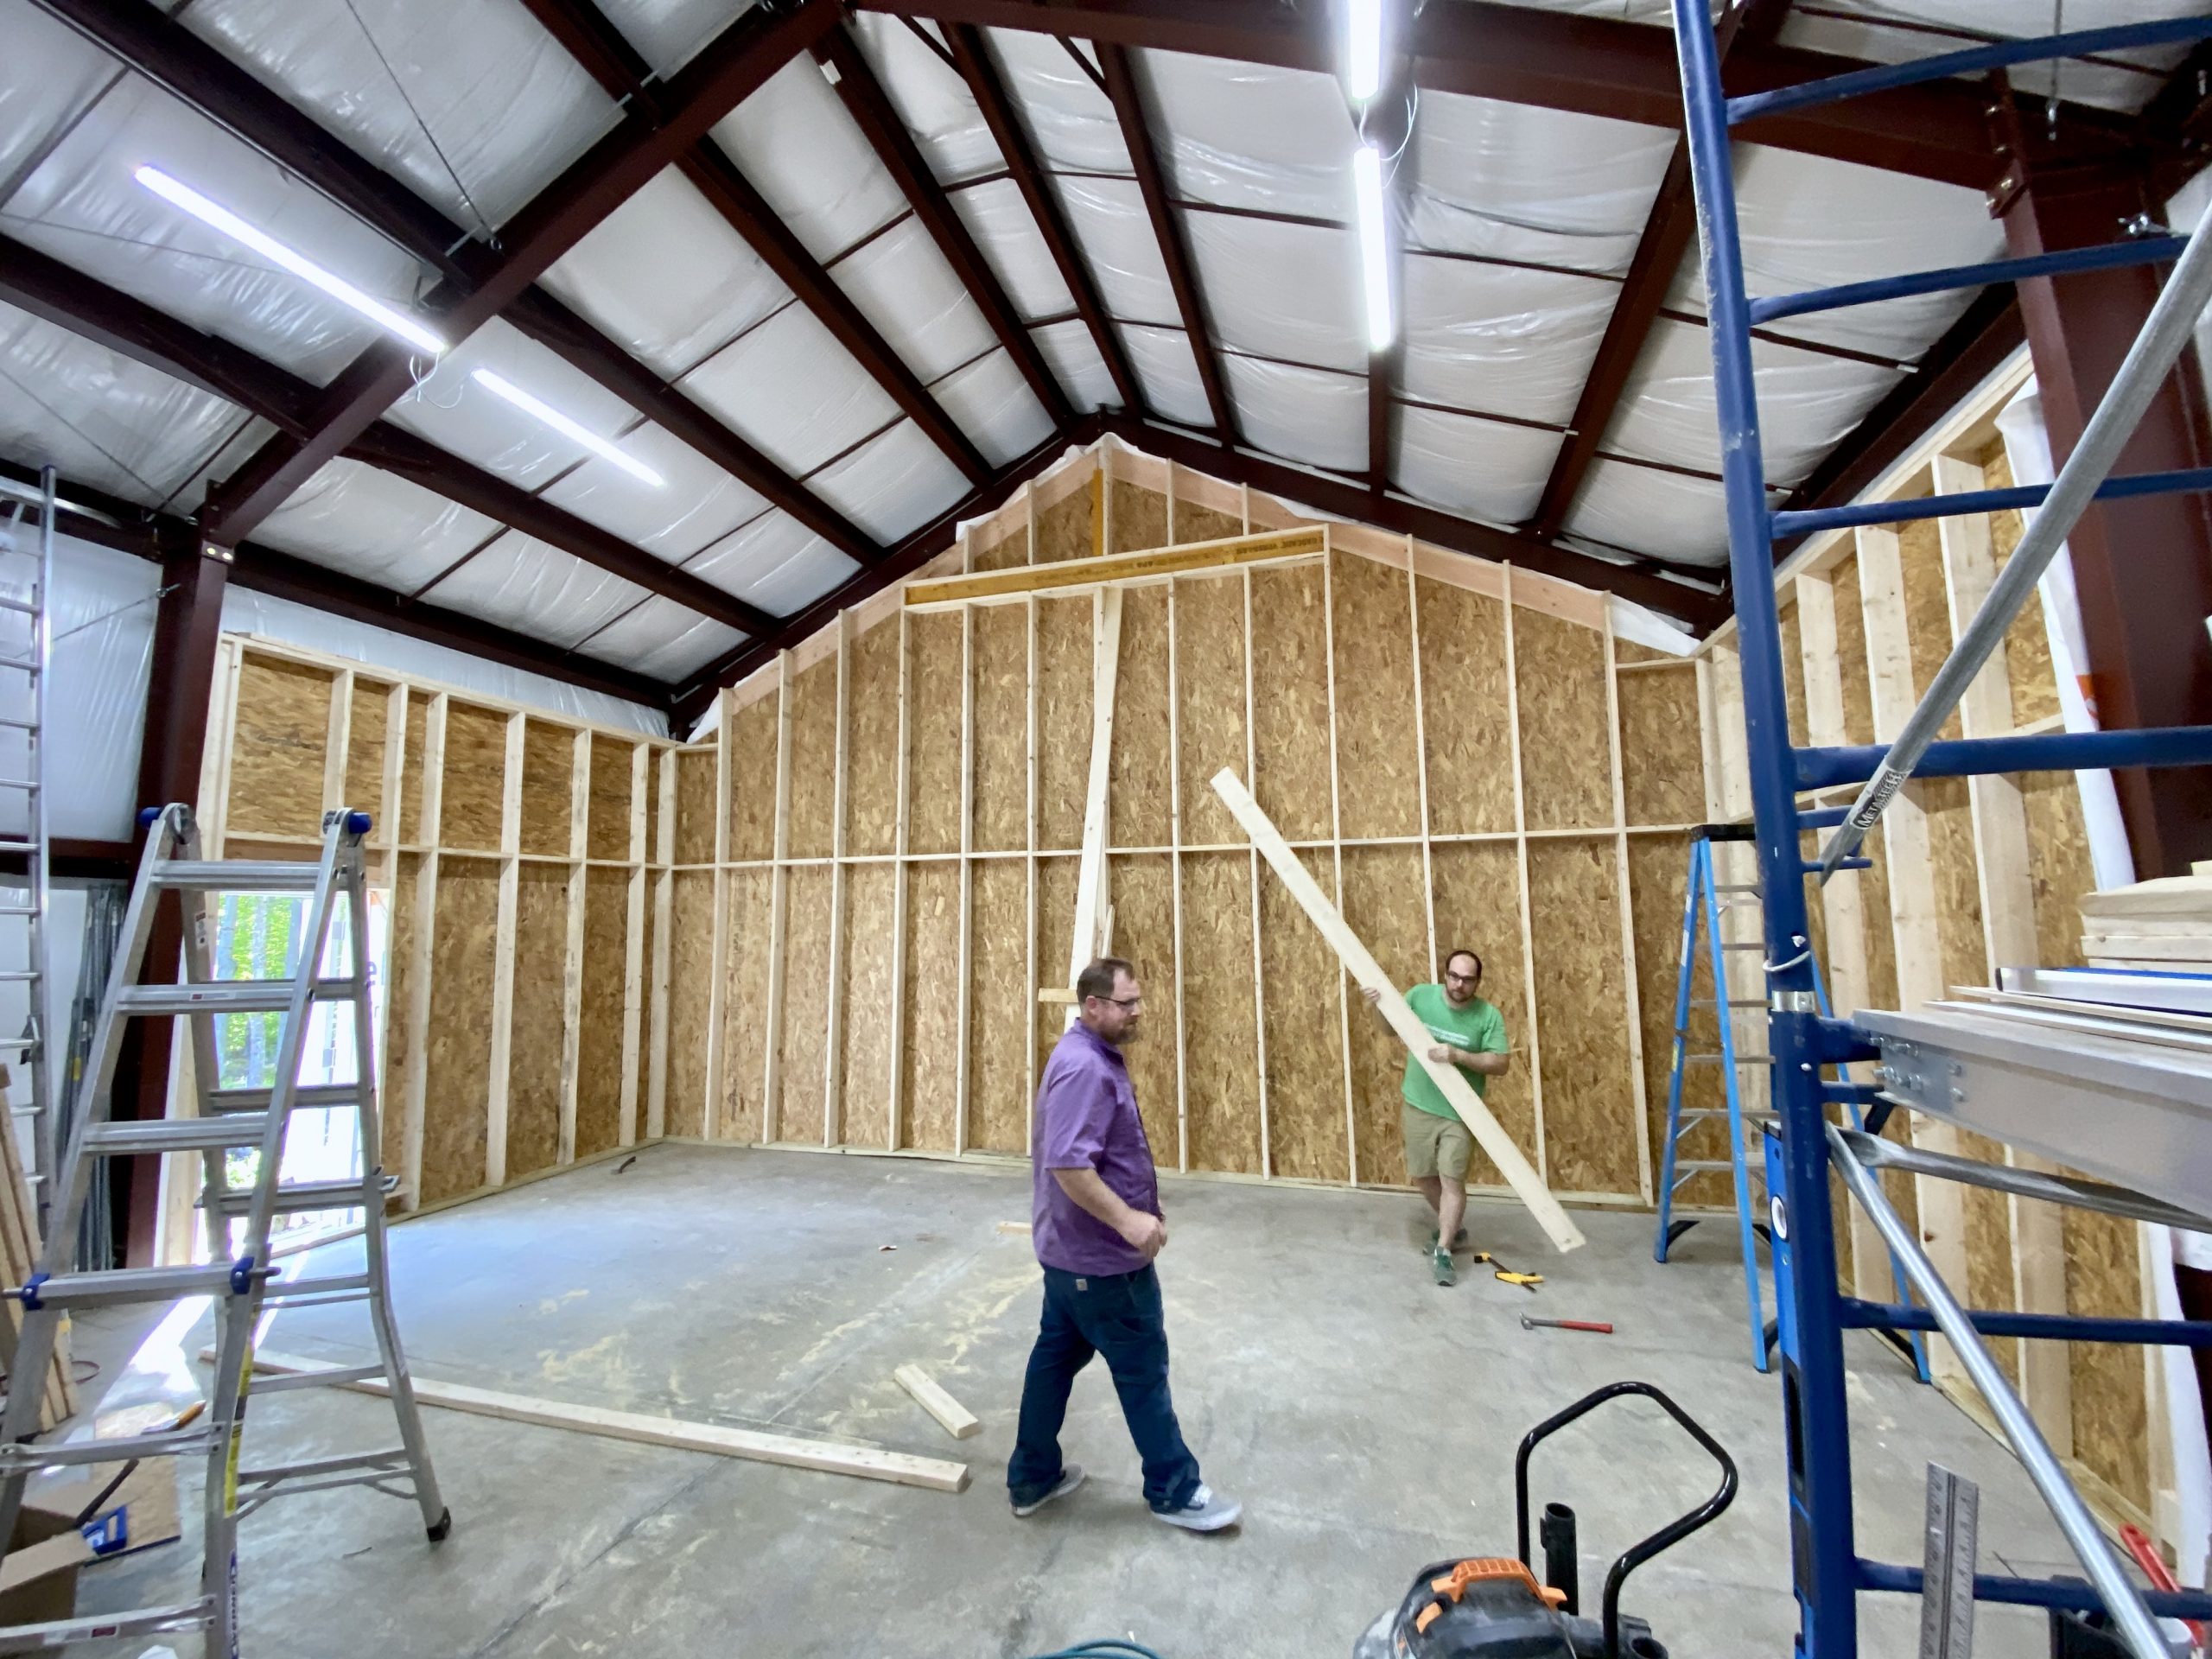
The structure was now stable enough to remove the bracing. I later added a ratchet strap at the top, just for peace of mind.
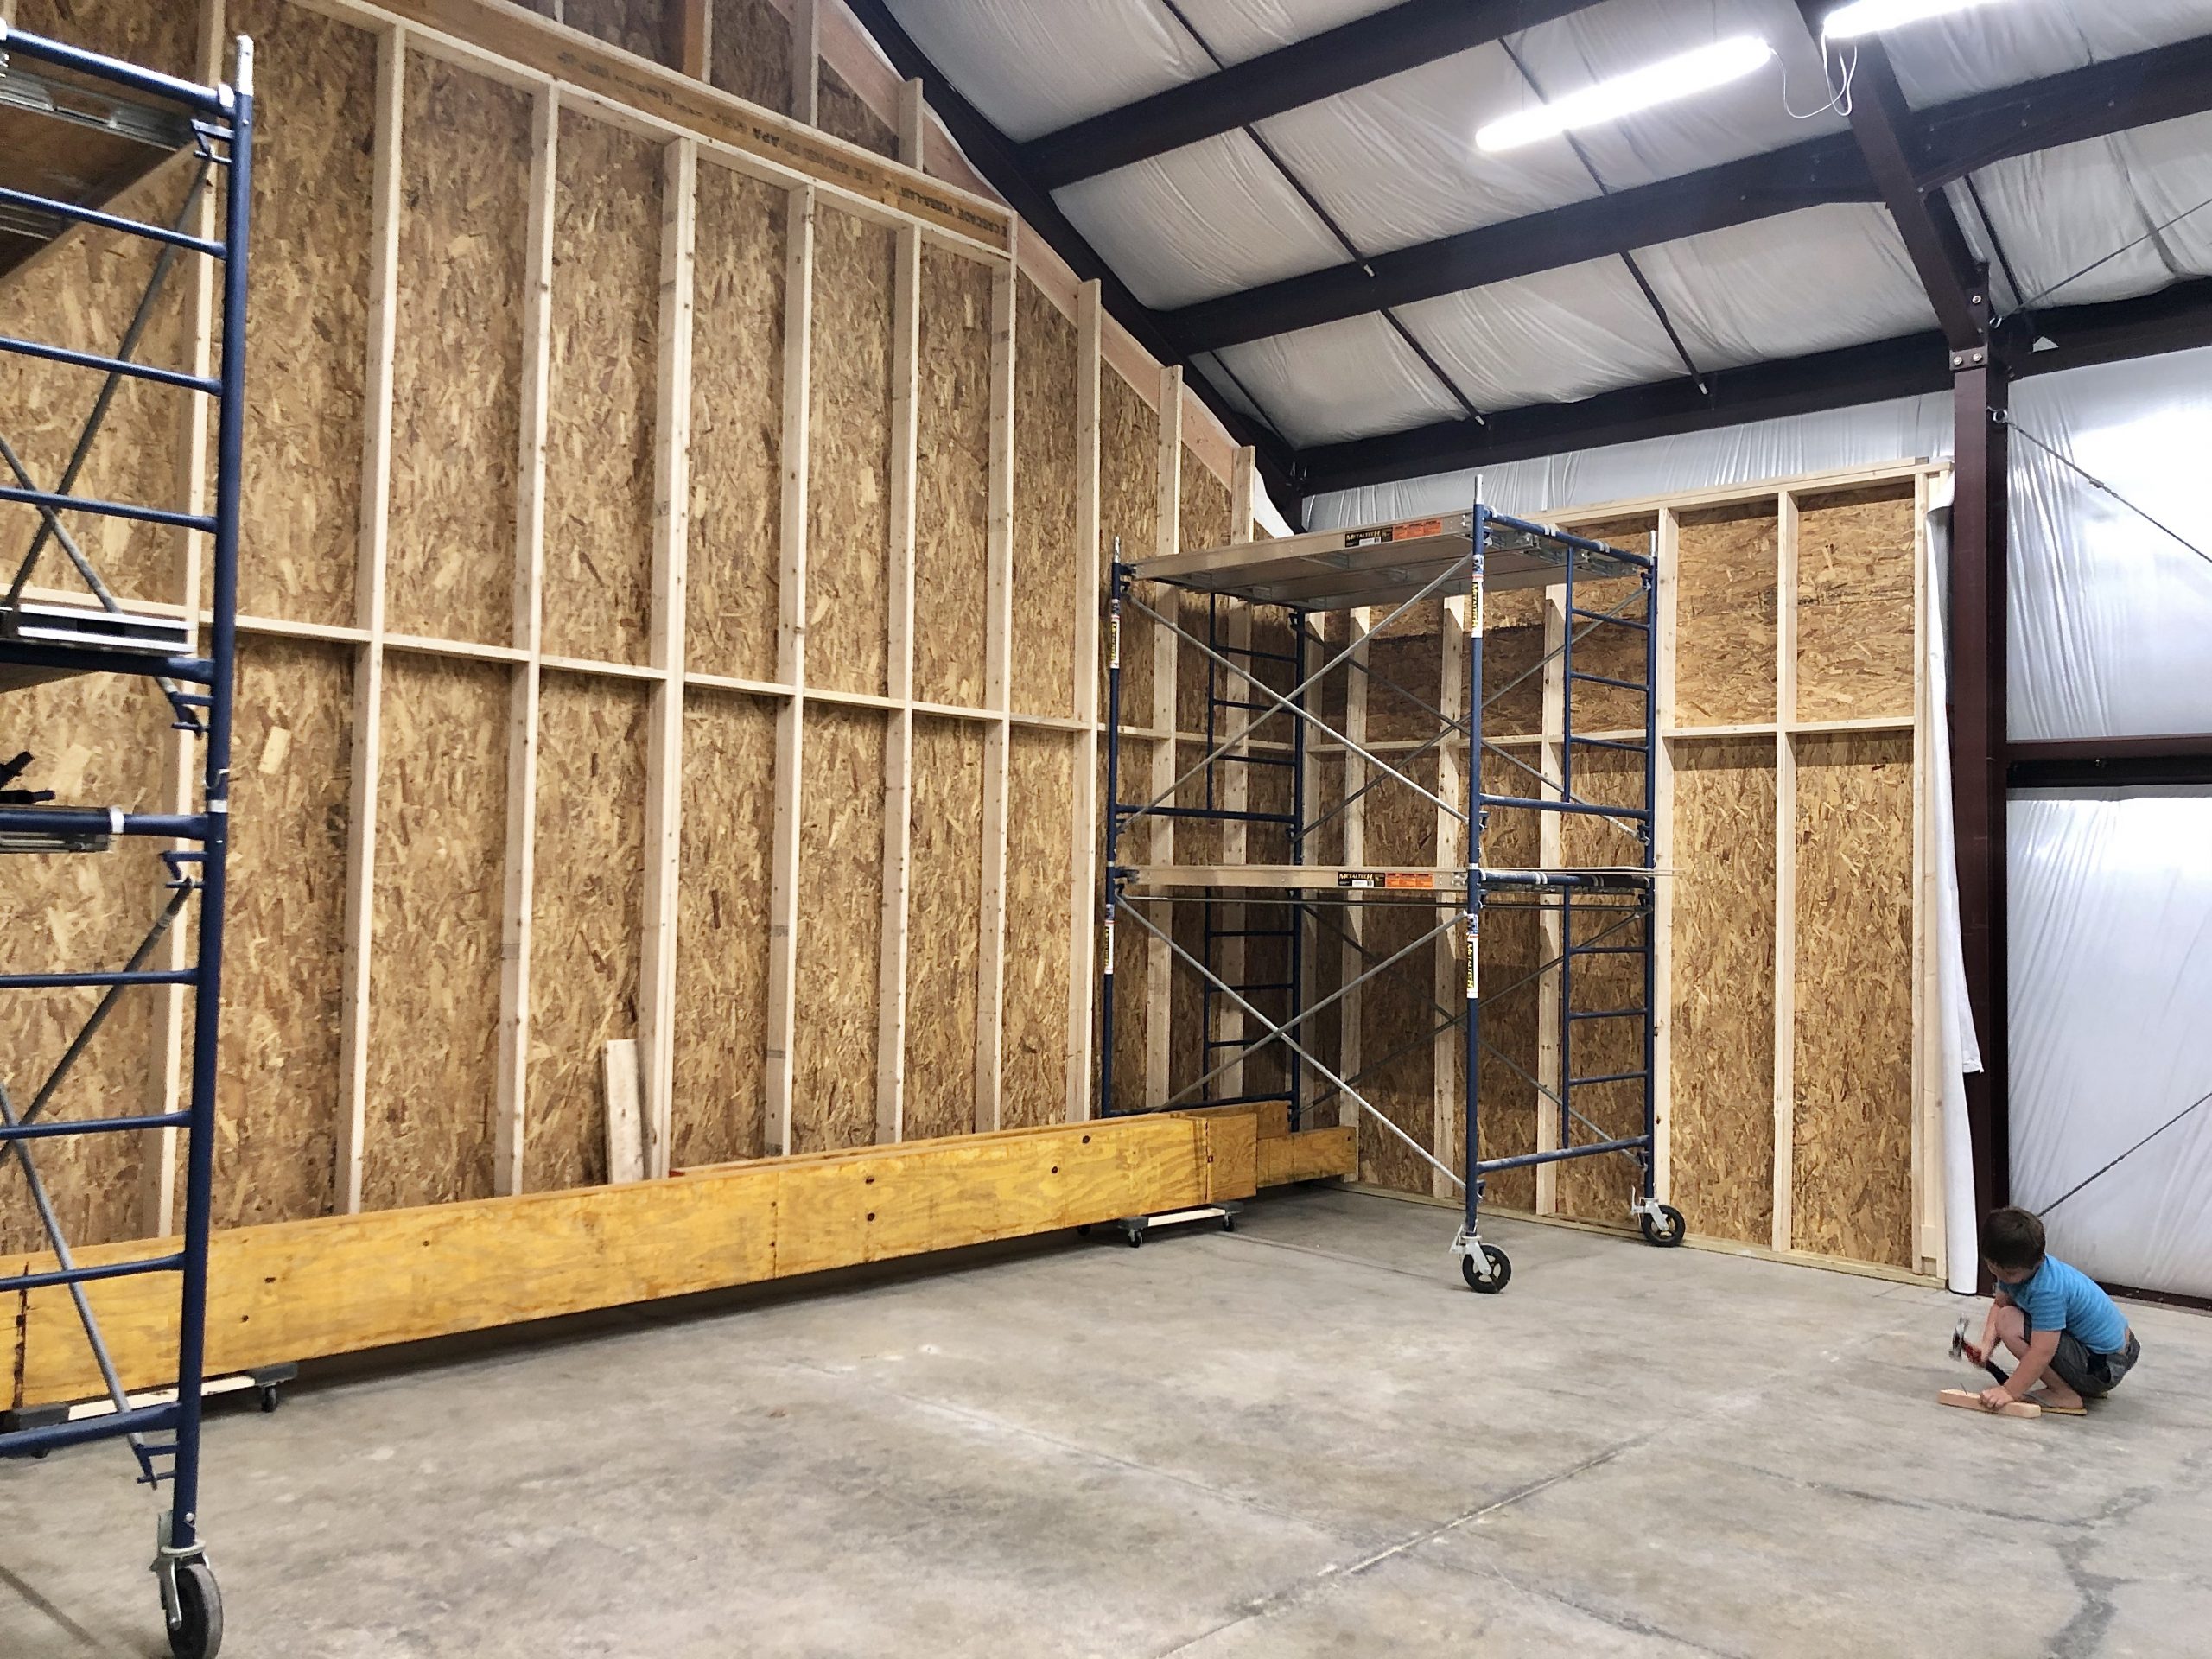
I then moved some things around to make room for the next three walls.
- Categories
- Construction

