Live Room Paint
March 24, 2023
Over the last few weeks I painted the live room ceiling and walls.
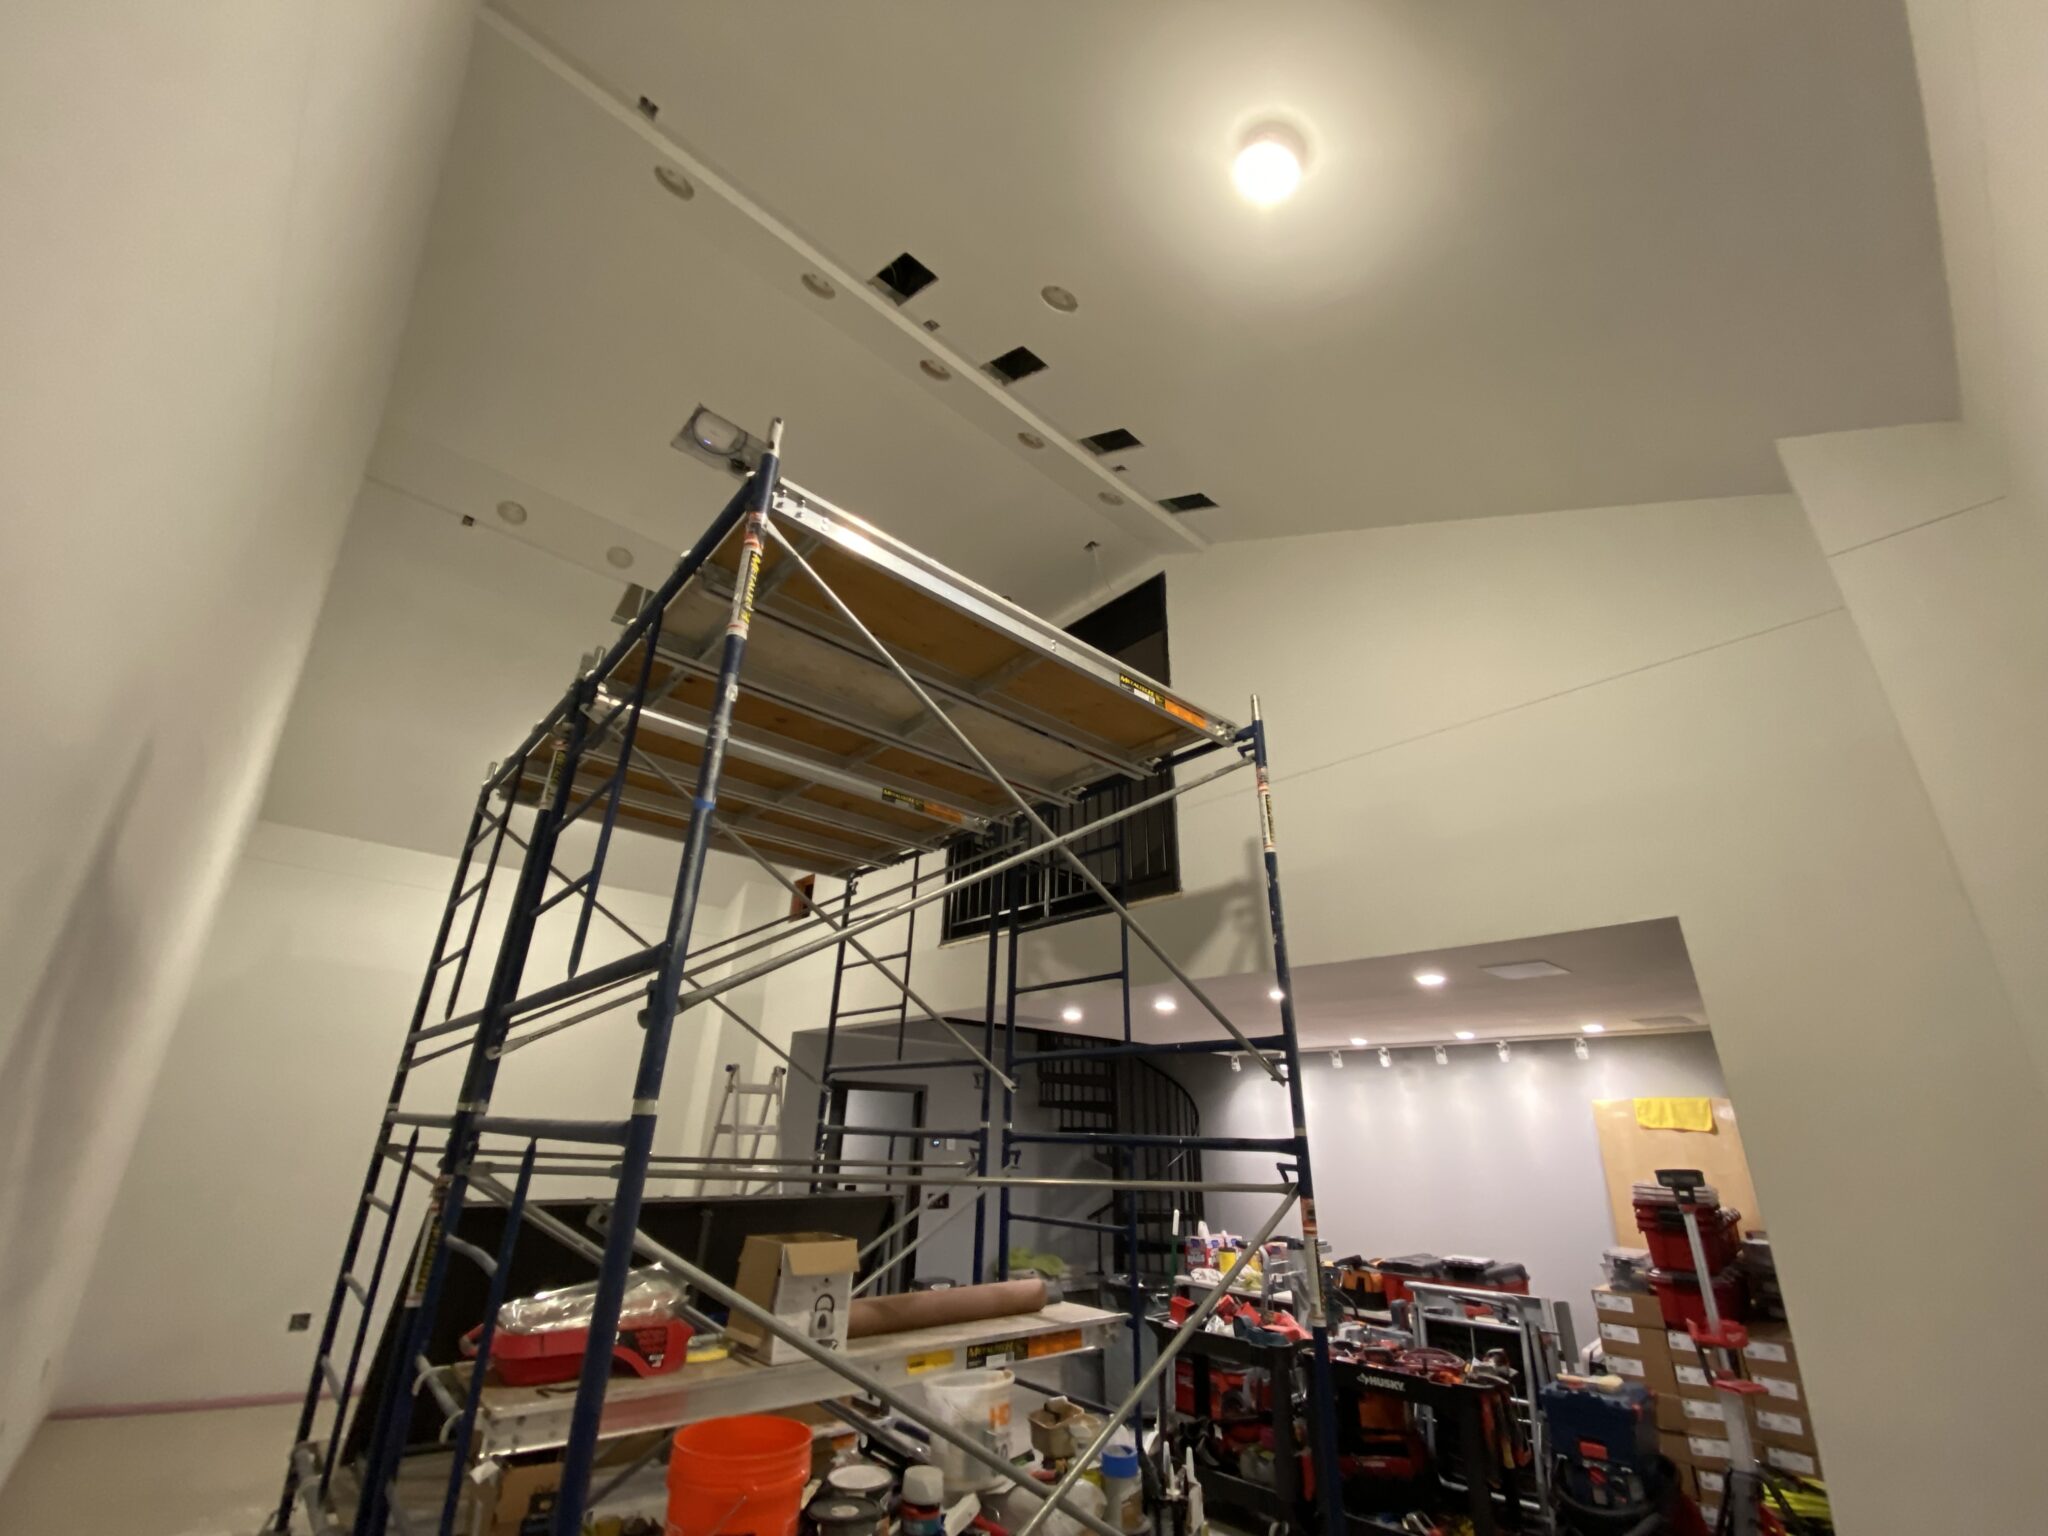
I started by marking a line around the entire room where the gray wall paint would meet the black ceiling paint. I used a laser level atop some scaffolding to mark the line.

I then transferred the line to the wall with a permanent marker.
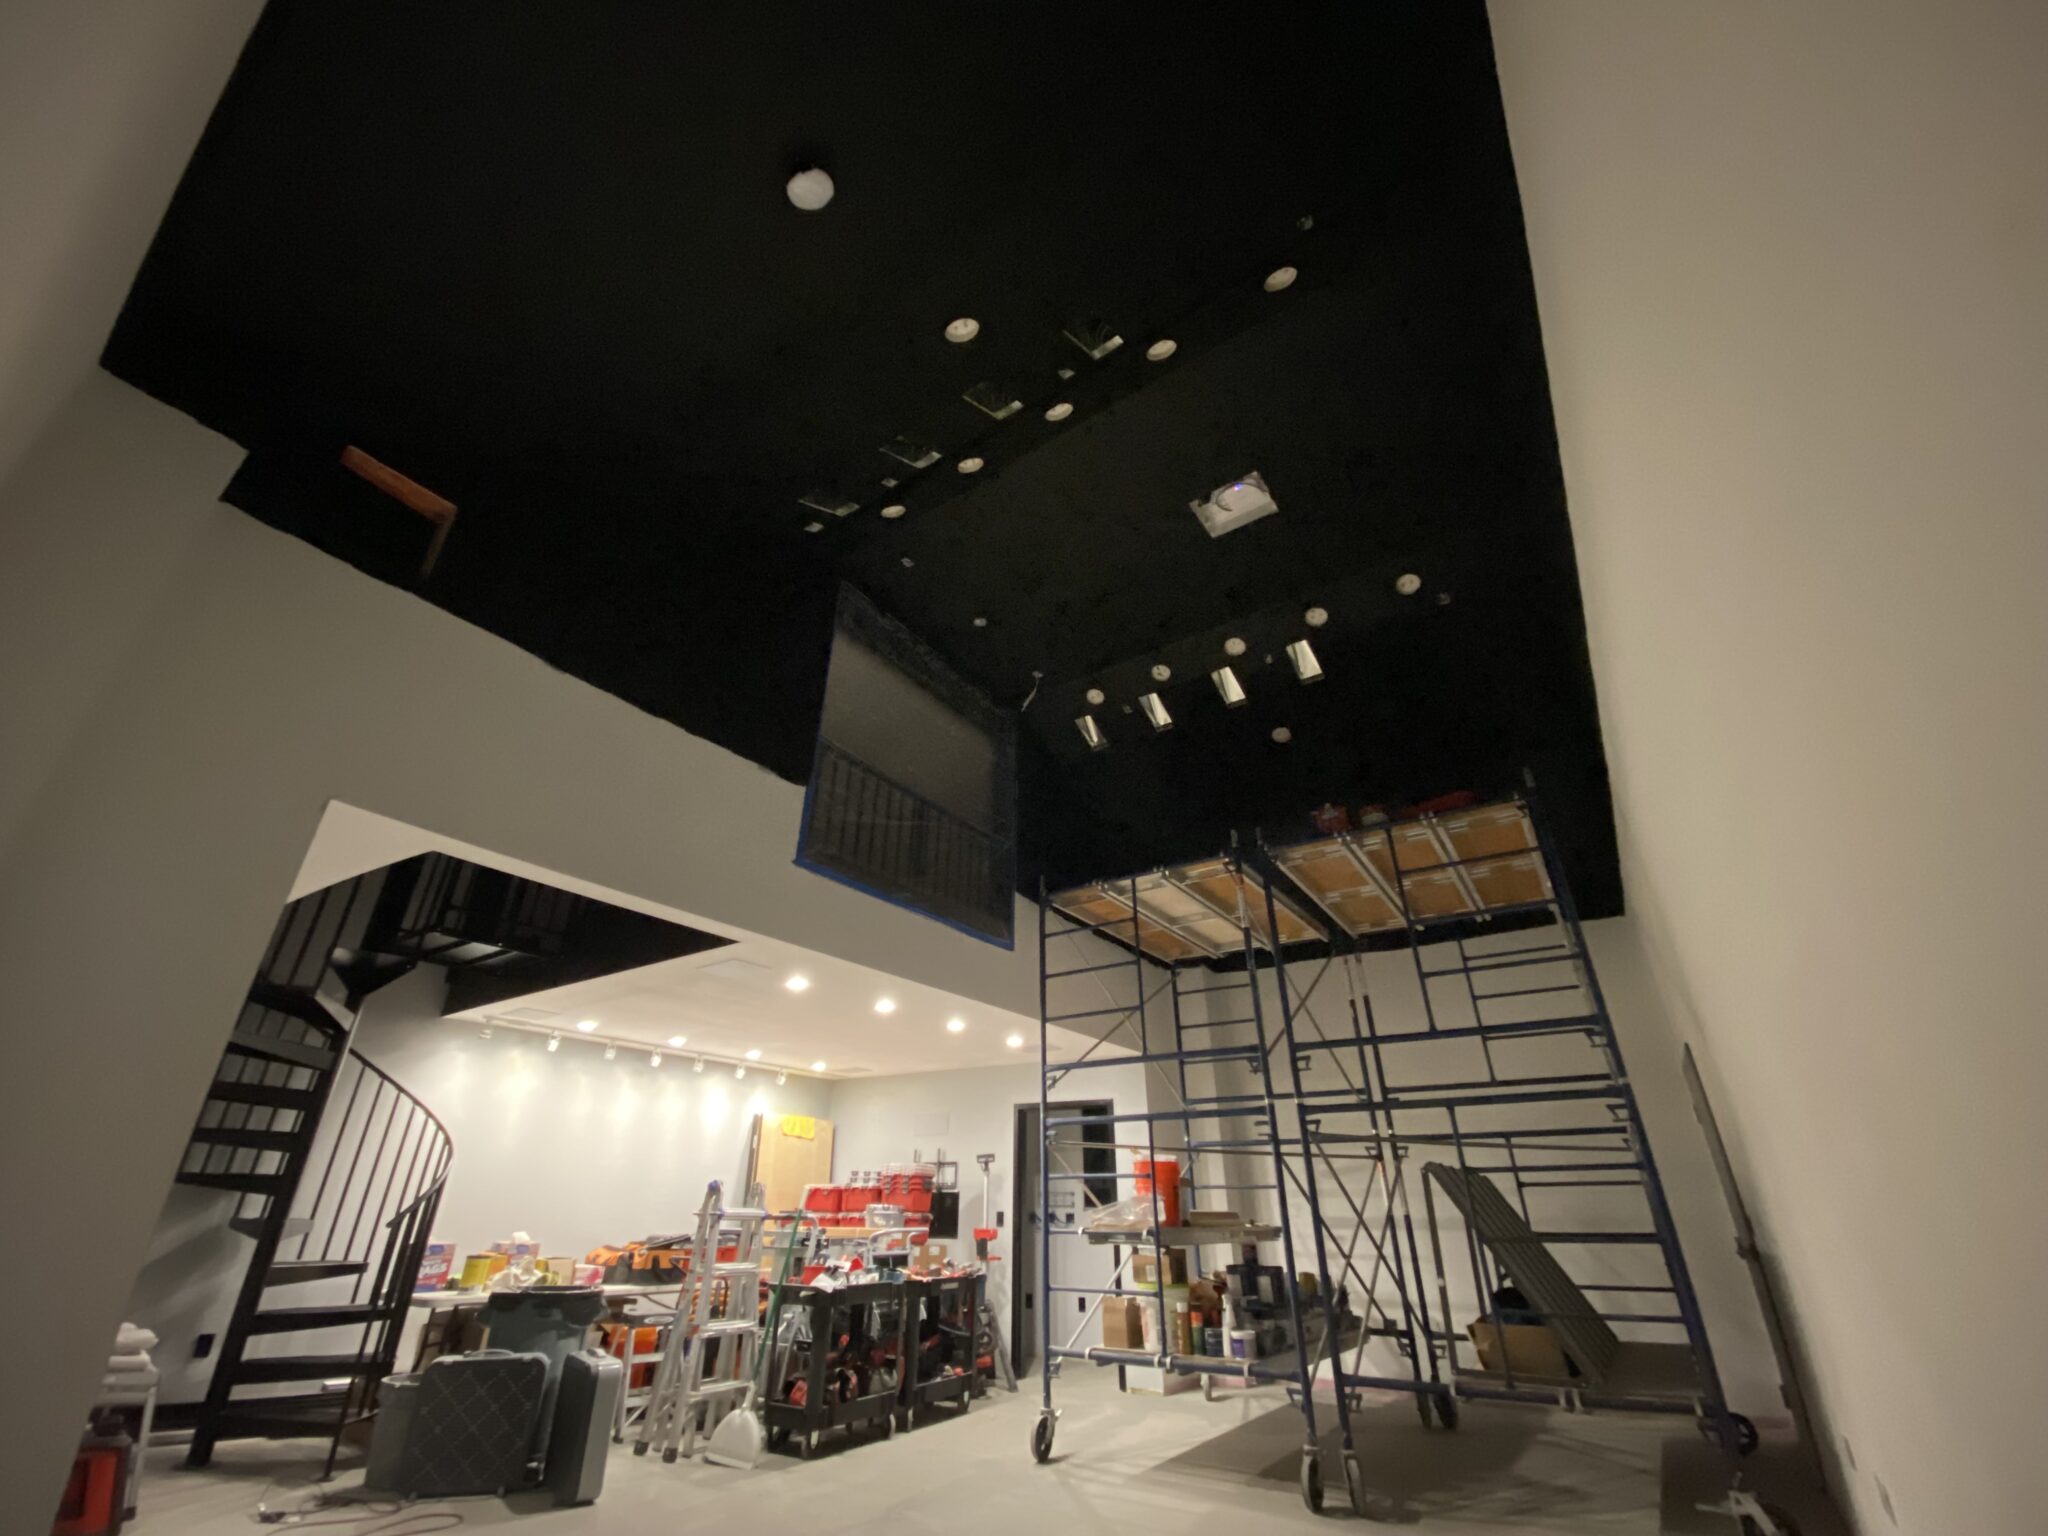
I started with the ceiling, as black drips would likely be a paint to touch-up over.
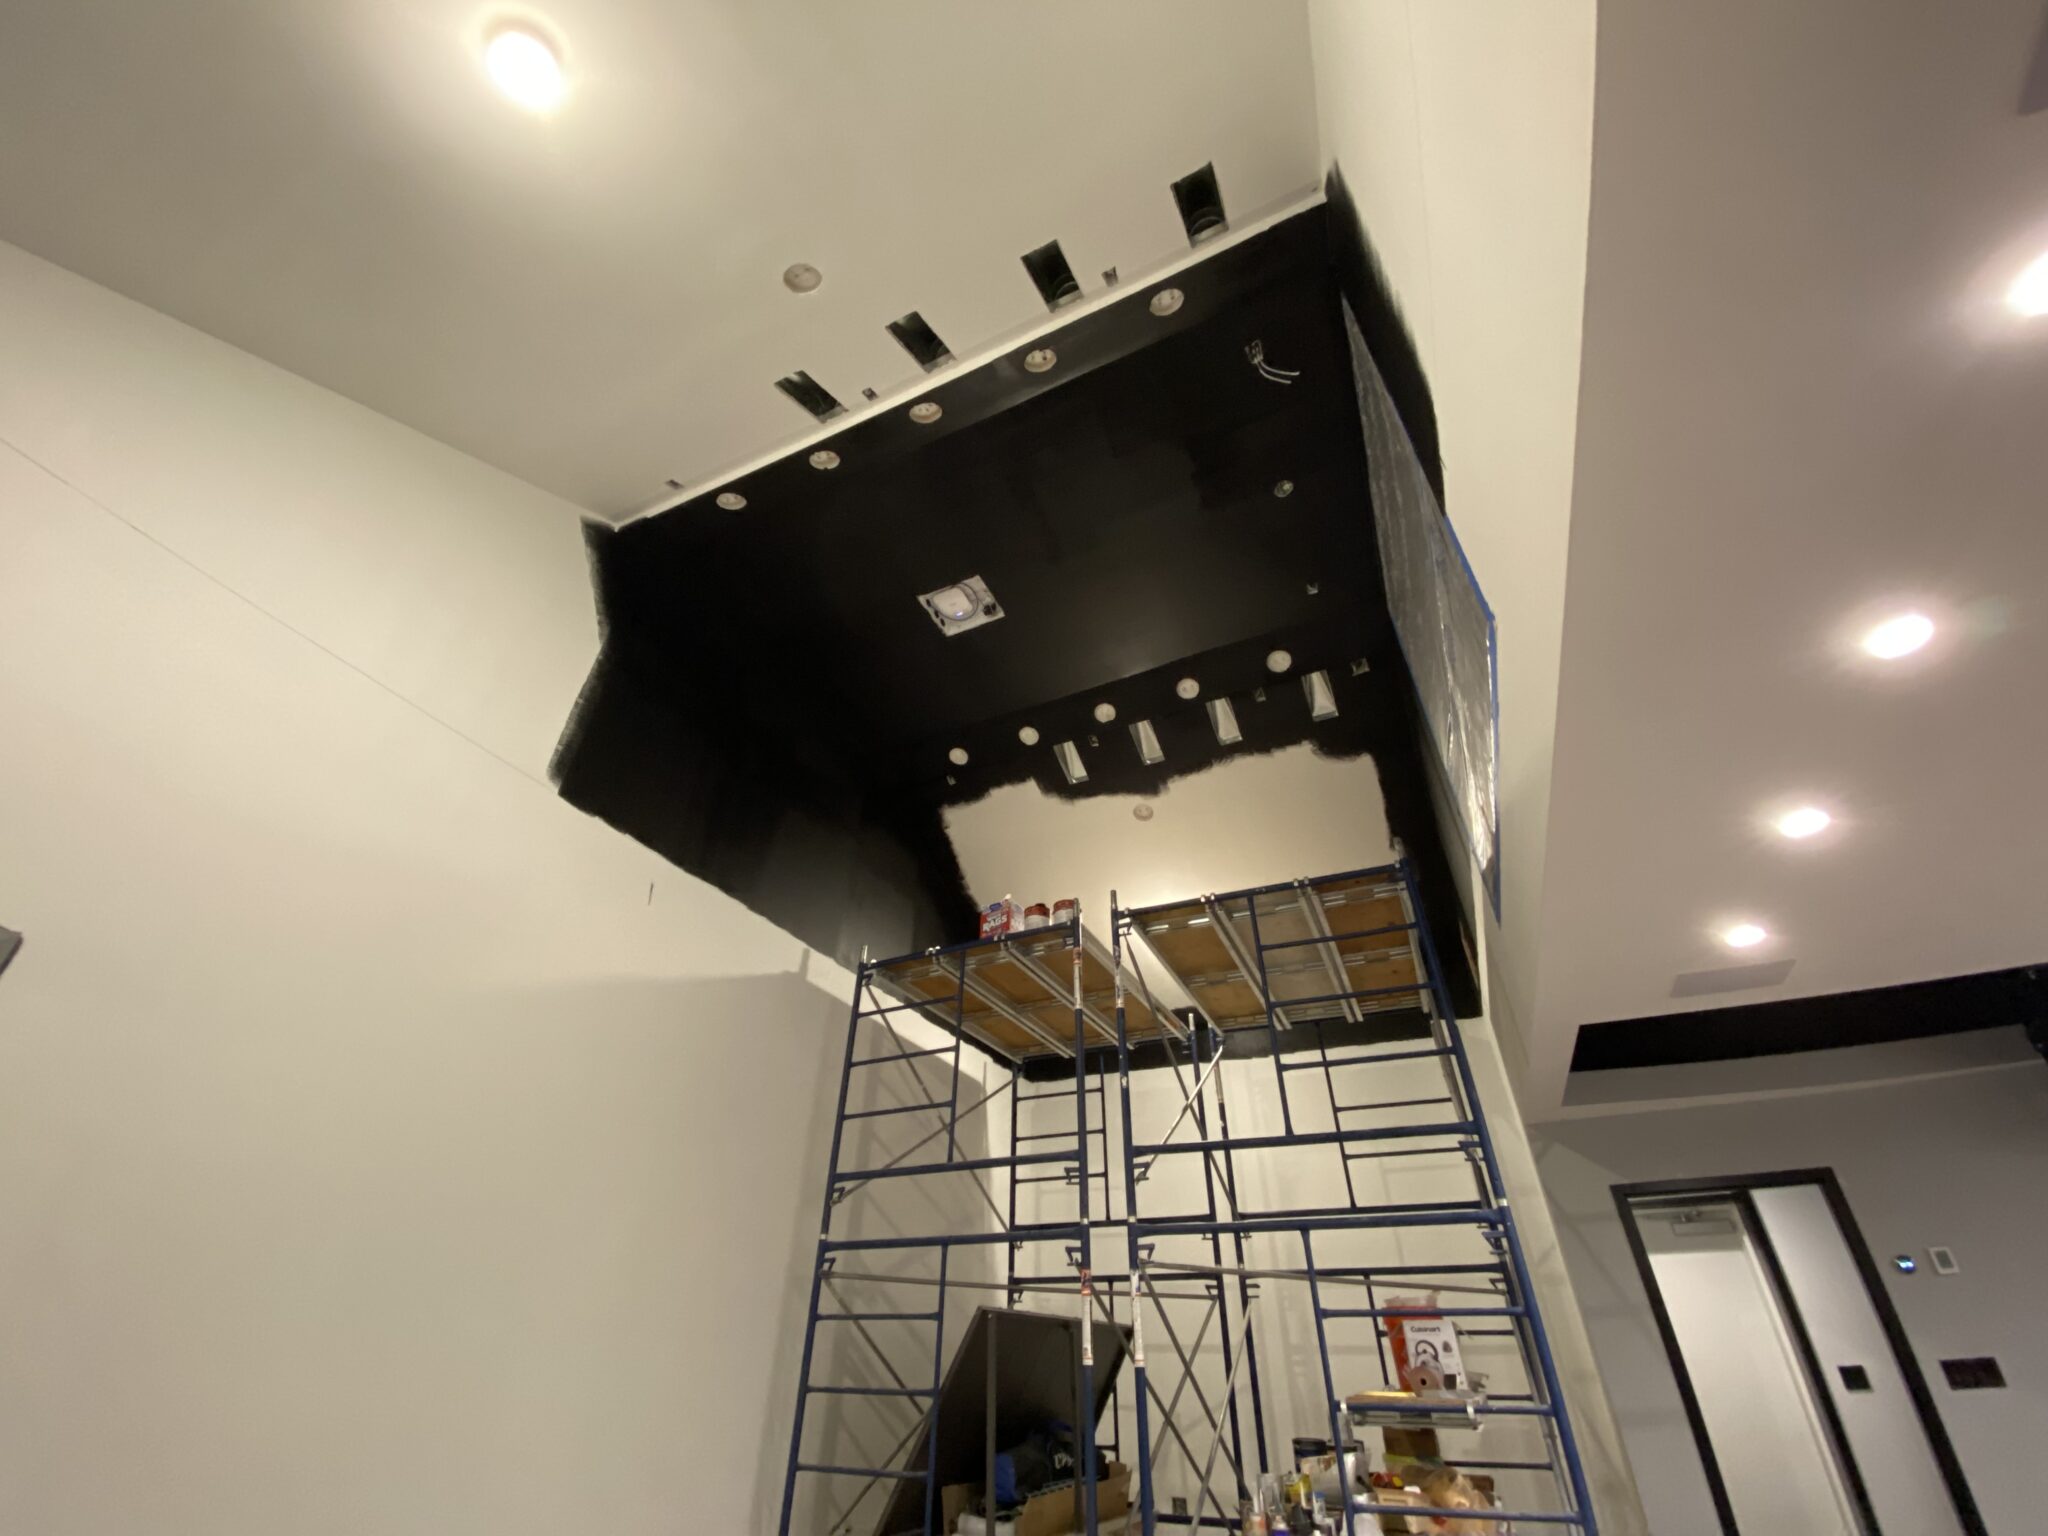
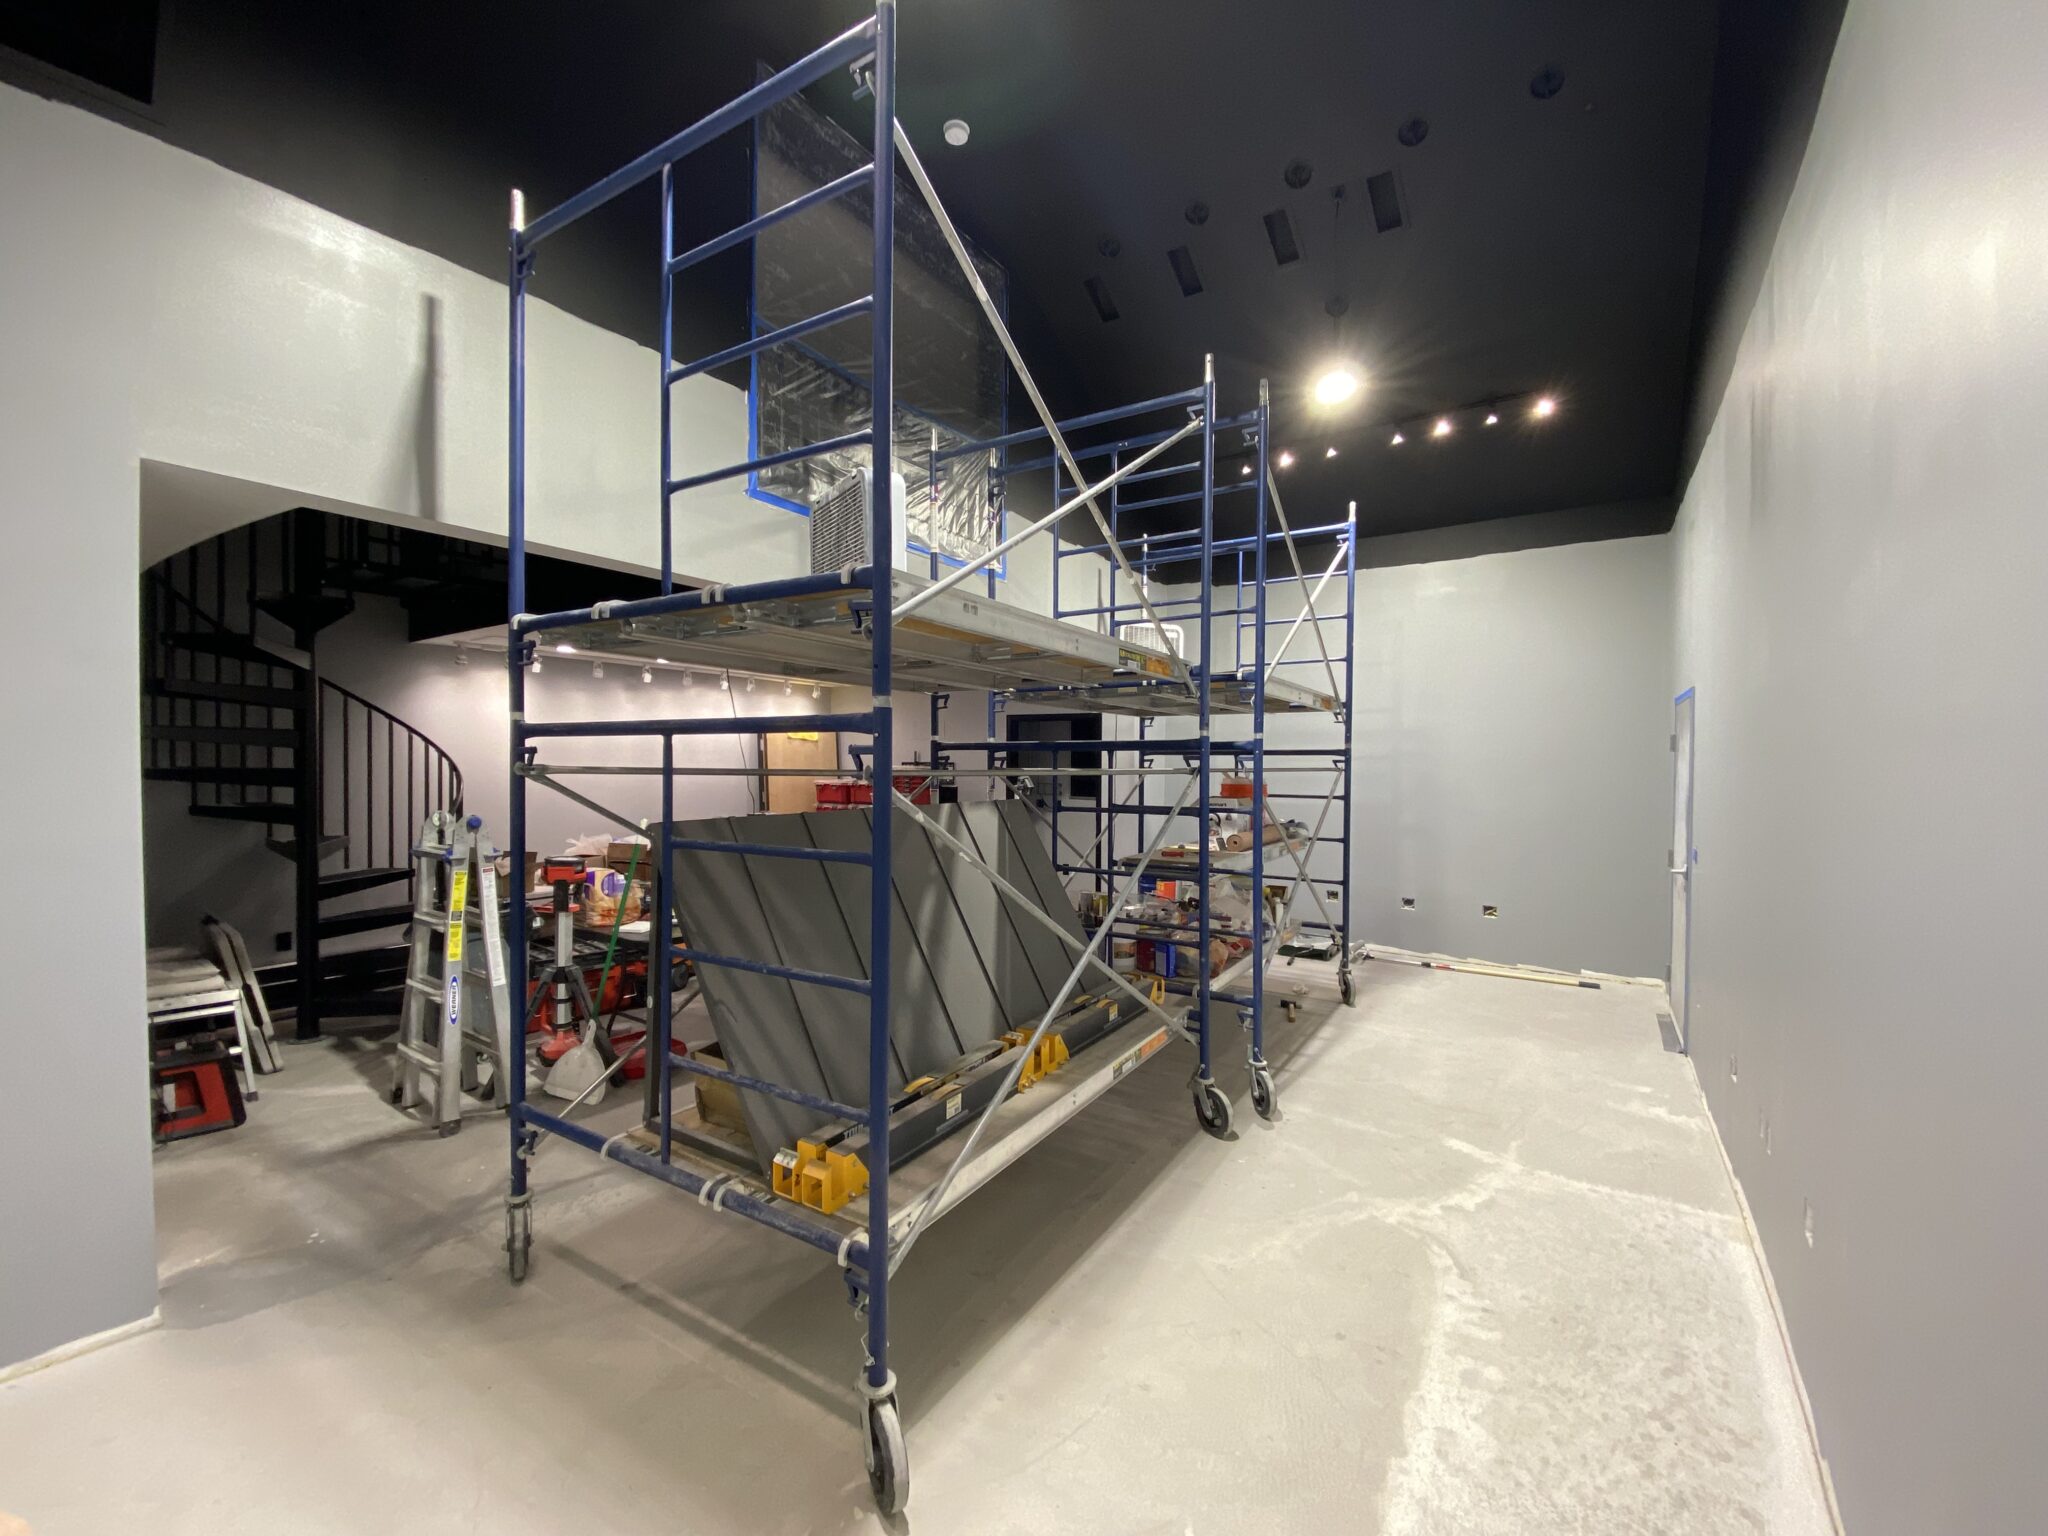
Once the entire ceiling was black, the shape of the ceiling felt much more rectangular, which I was specifically going for.
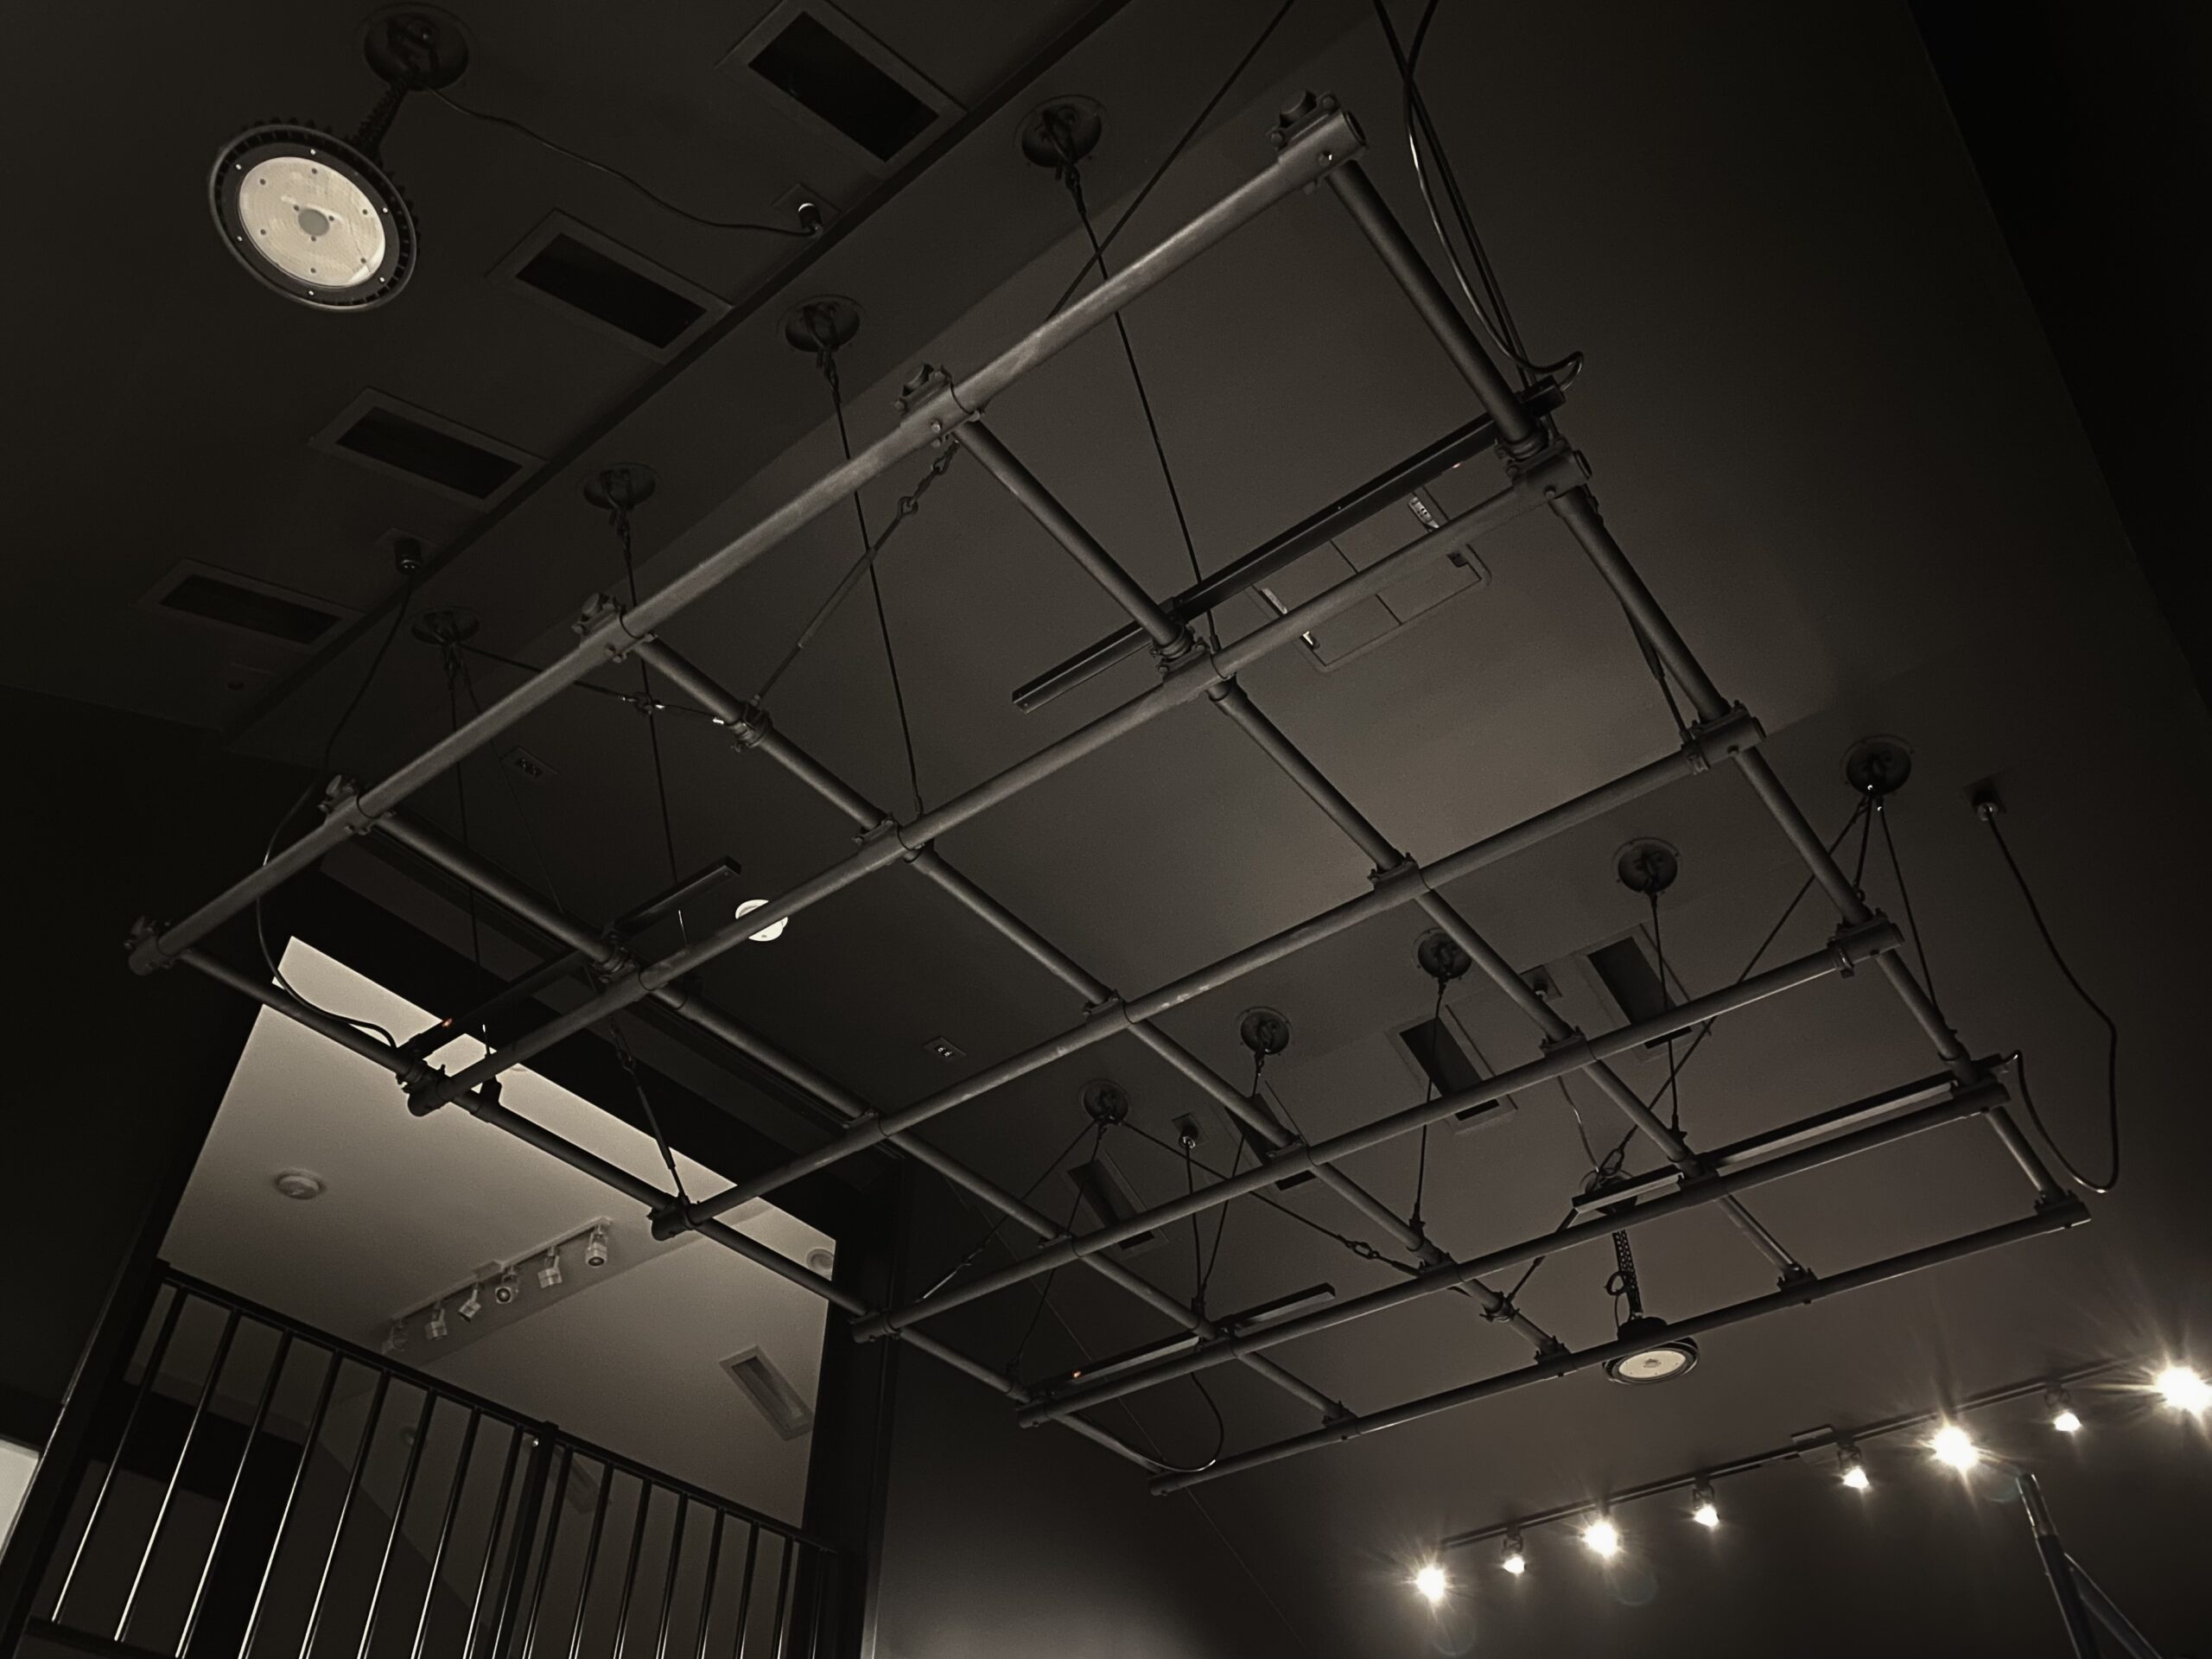
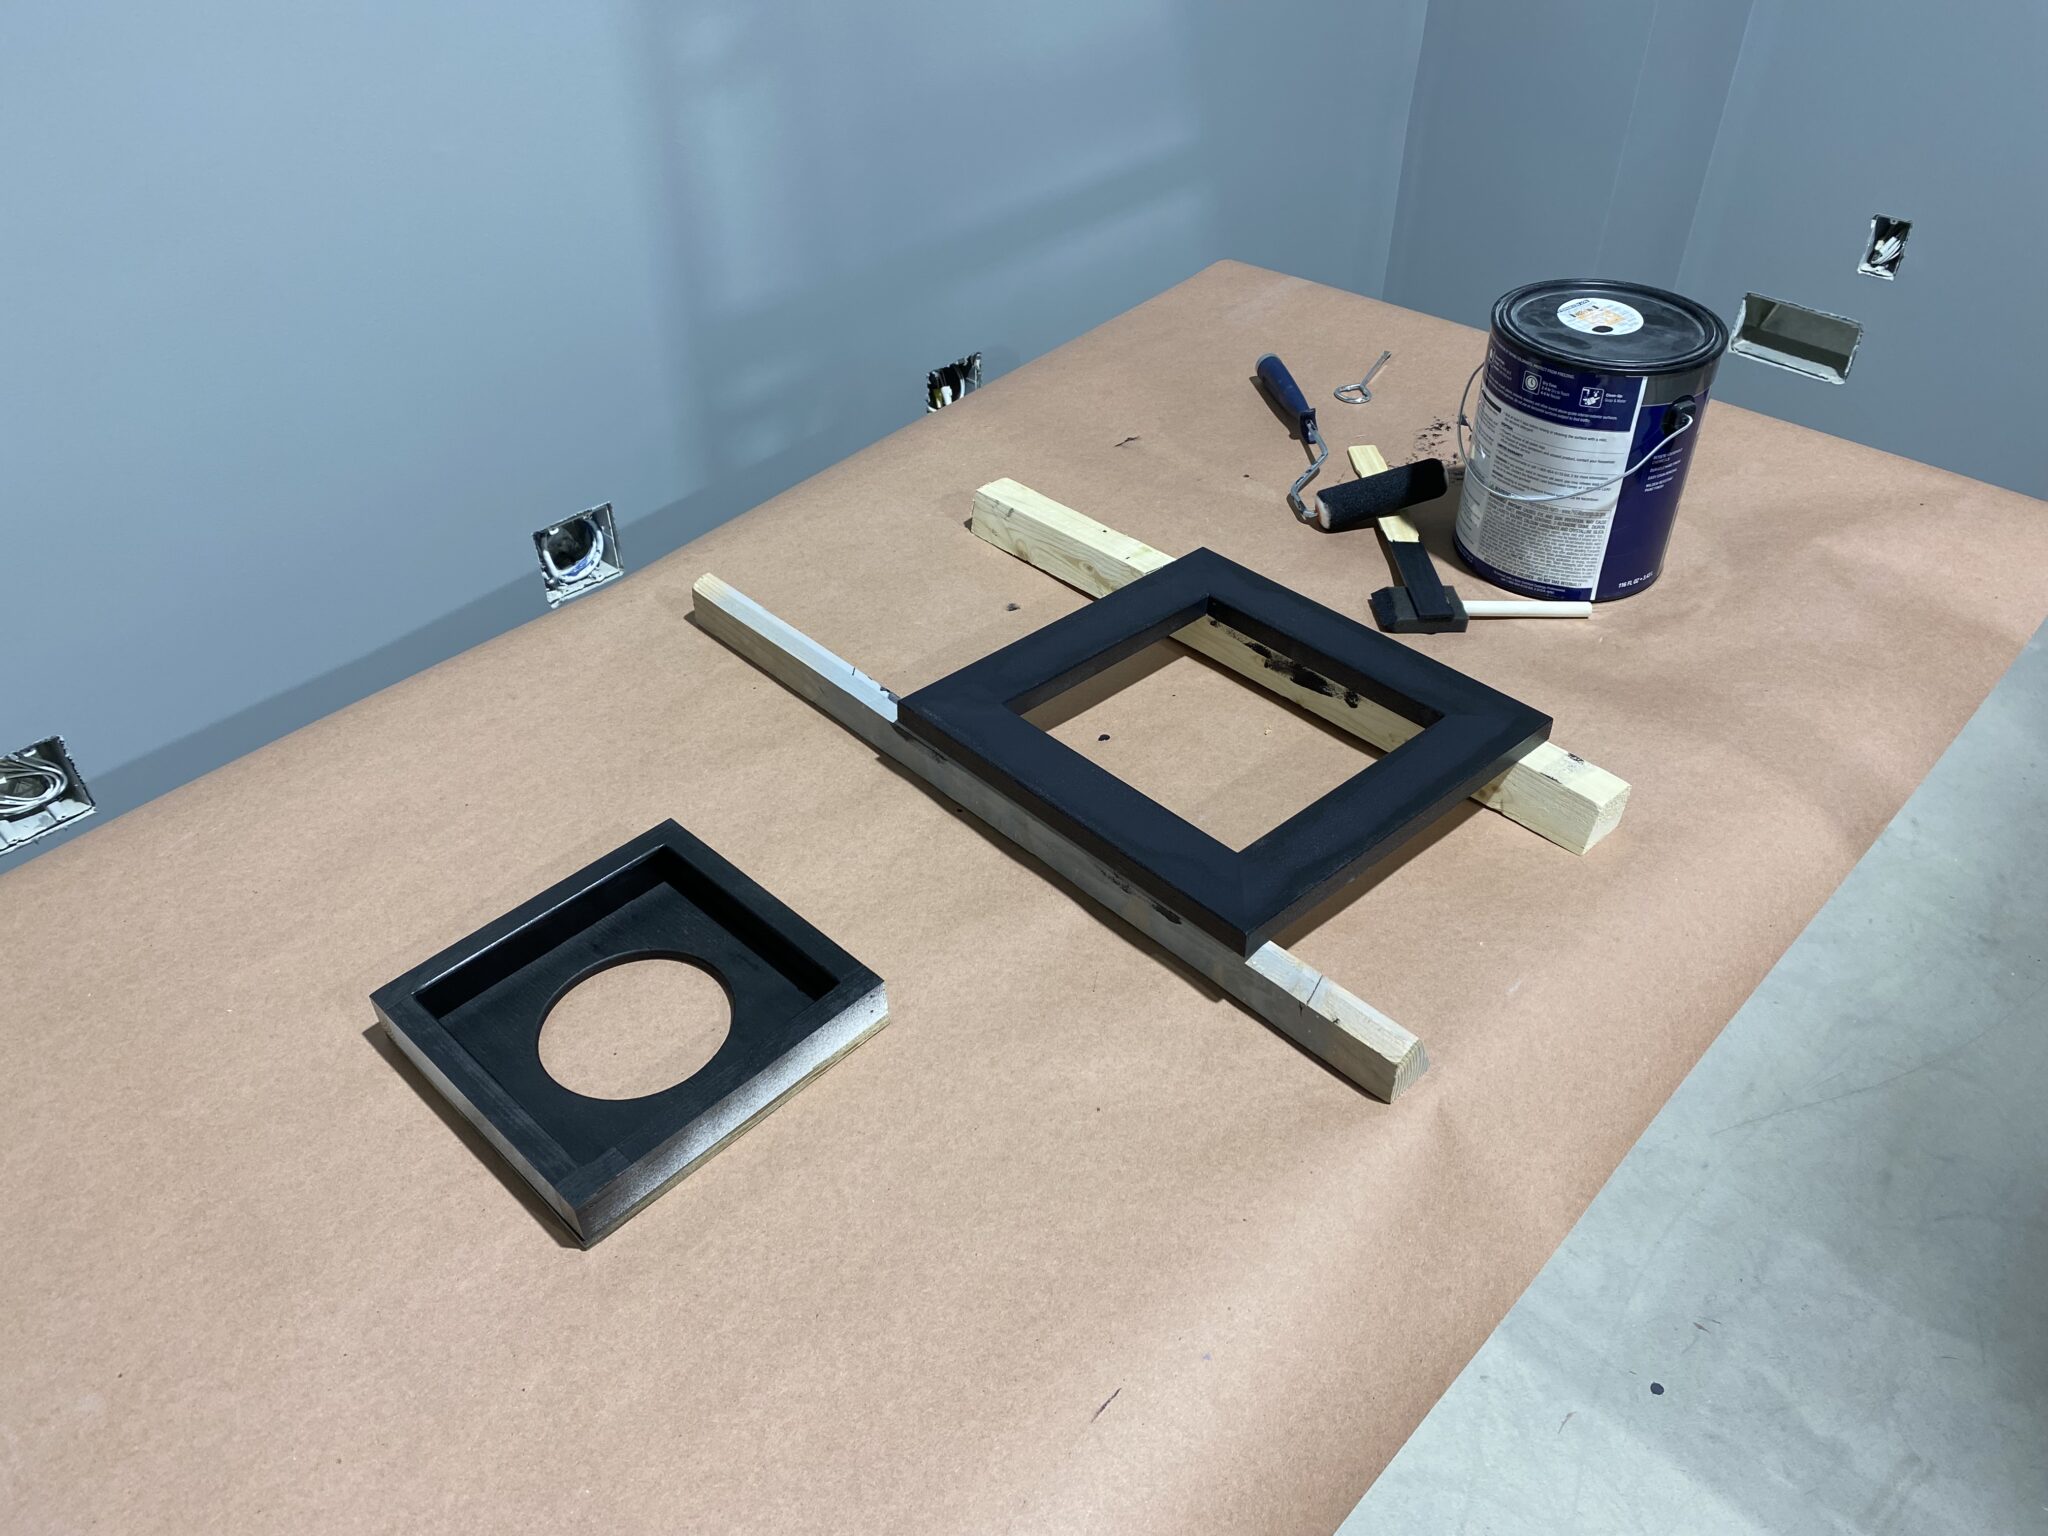
I then painted the anchor point D-rings and cut the anchor-point trim rings down.
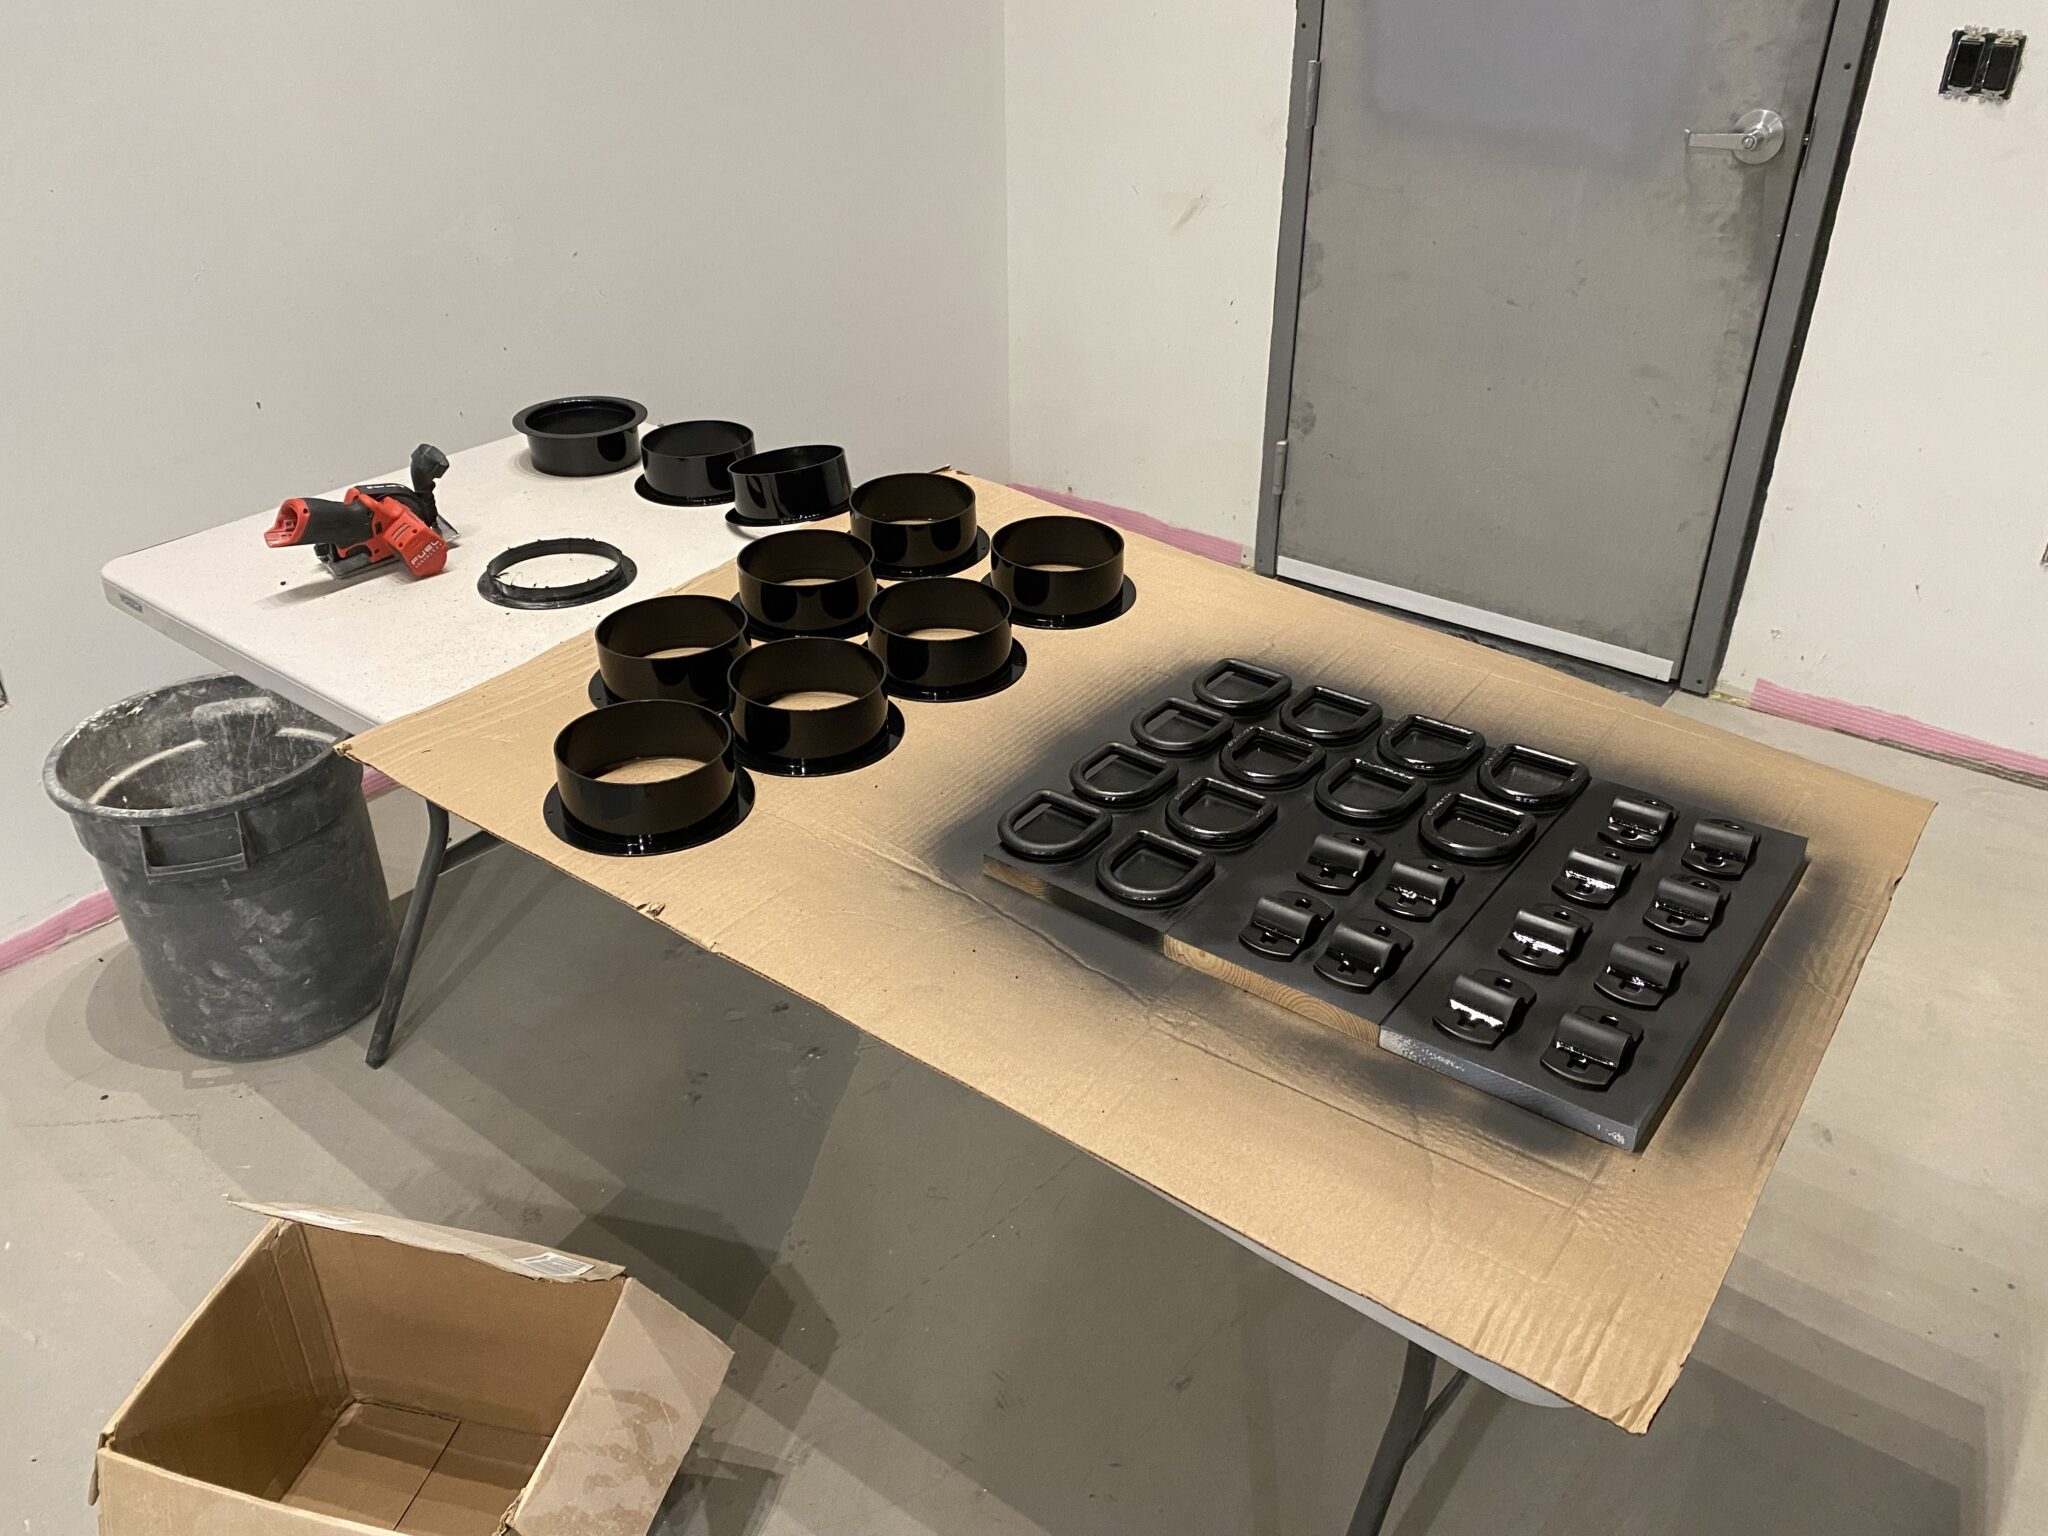
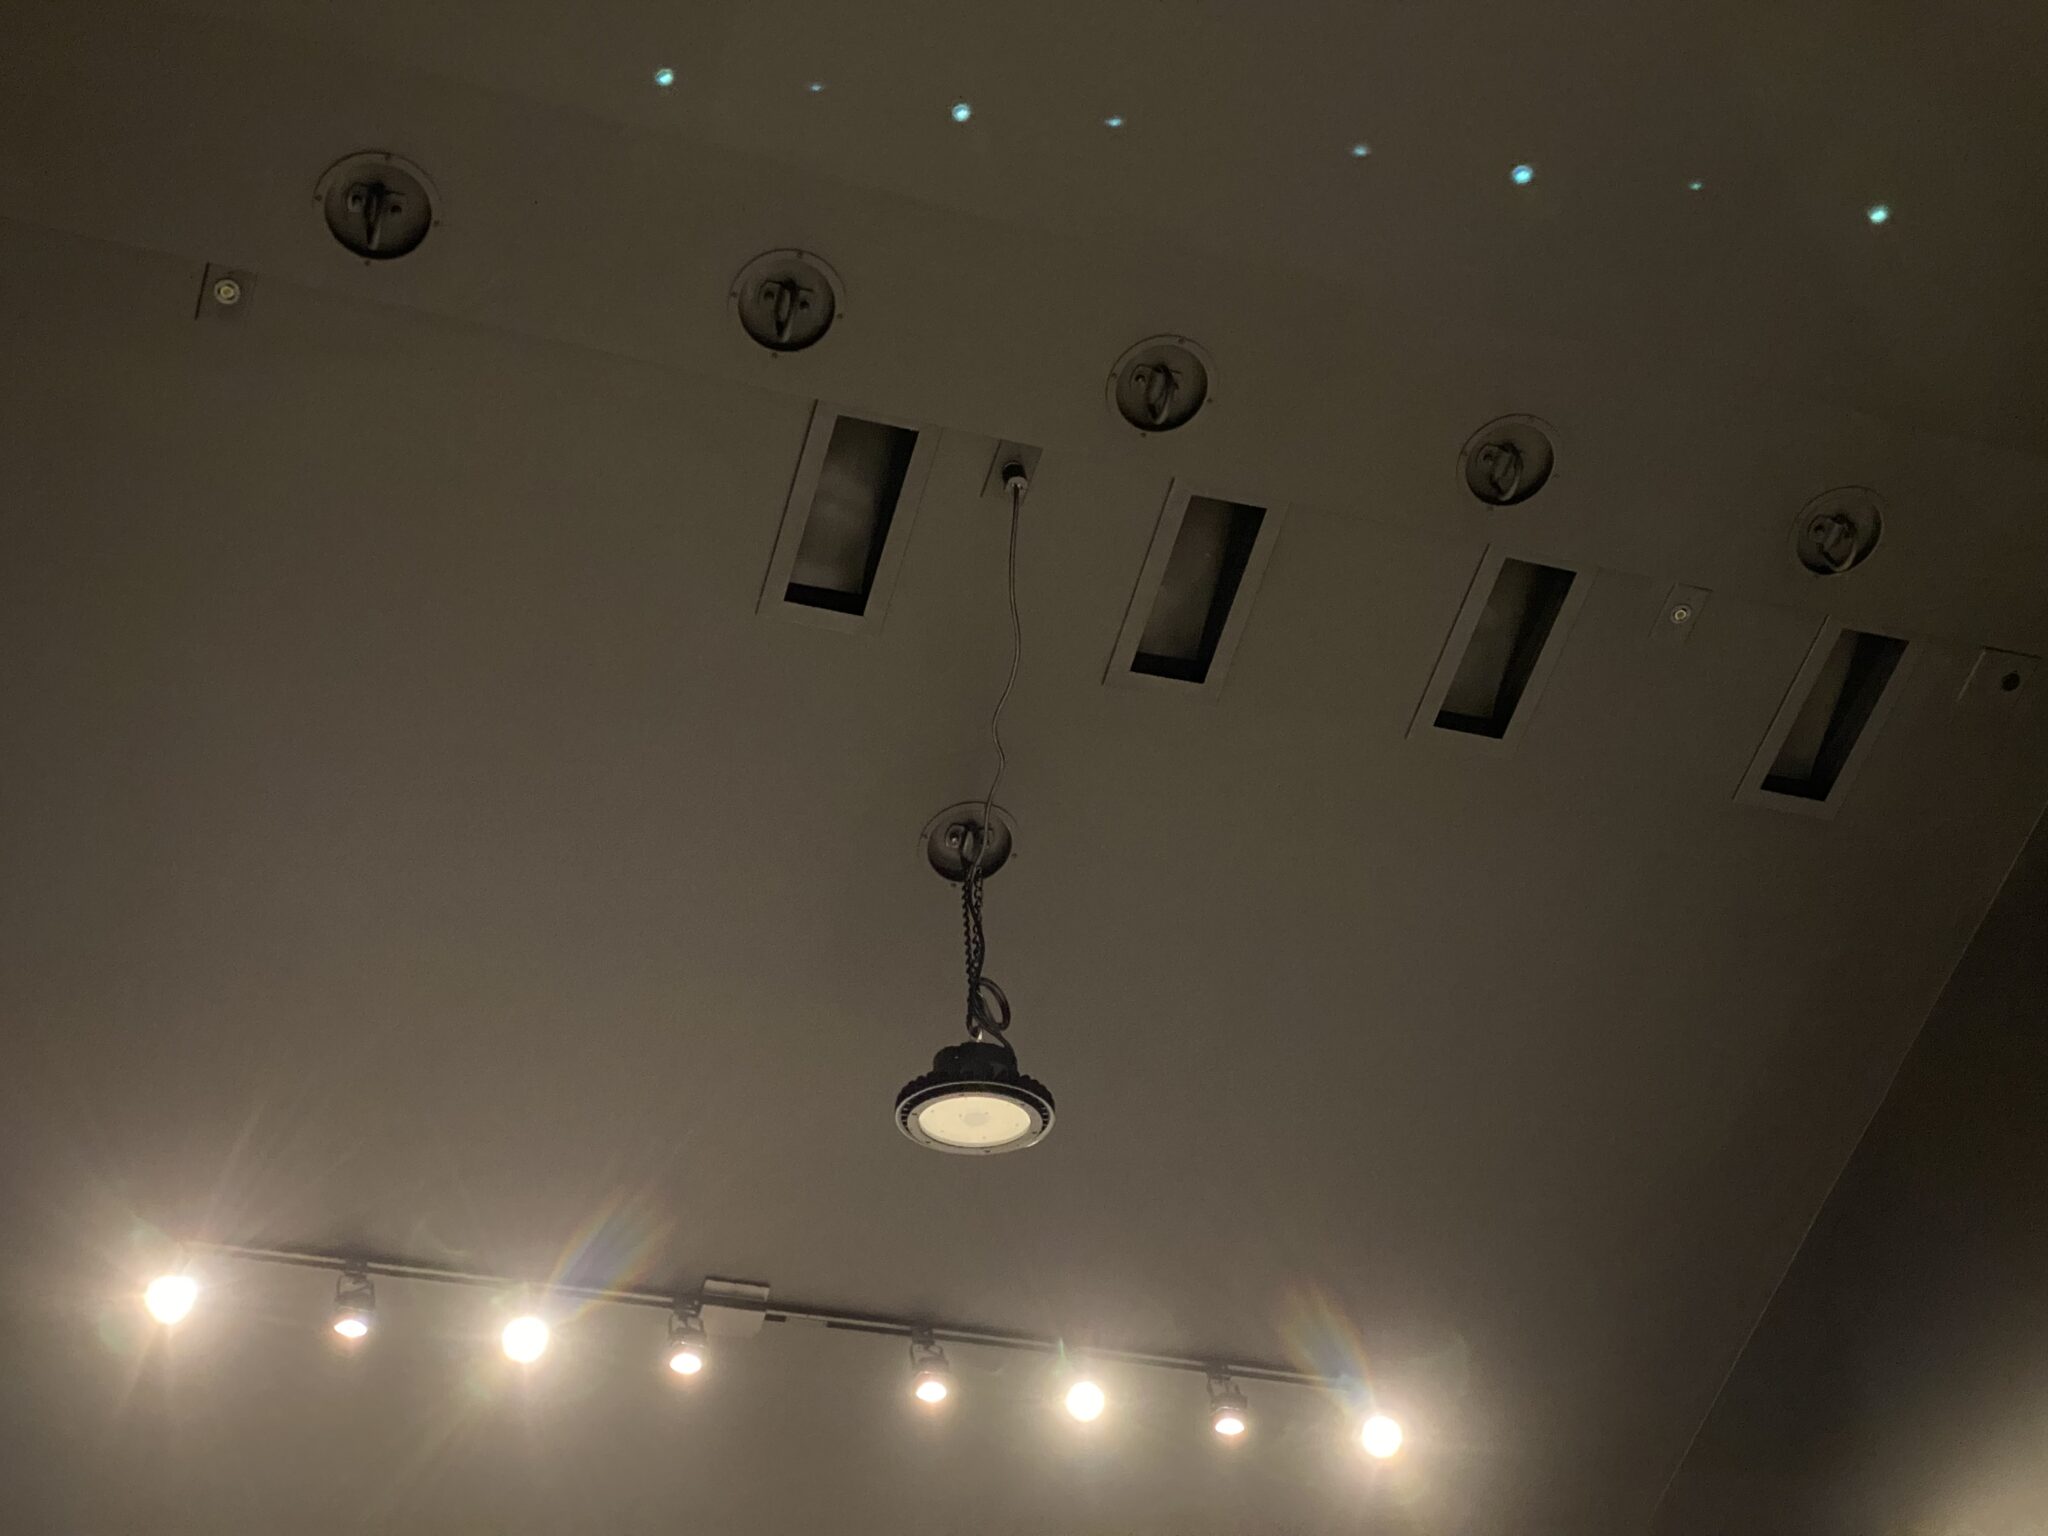
It was now time to install the anchor points, trim rings, vent registers, power outlets and lights. The vent registers have no grilles, reducing turbulence and making them quieter. The outlets are all special locking sockets so the plugs will never fall out. The track lights are for normal use, while the UFO high-bay lights are for equipment setup and teardown or cleaning.
I spent a lot of time filling and sanding the walls to get them smooth, and it was now finally time to paint them.
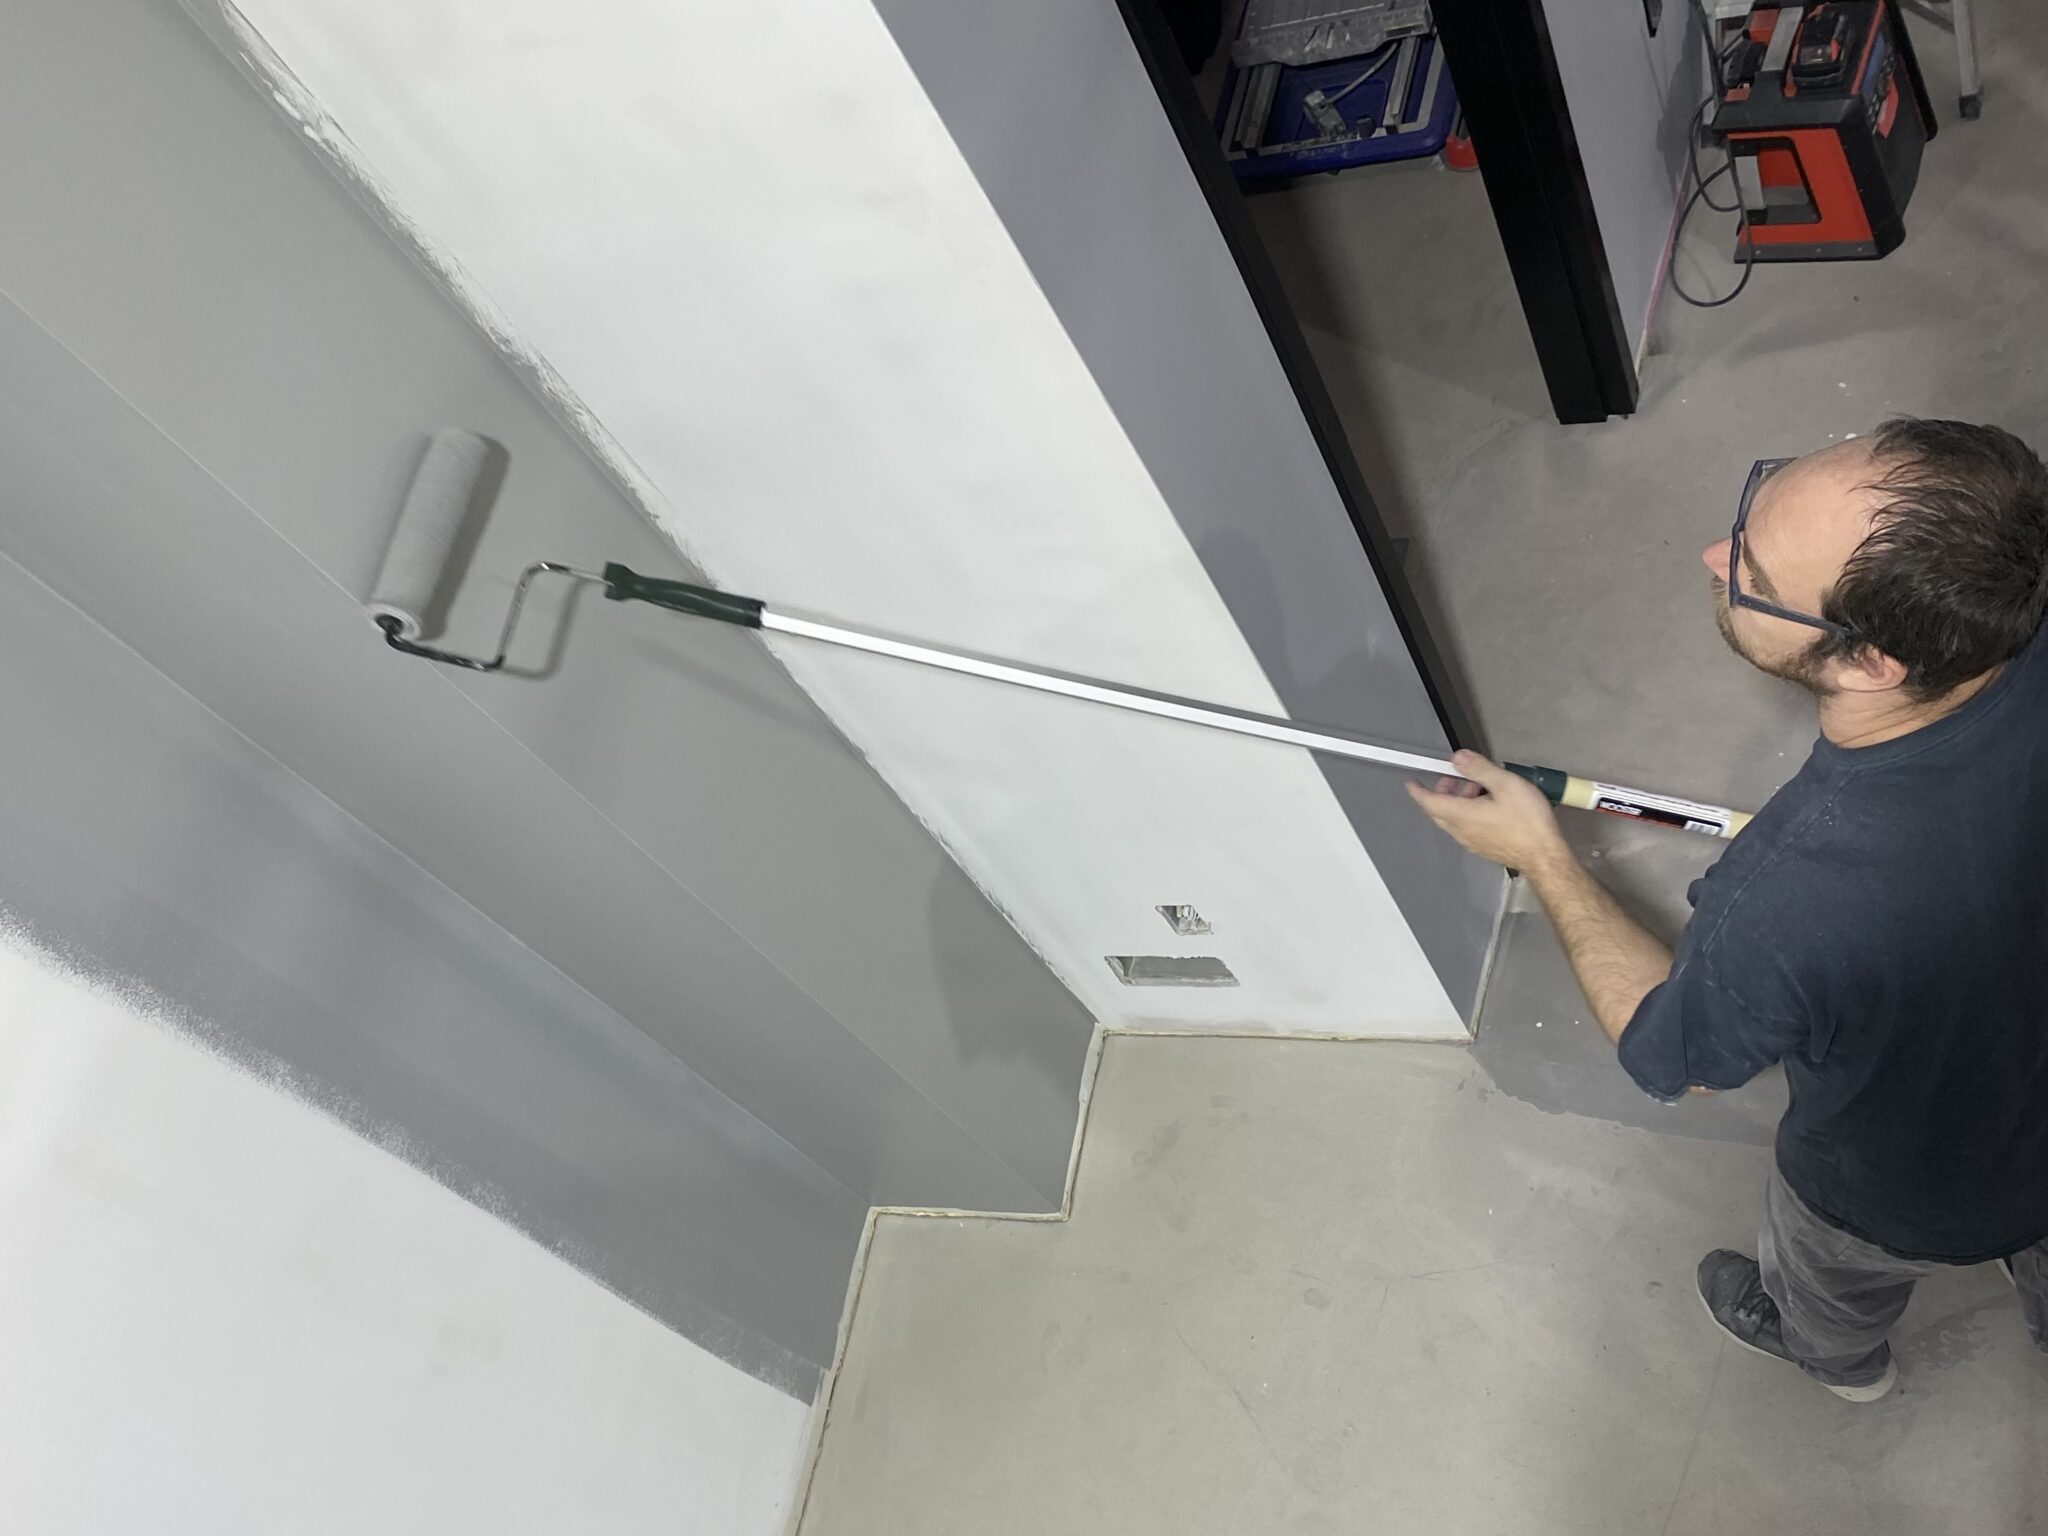
After two coats, the place was starting to look close to finished.
The cable conduit that runs between the loft, machine room and live room was still hidden behind the drywall, so I cut a hole to expose it.
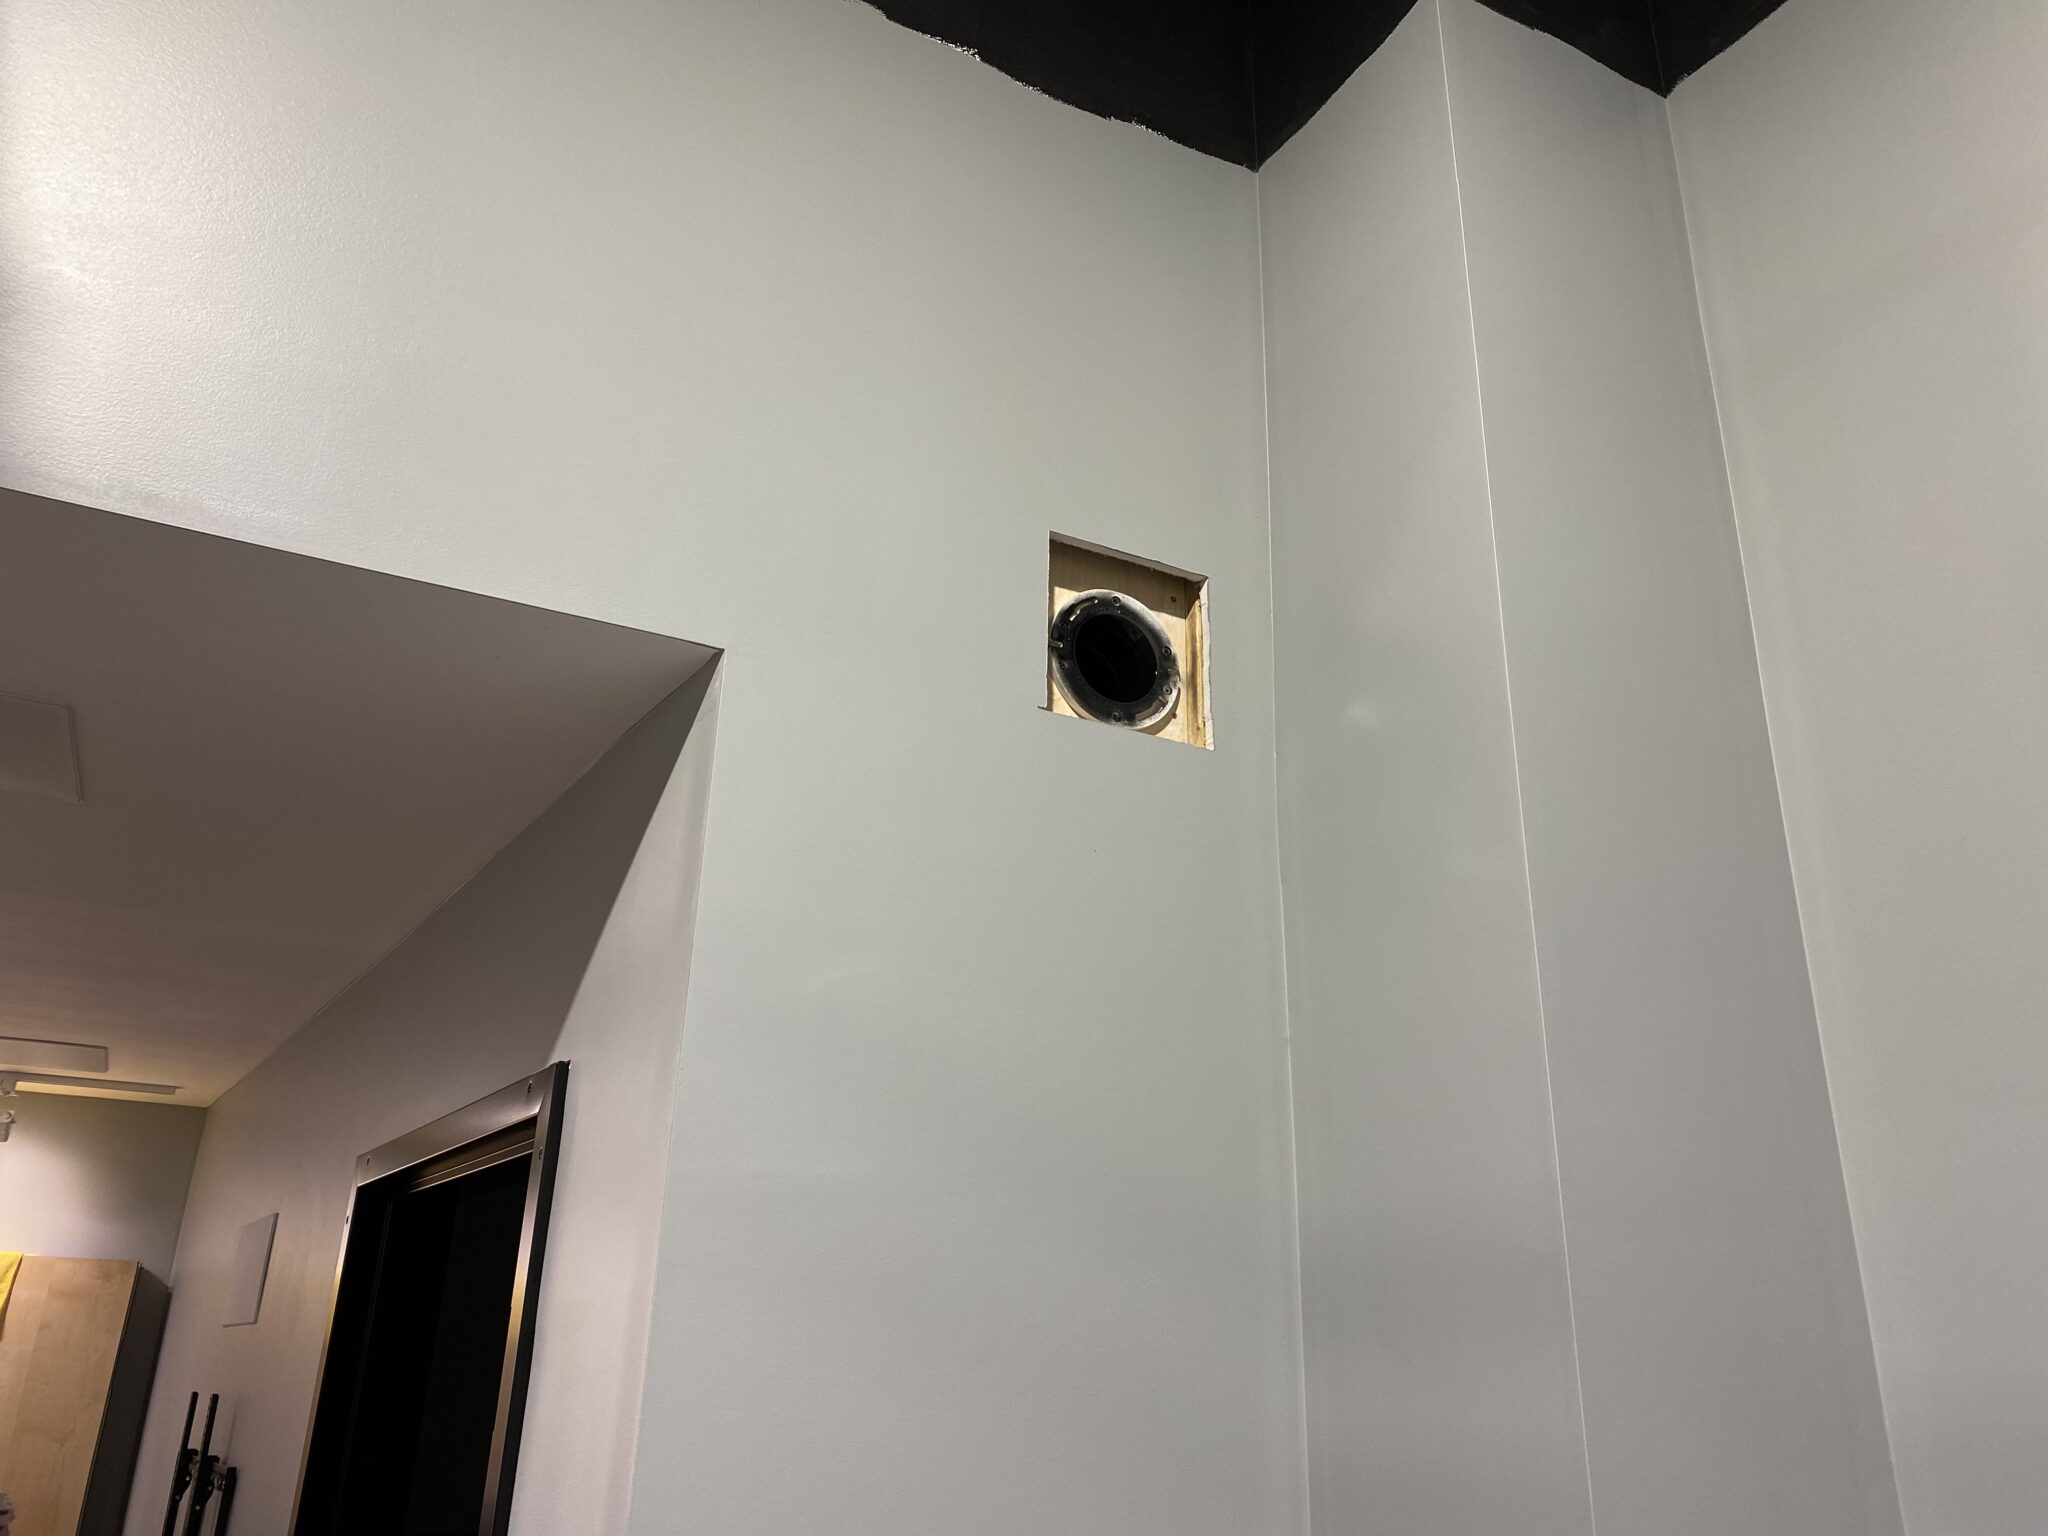
I made a little trim box which will eventually have a small door to cover the hole when it’s not in use.
Will came by and helped me get the perimeter trim up. I used long enough trim boards to cover most of the spans without seams, but one wall required a scarf joint.
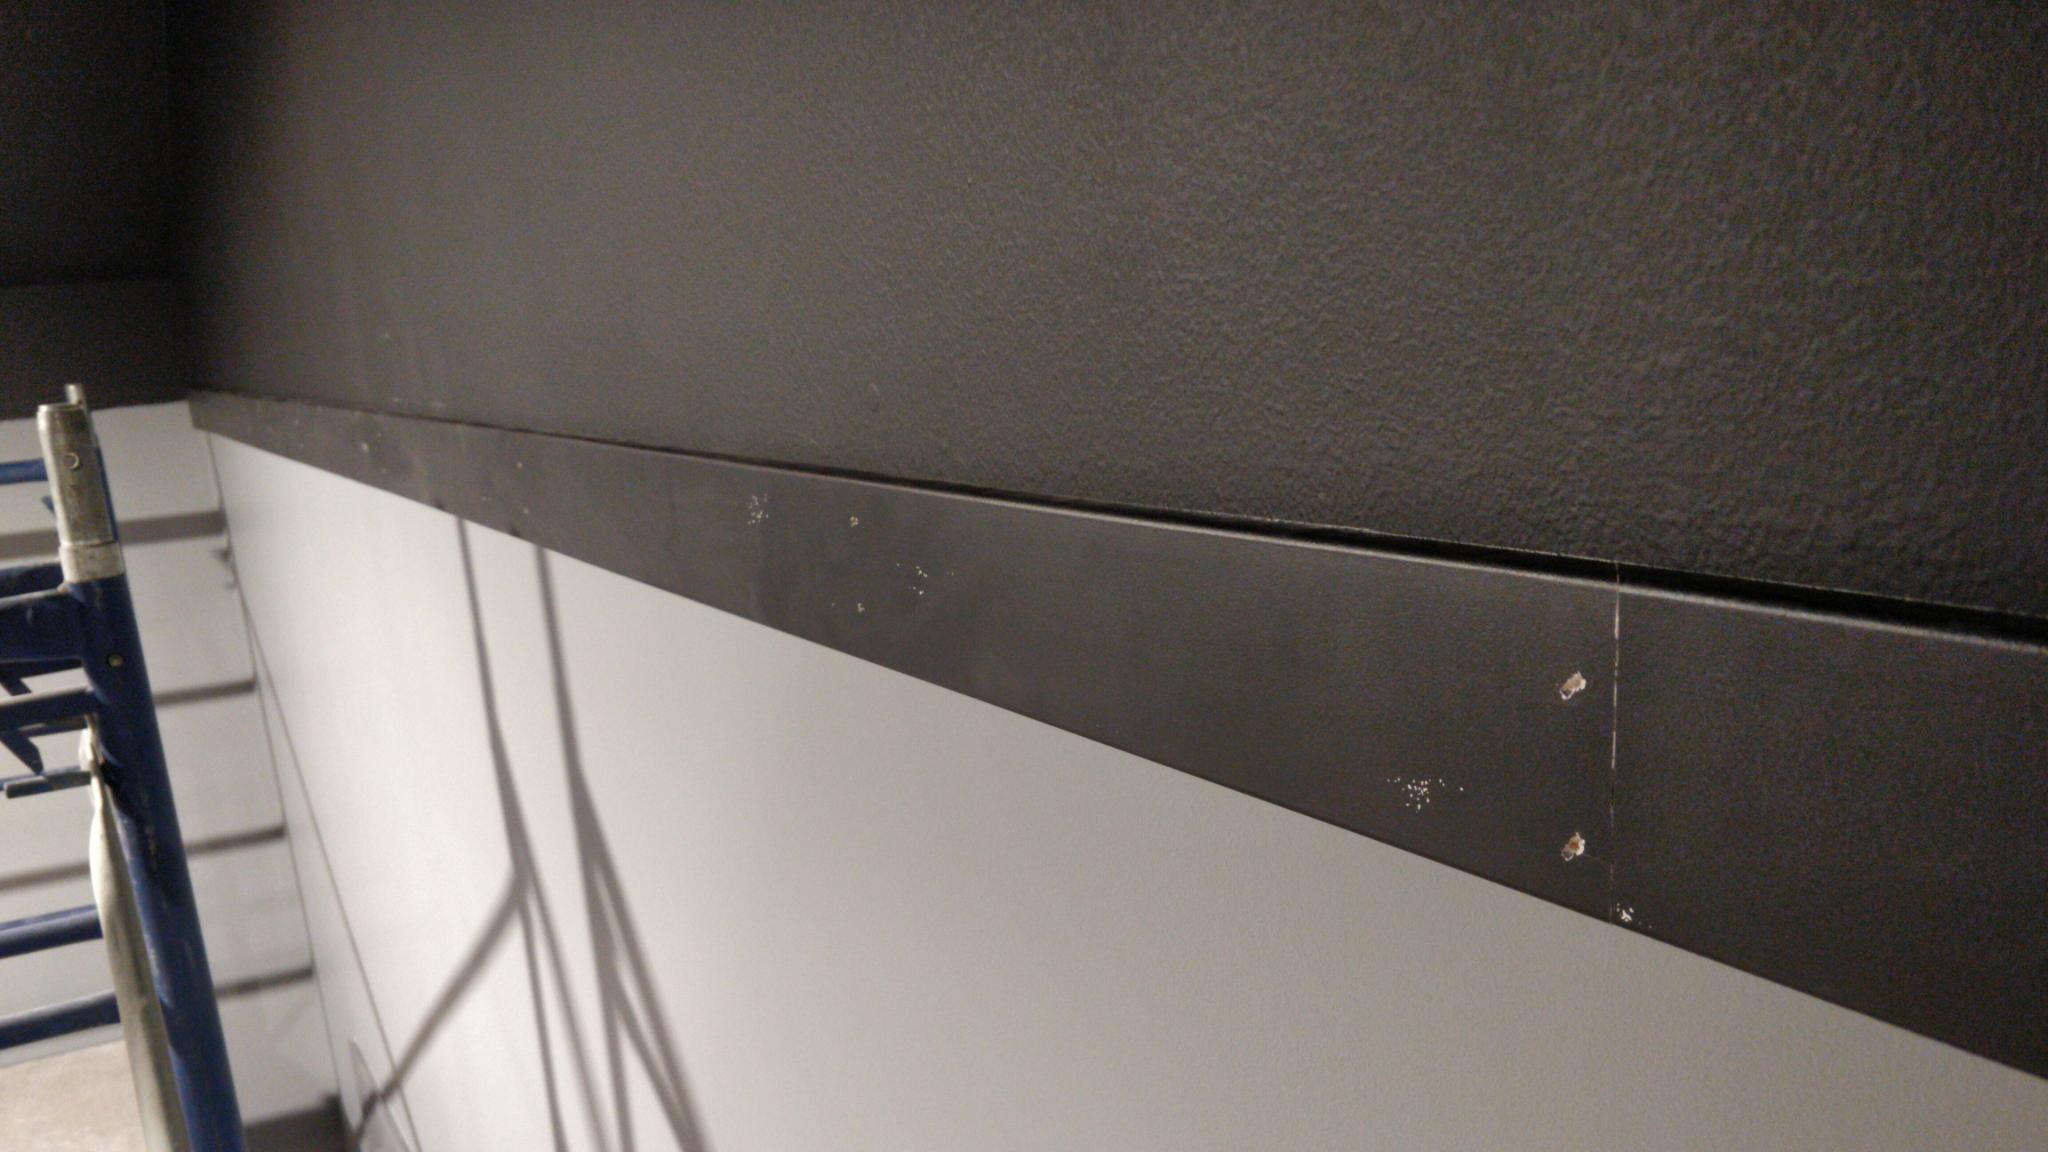
I also installed the trim around the balcony which the perimeter trim buts up against.

The perimeter trim made a big difference in how clean the transition looks.
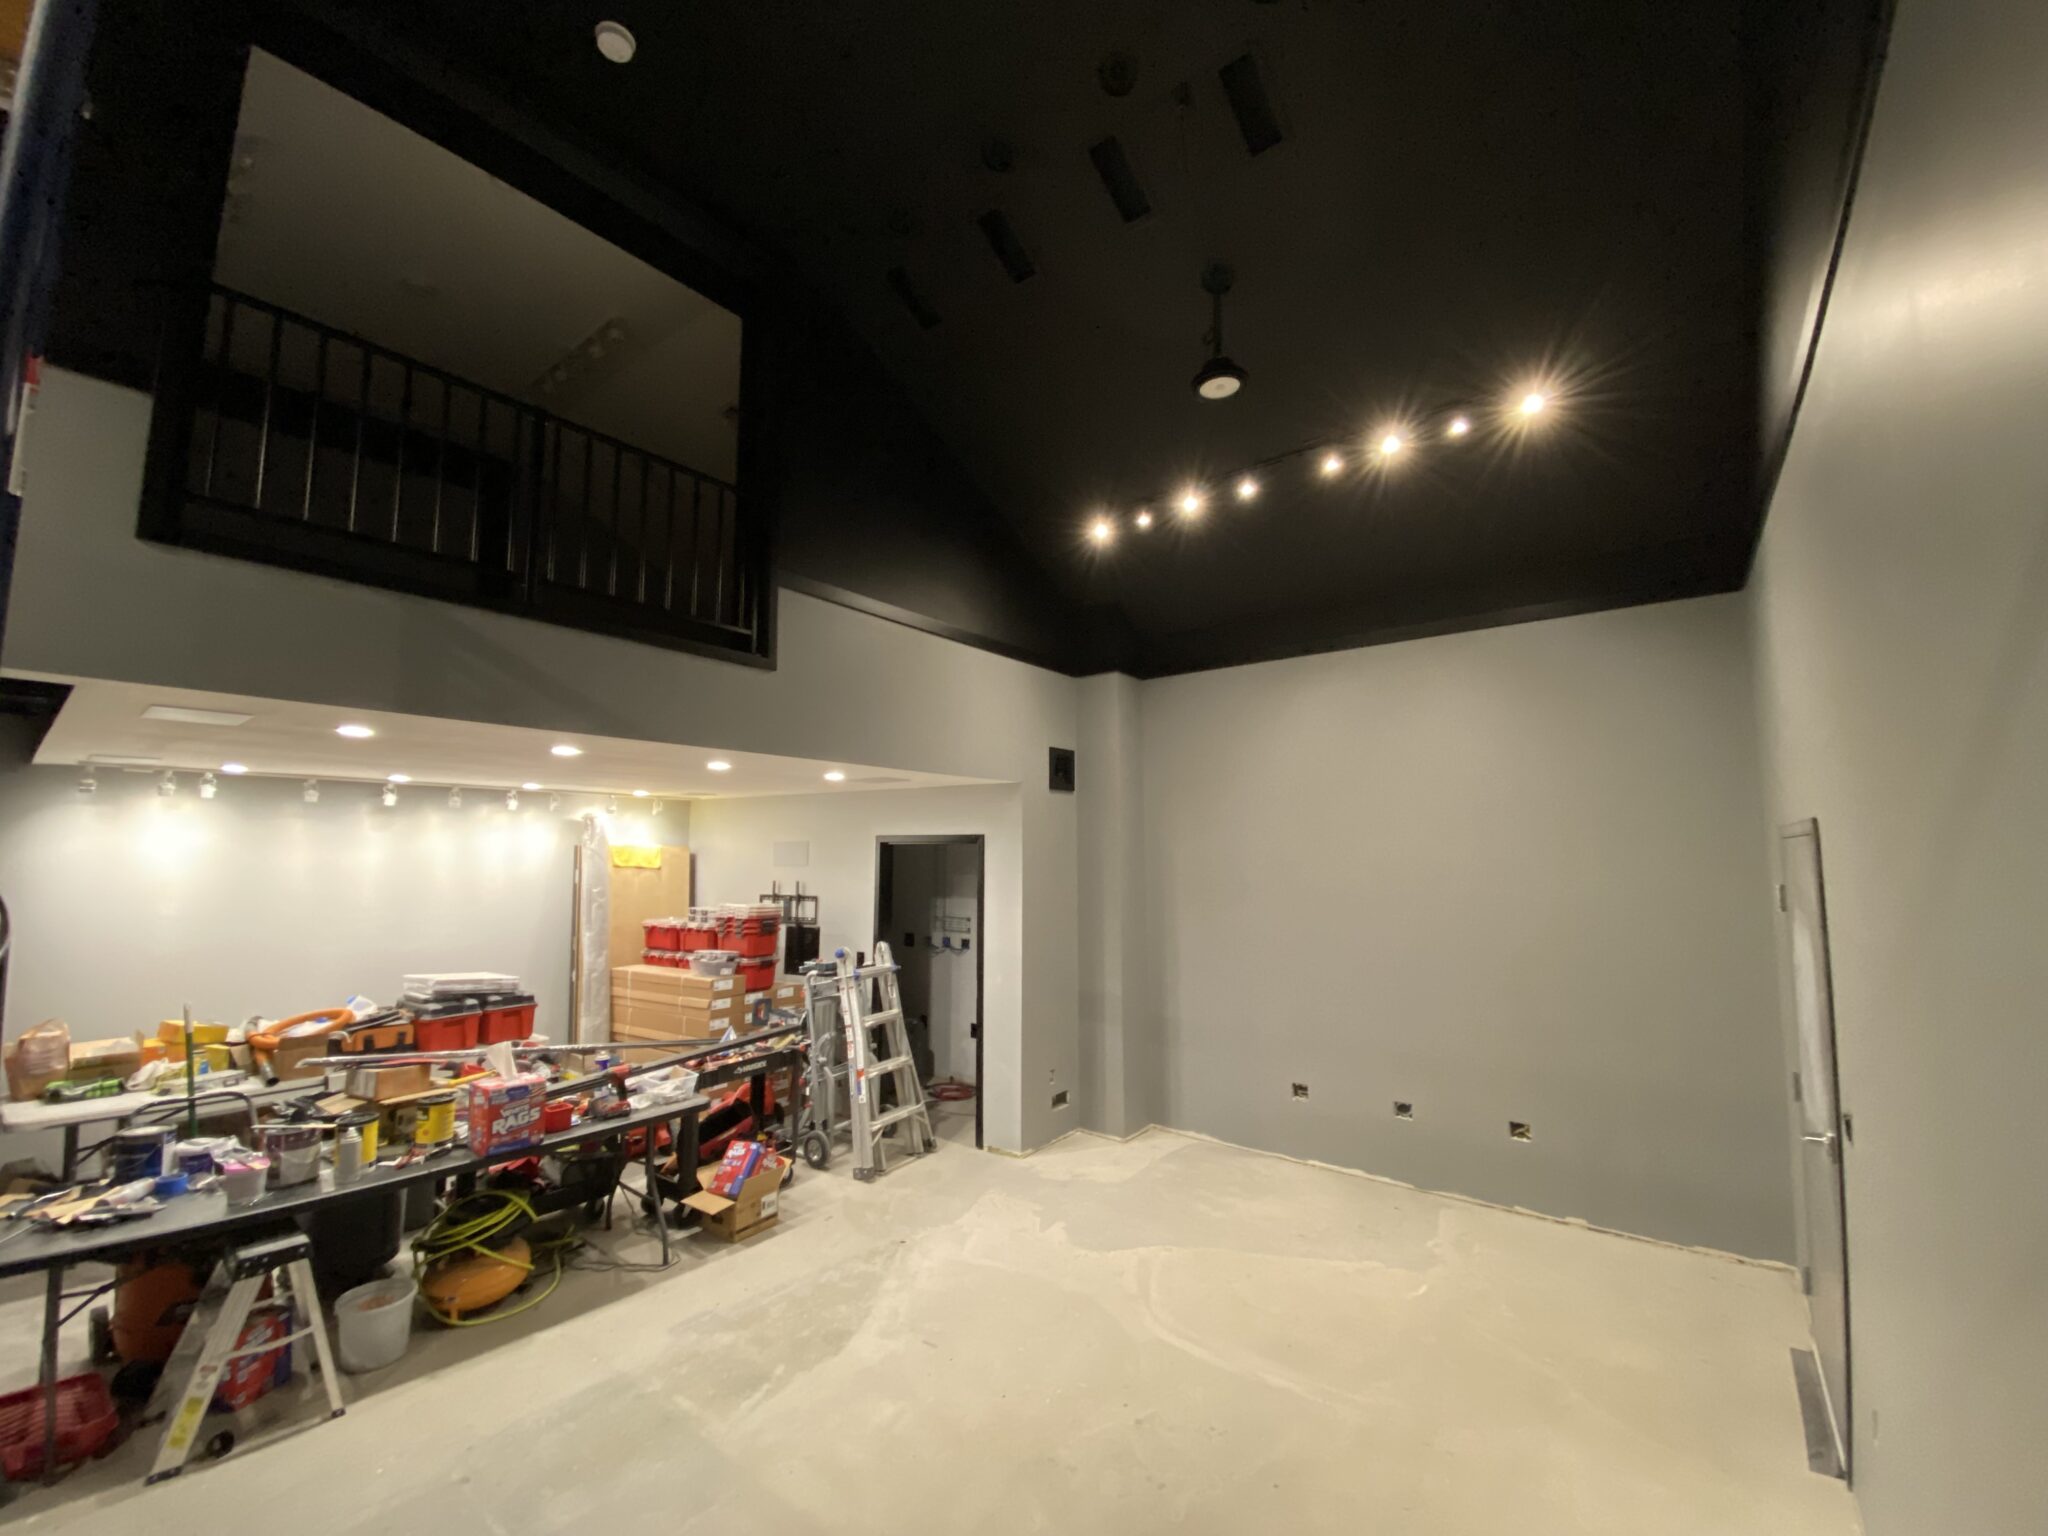
There’s still some touch-up painting left to do, but it’s really great to be so close to being done with painting walls and ceilings.
- Categories
- Construction