Lighting Grid
April 8, 2023
After going back and forth on when to build and hang the lighting grid, I ultimately decided to do it before the scaffolding came down.
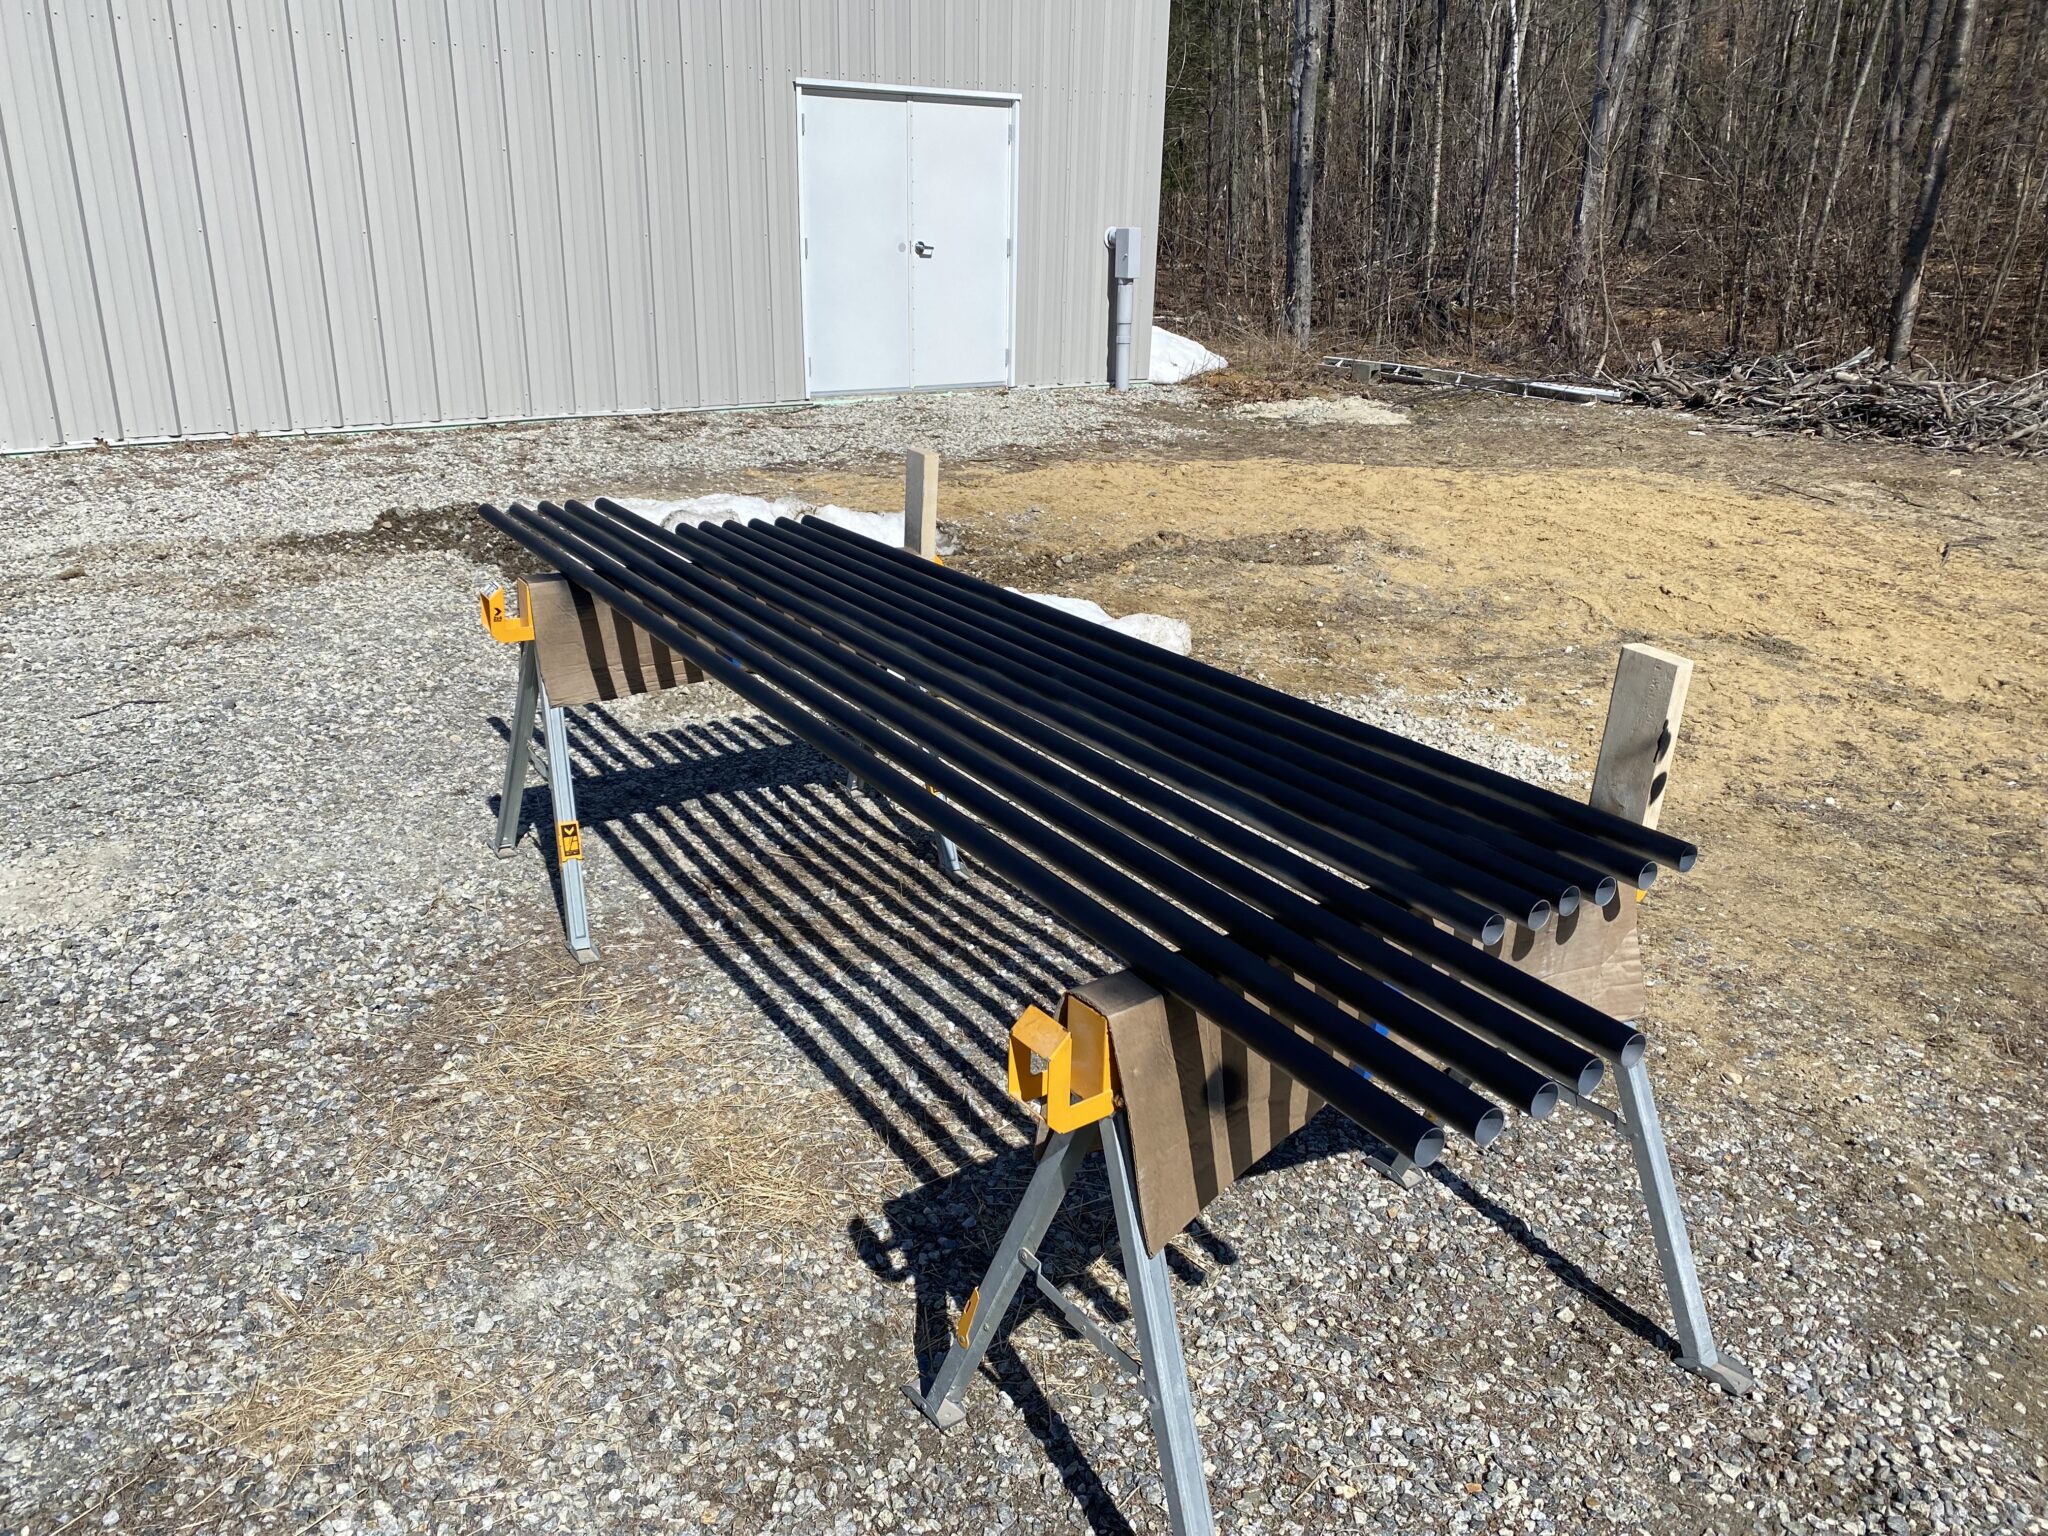
I took advantage of a few warm spring days and I painted the pipes outside.
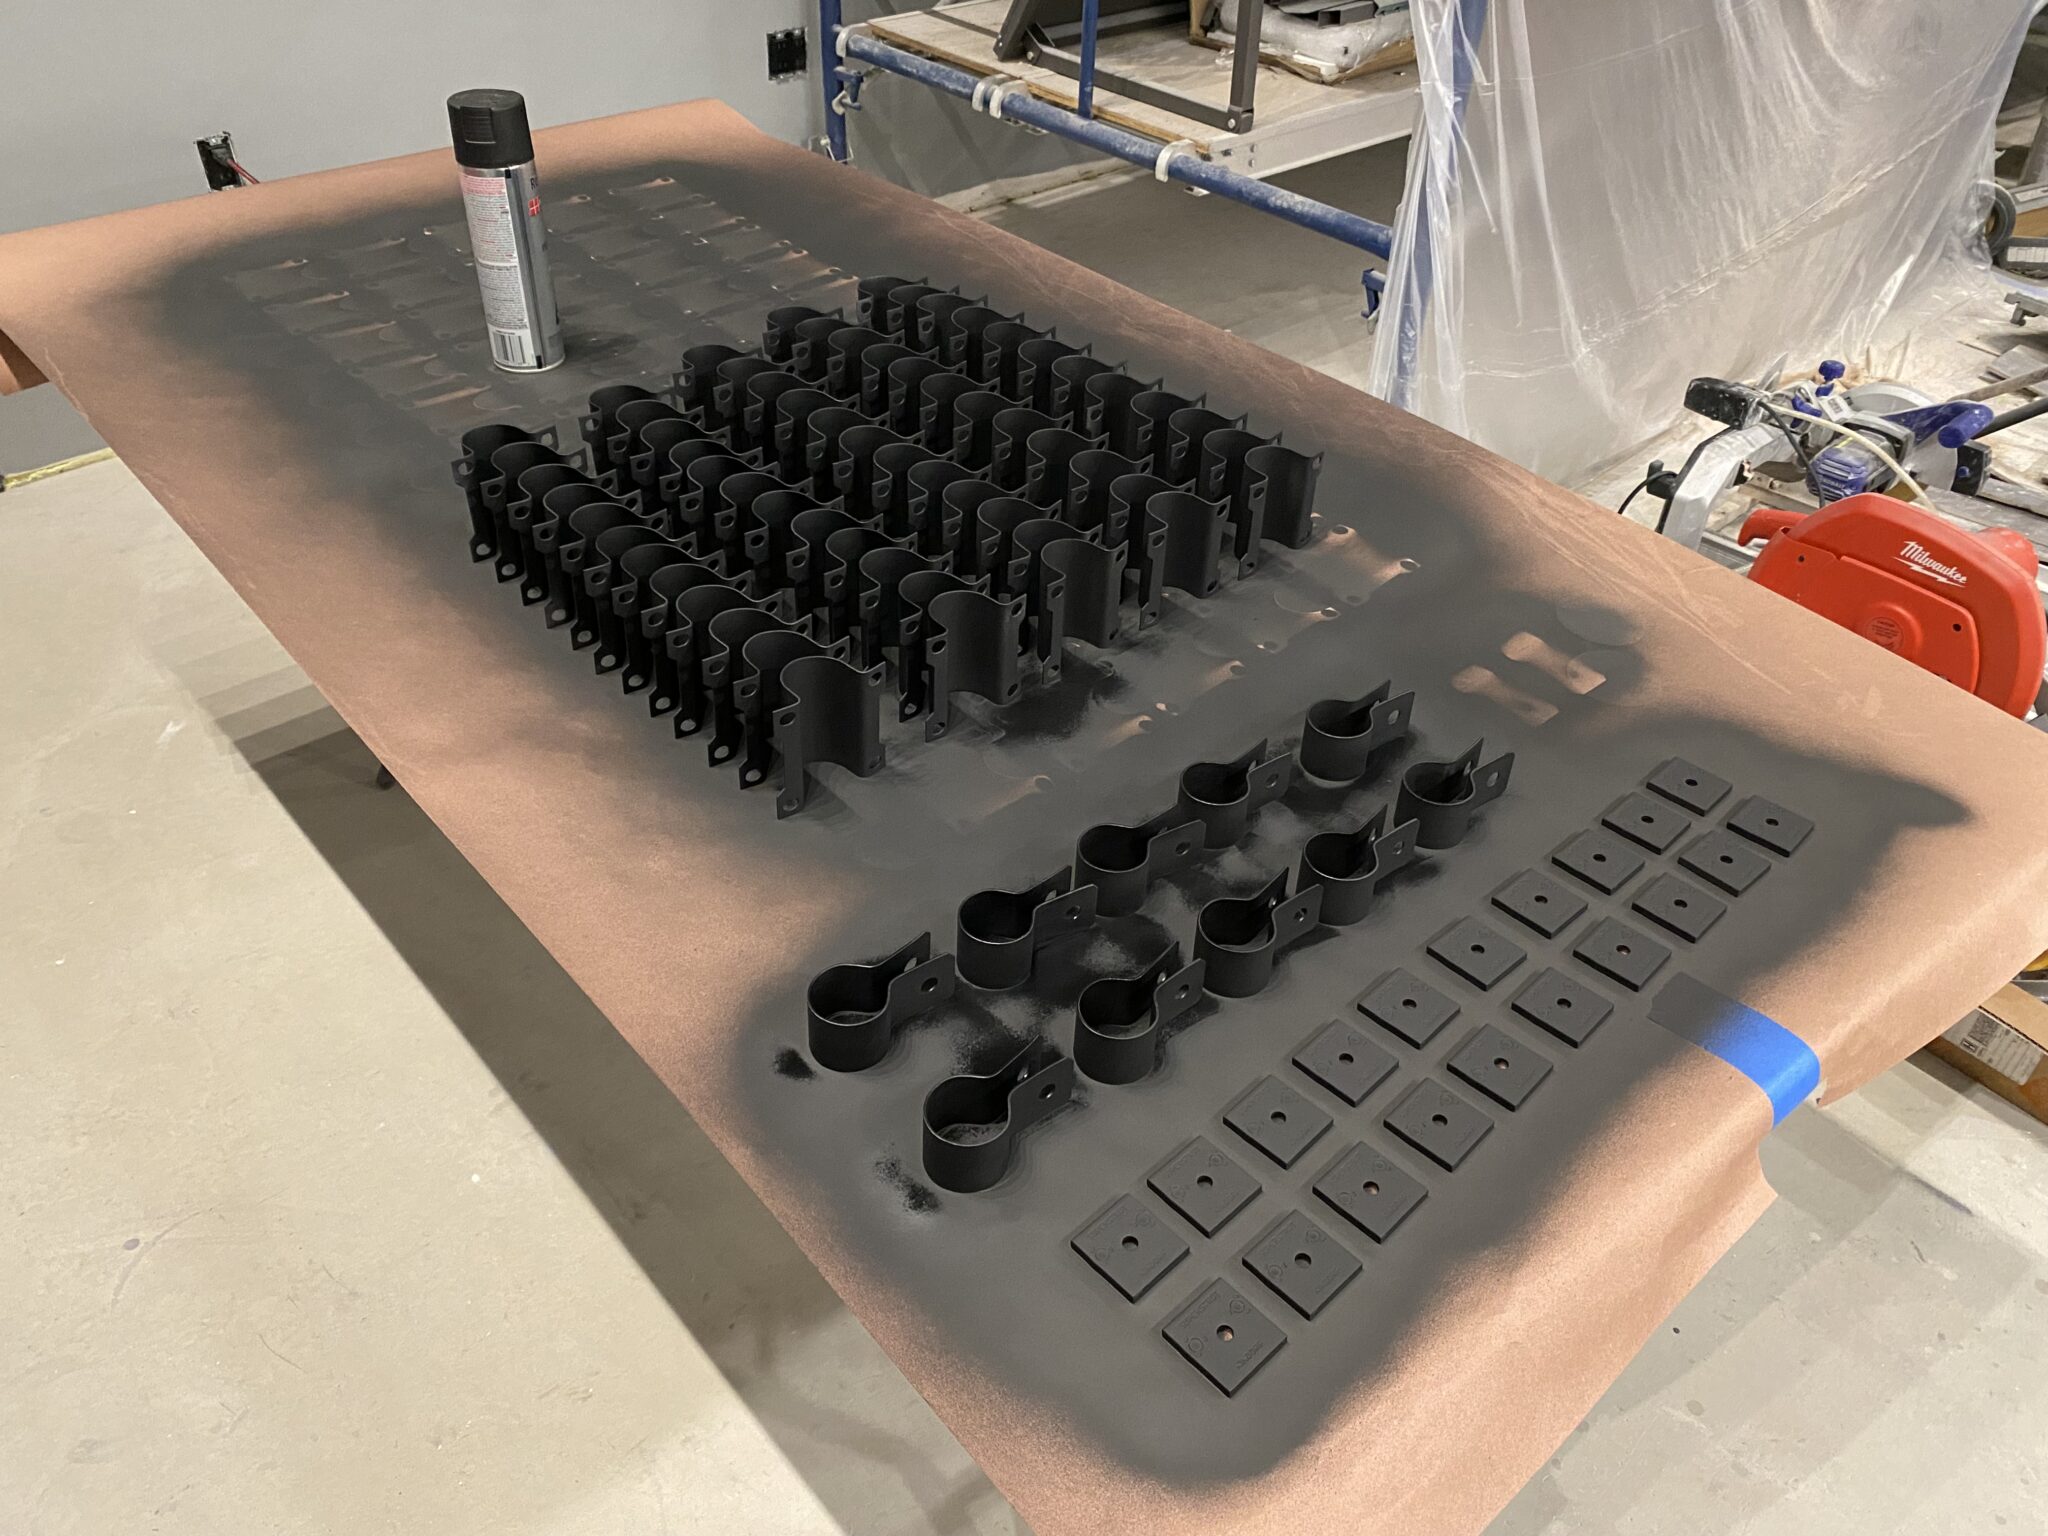
The cross clamps and hangers also needed to be painted, but I did those indoors since it was a much smaller job.
On the day of my birthday party, Ryan came over early and helped me assemble the grid on the floor.
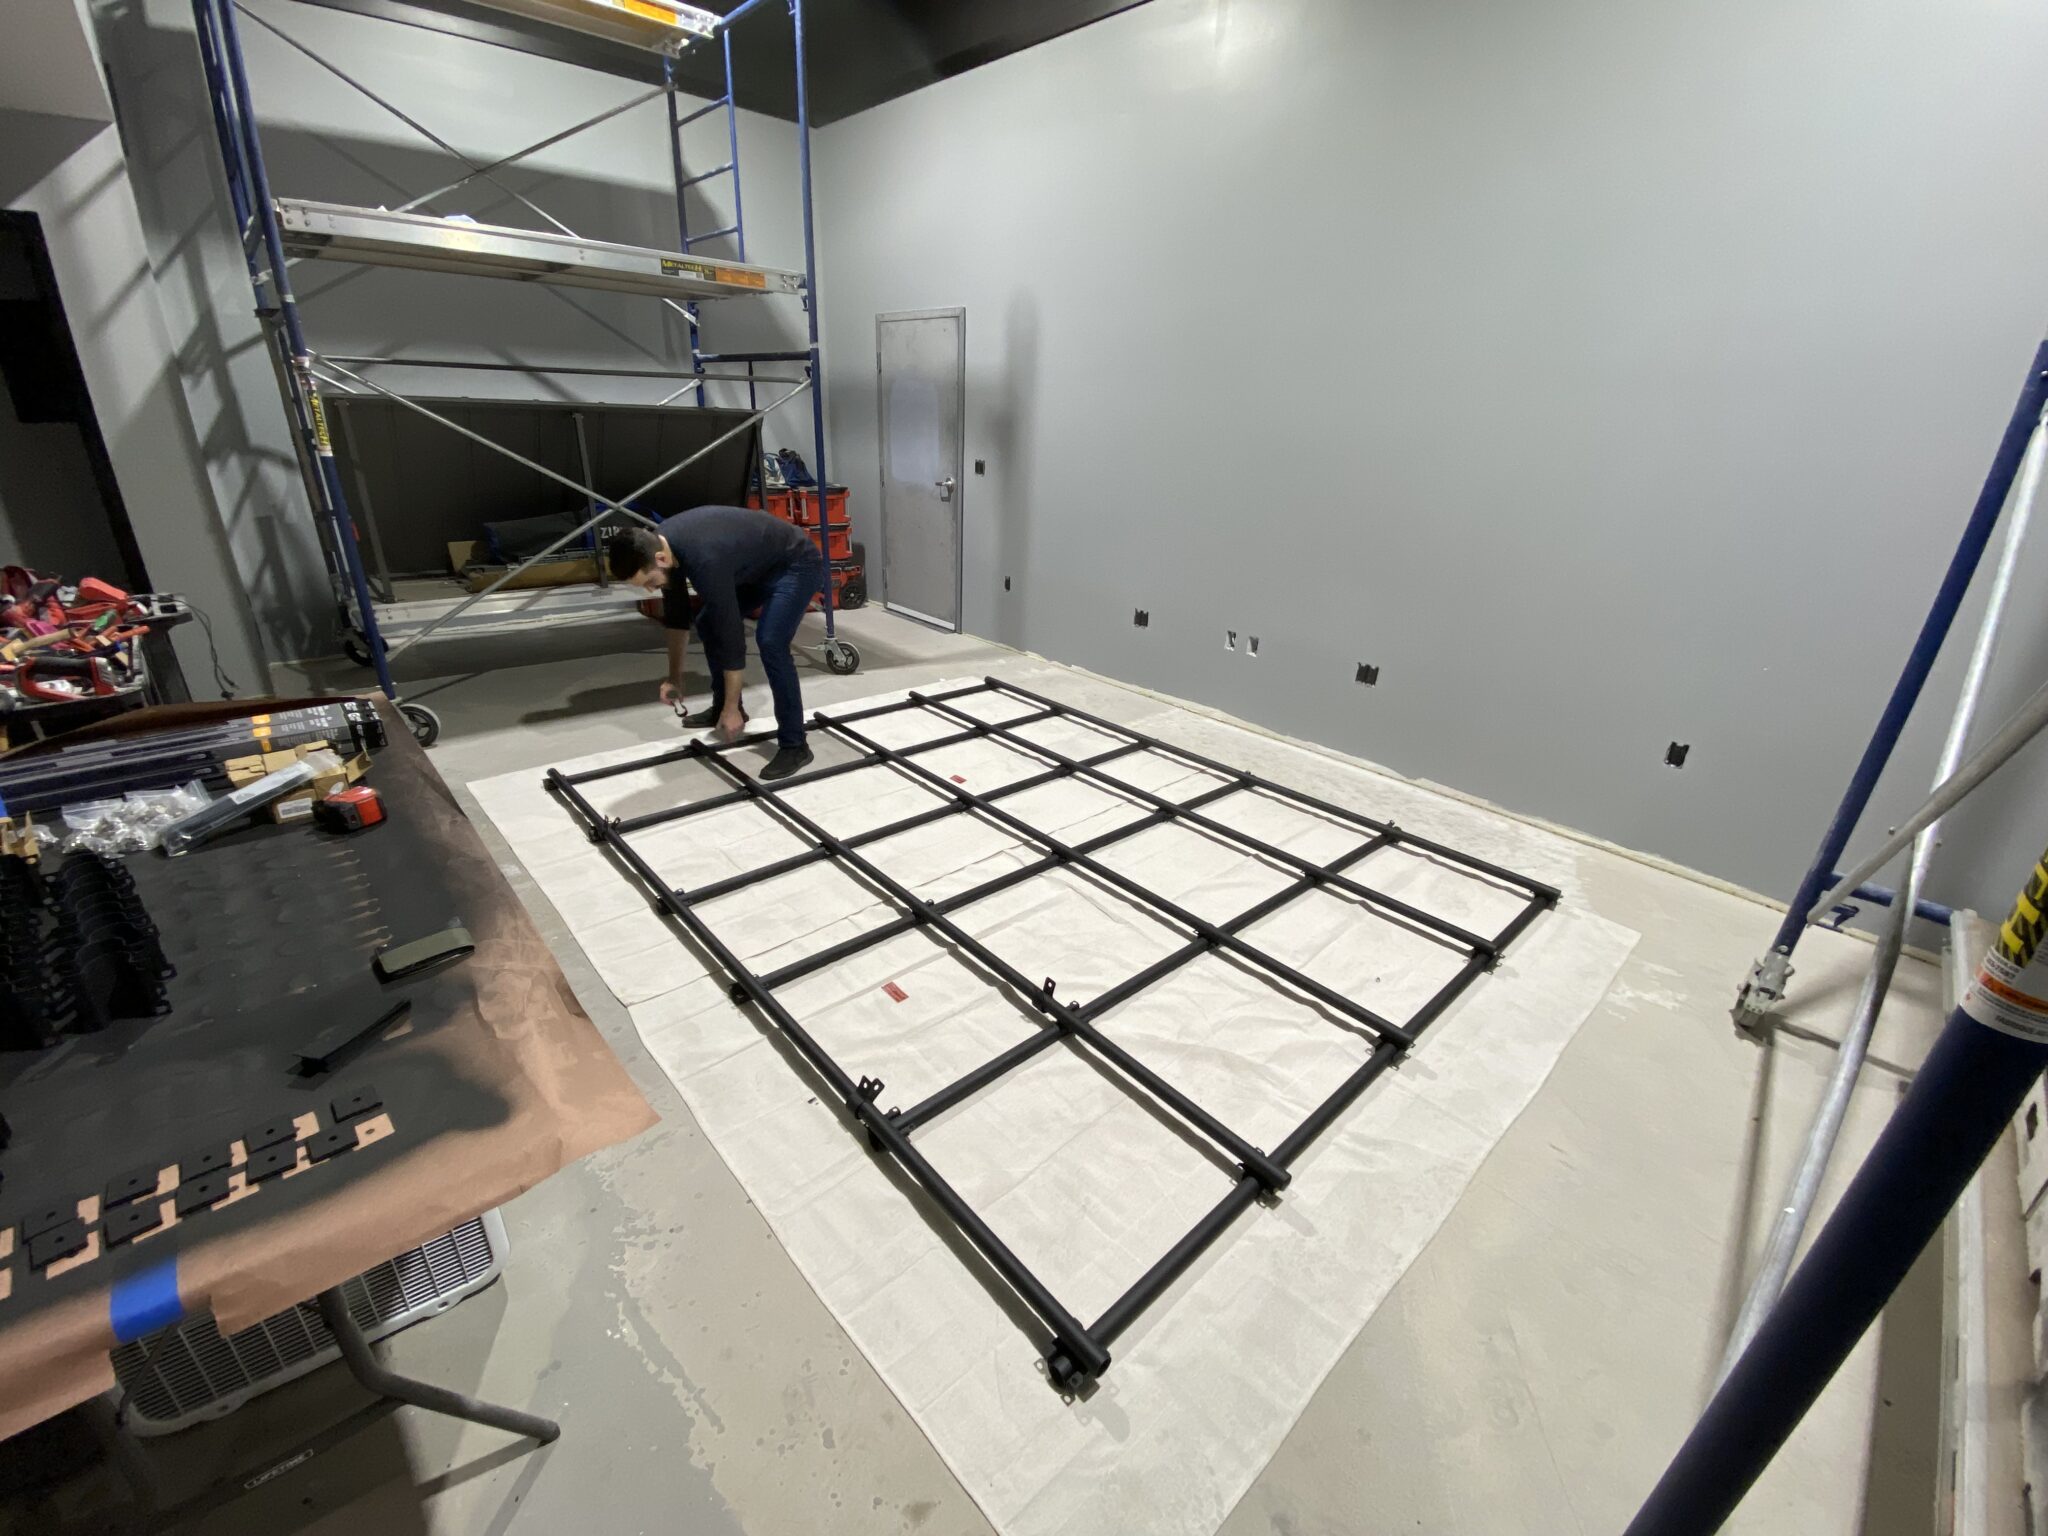
Once a few more guests arrived, I recruited Ryan, Matt and Will to help hang the grid on the anchor points.
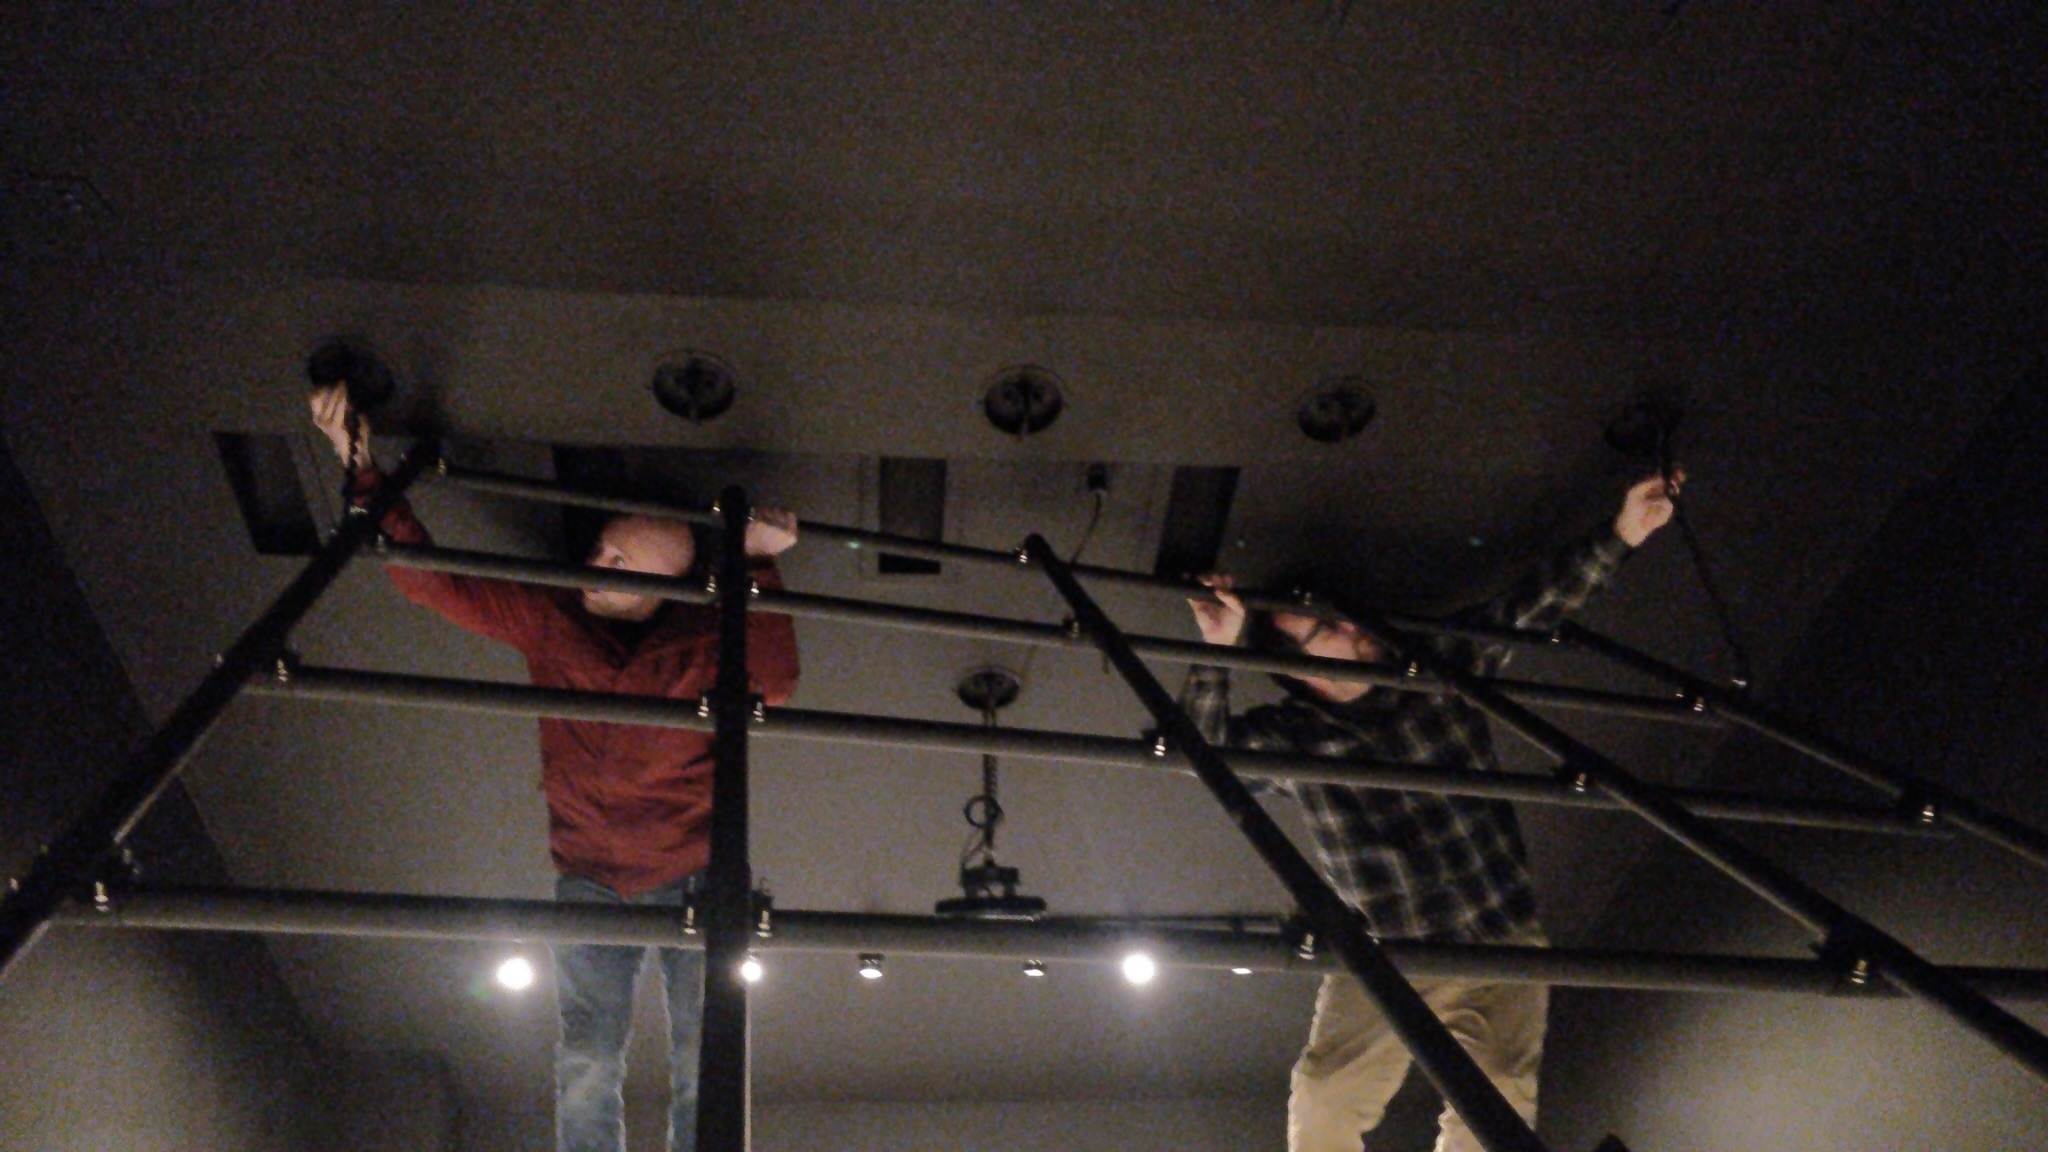
Matt, who’s a mechanic by trade, was especially helpful in problem solving the best way to get the grid into place.
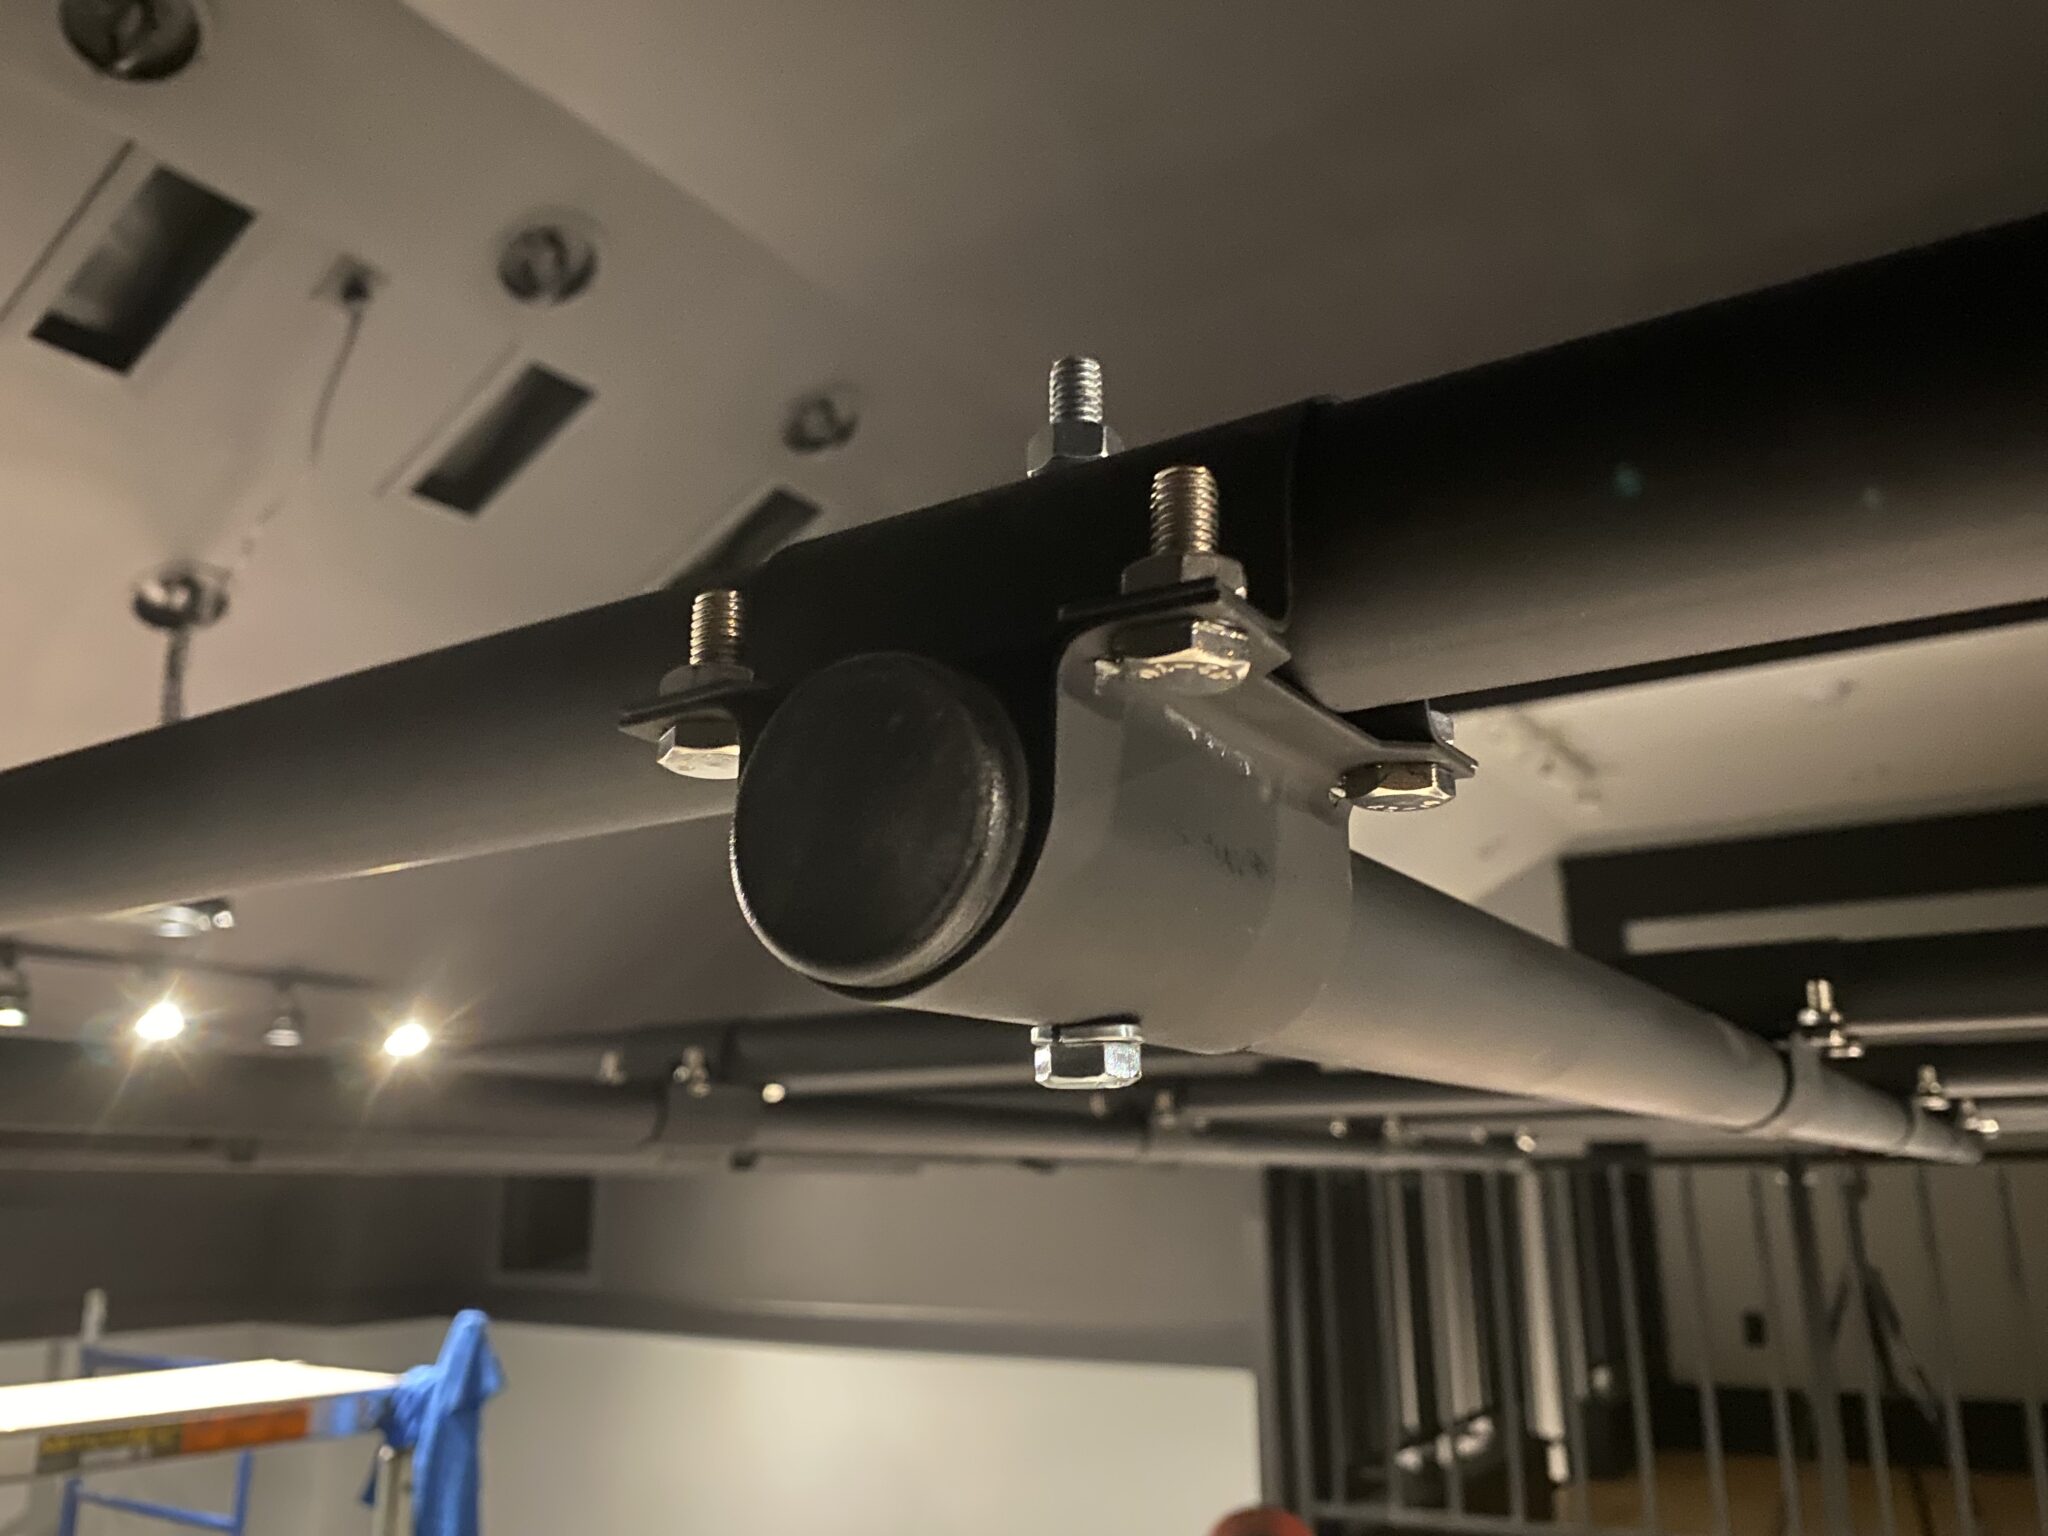
While getting the grid into place, I noticed that the although the clamps were very tight, the pipes were still able to rotate, making it possible for the entire grid to twist. So I decided to run bolts through the intersections around the perimeter to prevent this.
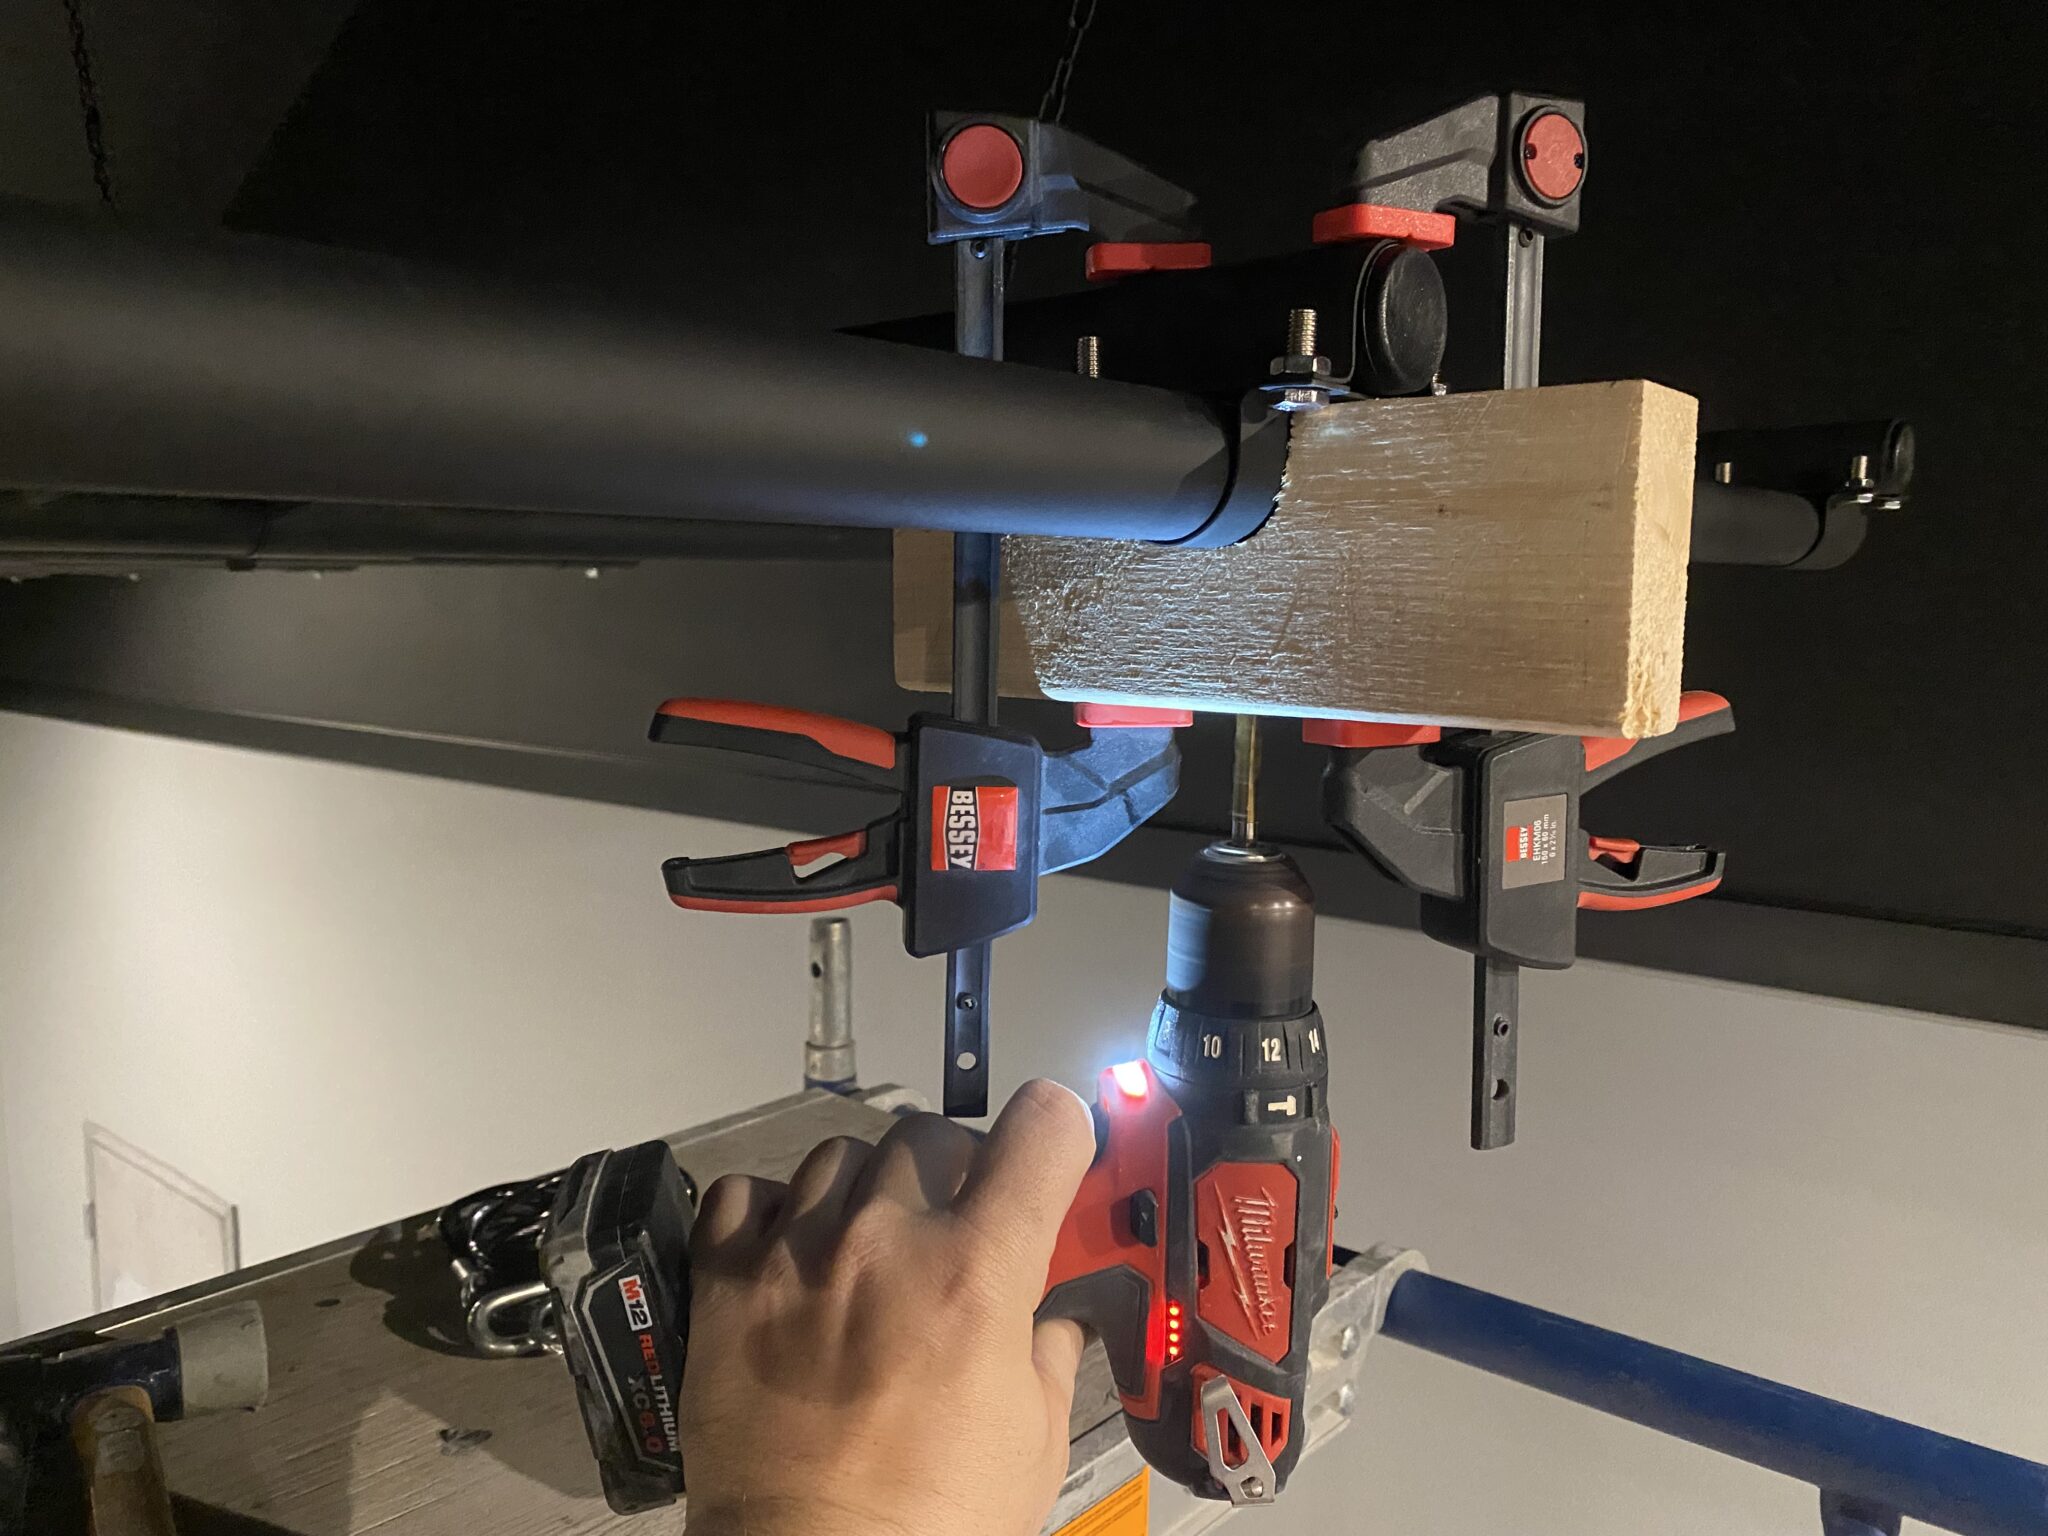
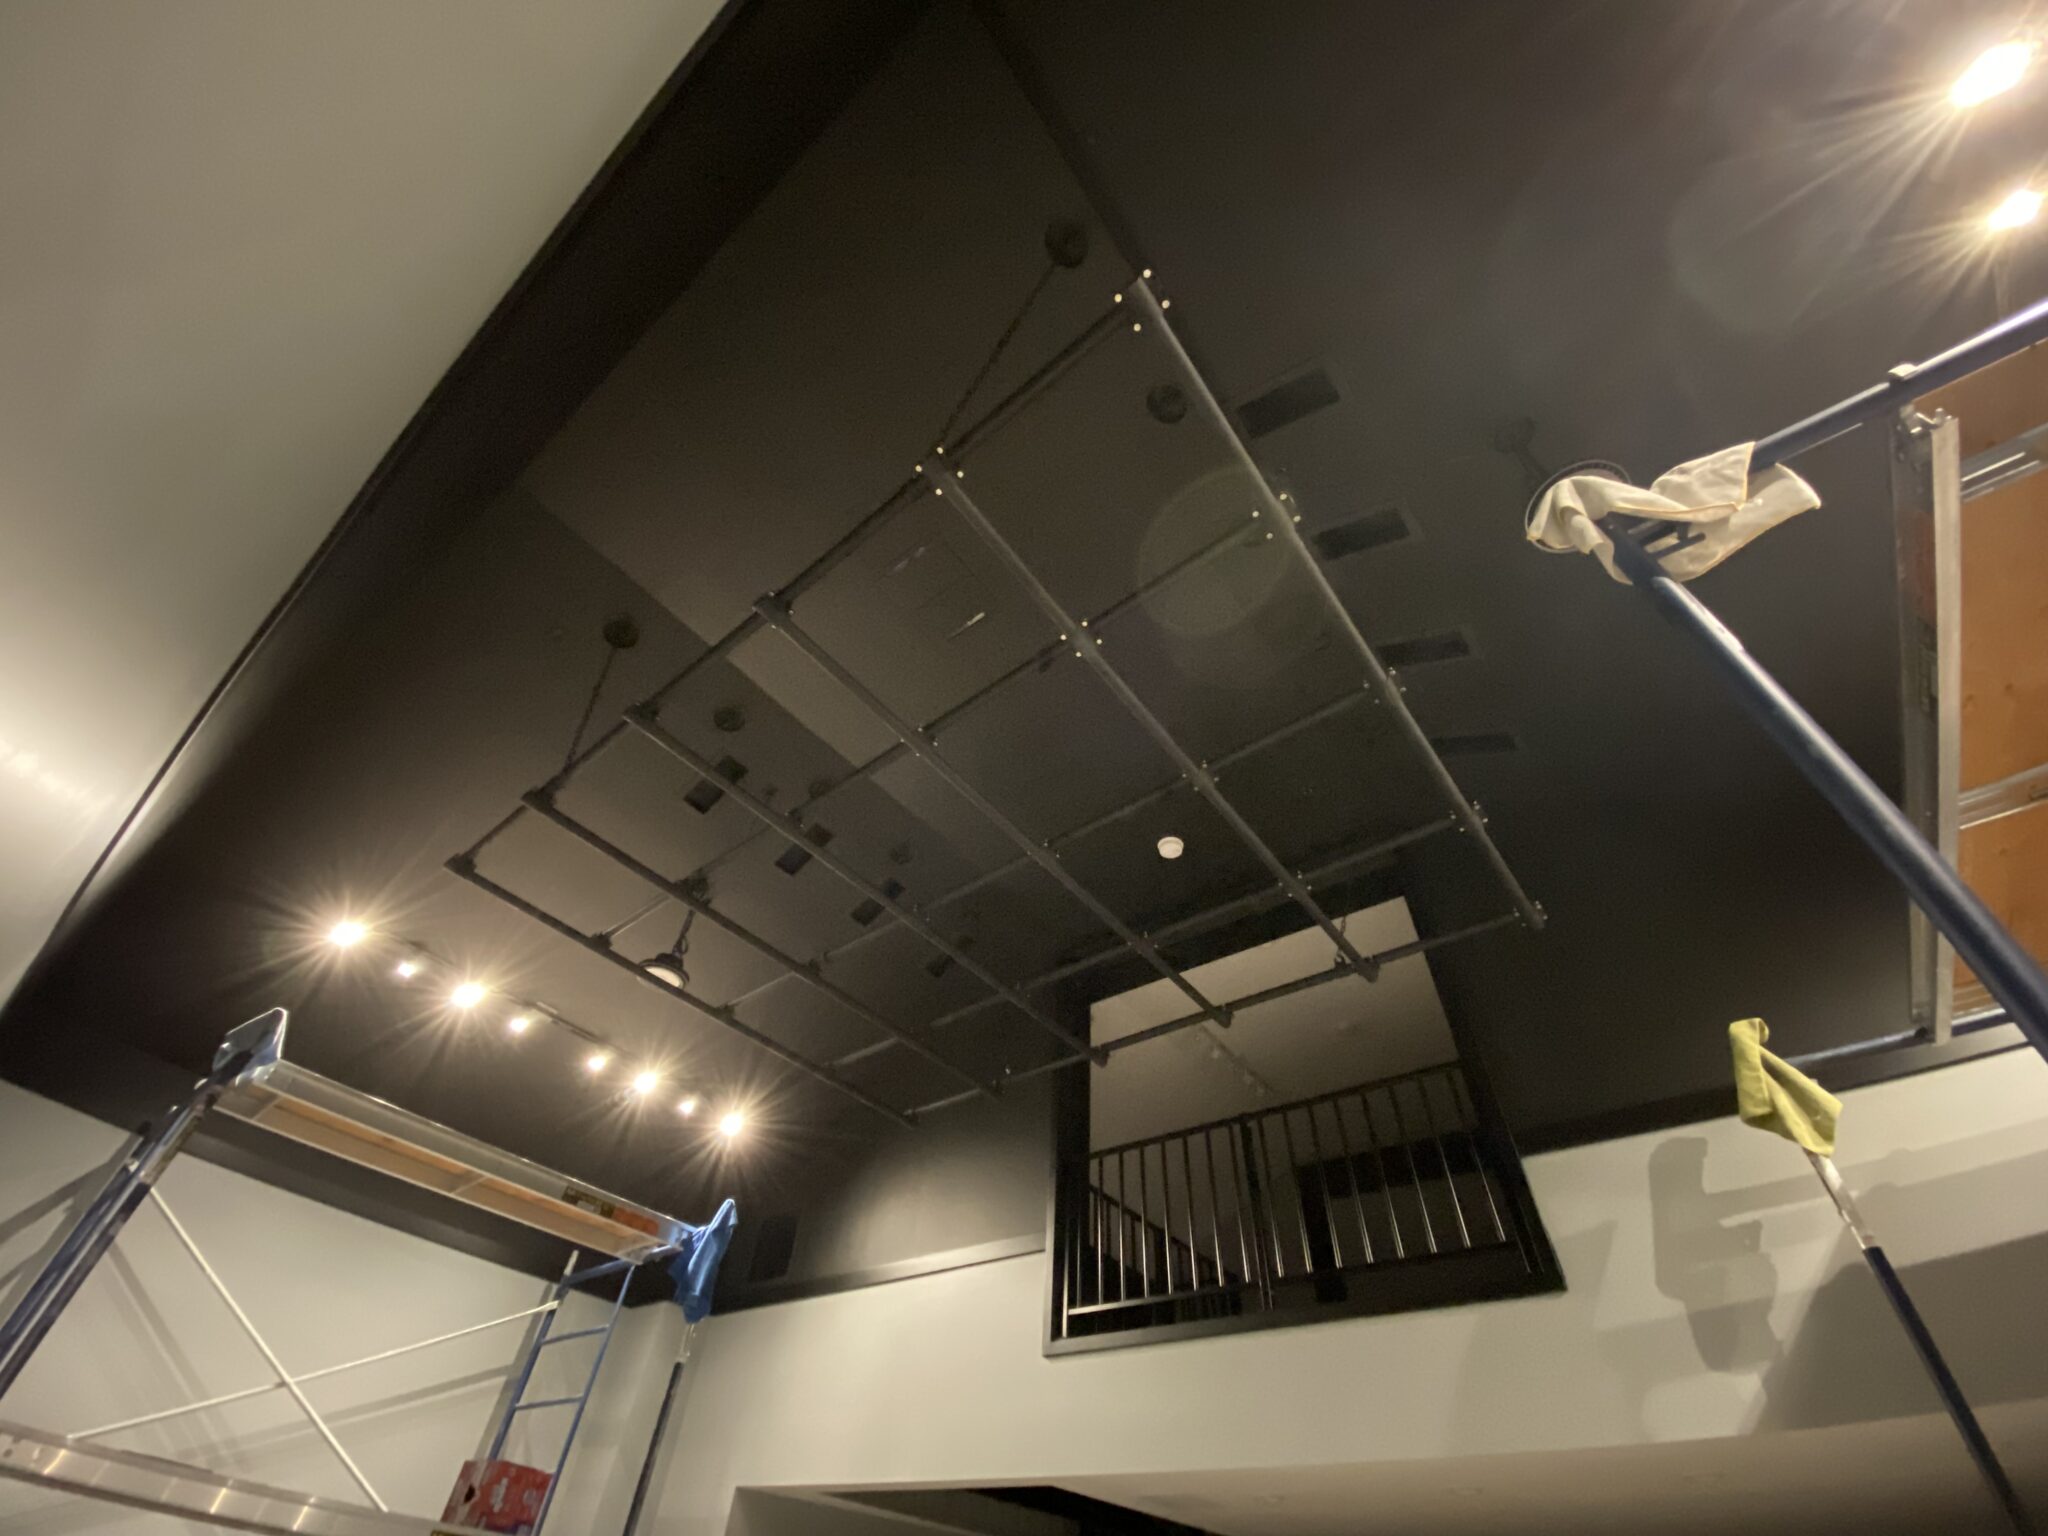
Once these intersections bolts were added, the grid was incredibly rigid.
I decided to go with steel cables instead of chains, which incidentally were rated to handle over eight-times the weight of the chains.
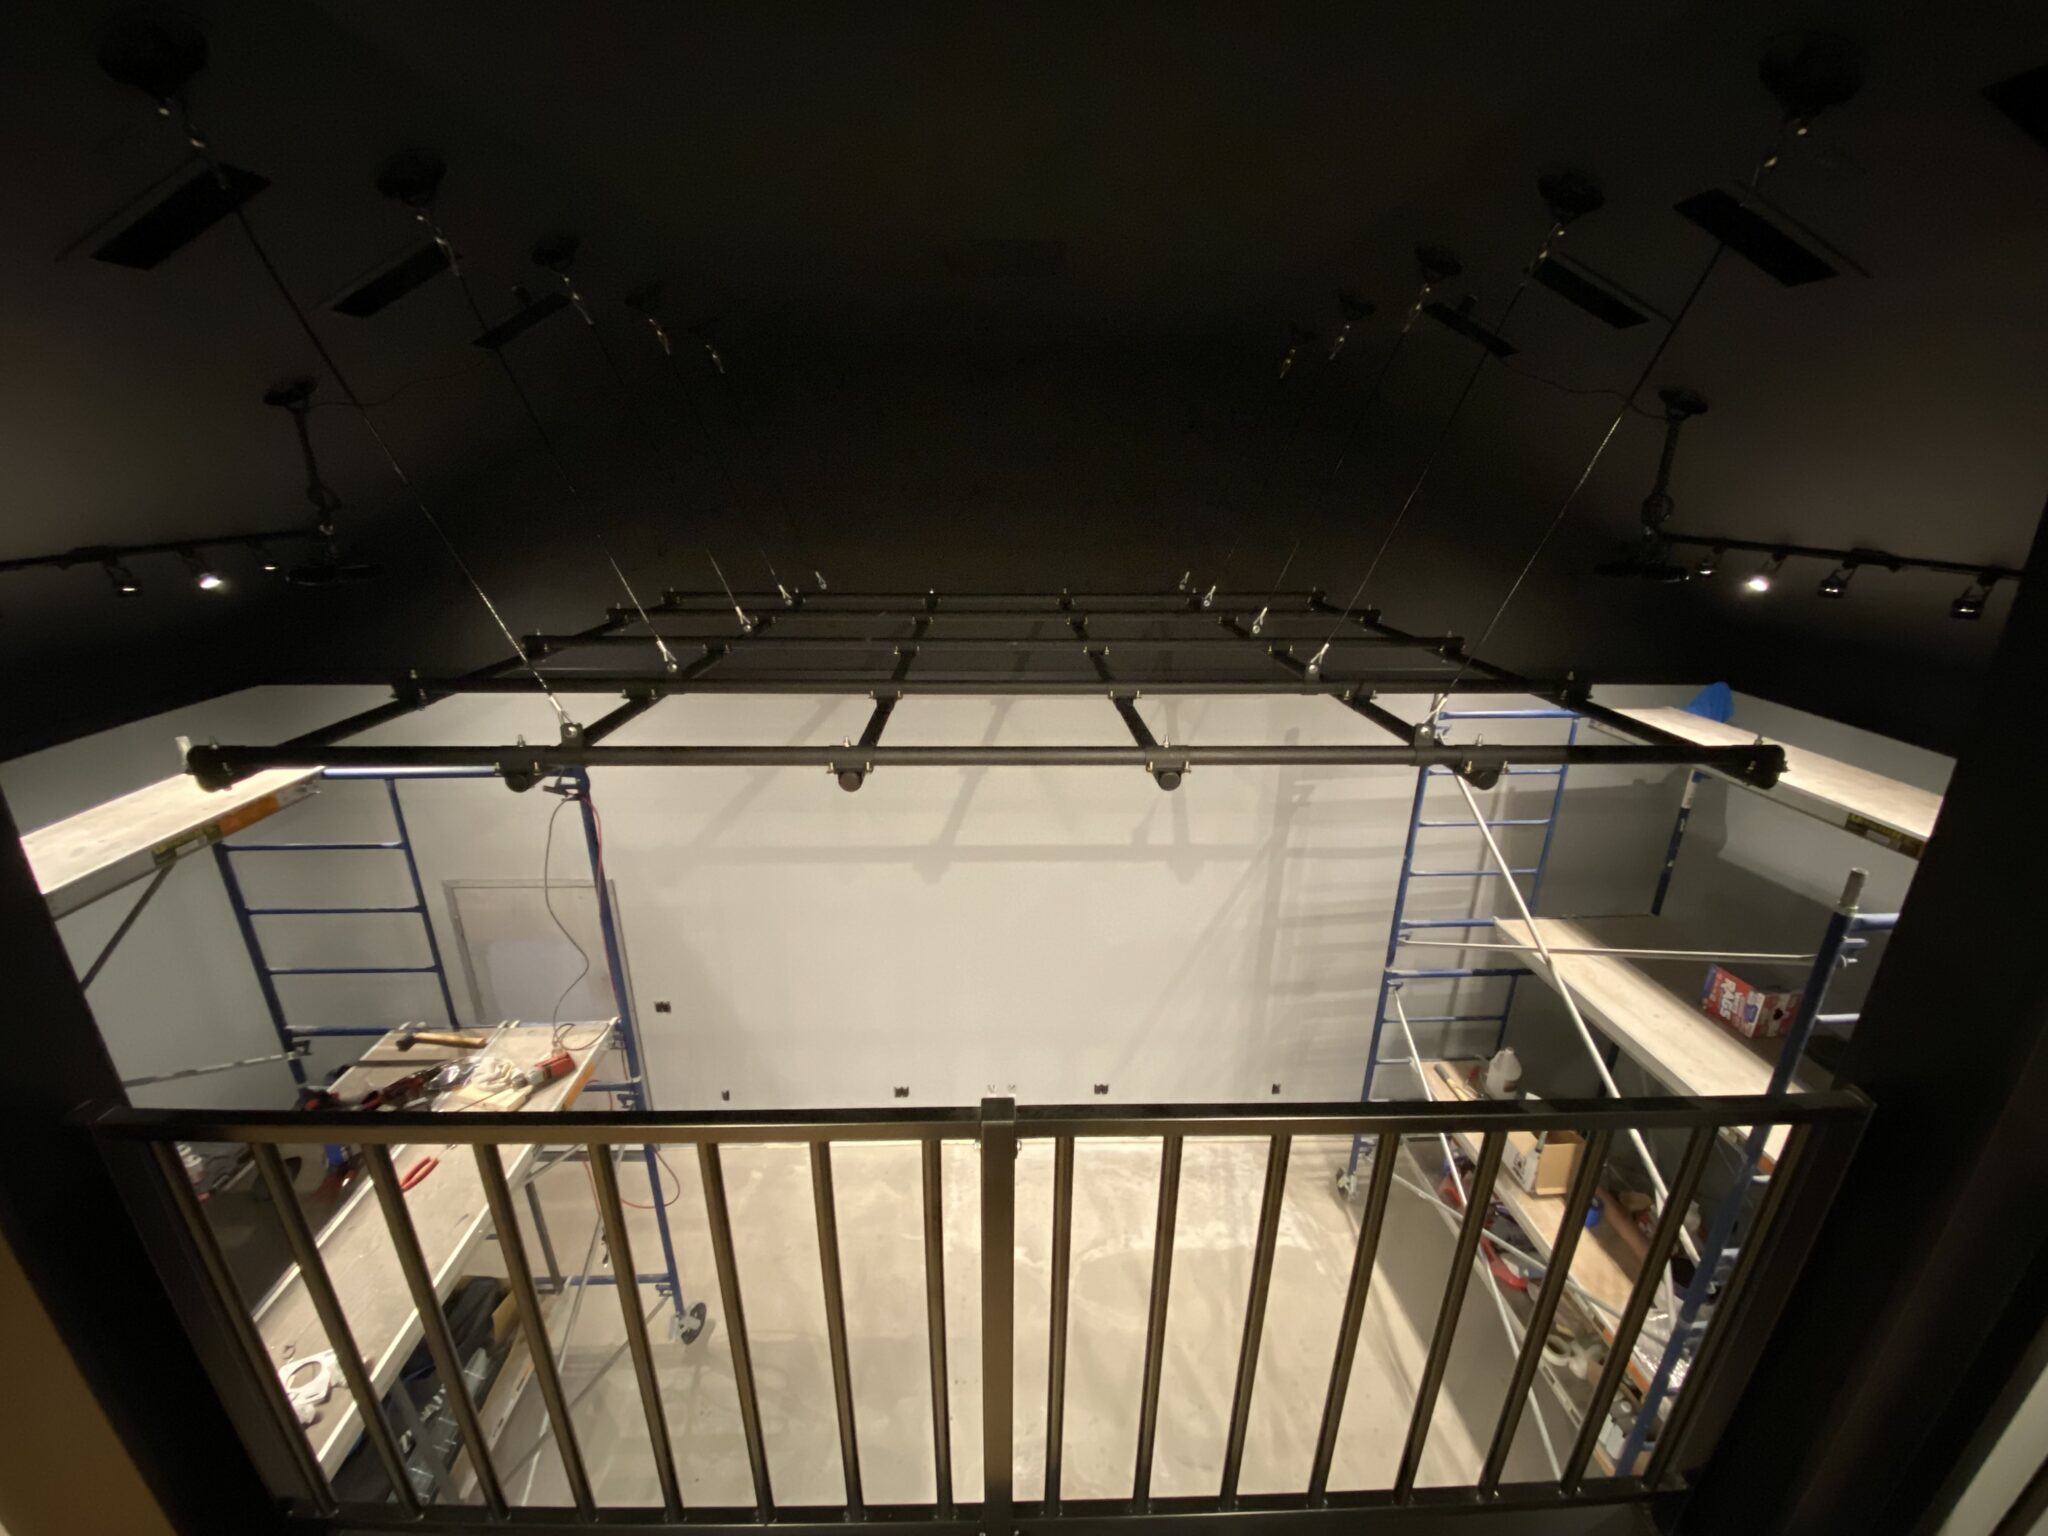
To ensure the grid doesn’t rotate or sway, I added more steel cables running diagonally.
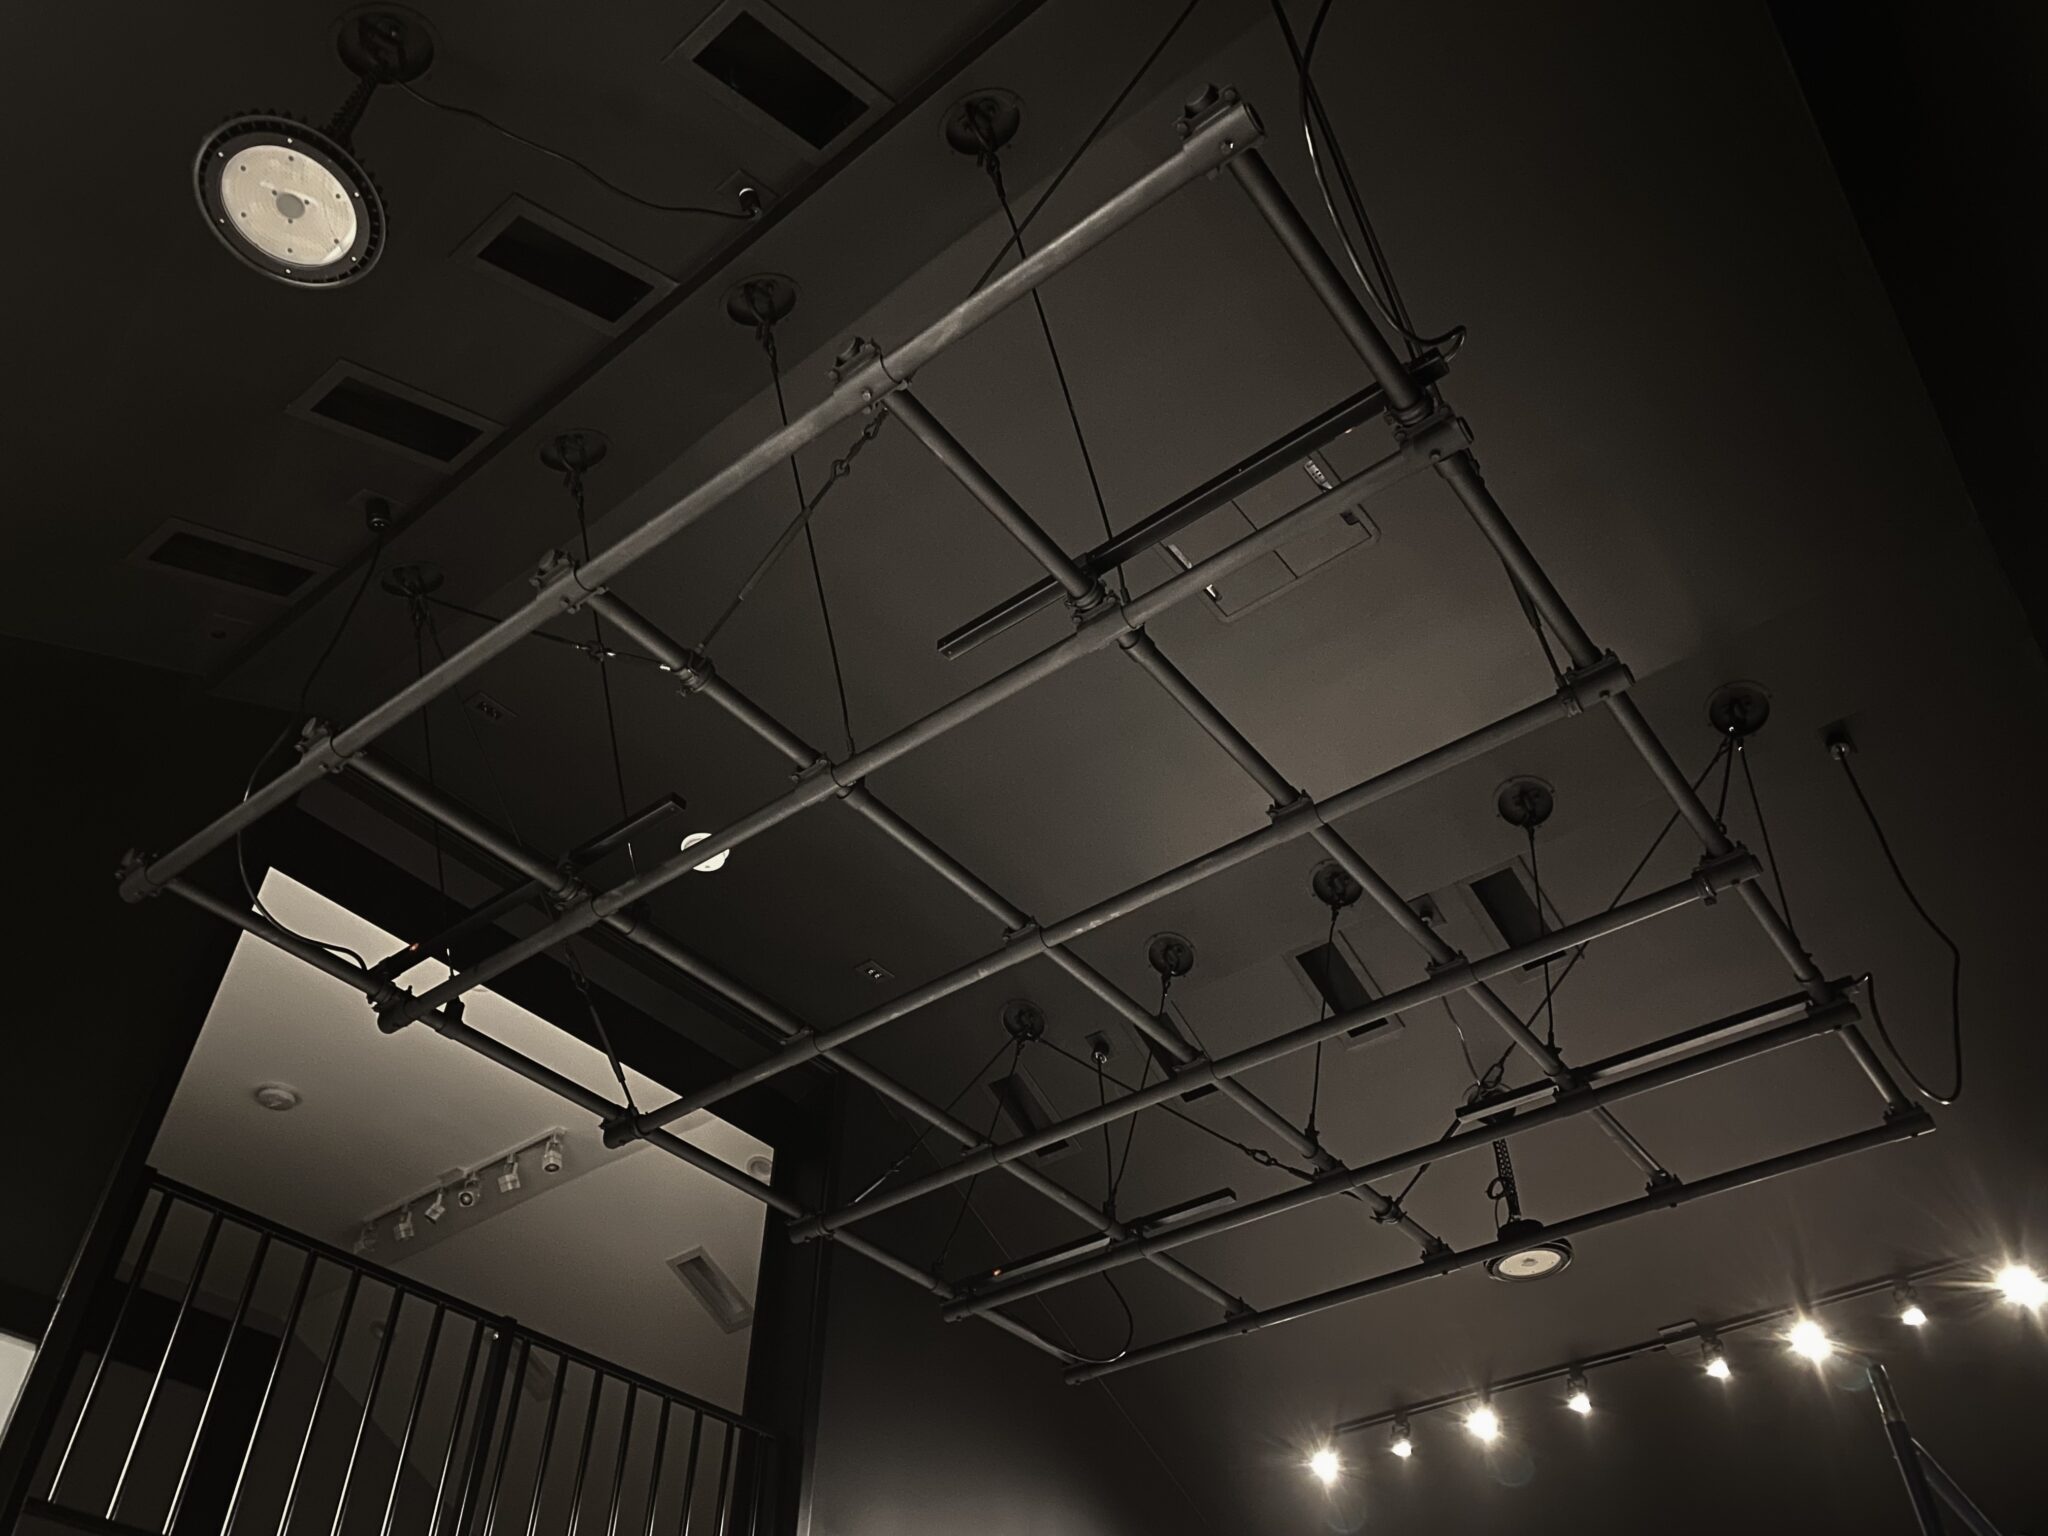
Finally I painted anything that wasn’t black with flat-black spray-paint.
- Categories
- Construction