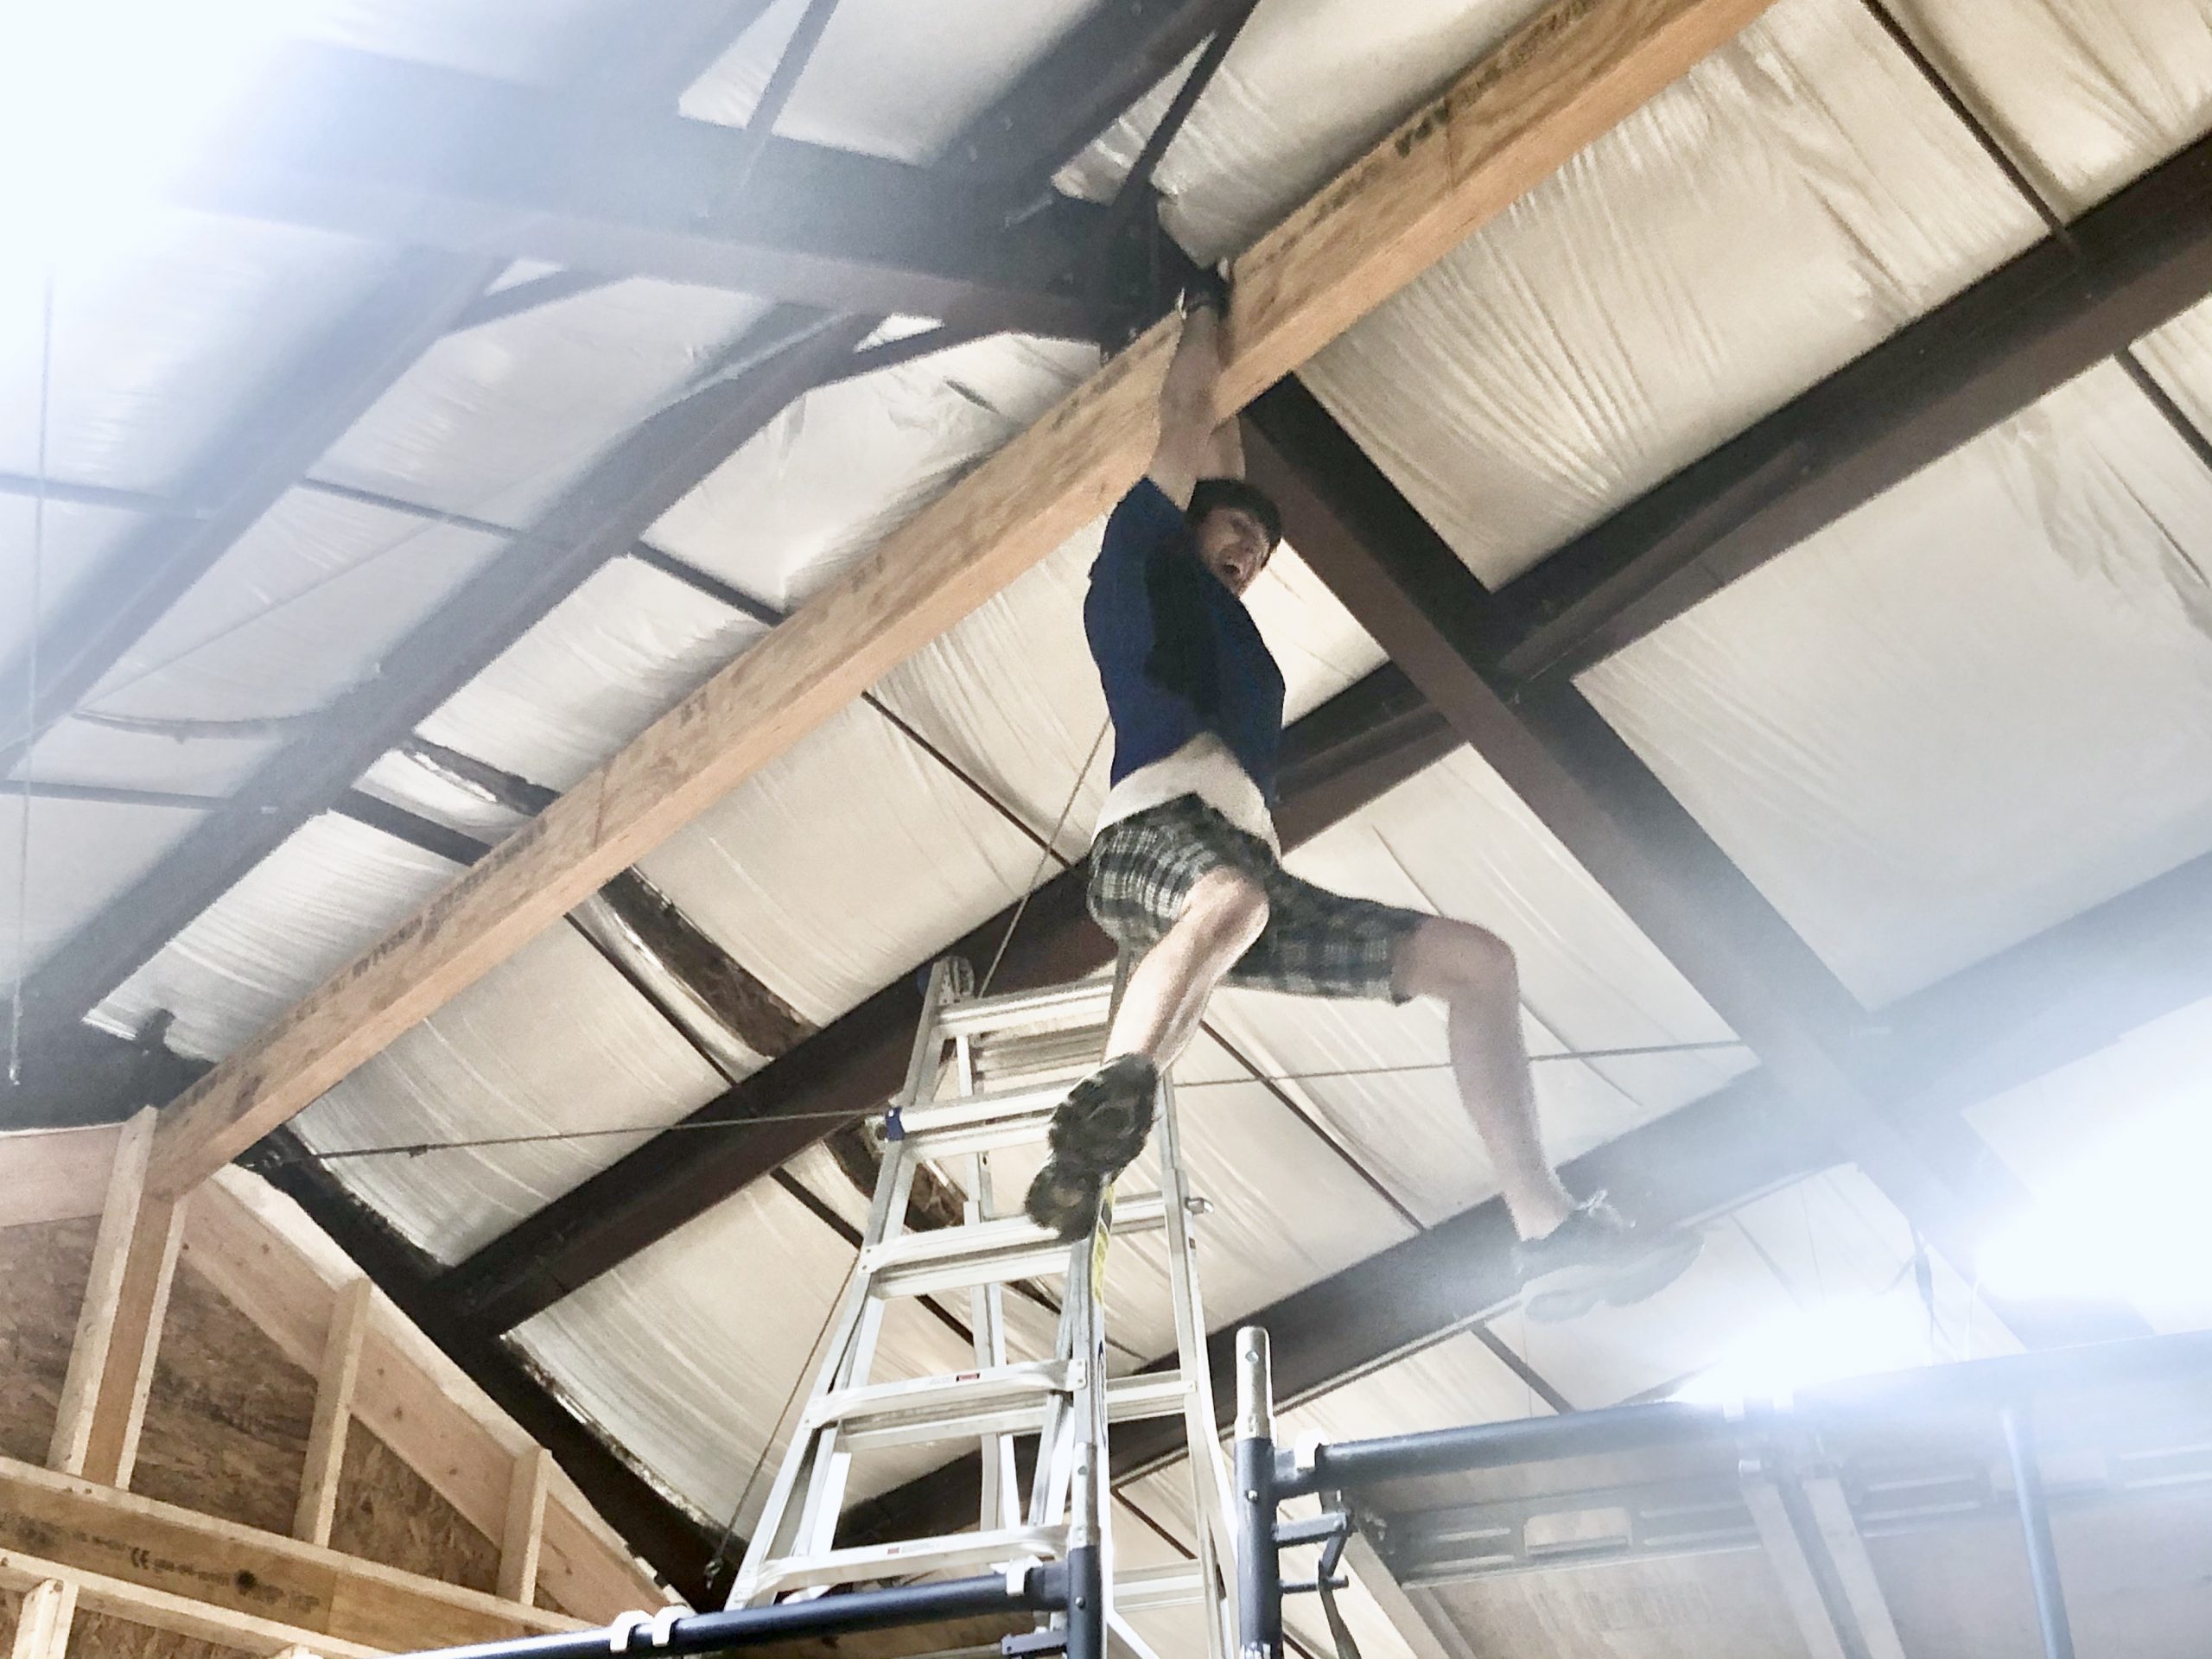
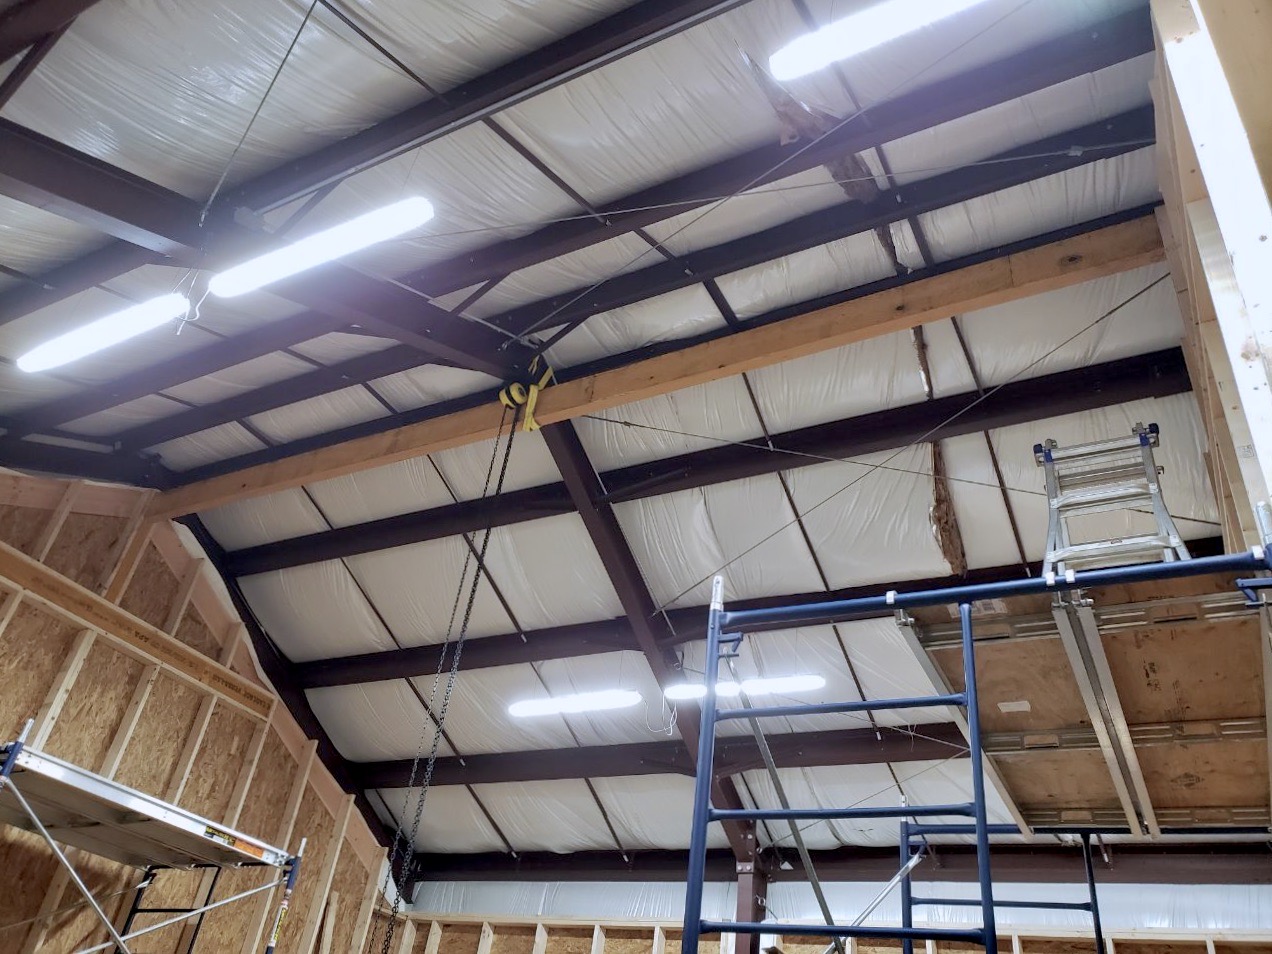
Today we secured the ridge beam and let in the ledge board for the second floor.
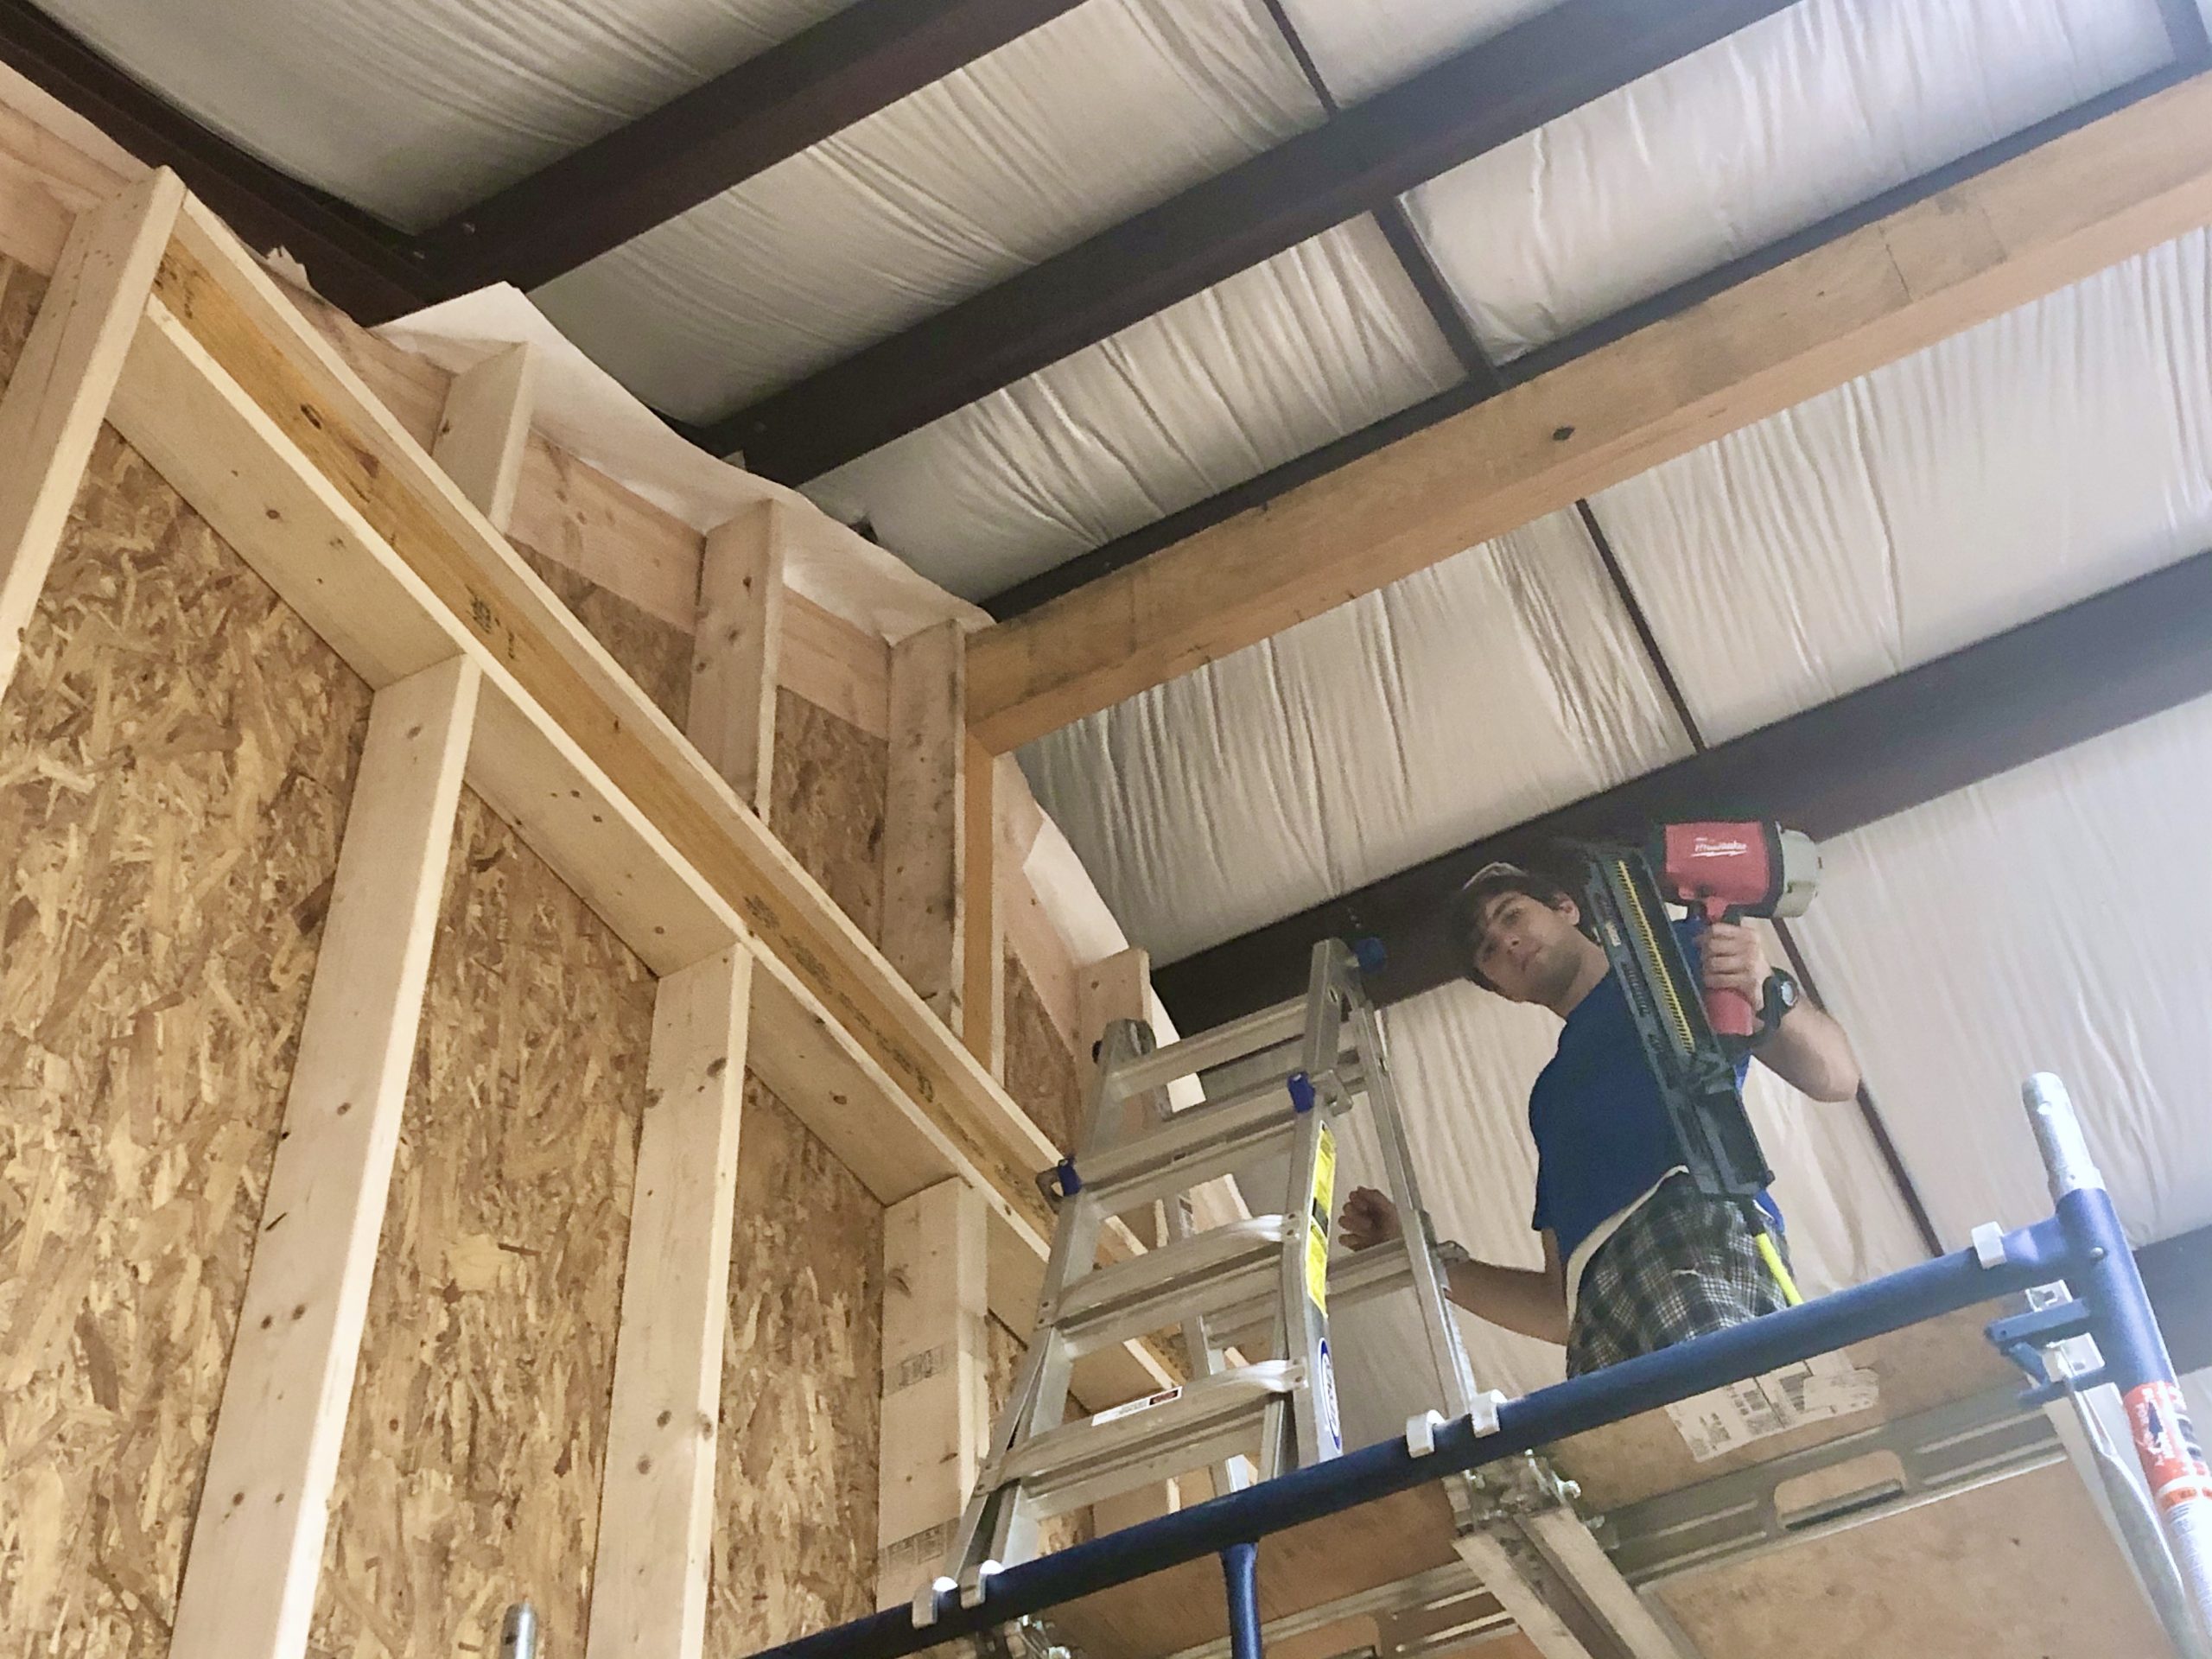
Ryan seems to really enjoy using the nail gun. Admittedly, I do too.
Ryan helped me measure and adjust the ridge beam so that both end walls were parallel and plumb.
The beam is extremely rigid. I’m very impressed with how light-yet-strong this LVL material is. Ryan apparently also approves.
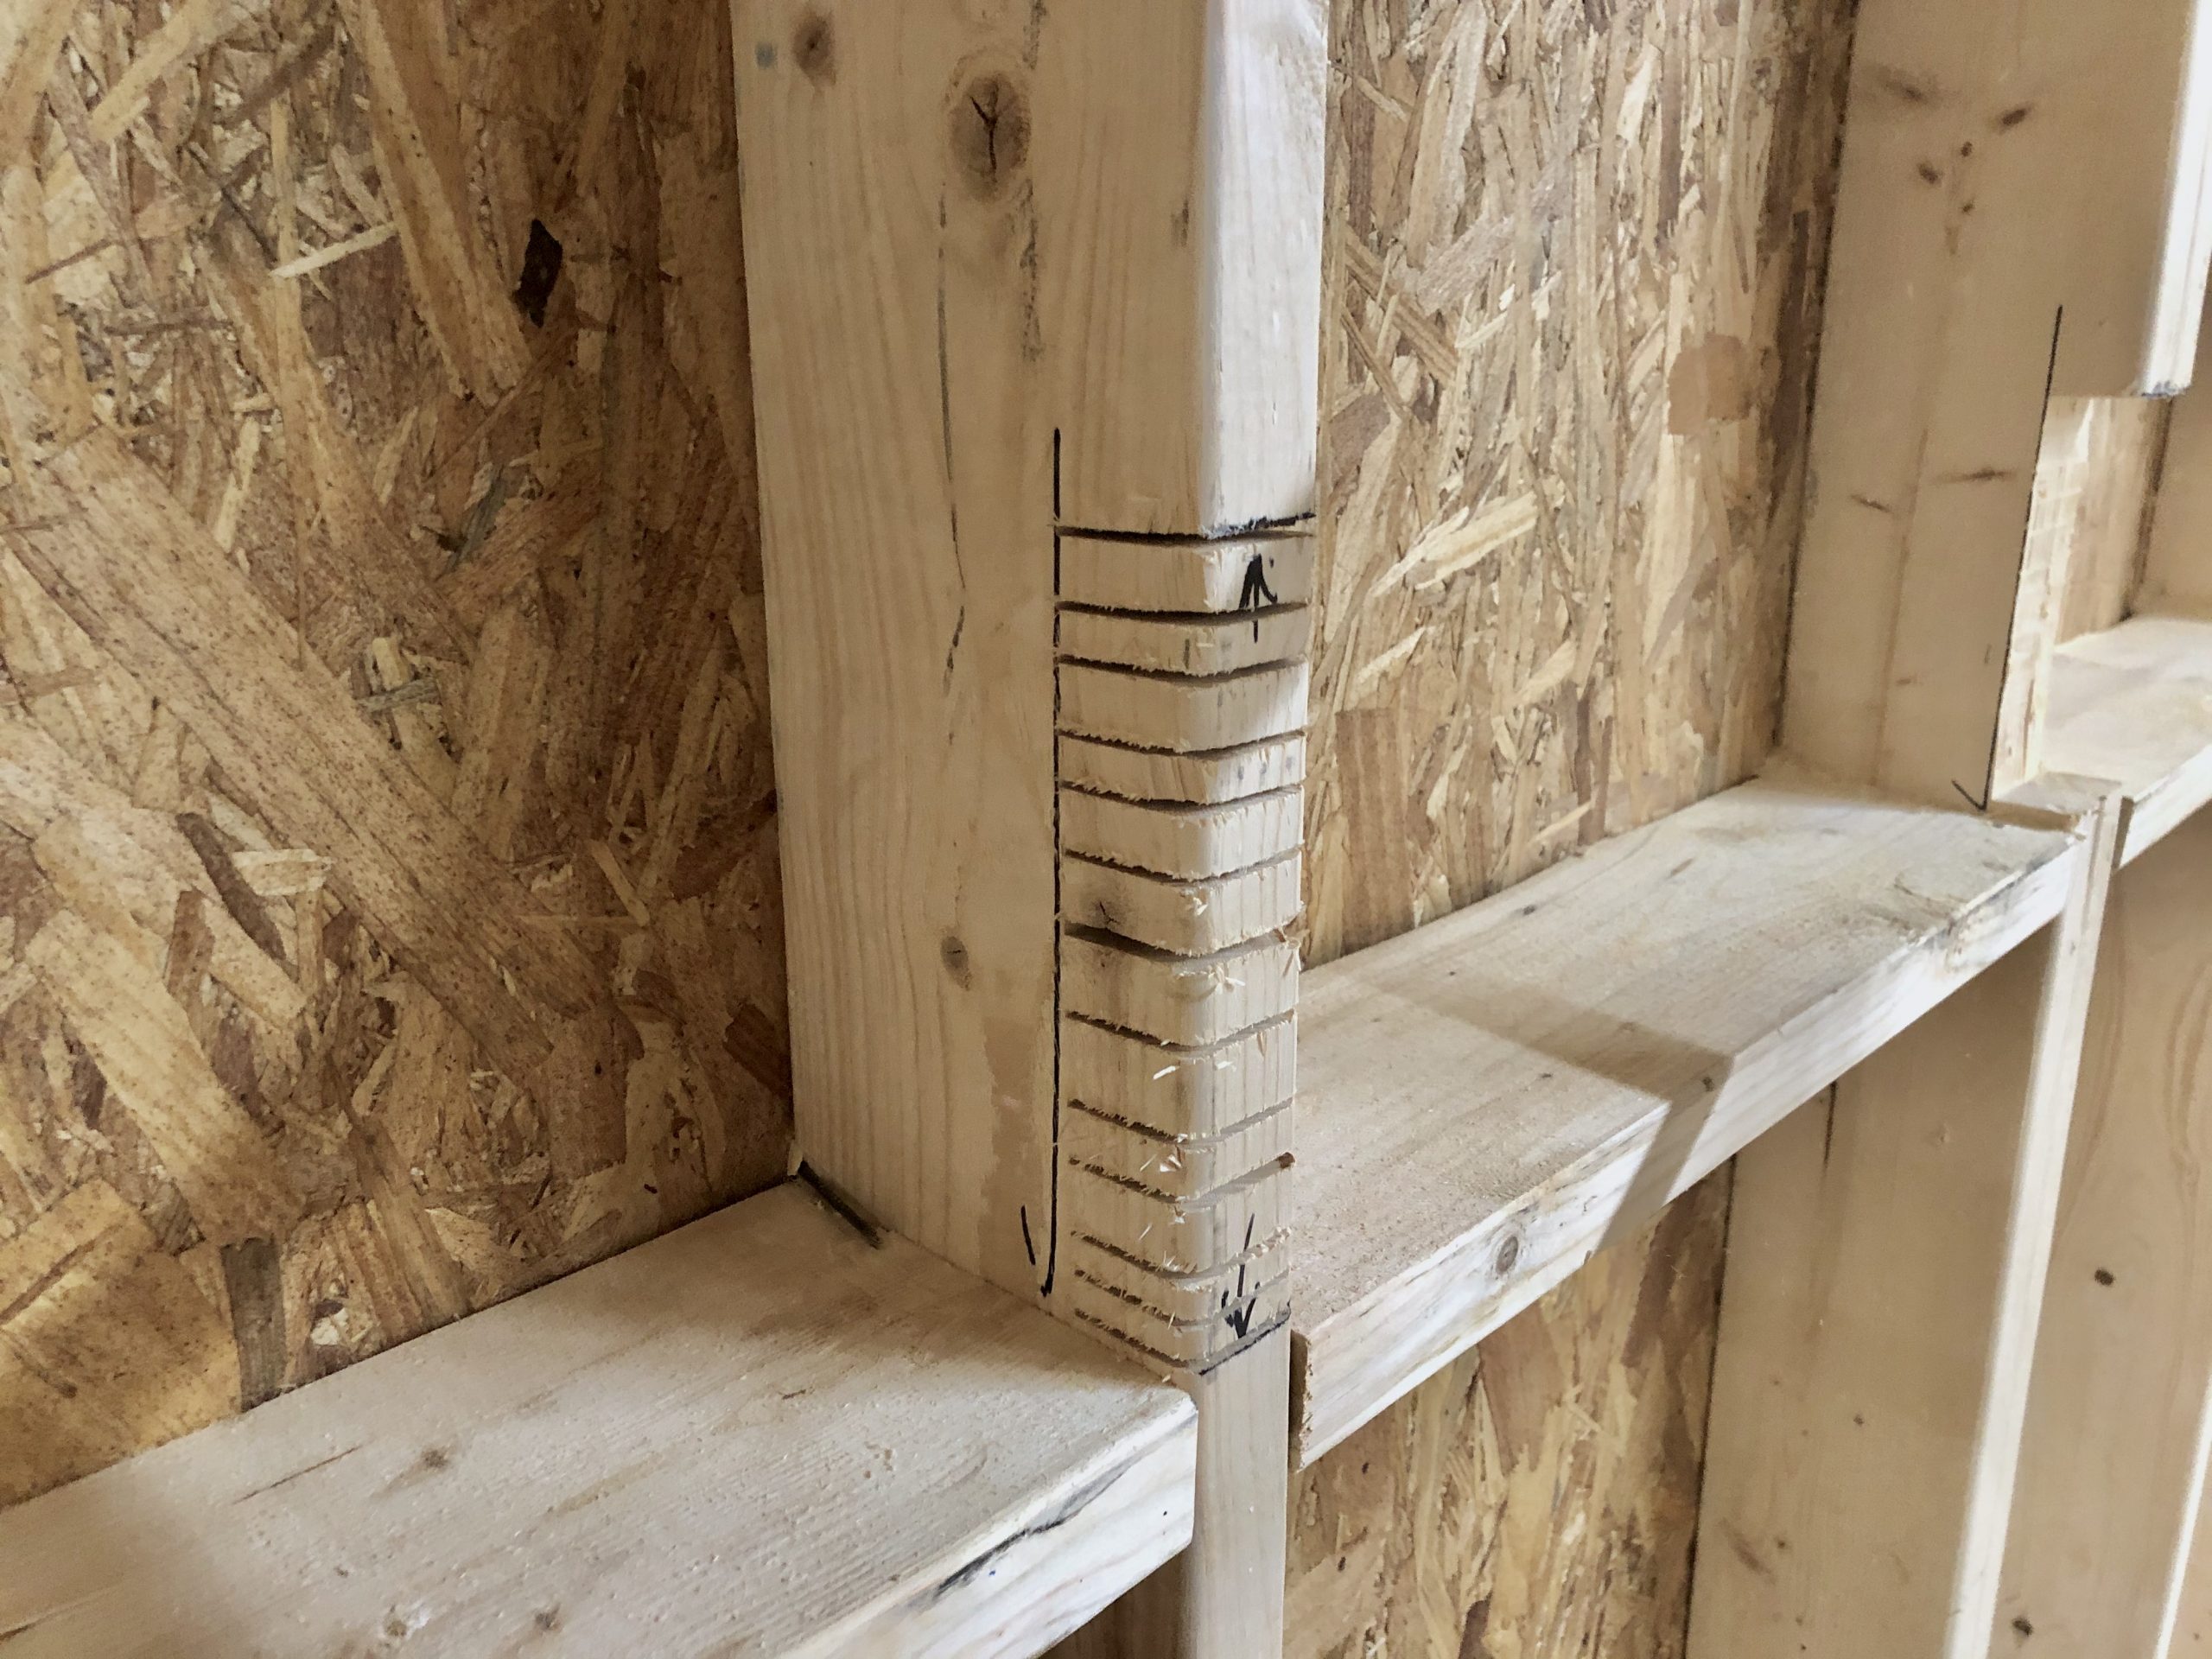
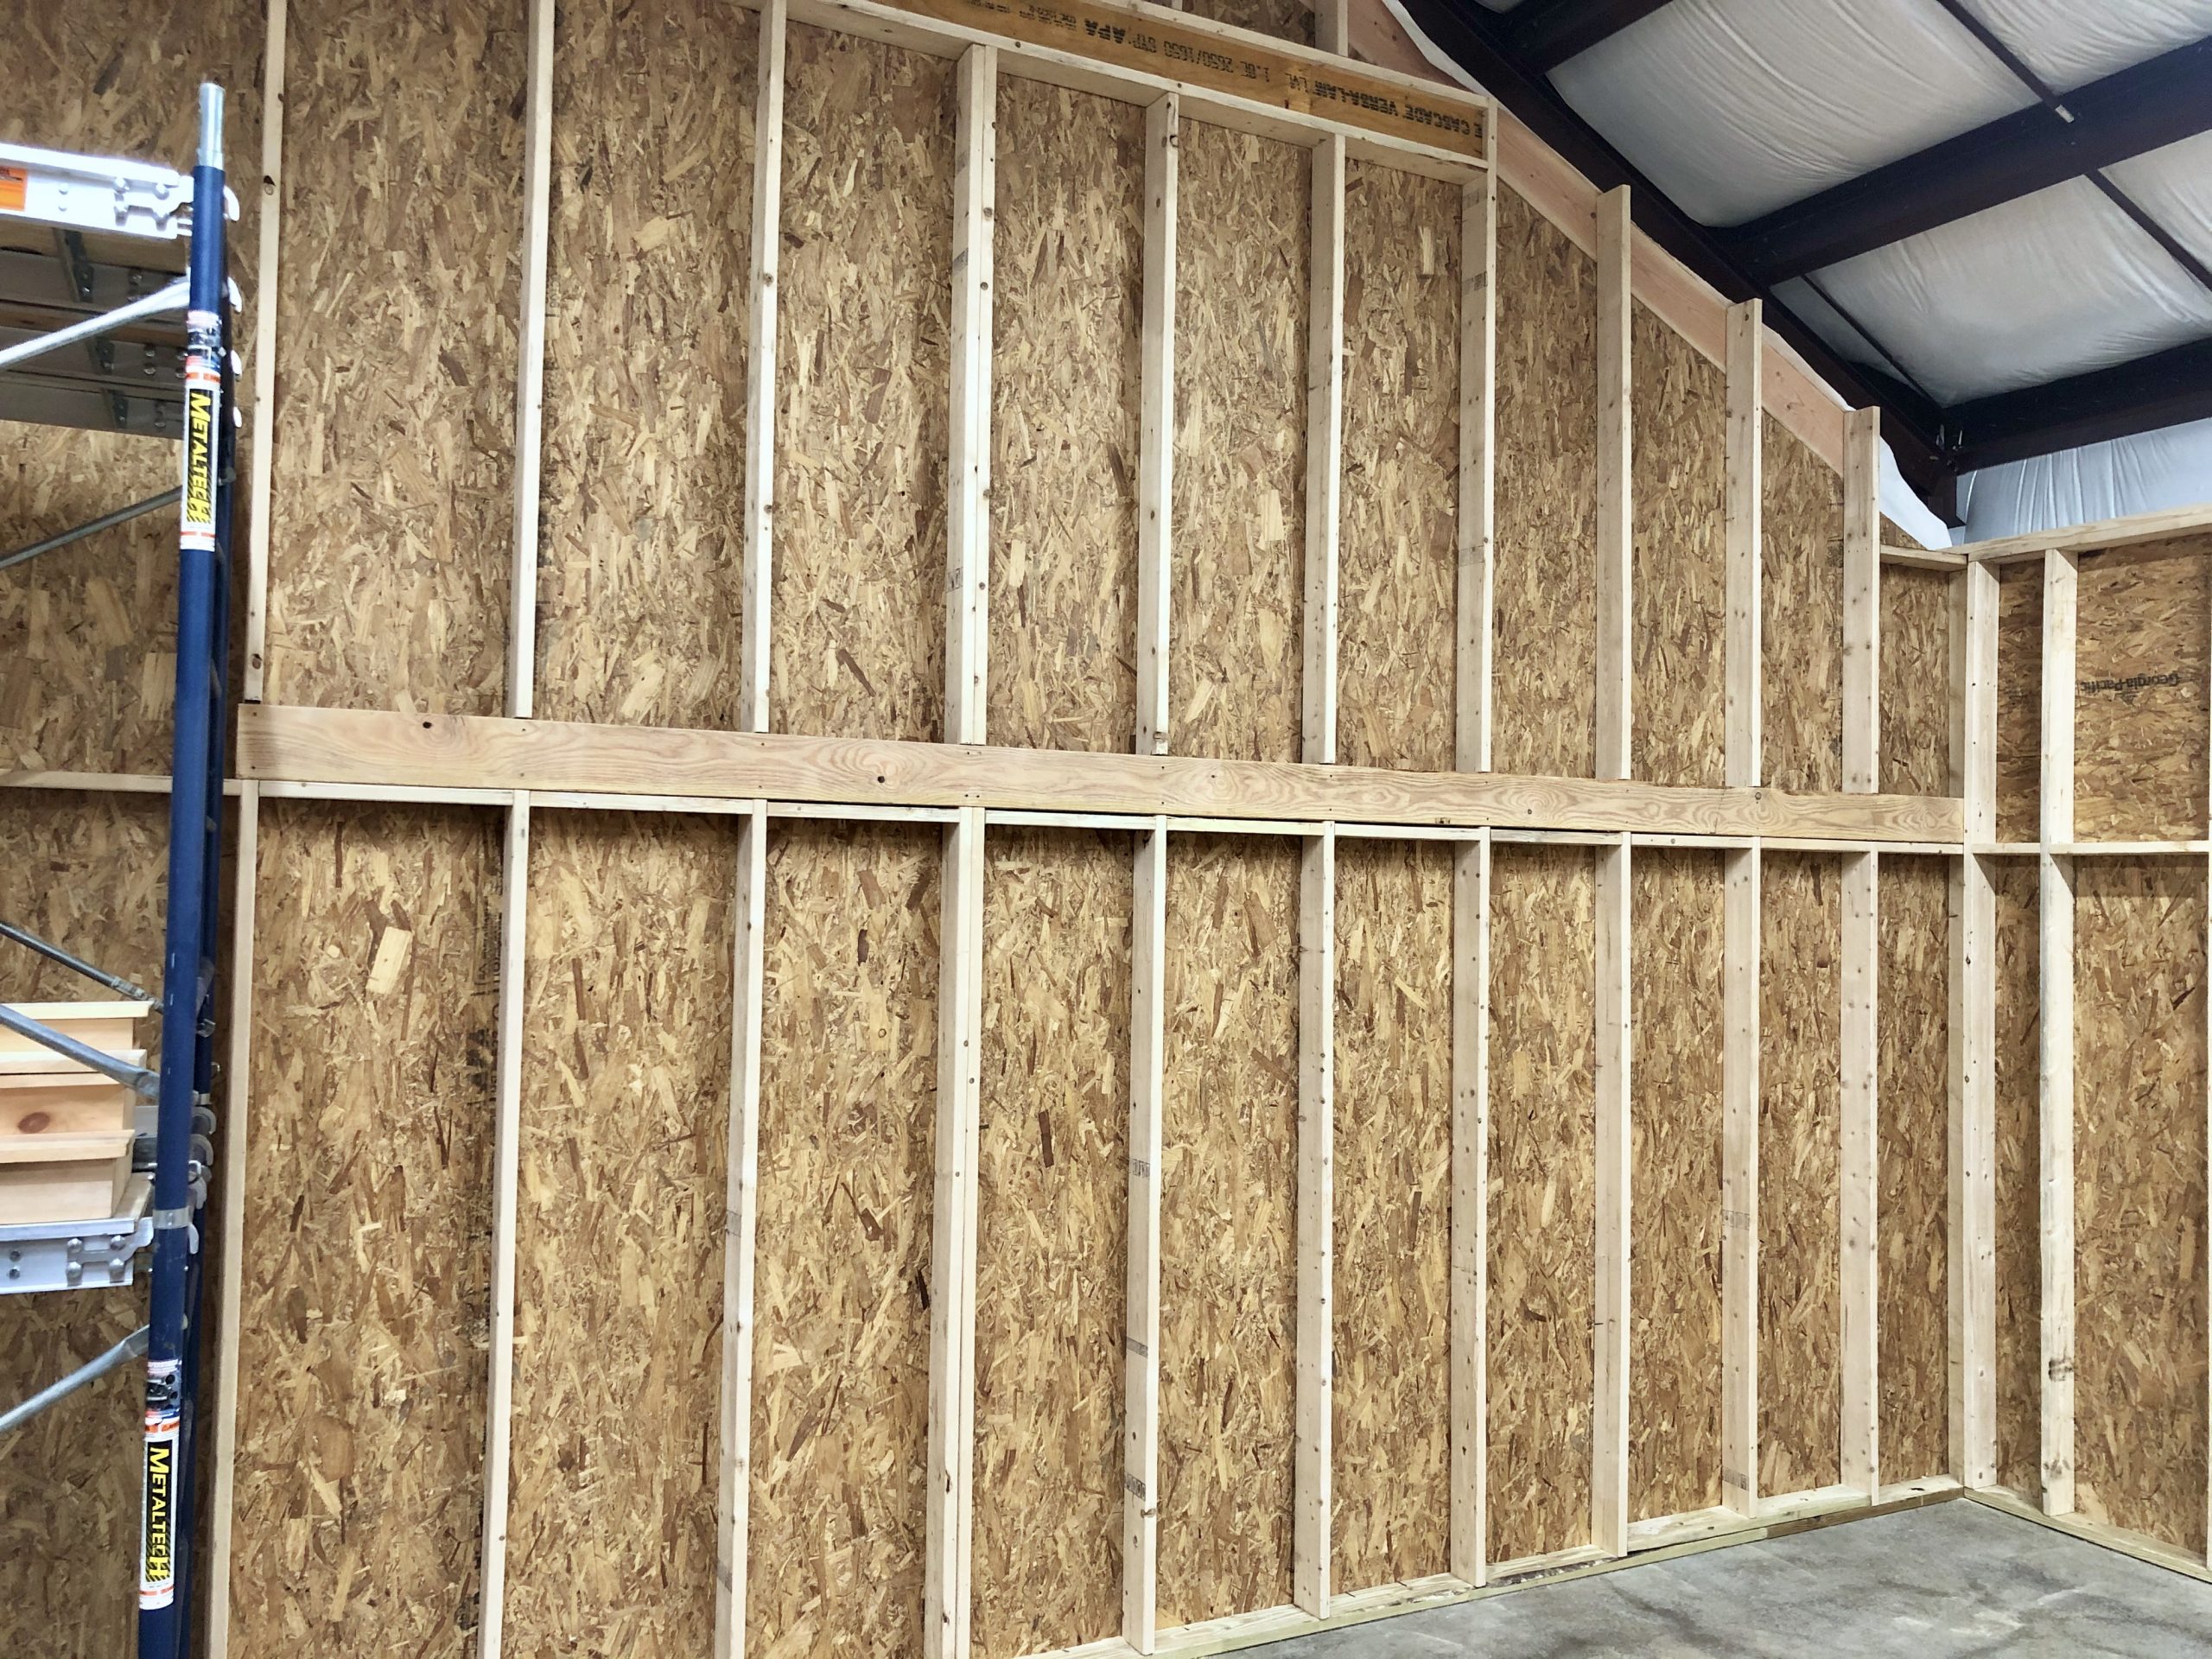
Later on I worked on the ledger board the second floor will attach to.
By letting the ledger board in, the weight of the floor is more directly transferred to the slab.
I used a laser level to mark where to cut. In some cases I had to knock the blocking down a bit.
This cut and chisel method works very well, but creates an incredible amount of saw dust. I was struggling to see or even breath at times.
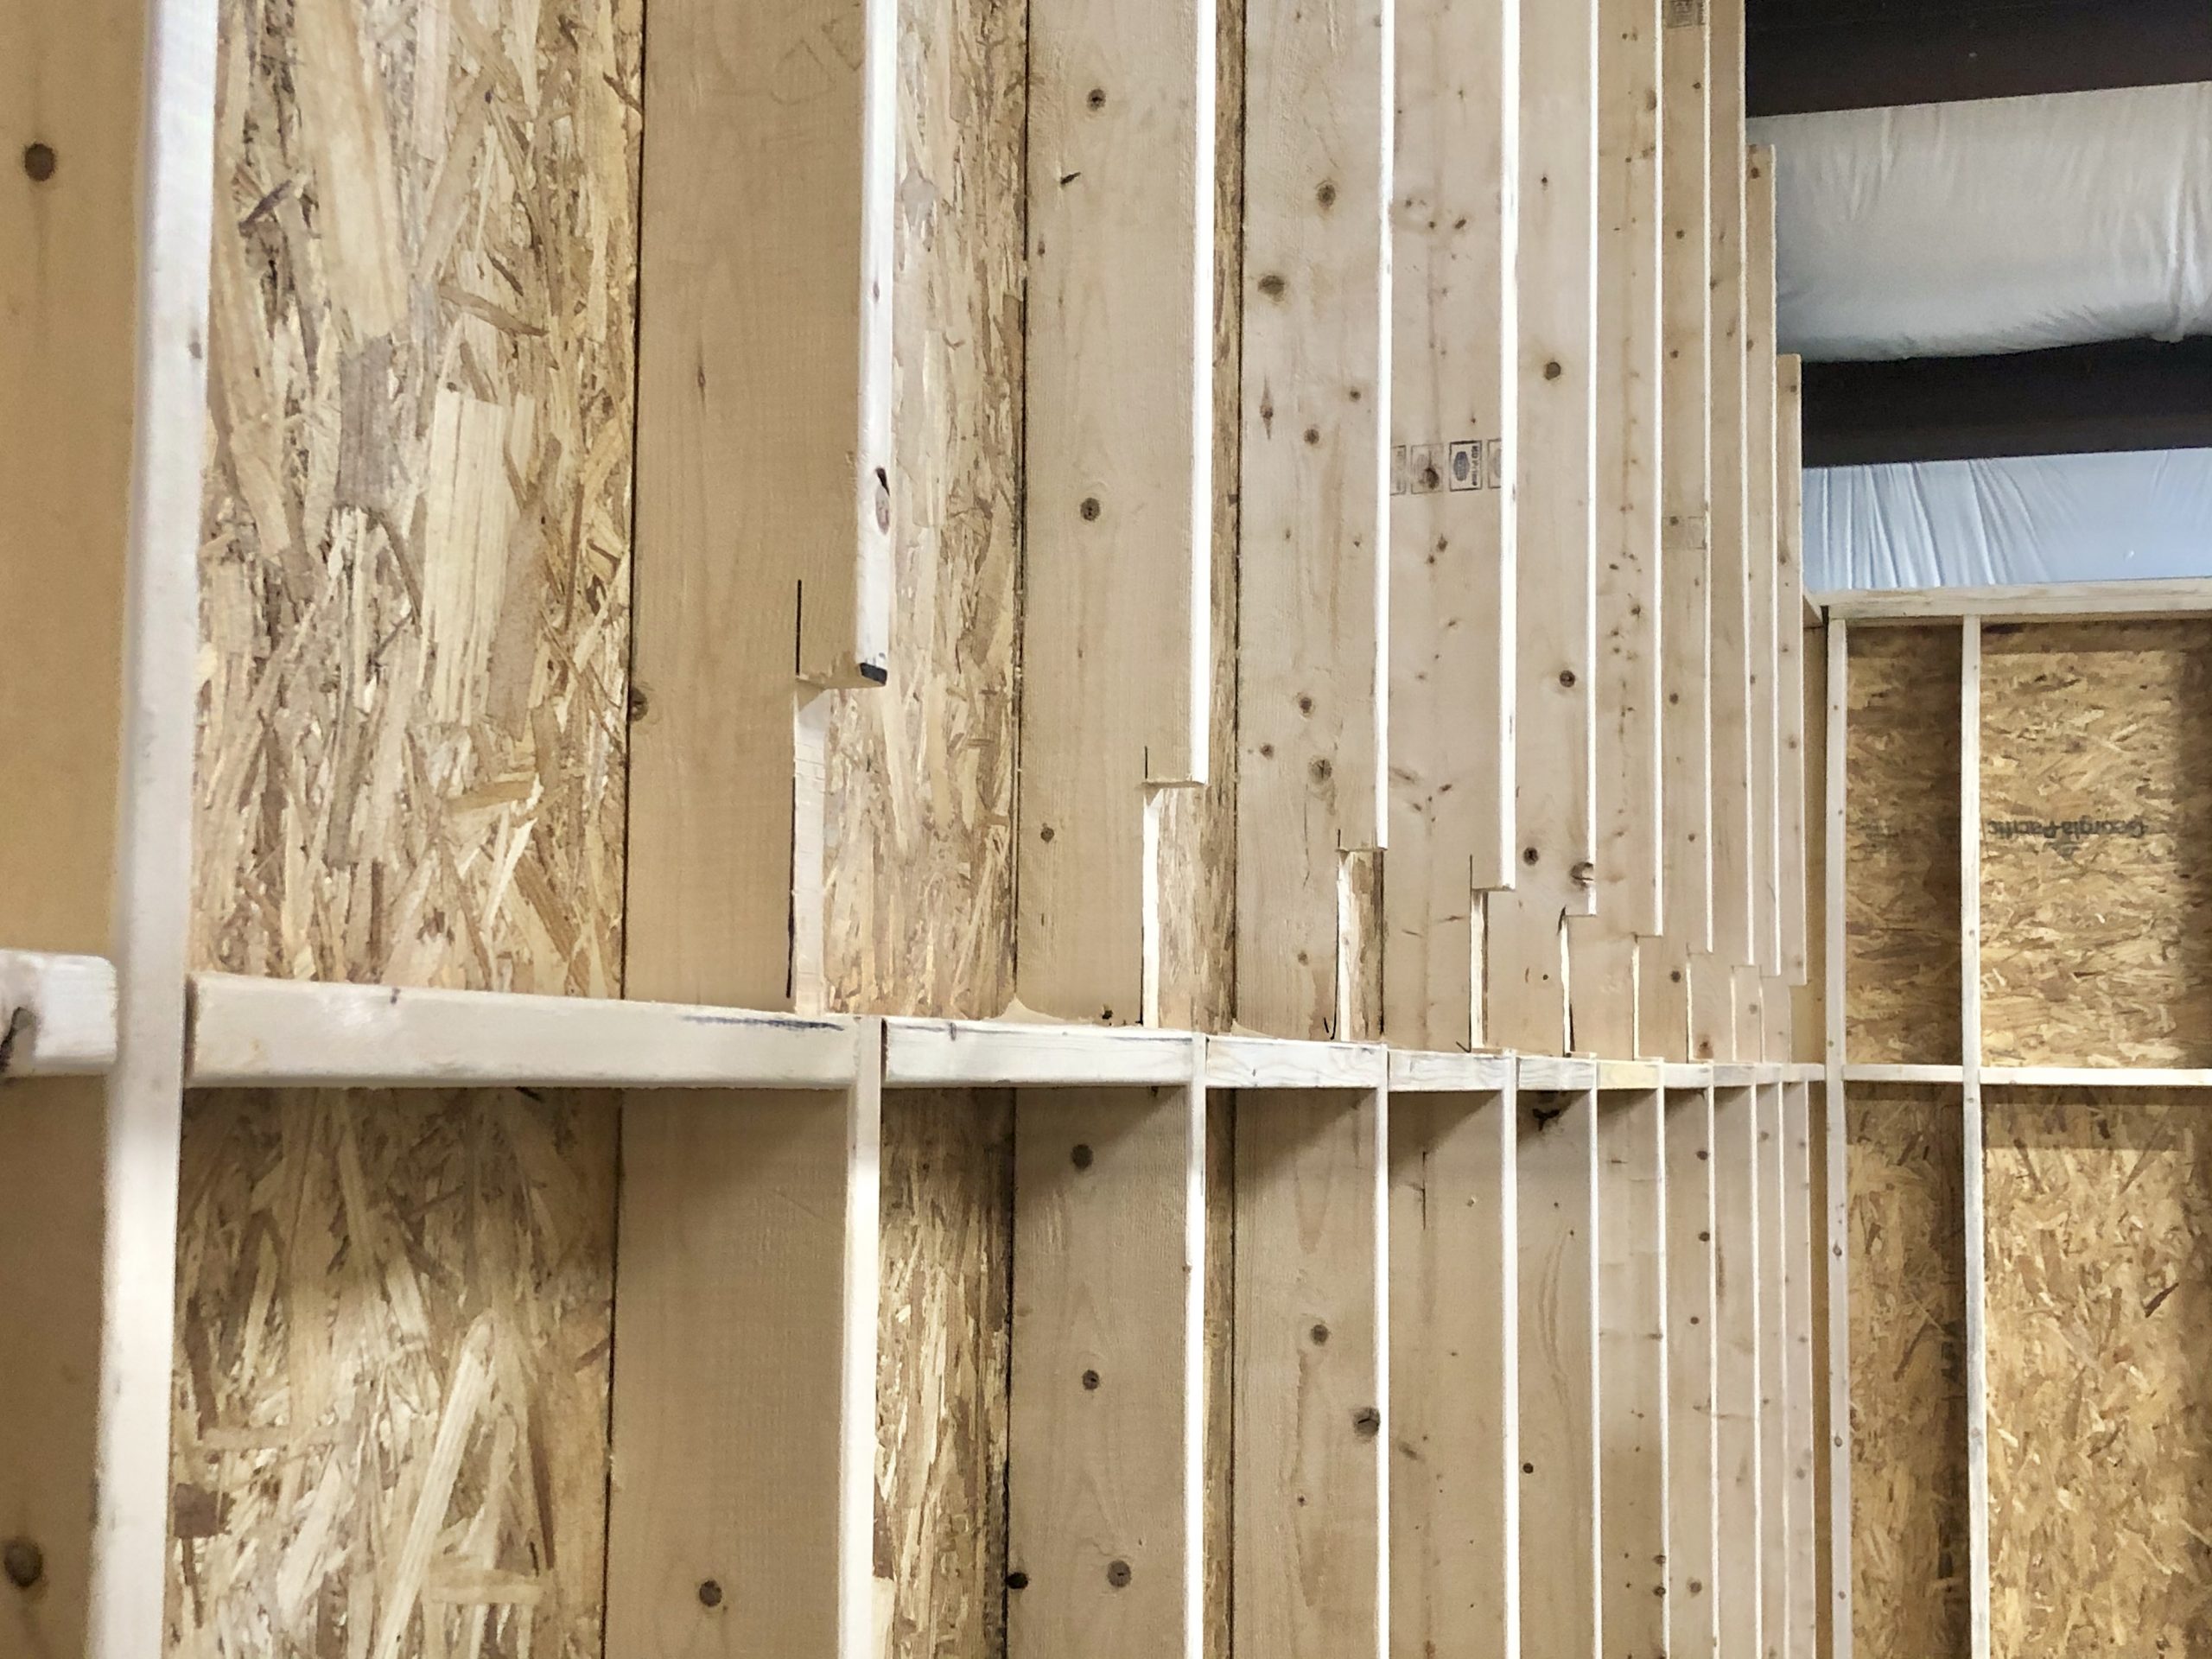
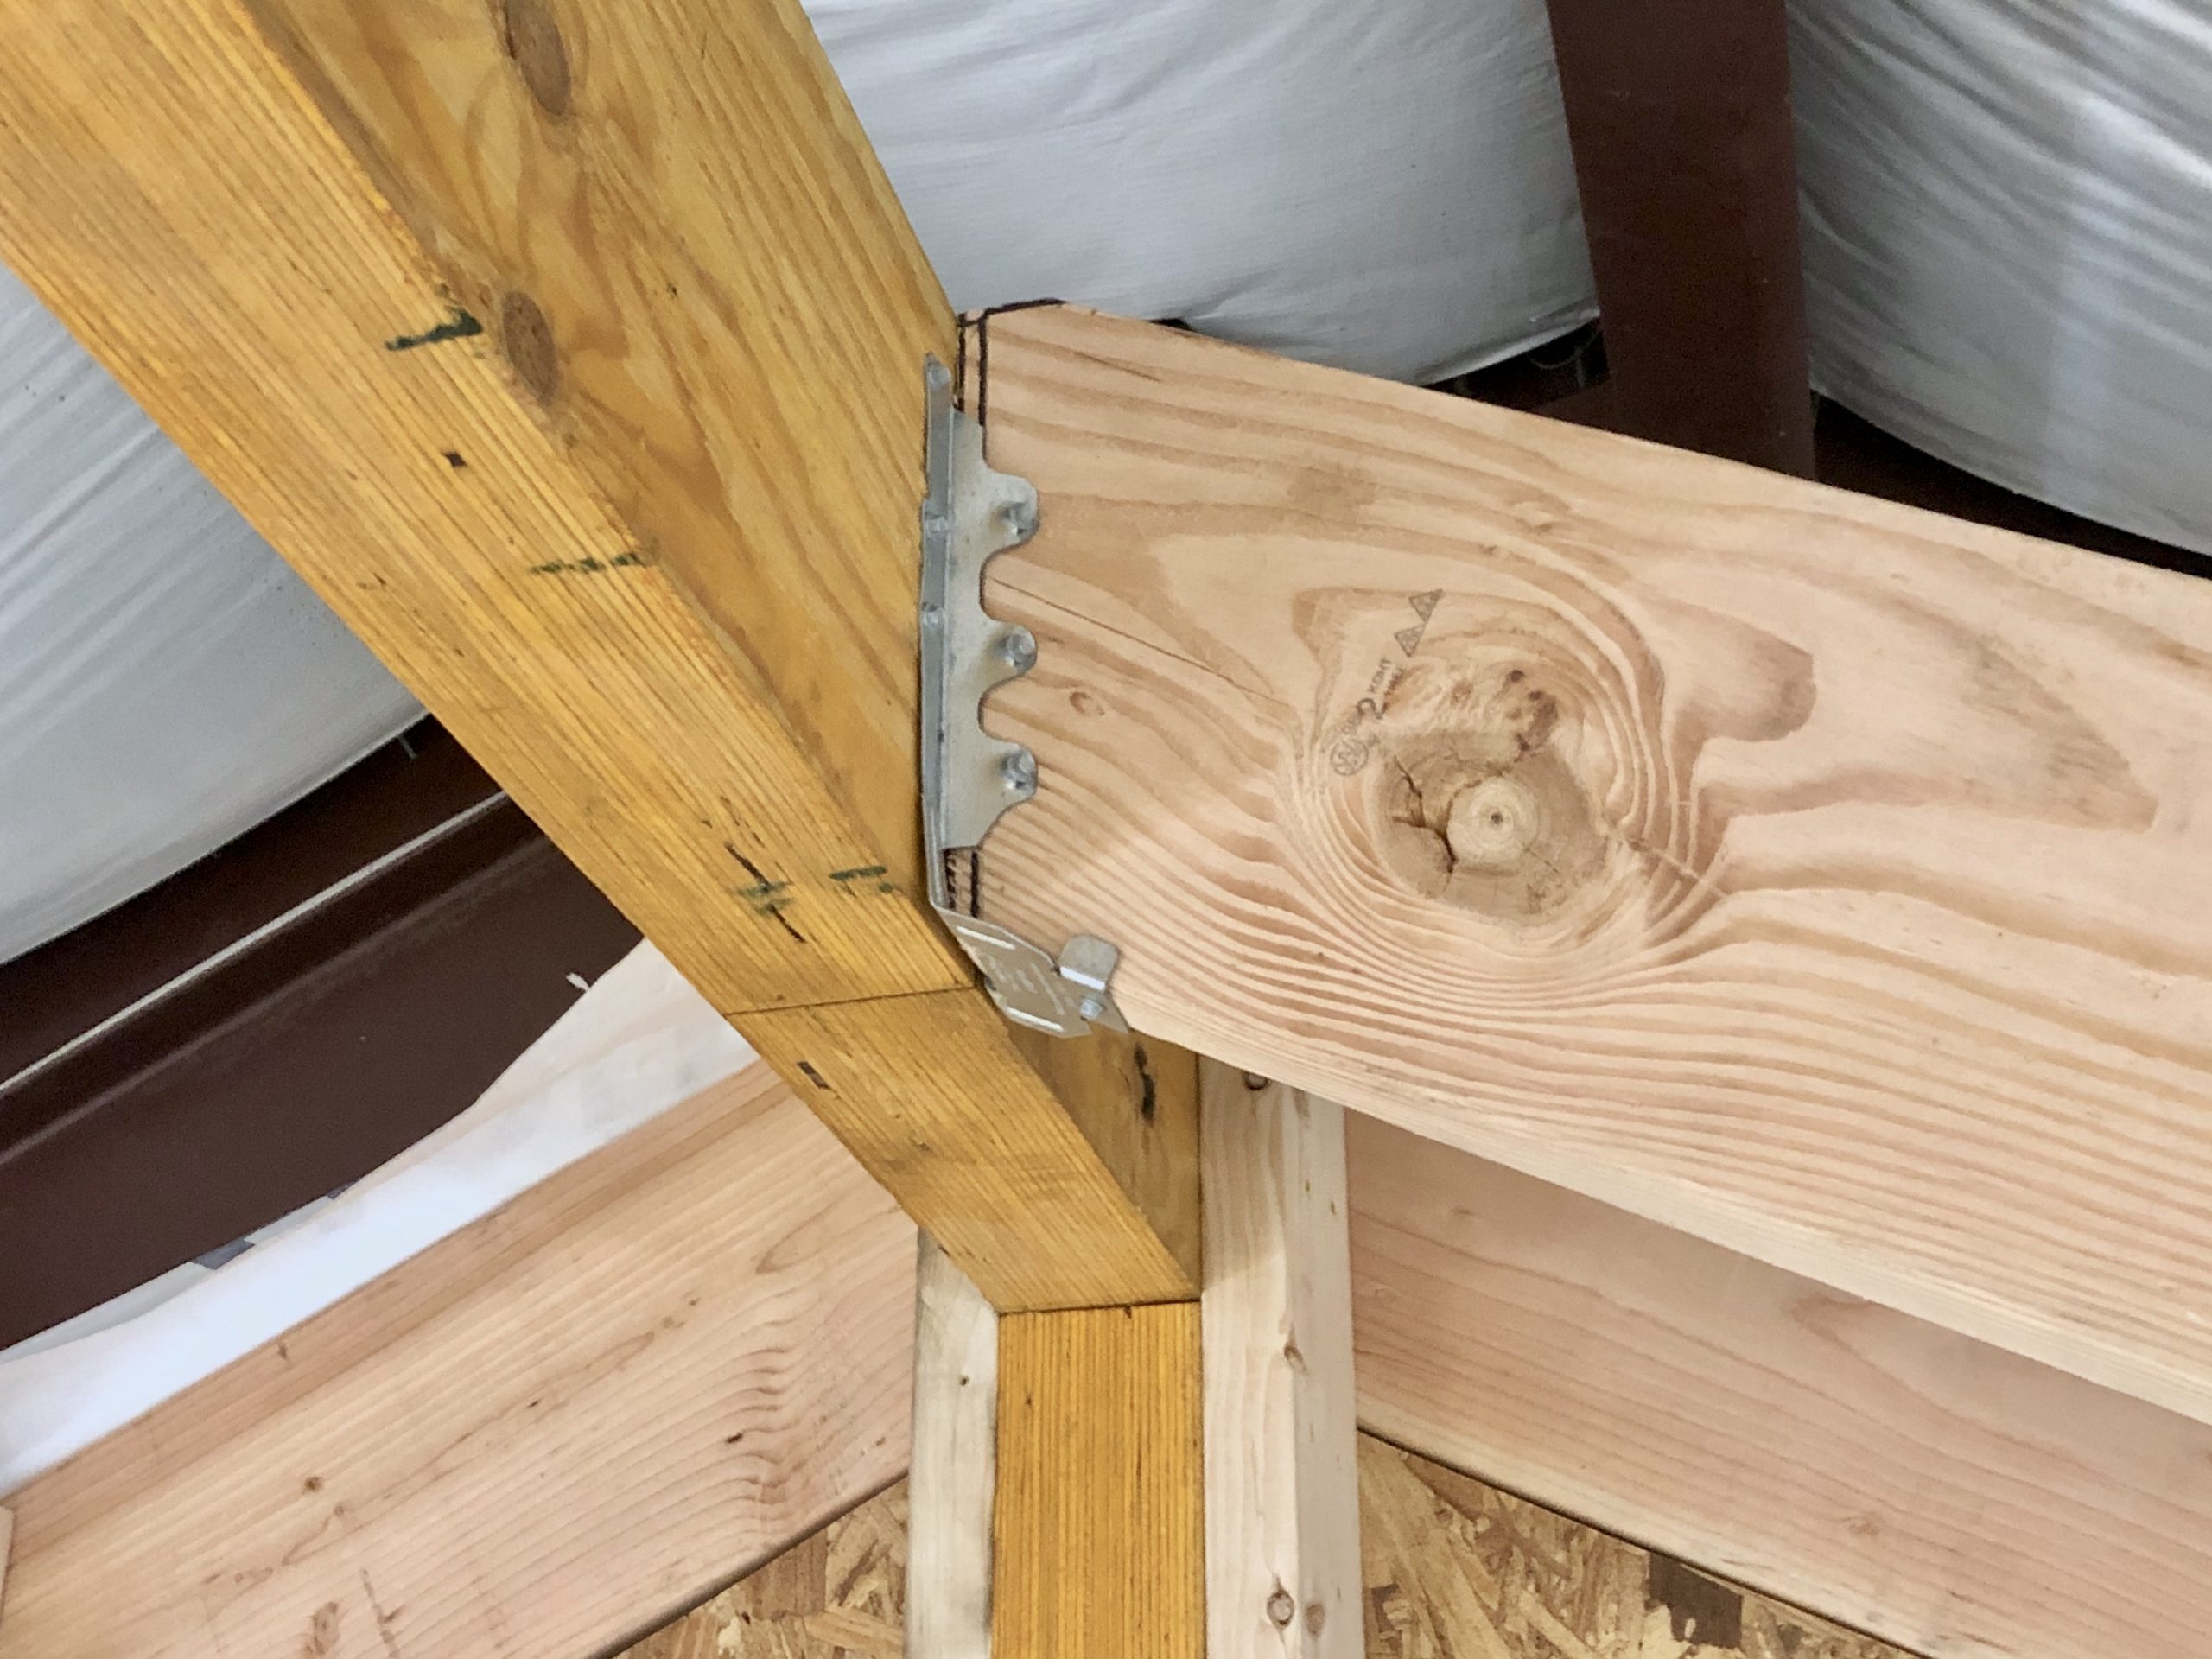
I first cut many 1-1/2″ deep slots between the marks with a circular saw, and then knocked them out with a hammer and finished the notch with a chisel.
I found working at knee-height on the first stage of the scaffolding quite taxing, but it seemed like a better idea than wielding a circular saw half way up a ladder.
The notching came out great, but it was pretty time consuming.
Letting a ledger board was standard when ballon framing was all the rage. More recently, platform framing has taken over. Mostly because it’s easier, not better.
I secured the ledger board with 3-1/2 in. screws which also pulled it the rest of the way.