Heat Pump Line-sets
October 26, 2022
With winter coming soon, I’ve been focusing my attention on getting the heat pump working. First I ran the power from the building to the outside unit.

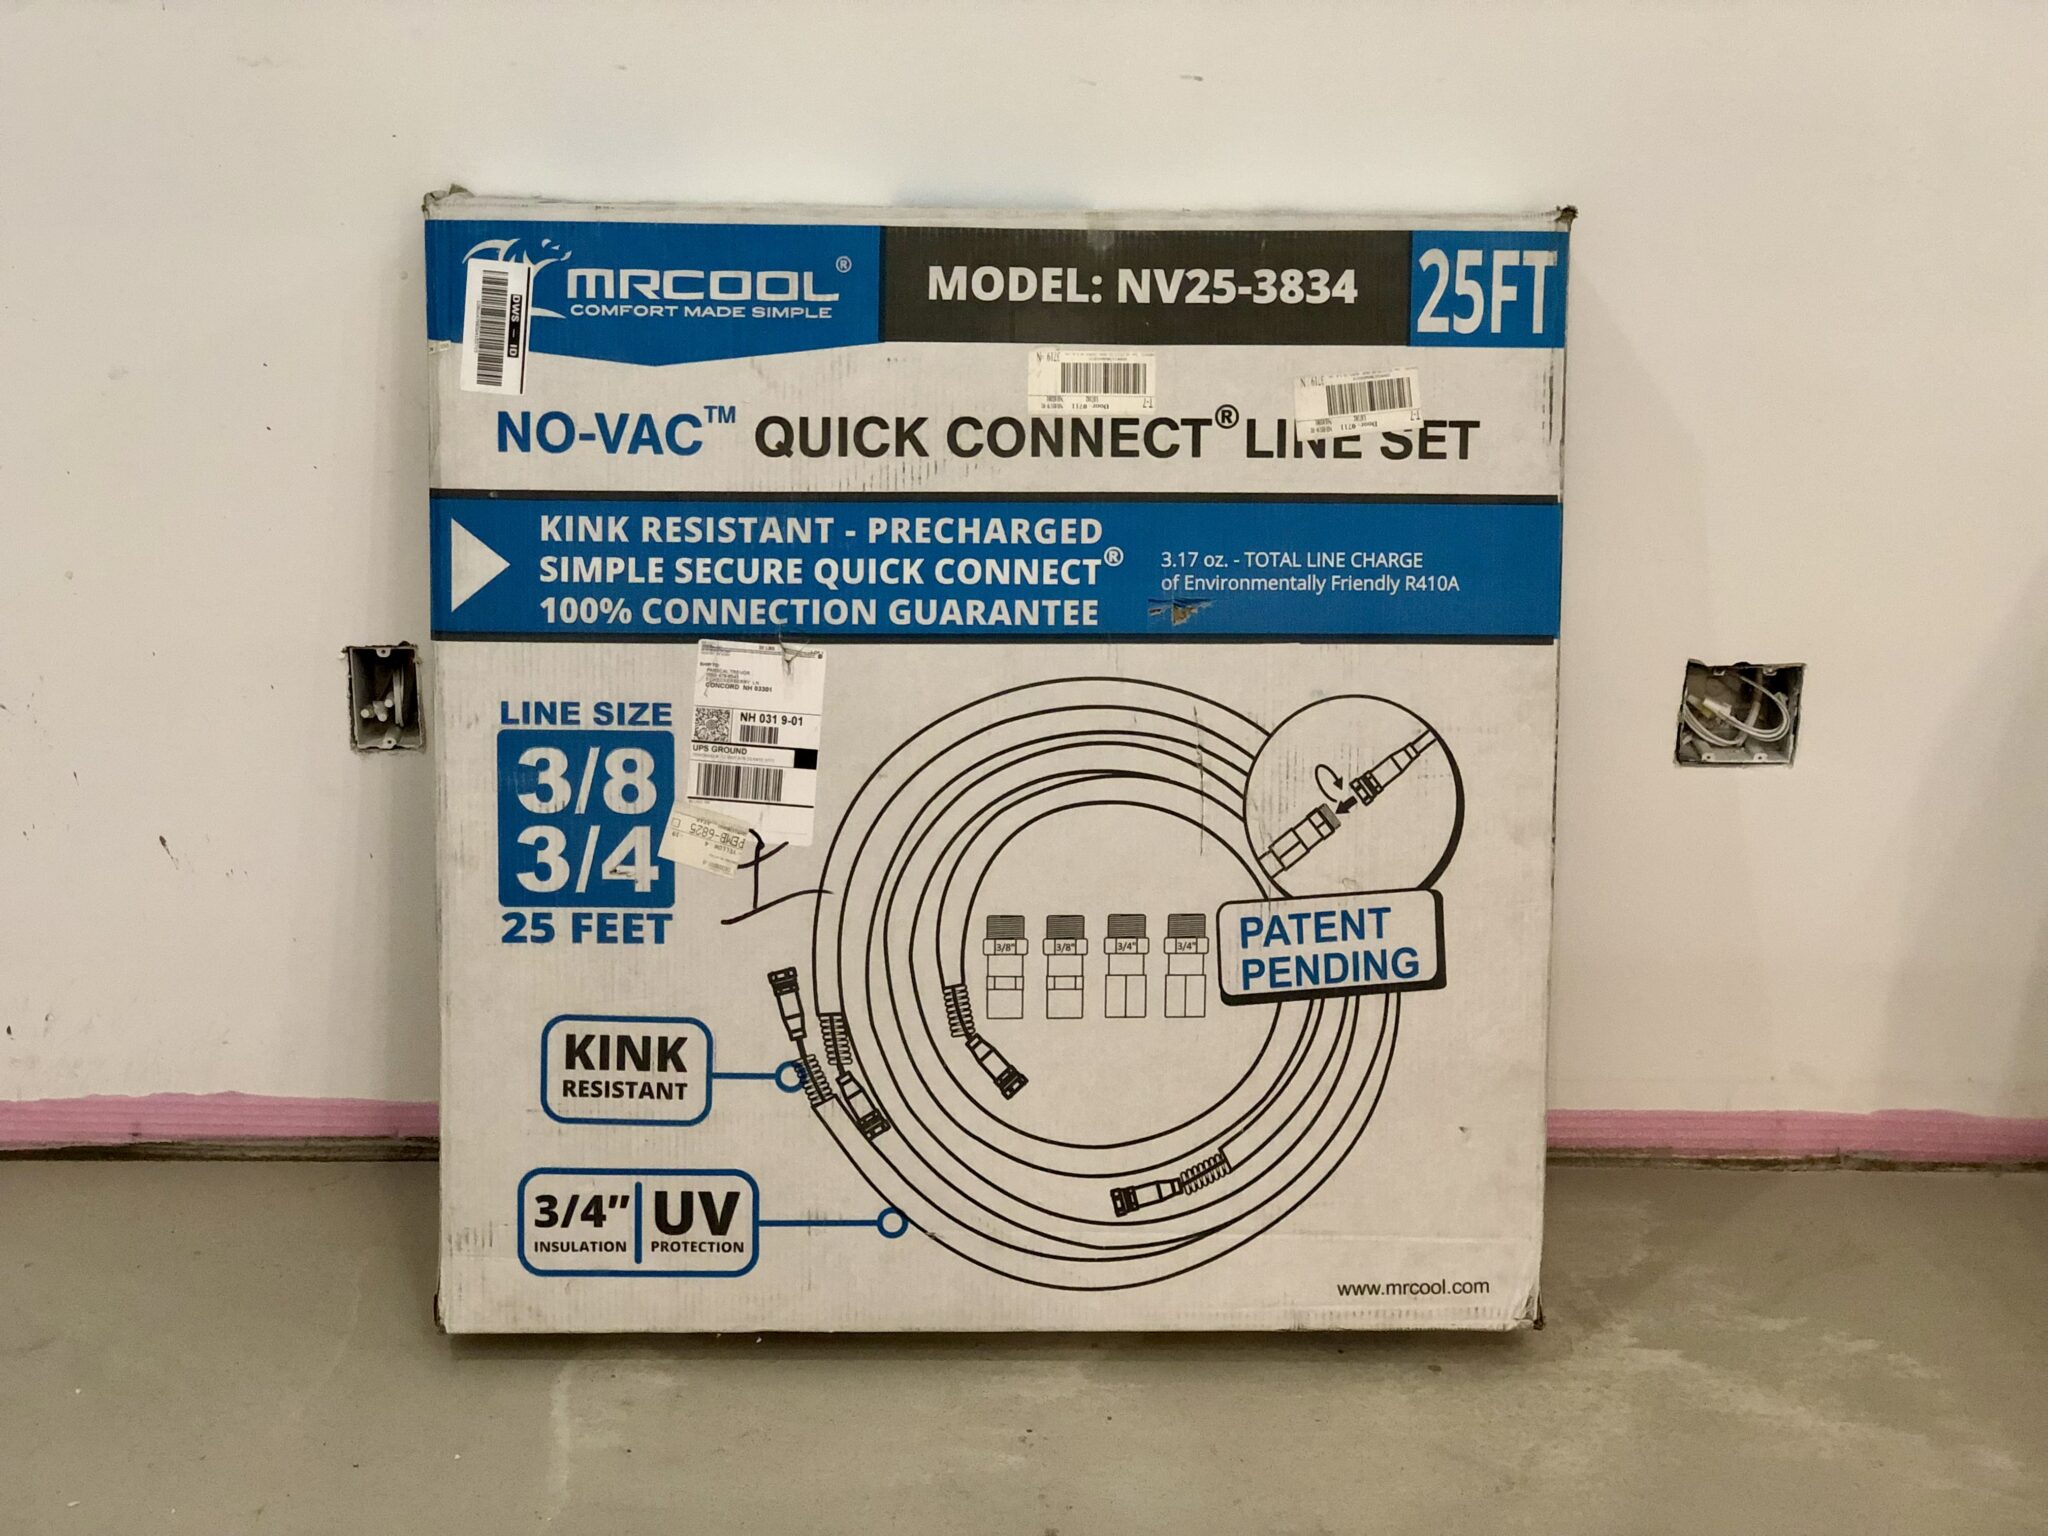
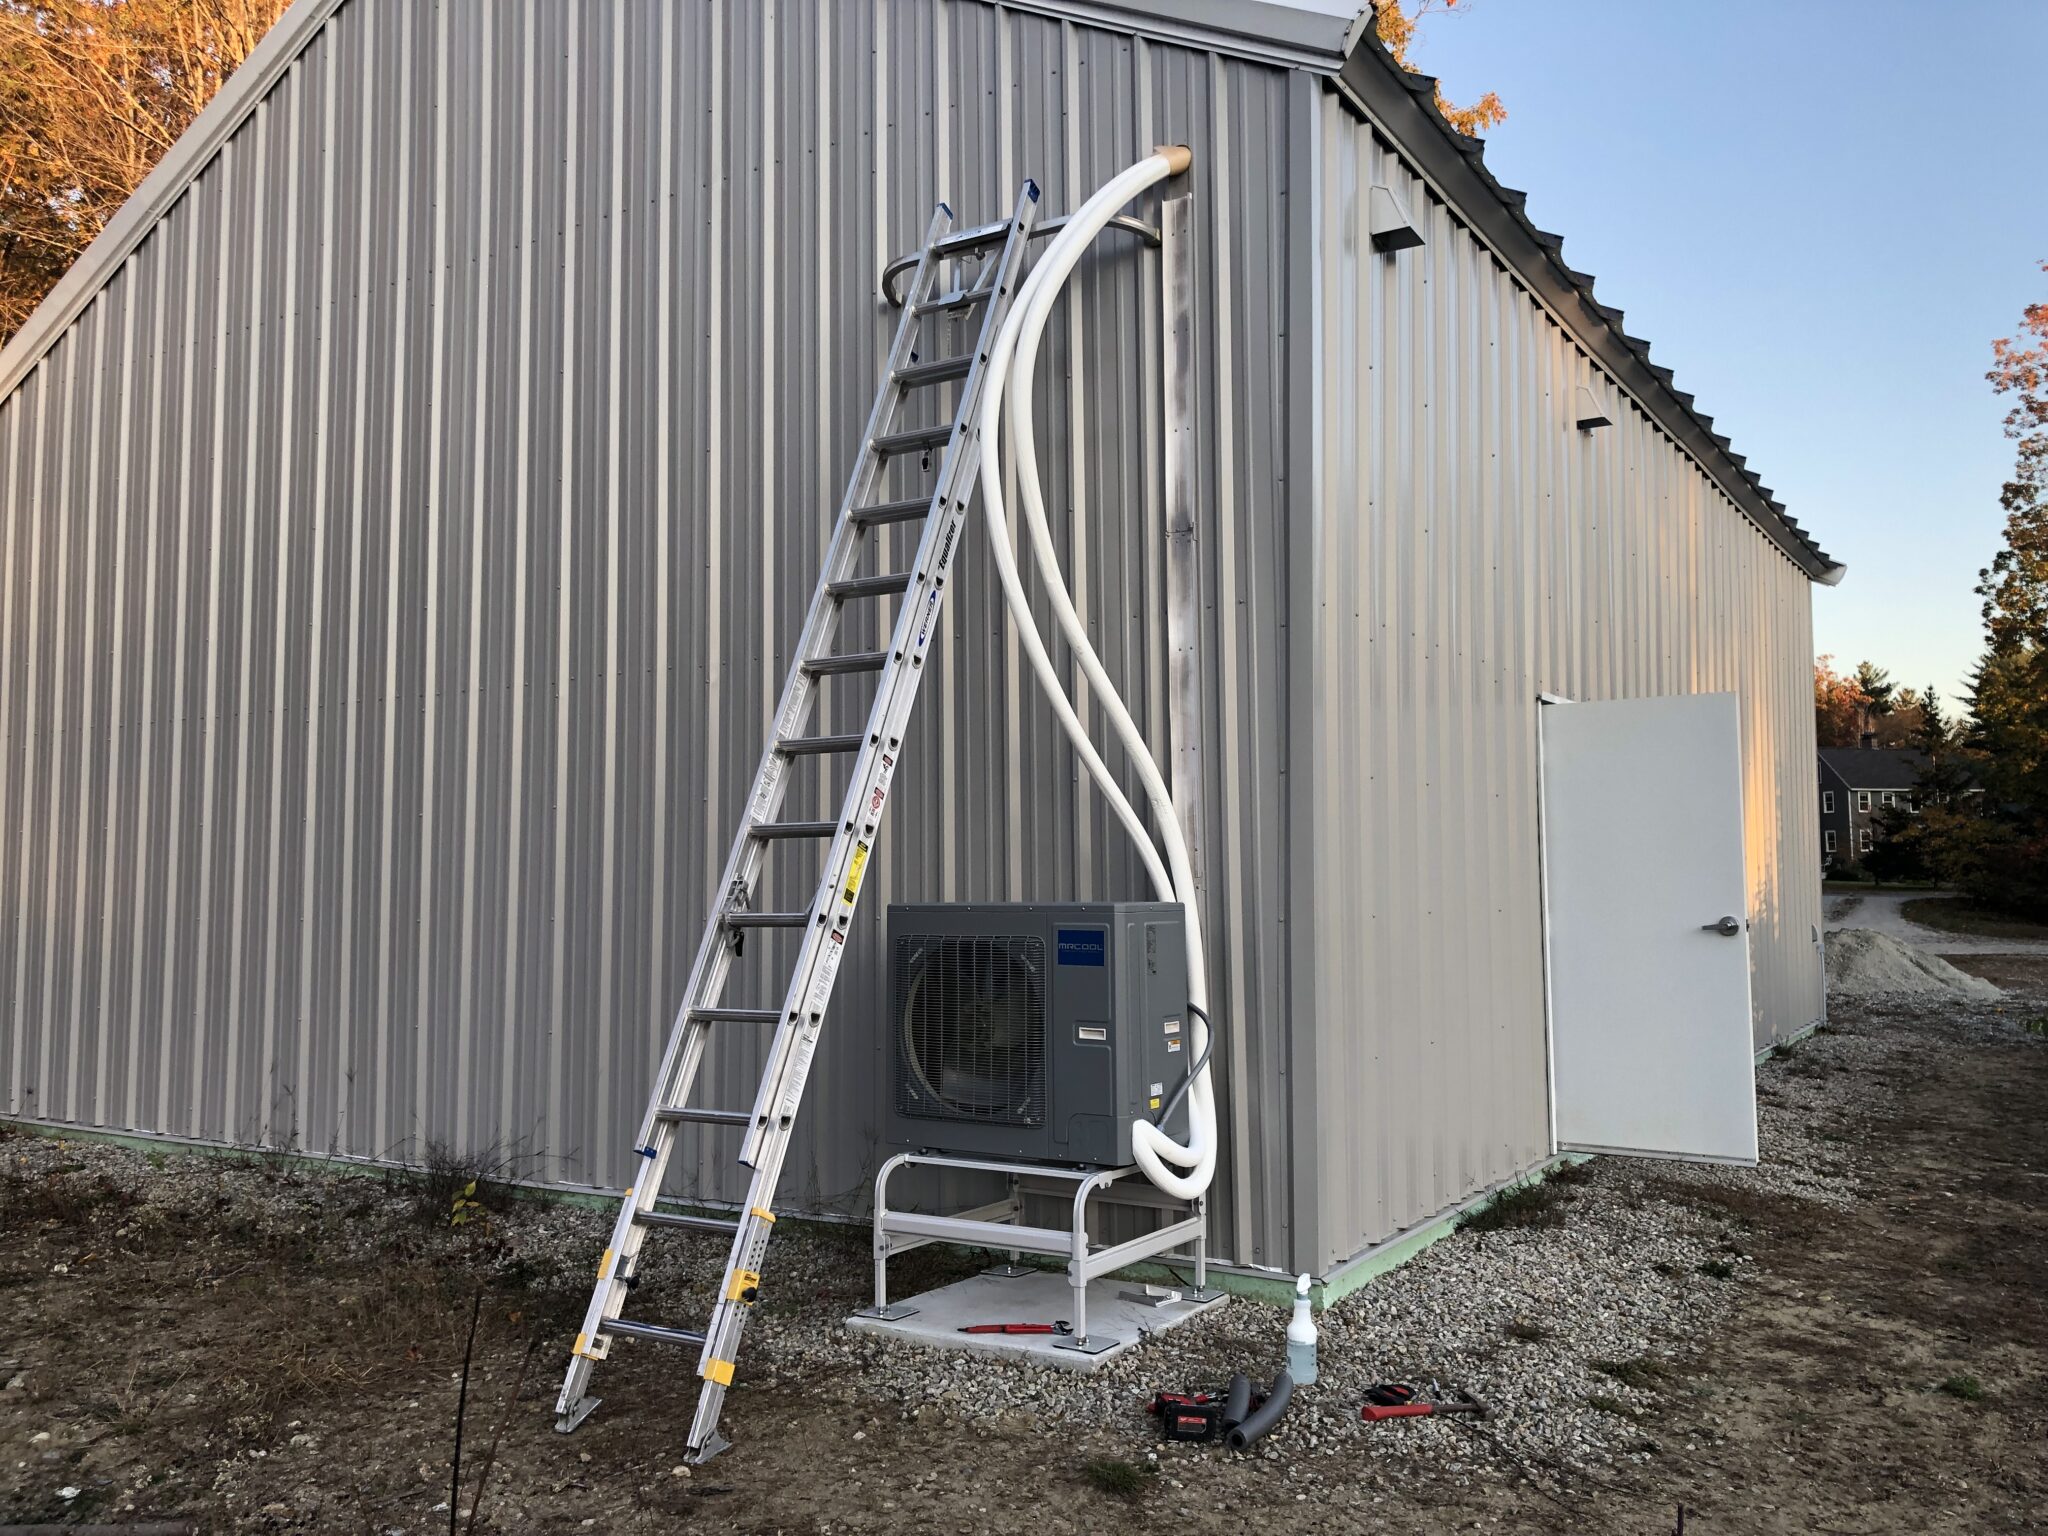
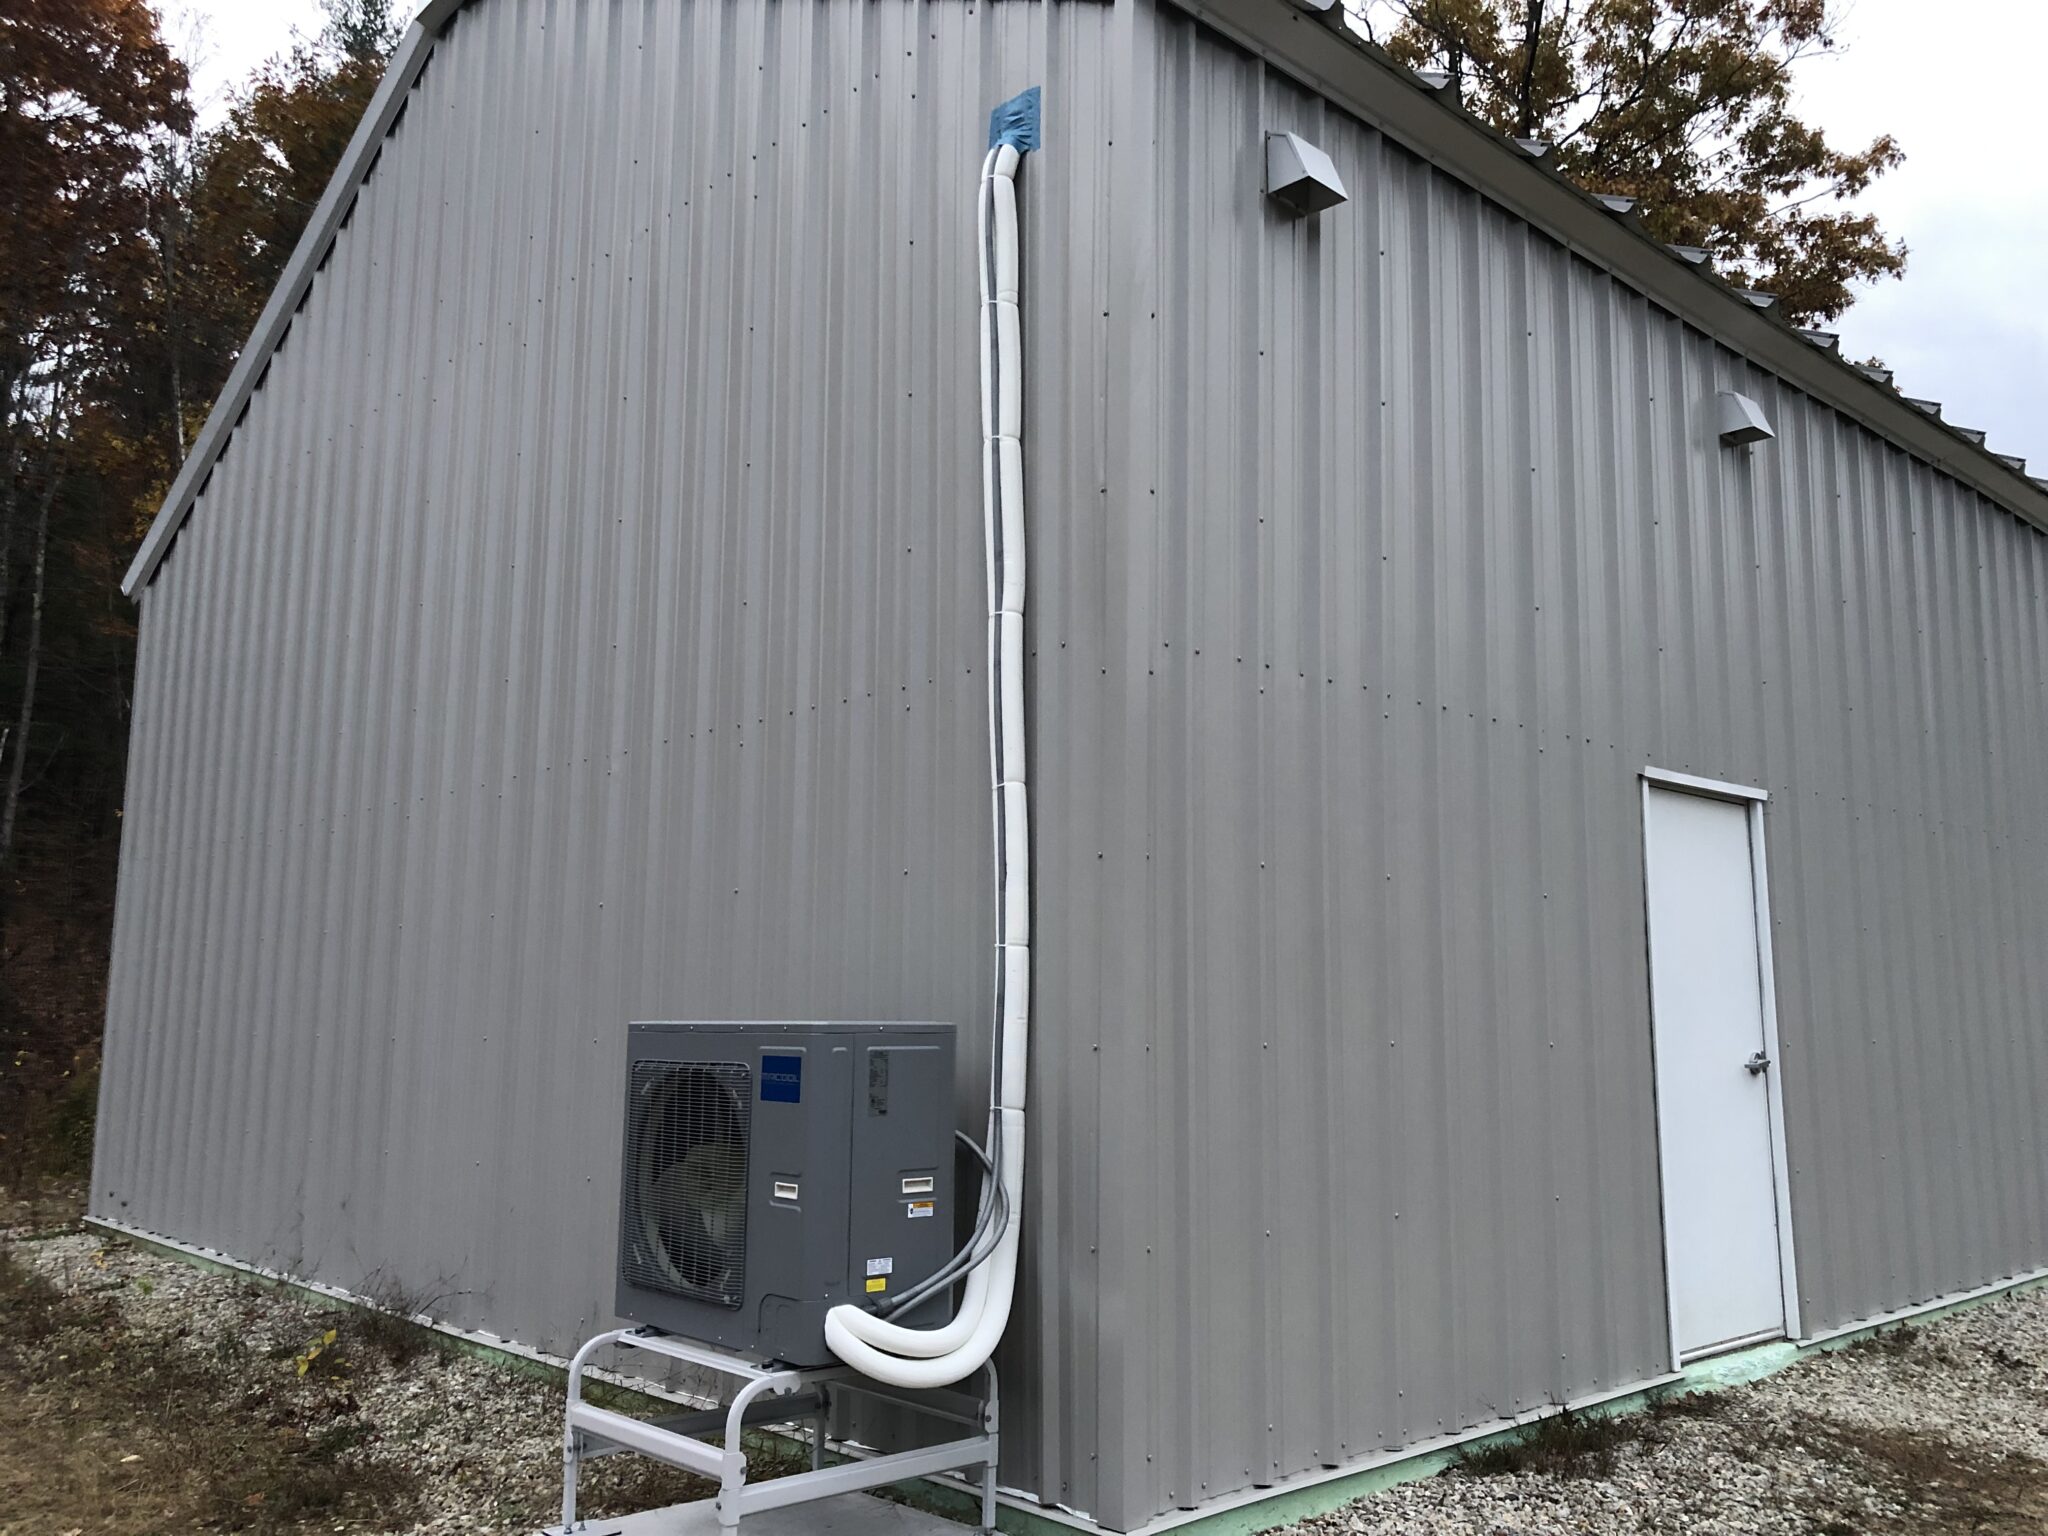
Adam came over to help me run the line-set, and we spent some time planning things out. Due to limited access to the inside of the wall, I decided to run it up the wall about 13 ft before passing it through the wall into the attic. However, After some careful measuring, it became clear that the line-set I purchased was too short. I ordered a longer line-set, and listed the shorter one for sale, hoping to recoup most of what I paid.
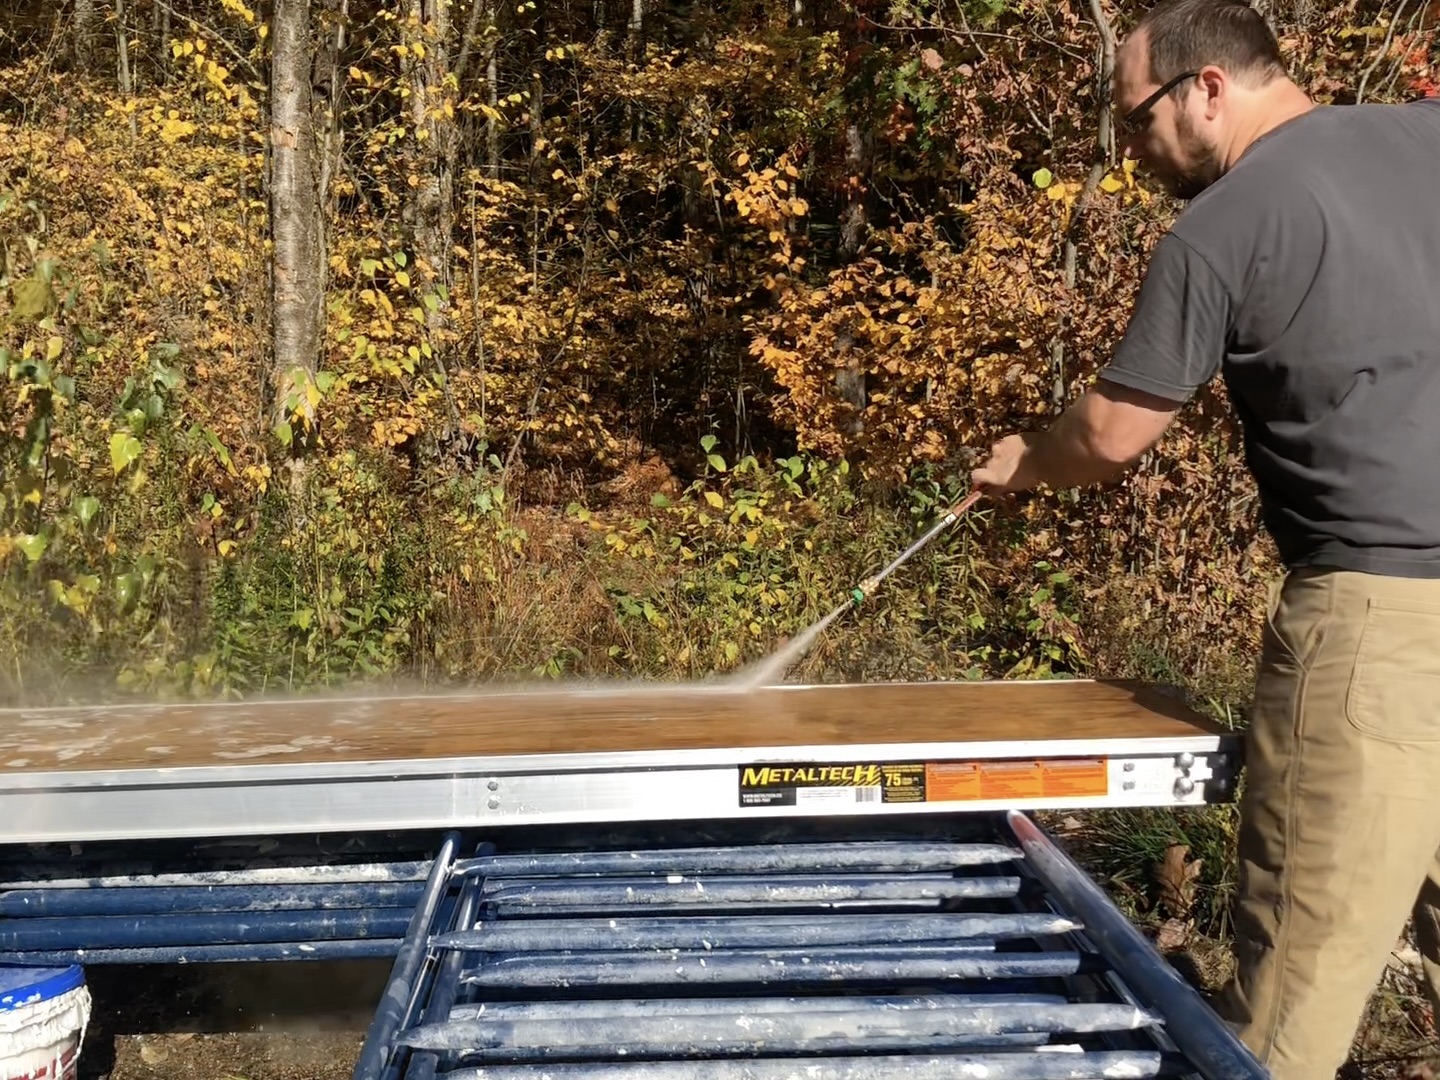
Meanwhile I also realized I should have painted the line-set cover before attaching it to the building. I painted the parts that weren’t yet attached in the studio.
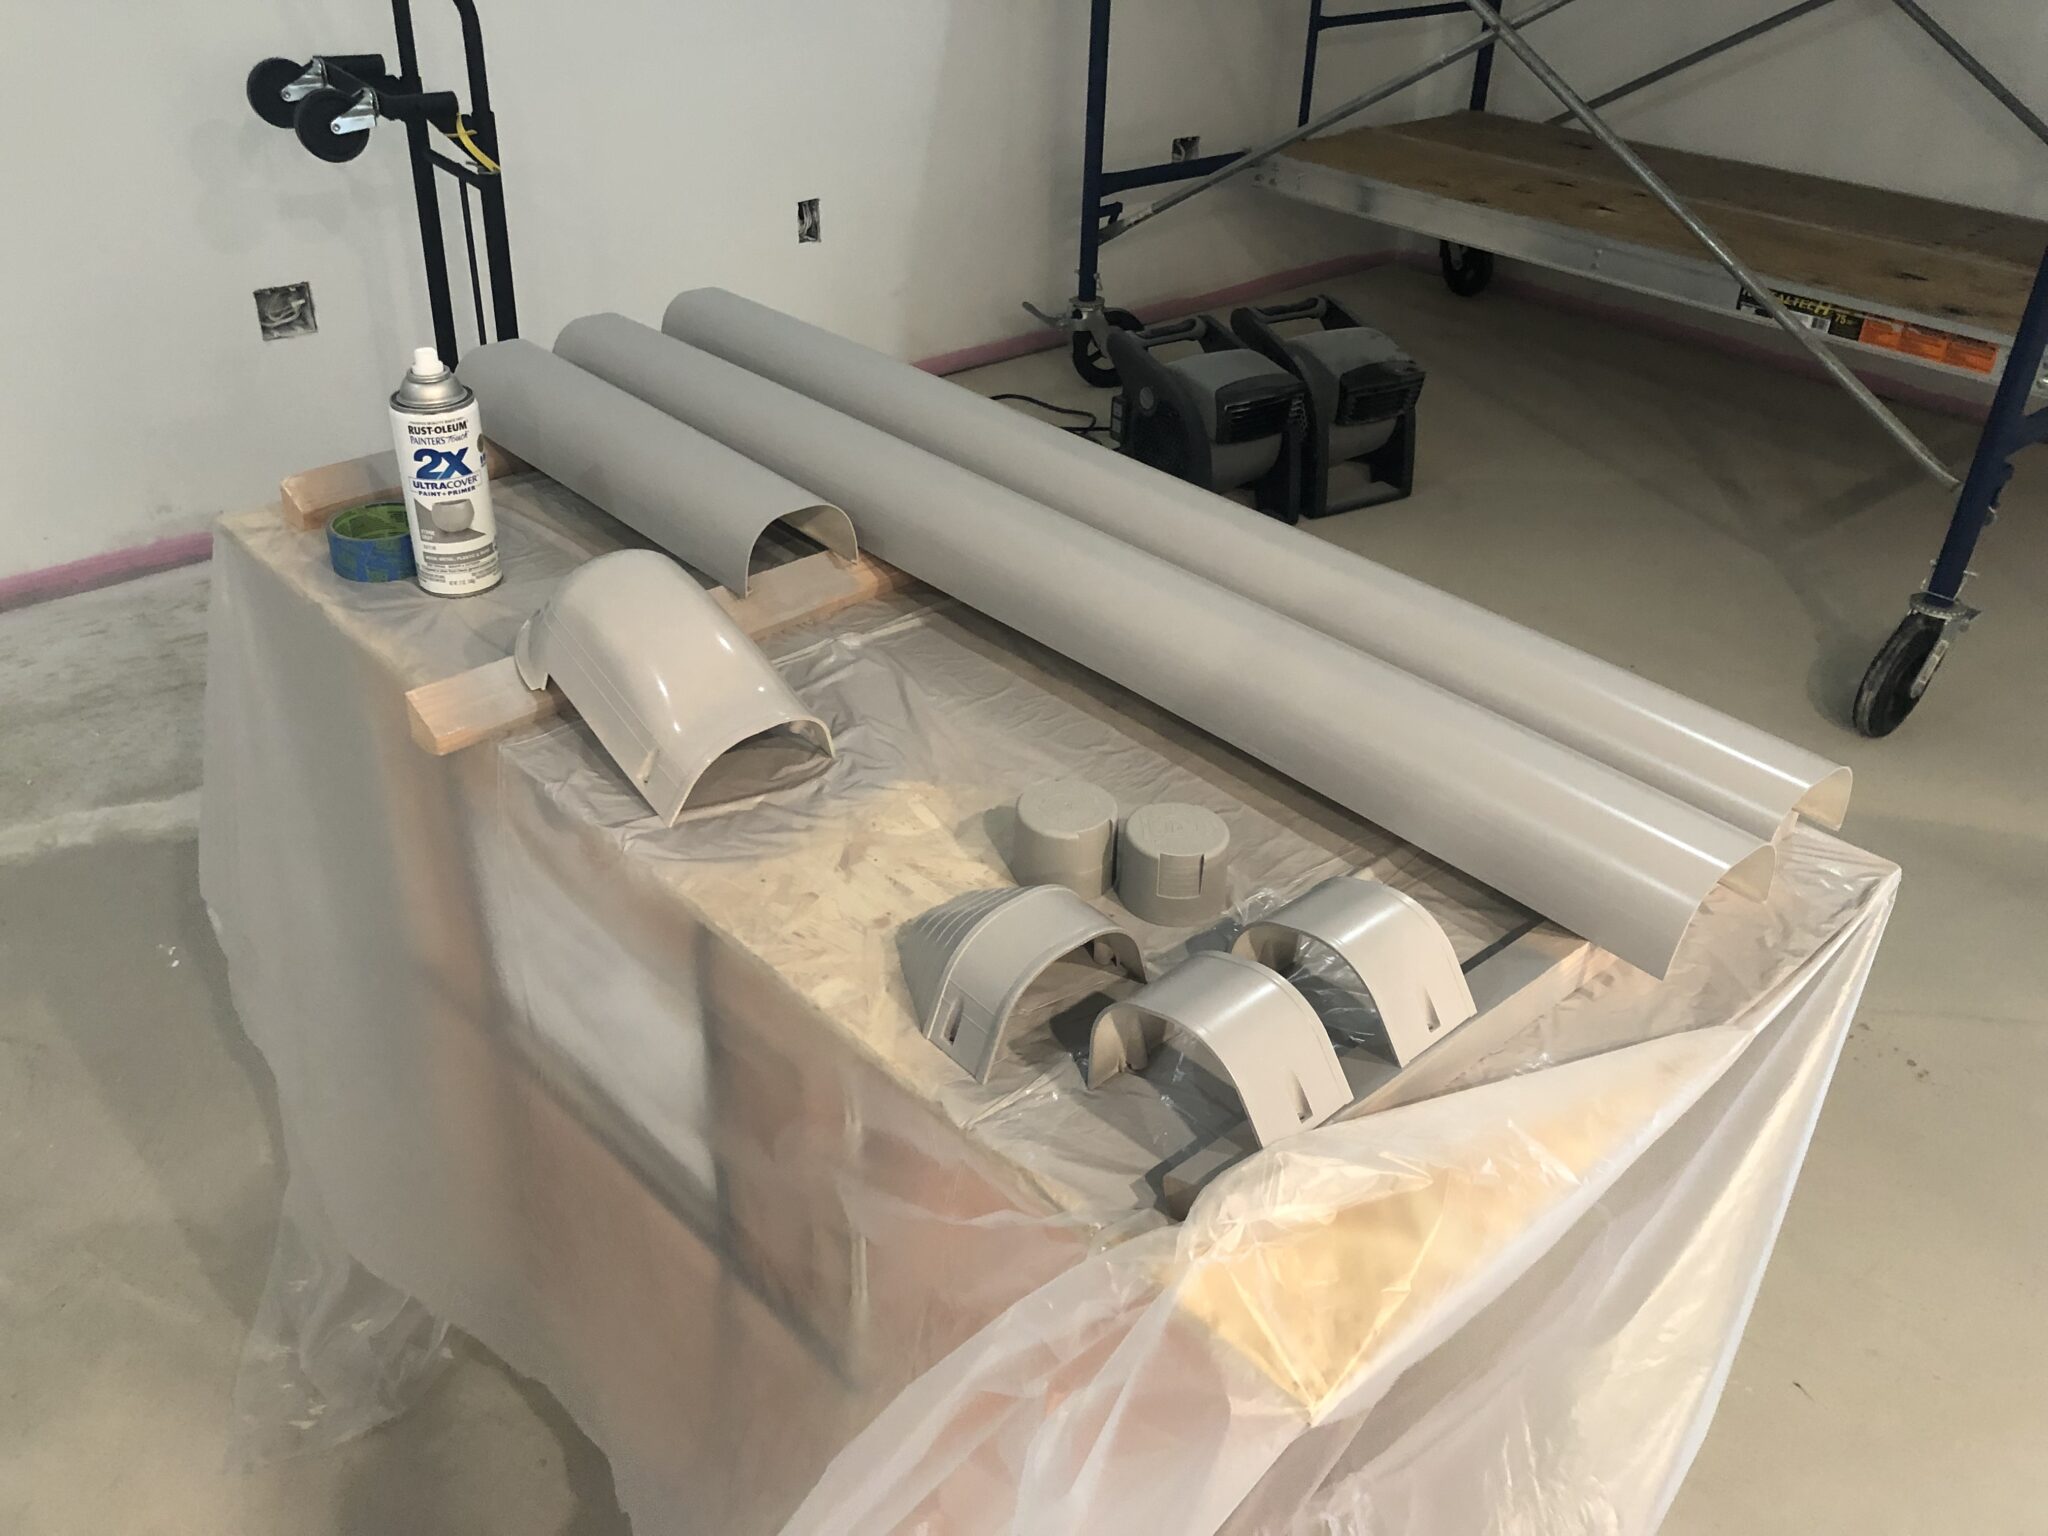
Then I masked off the already attached parts and painted them in place.

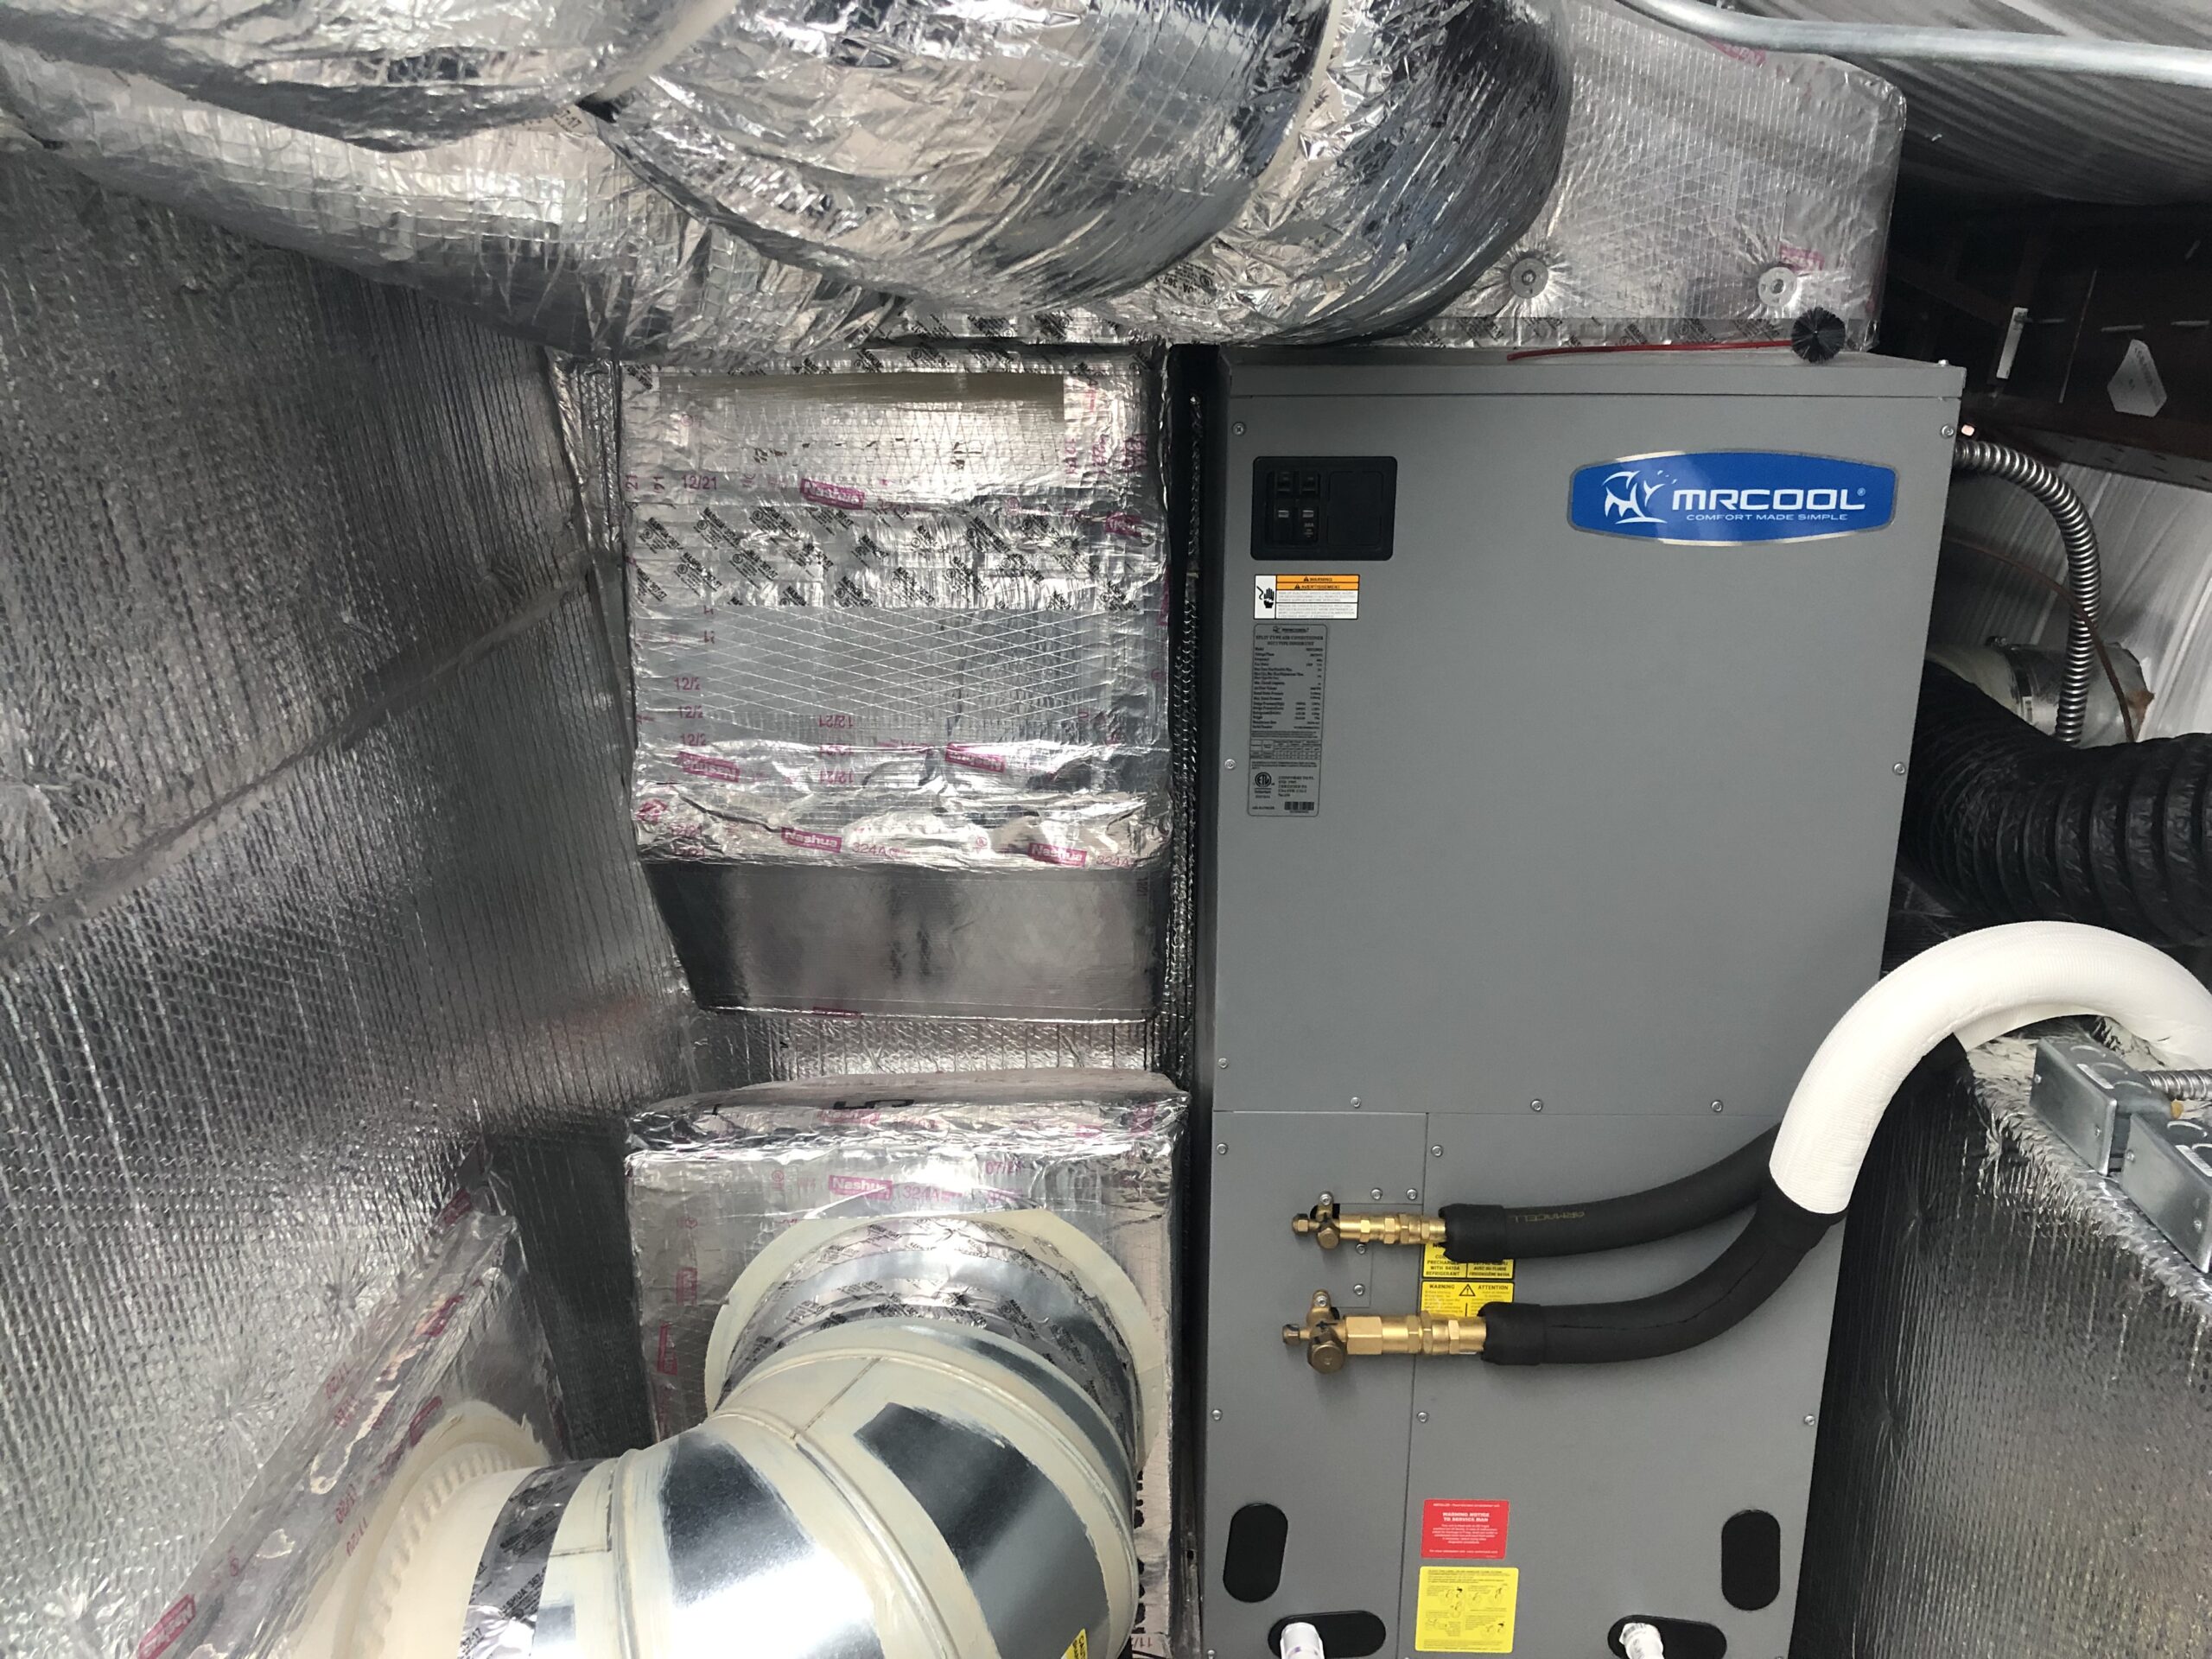
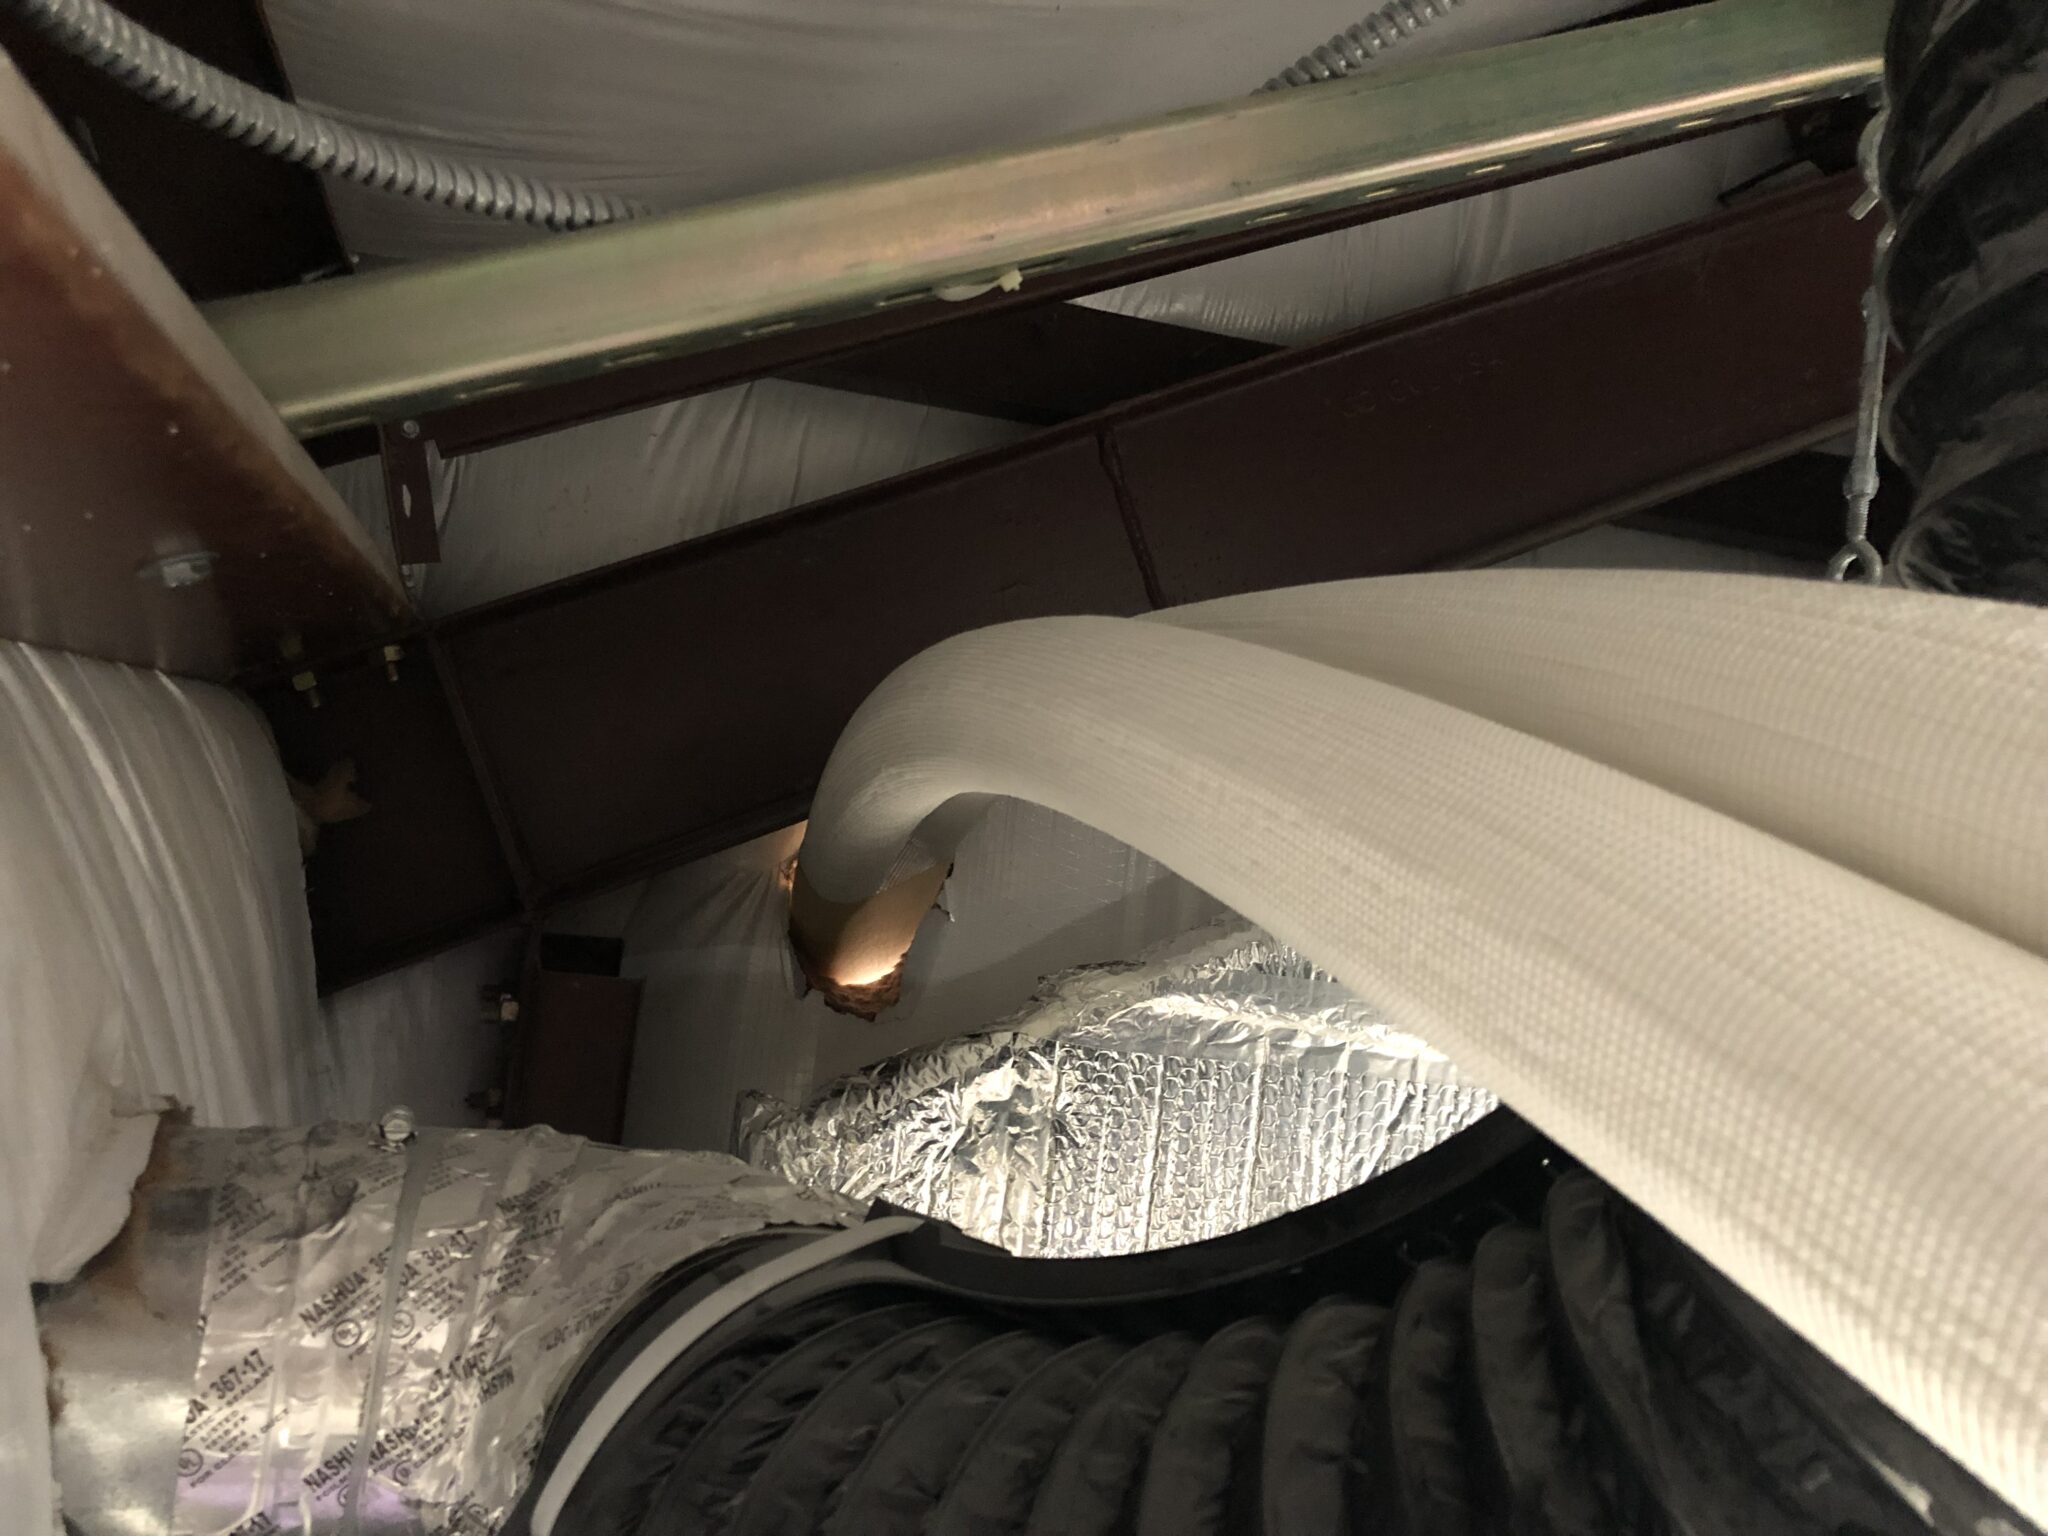
Then I ran the line-set from the attic out to the outdoor unit.

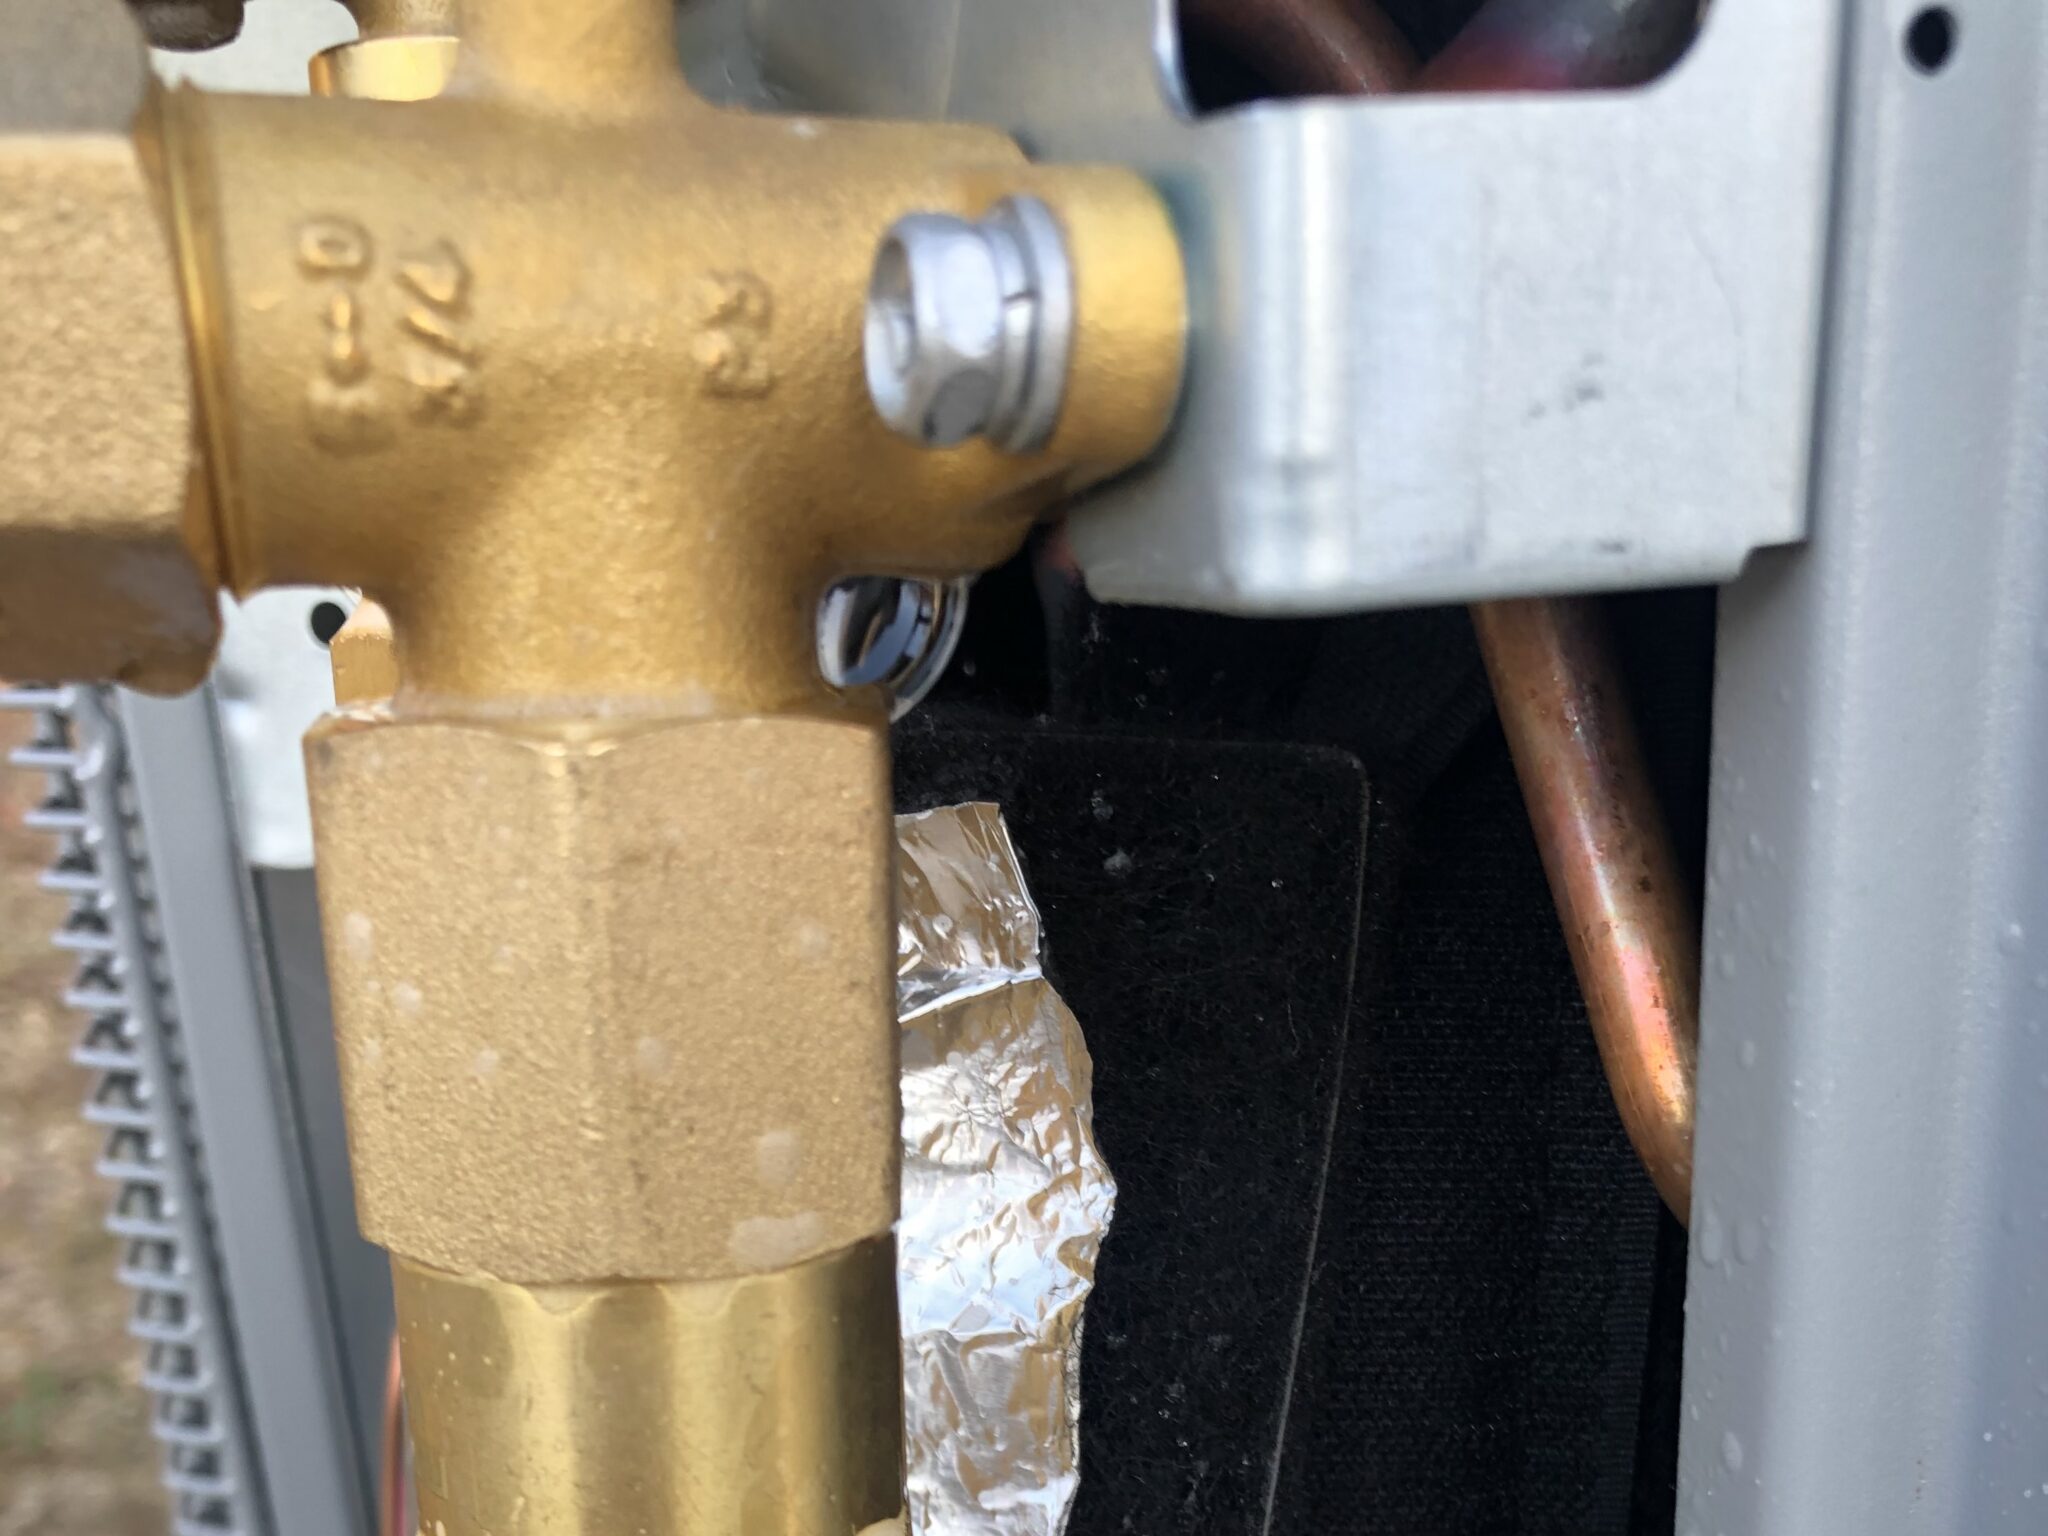
Unfortunately, one of the adapters had a small leak, so I just disconnected it and set it aside to fuss with later.
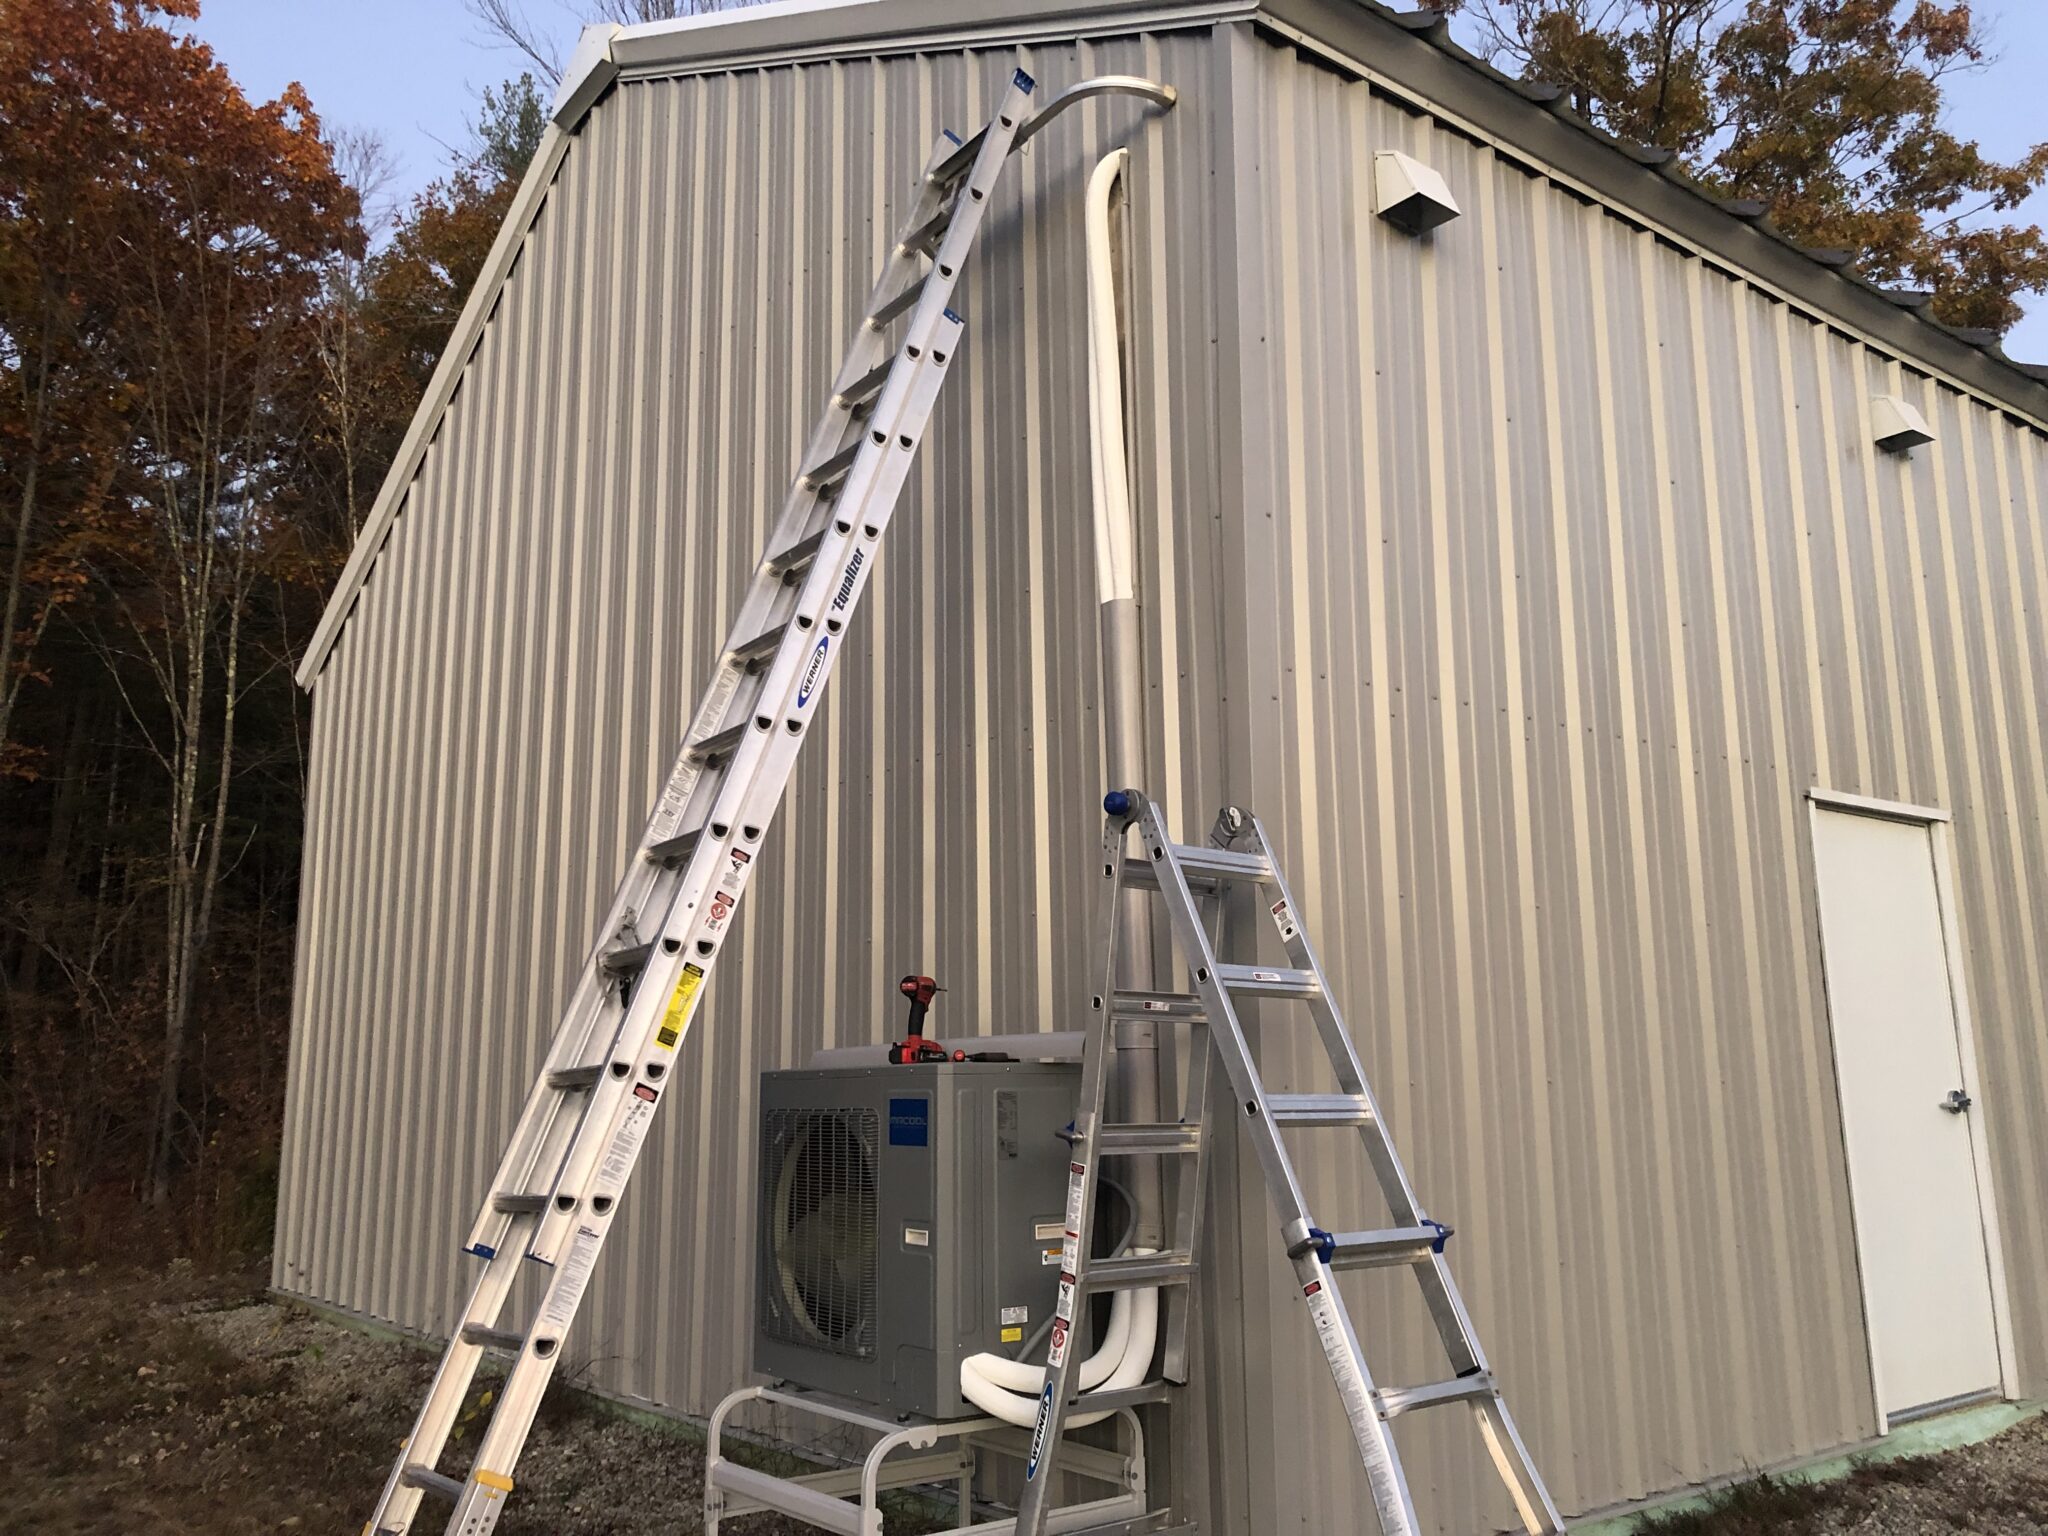
Next was the task of bending the line-set to fit inside the line-set cover.
This proved very difficult since the area at the top which I needed to bend just right could only be accessed with a ladder or by reaching over equipment in the attic.
I got it pretty close, and started covering the line-set. However, it quickly became apparent that the line-set barely fit inside, and there was no way I would be able to bend it tight enough to get it to fit at the top.
I took a break, ordered a different line-set cover with plenty of room, and moved on to the electrical.
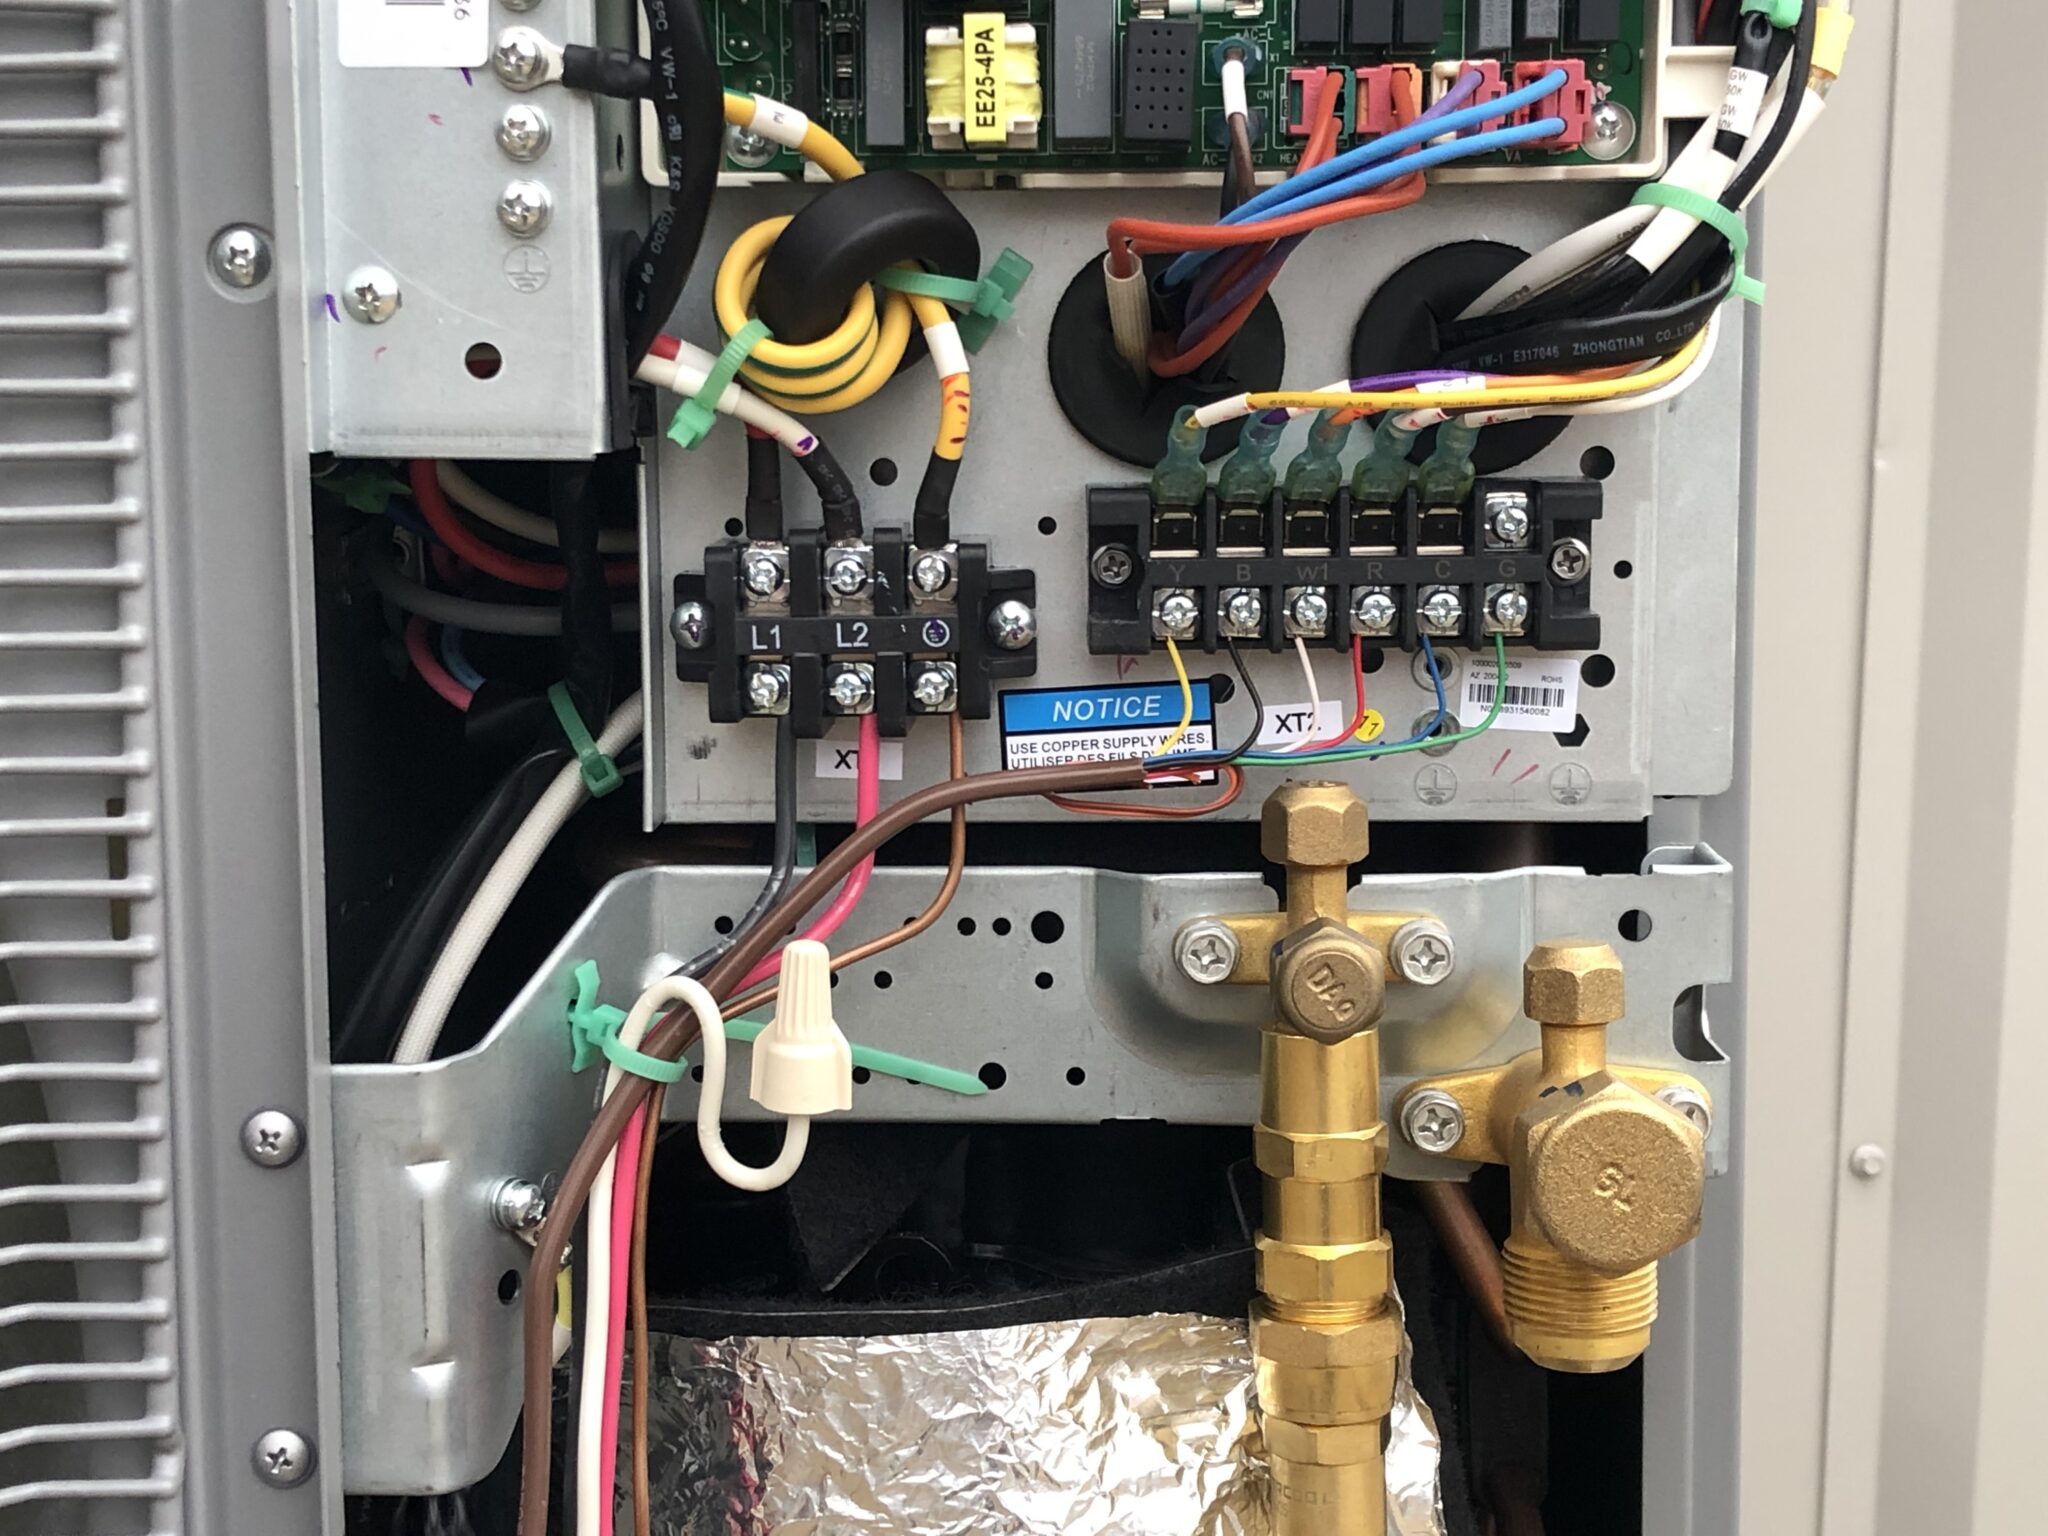
I wired up the 220v power and the 24v communication wires.
I then ran the communication wire to the attic inside a waterproof flexible conduit, which will then be concealed in the line-set cover.
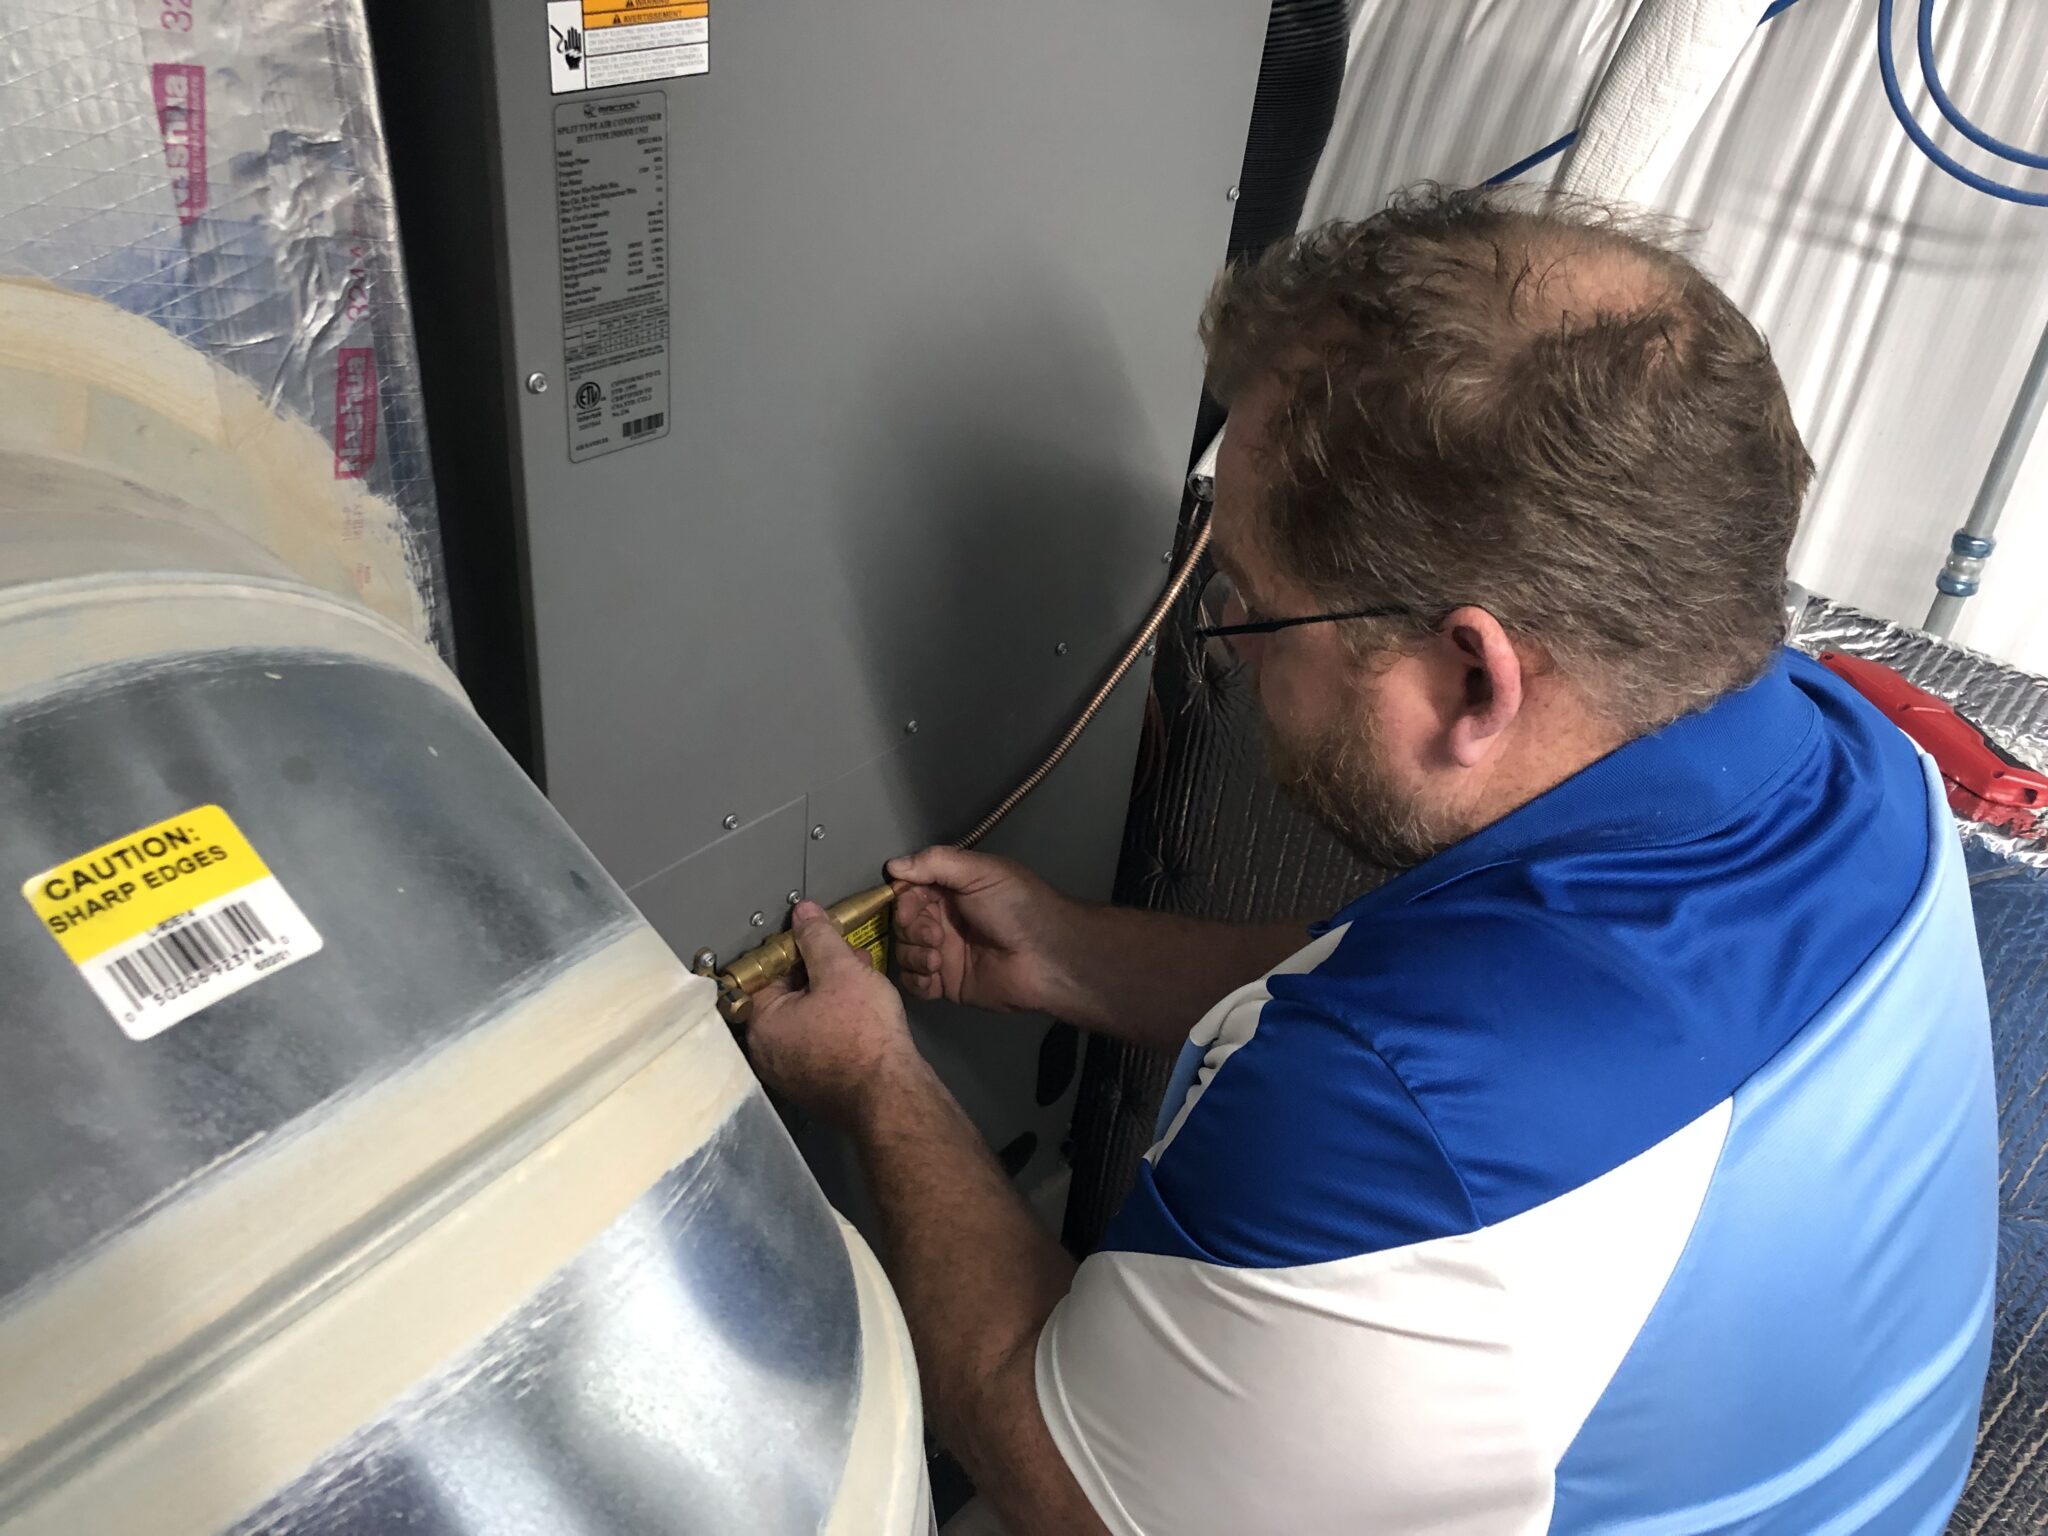
Adam came over again a few days later to help get the line-sets connected.

We swapped out the leaking connector with an identical one from the not-yet-sold 25ft line-set kit. Now both lines are connected without leaks.
- Categories
- Construction