Floor leveling
October 11, 2022
While evaluating flooring options, I took some measurements to see how flat the floor was.
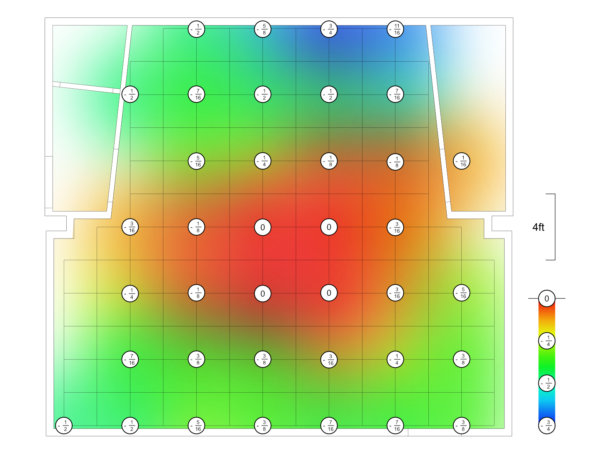
I had a feeling it wasn’t perfect, but was disappointed to find it was too uneven to put most flooring down on without leveling it first.
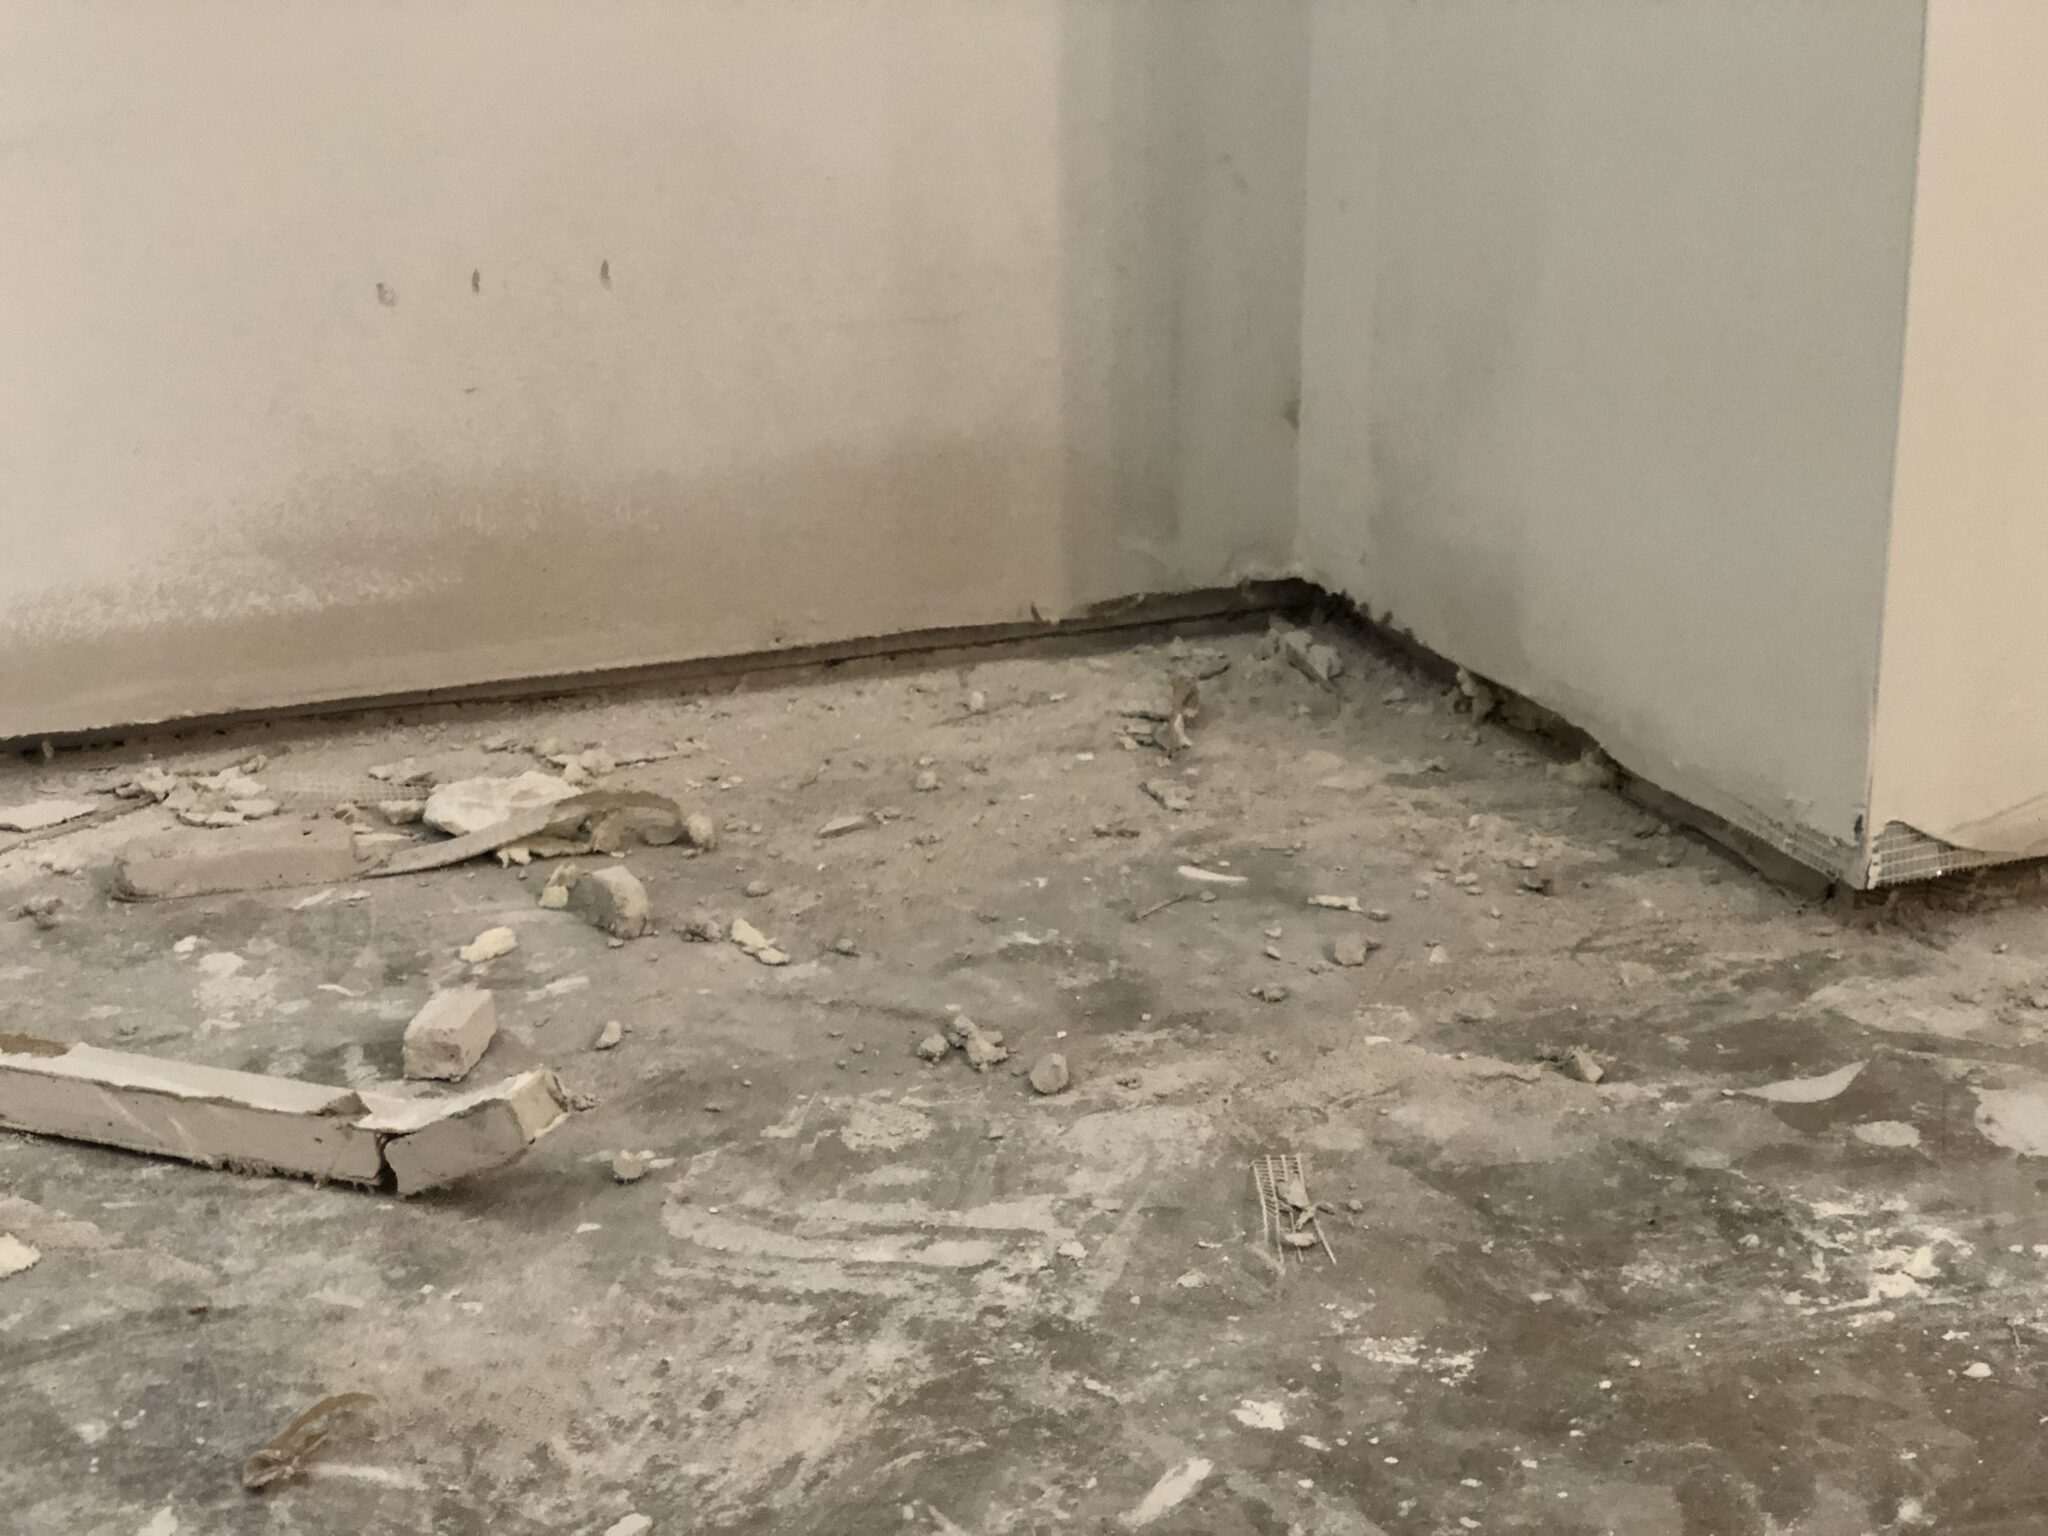
I first had to cut the drywall back away from the concrete, which was an issue the drywall hangers caused by improperly placing the material directly against the concrete, where it can wick up moisture and ultimately rot.

I then sealed up any gaps under the base-plates or between the drywall and the framing with spray-foam, which I later trimmed flush.
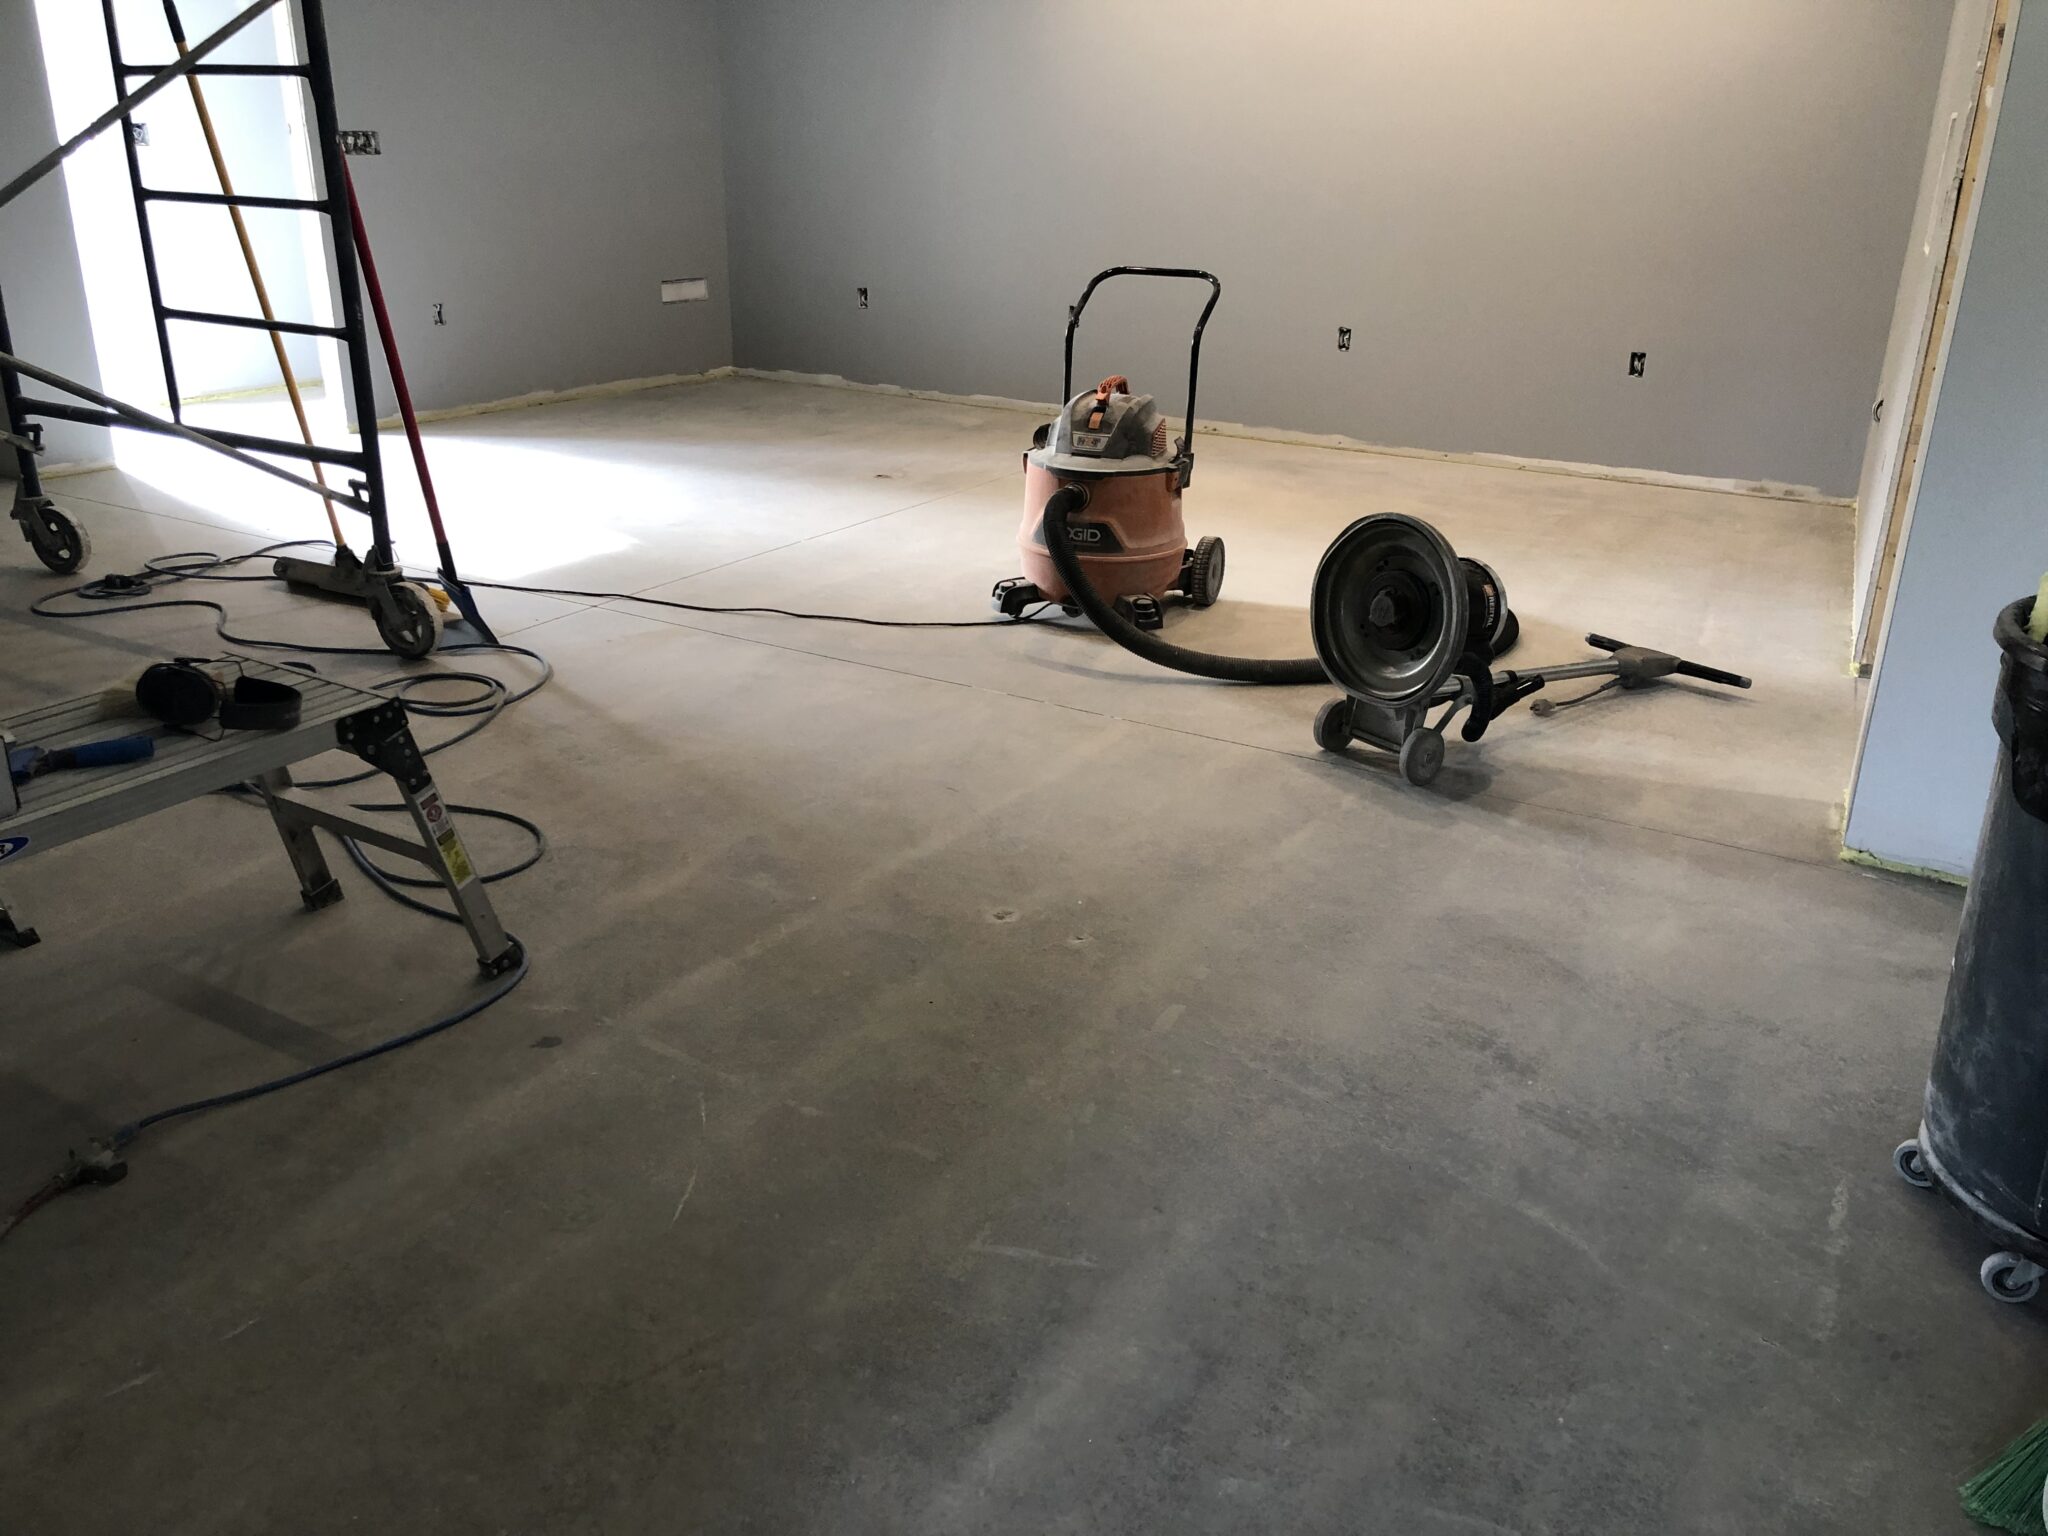
I rented a special concrete prep tool and a floor buffer and completely stripped the concrete of all the dirt, paint and plaster that had accumulated on it over the last six years, and especially the last month.

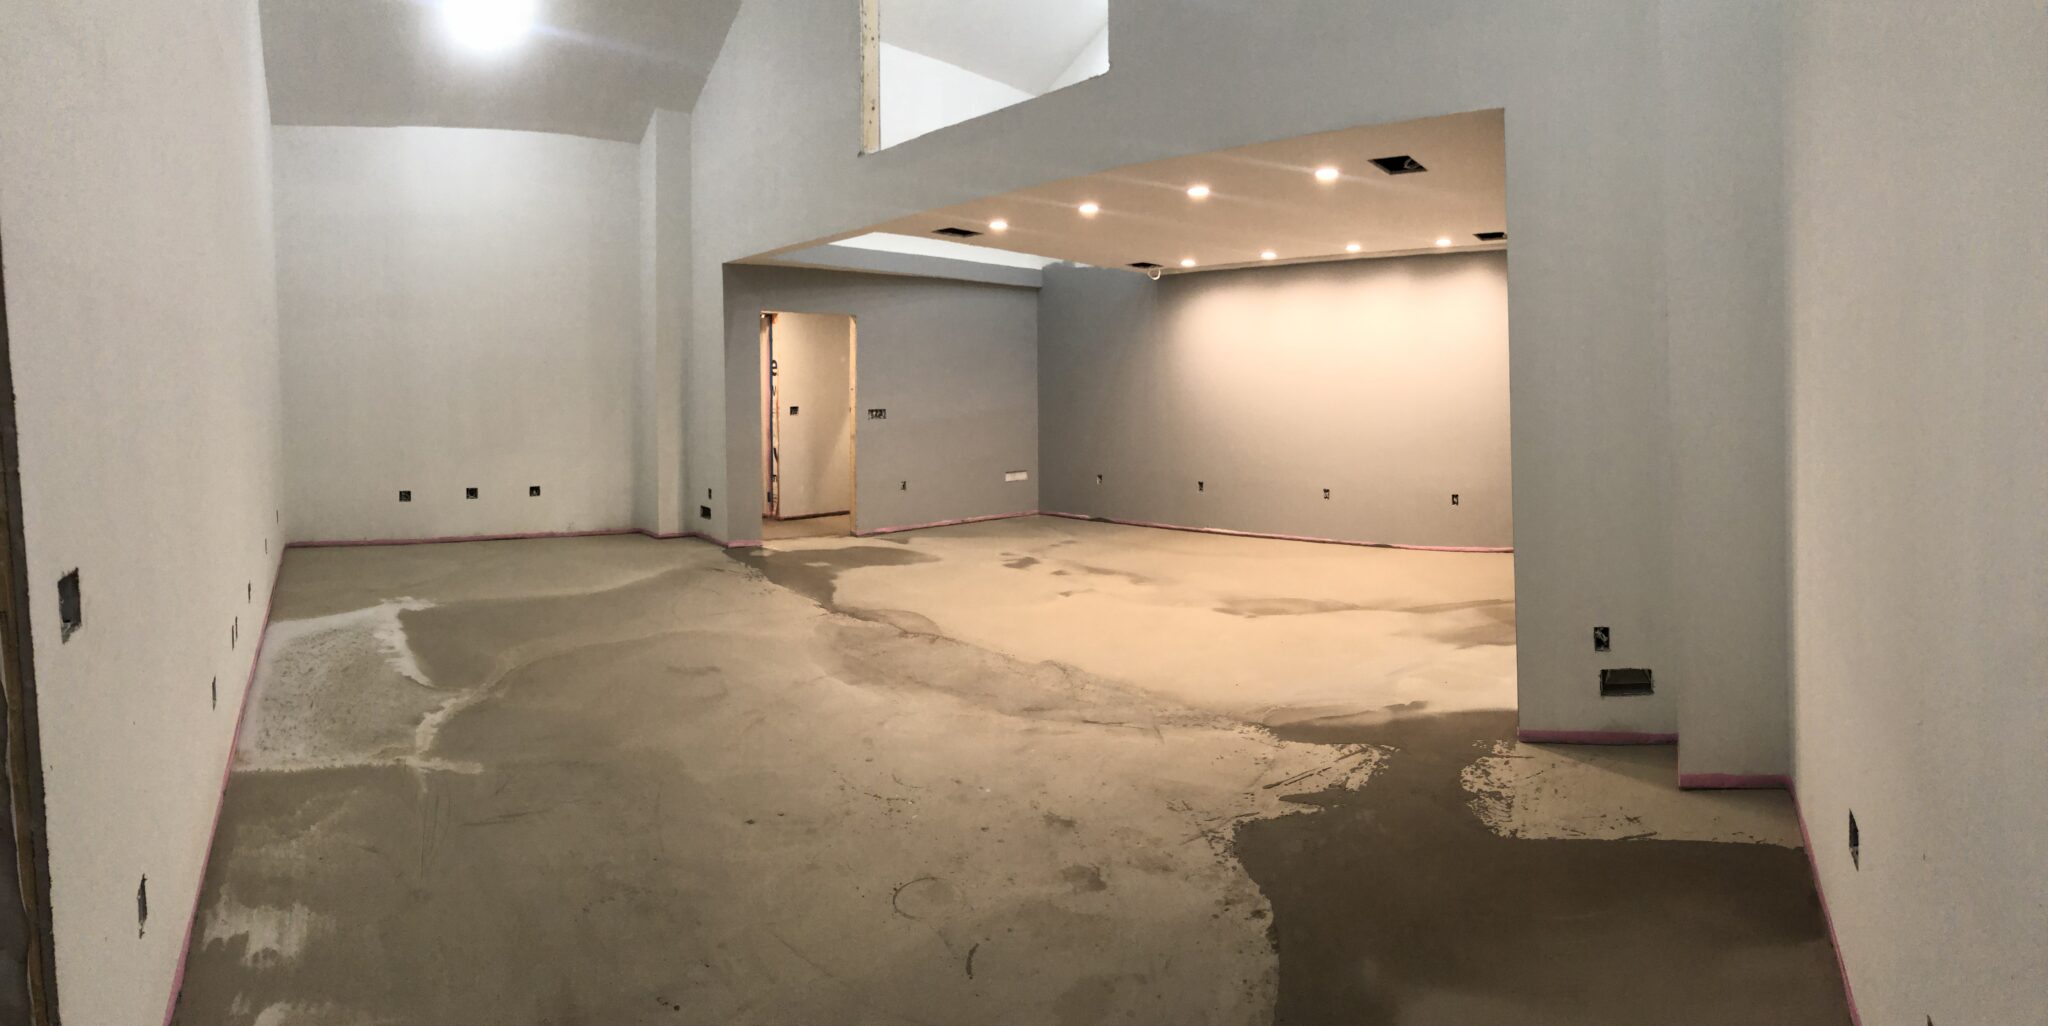
Then I stapled and caulked sill-sealer around the perimeter to ensure the self-leveling concrete has an expansion gap and was properly contained.

My wife and I bought and transported the self-leveling concrete and stacked it inside.
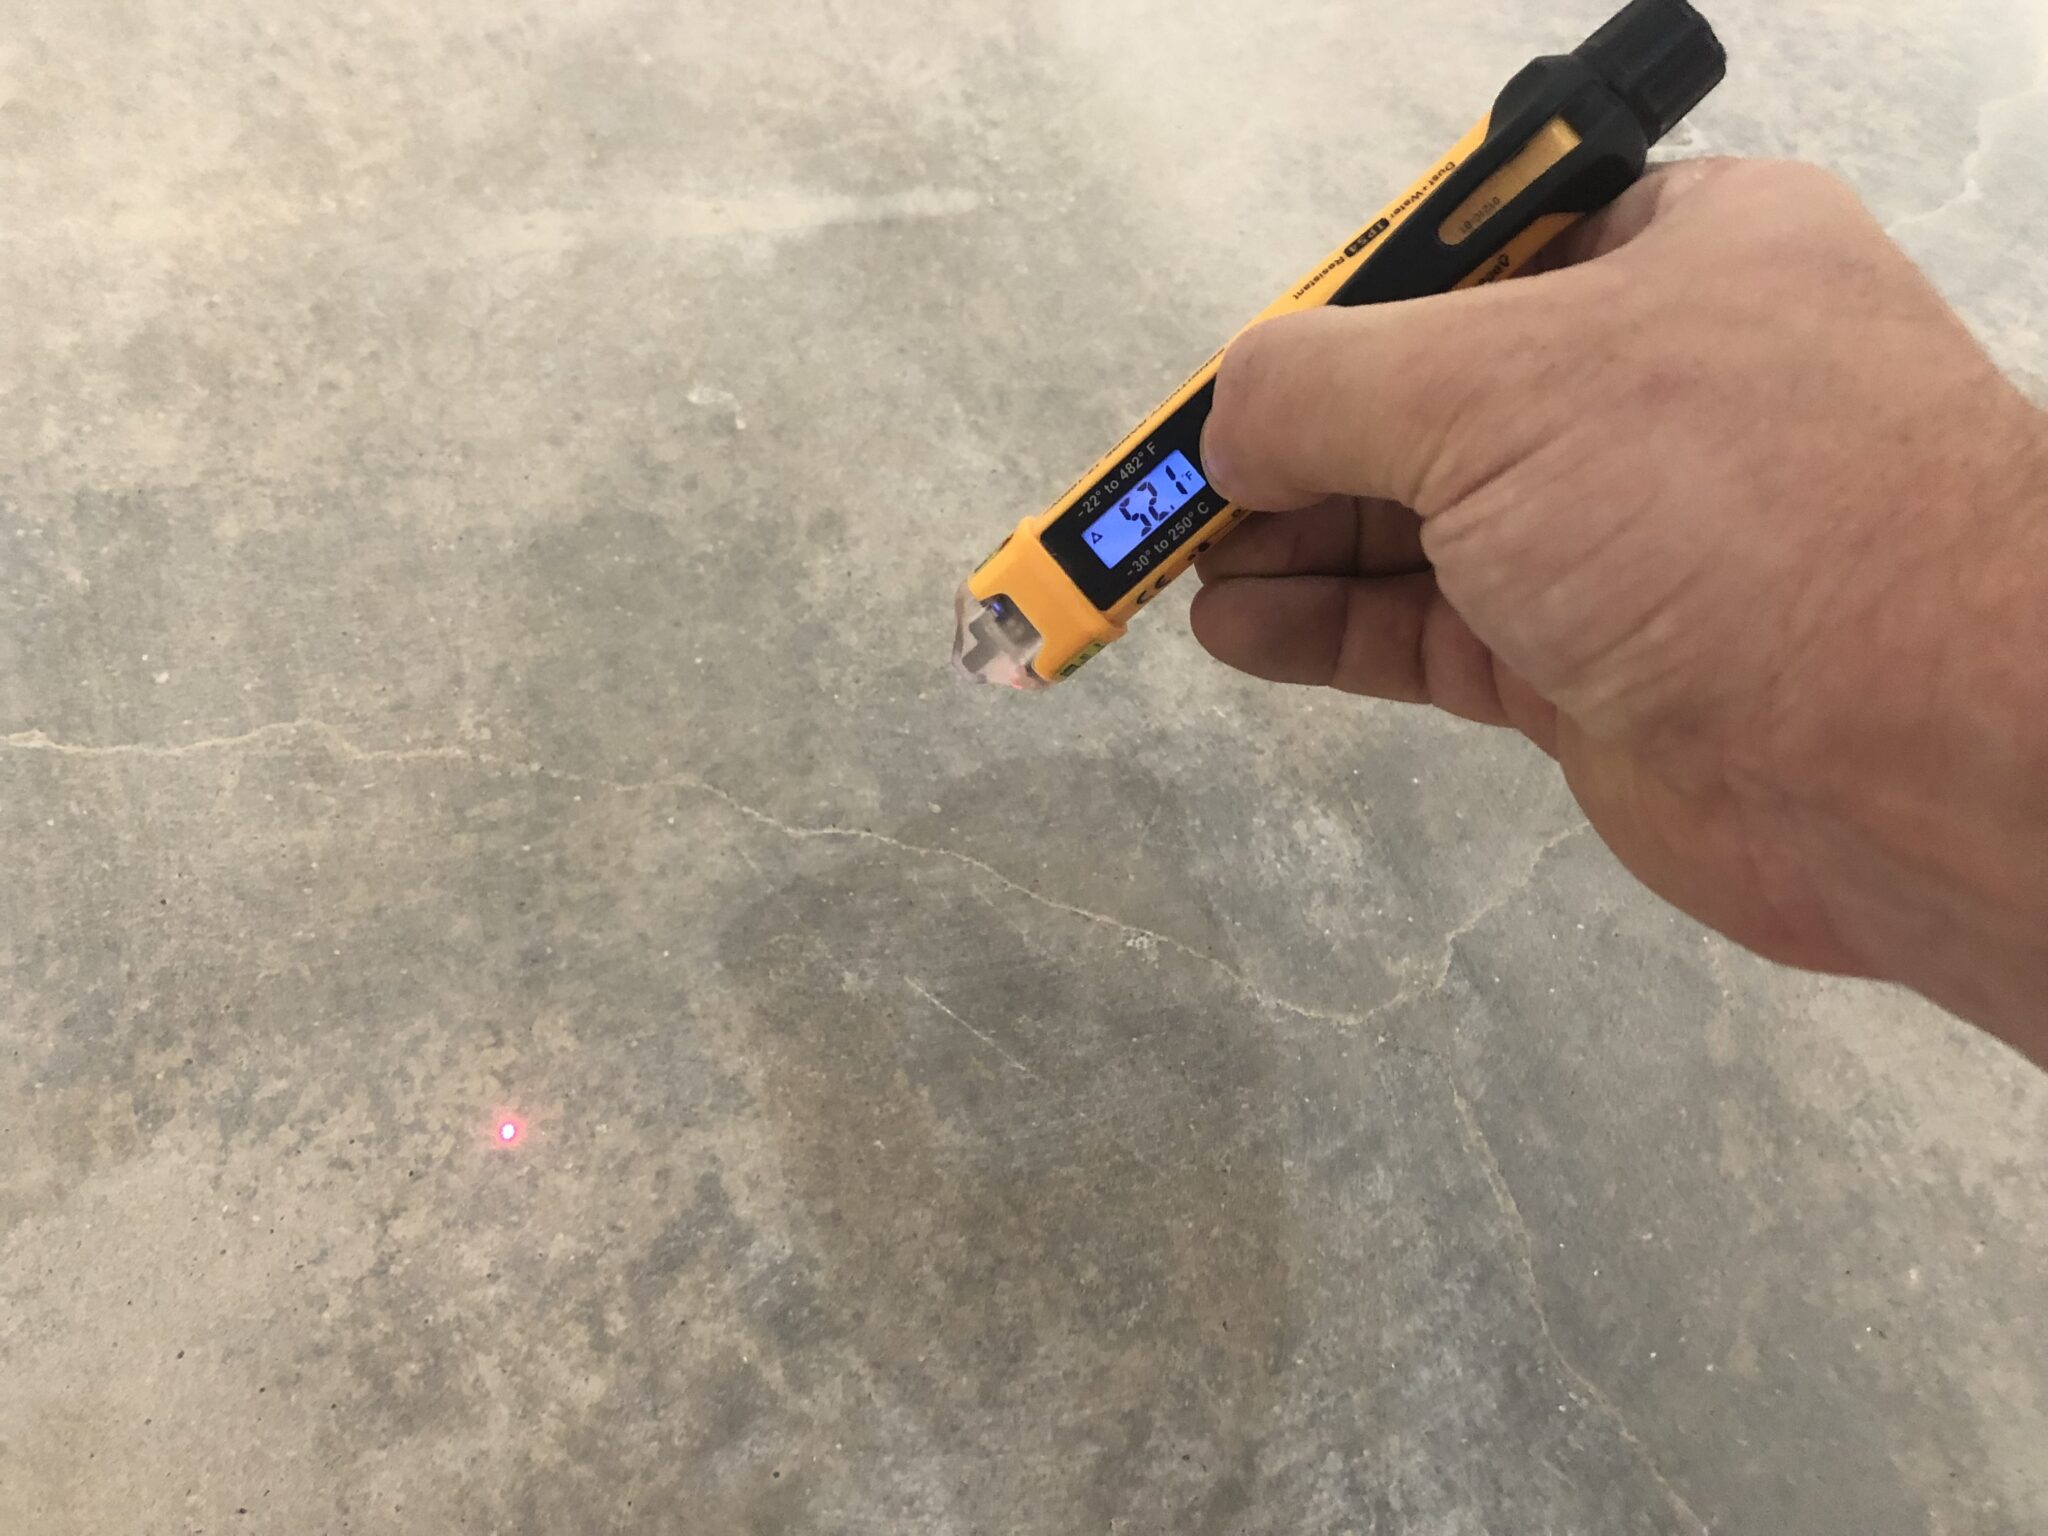
The self-leveling concrete, as well as the primer used to ensure a good bond to the existing substrate, require the ambient air temperature and surface temperature to be 50ºF or higher.
I was nervous that the overnight low of 44ºF would bring it down, so I ran some heaters inside to be safe.
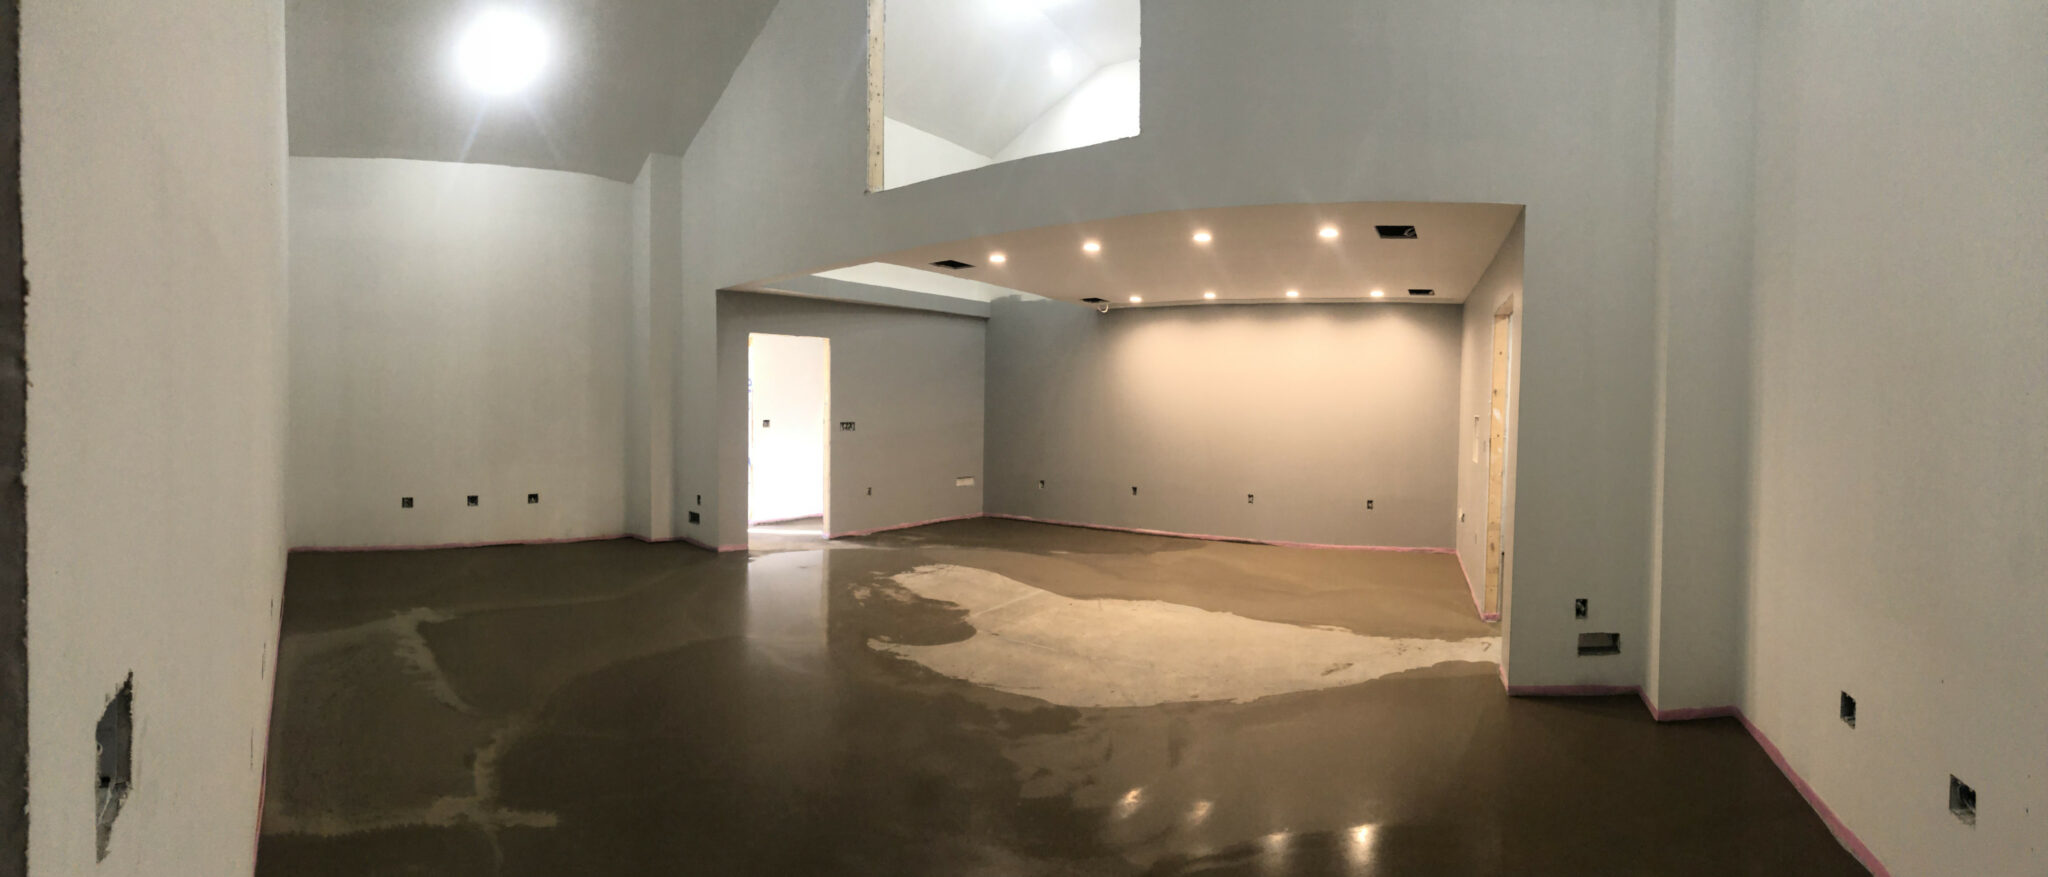
The next morning, 3 guys made pretty quick work of it, however I measured again after the concrete set-up and discovered some low areas.
A few days later one of them returned to pour some more, dealing with a low area in the lobby and a few smaller low spots as well.
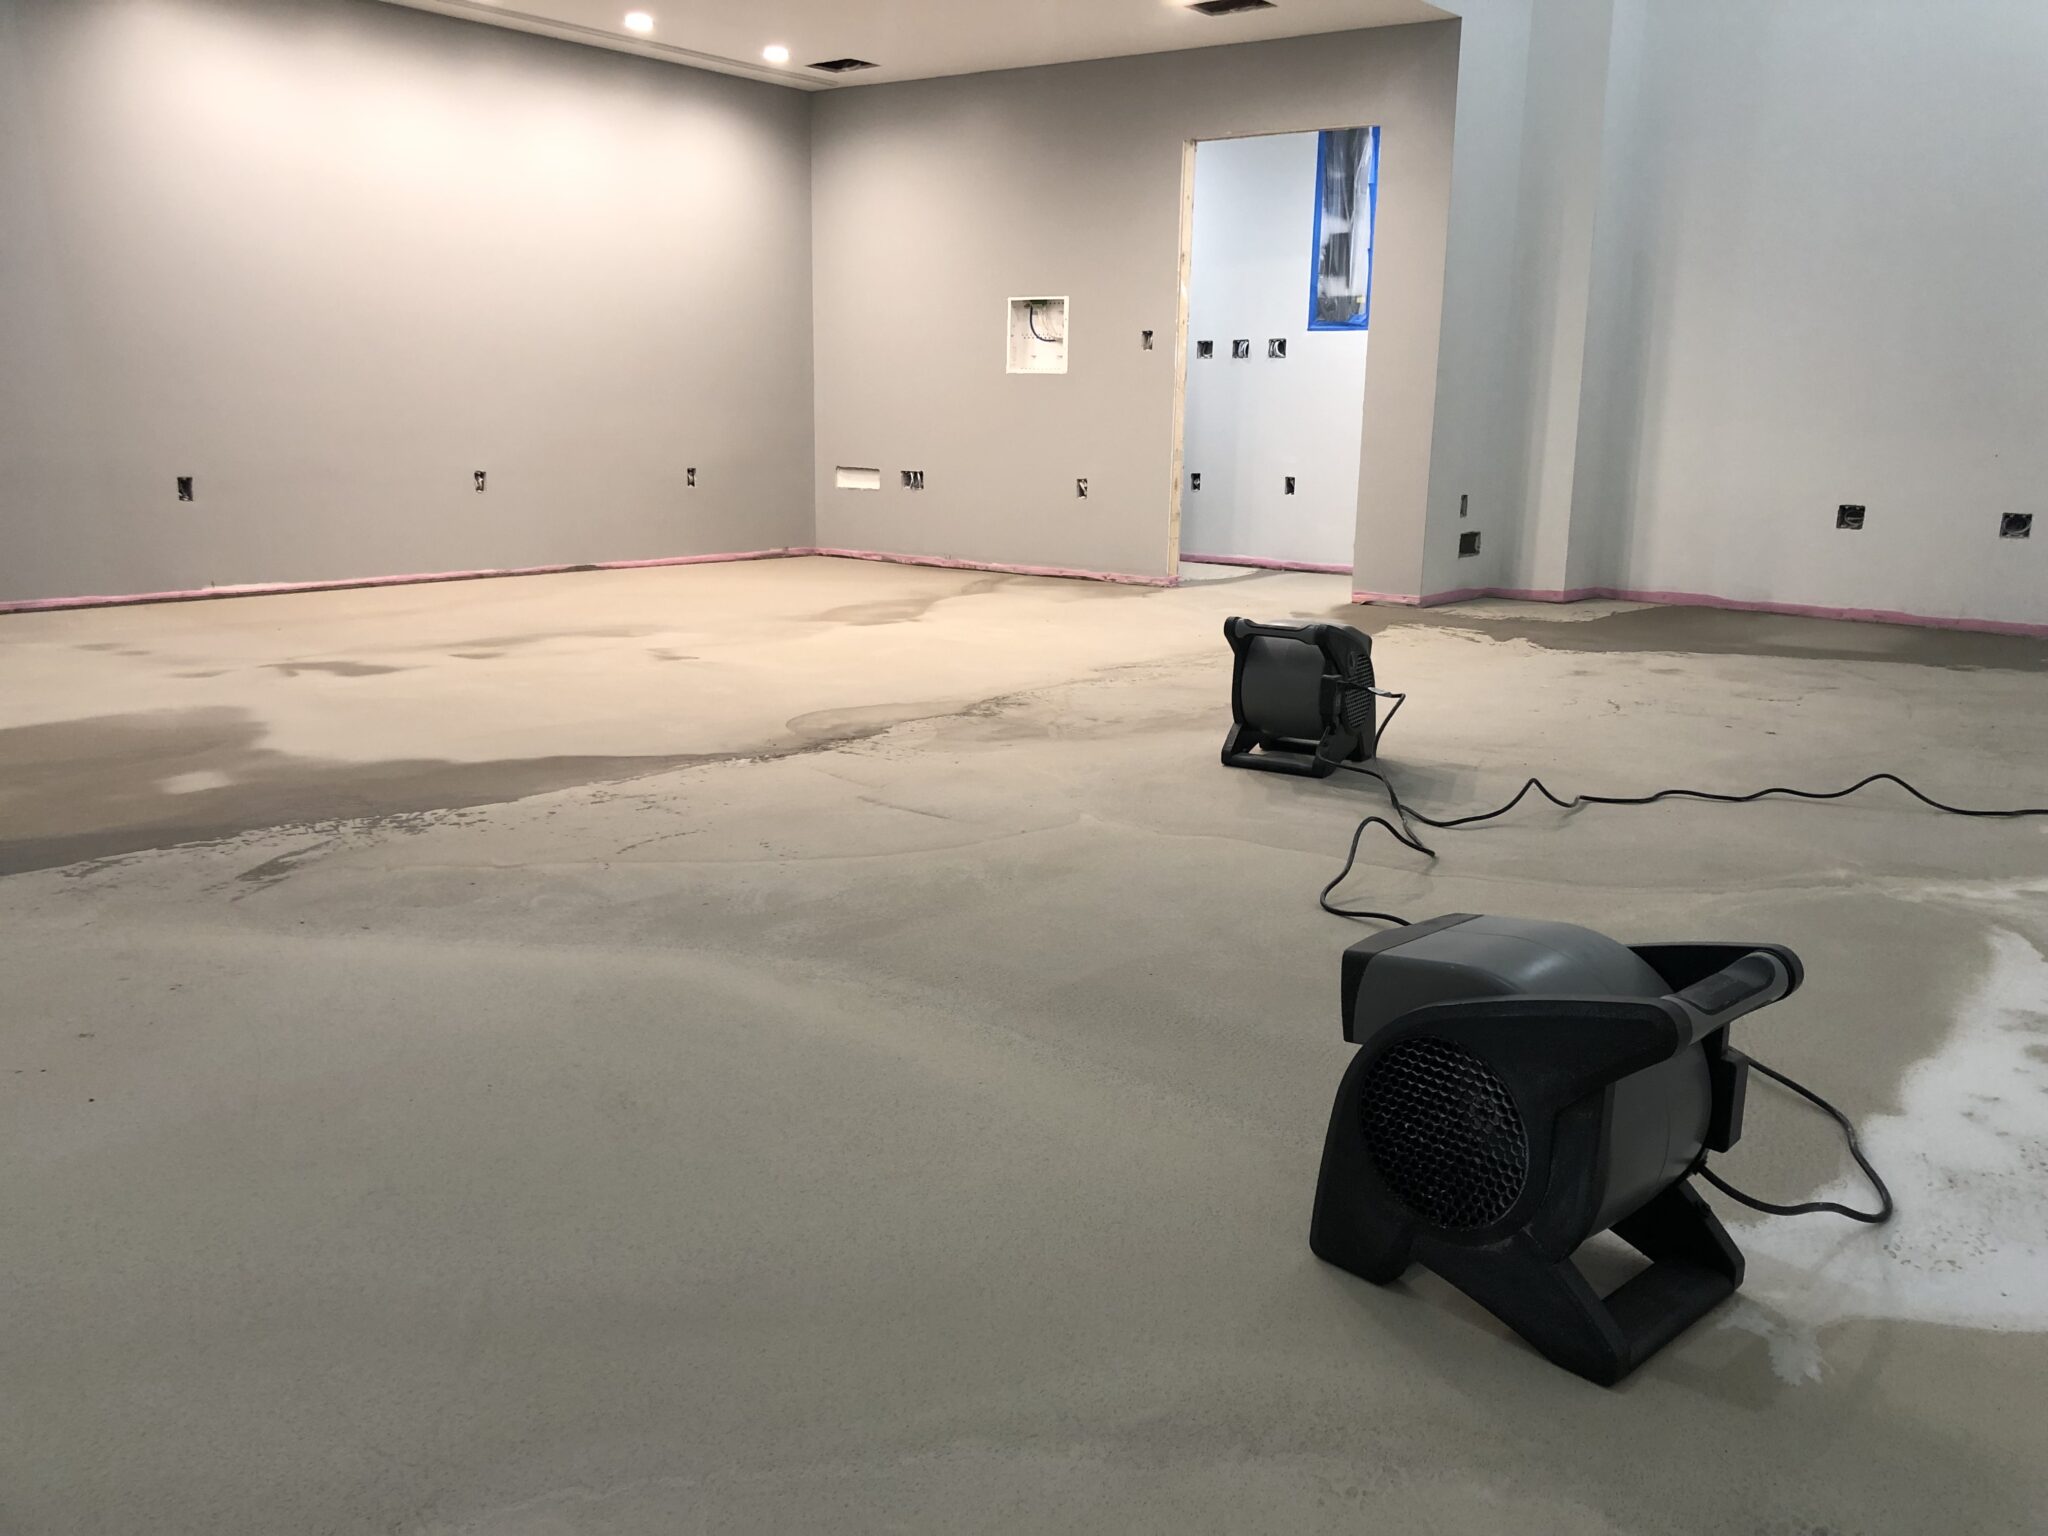
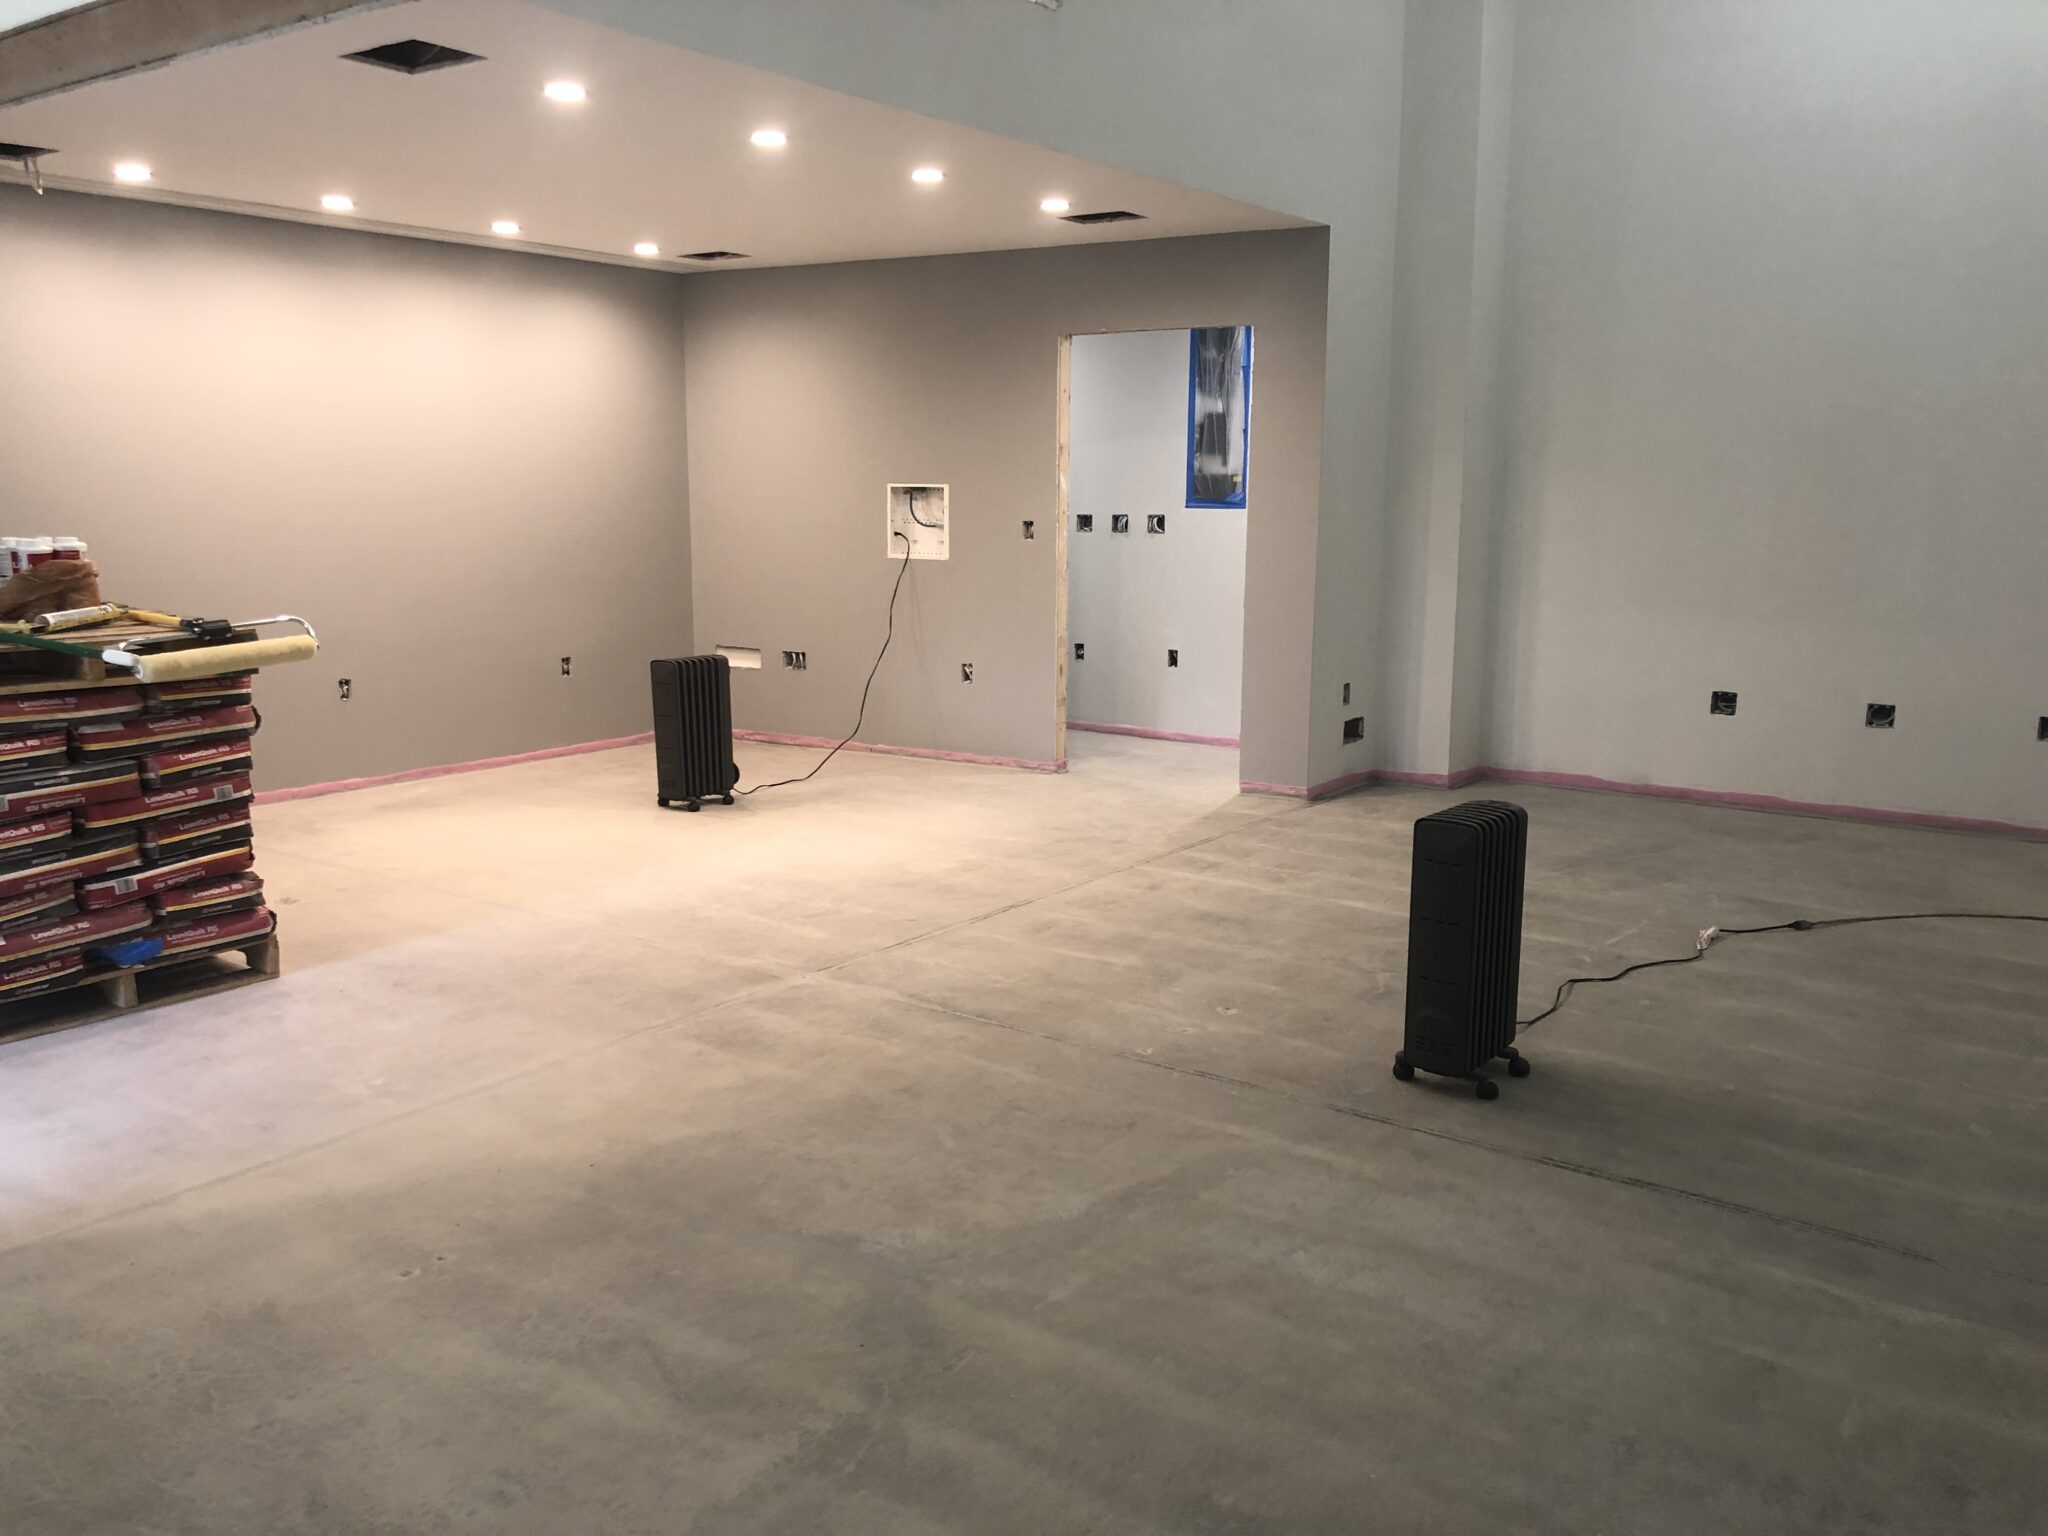
After letting it dry for a day, I put some fans on it to speed things along.
- Categories
- Construction