Balcony Trim & Railings
March 18, 2023
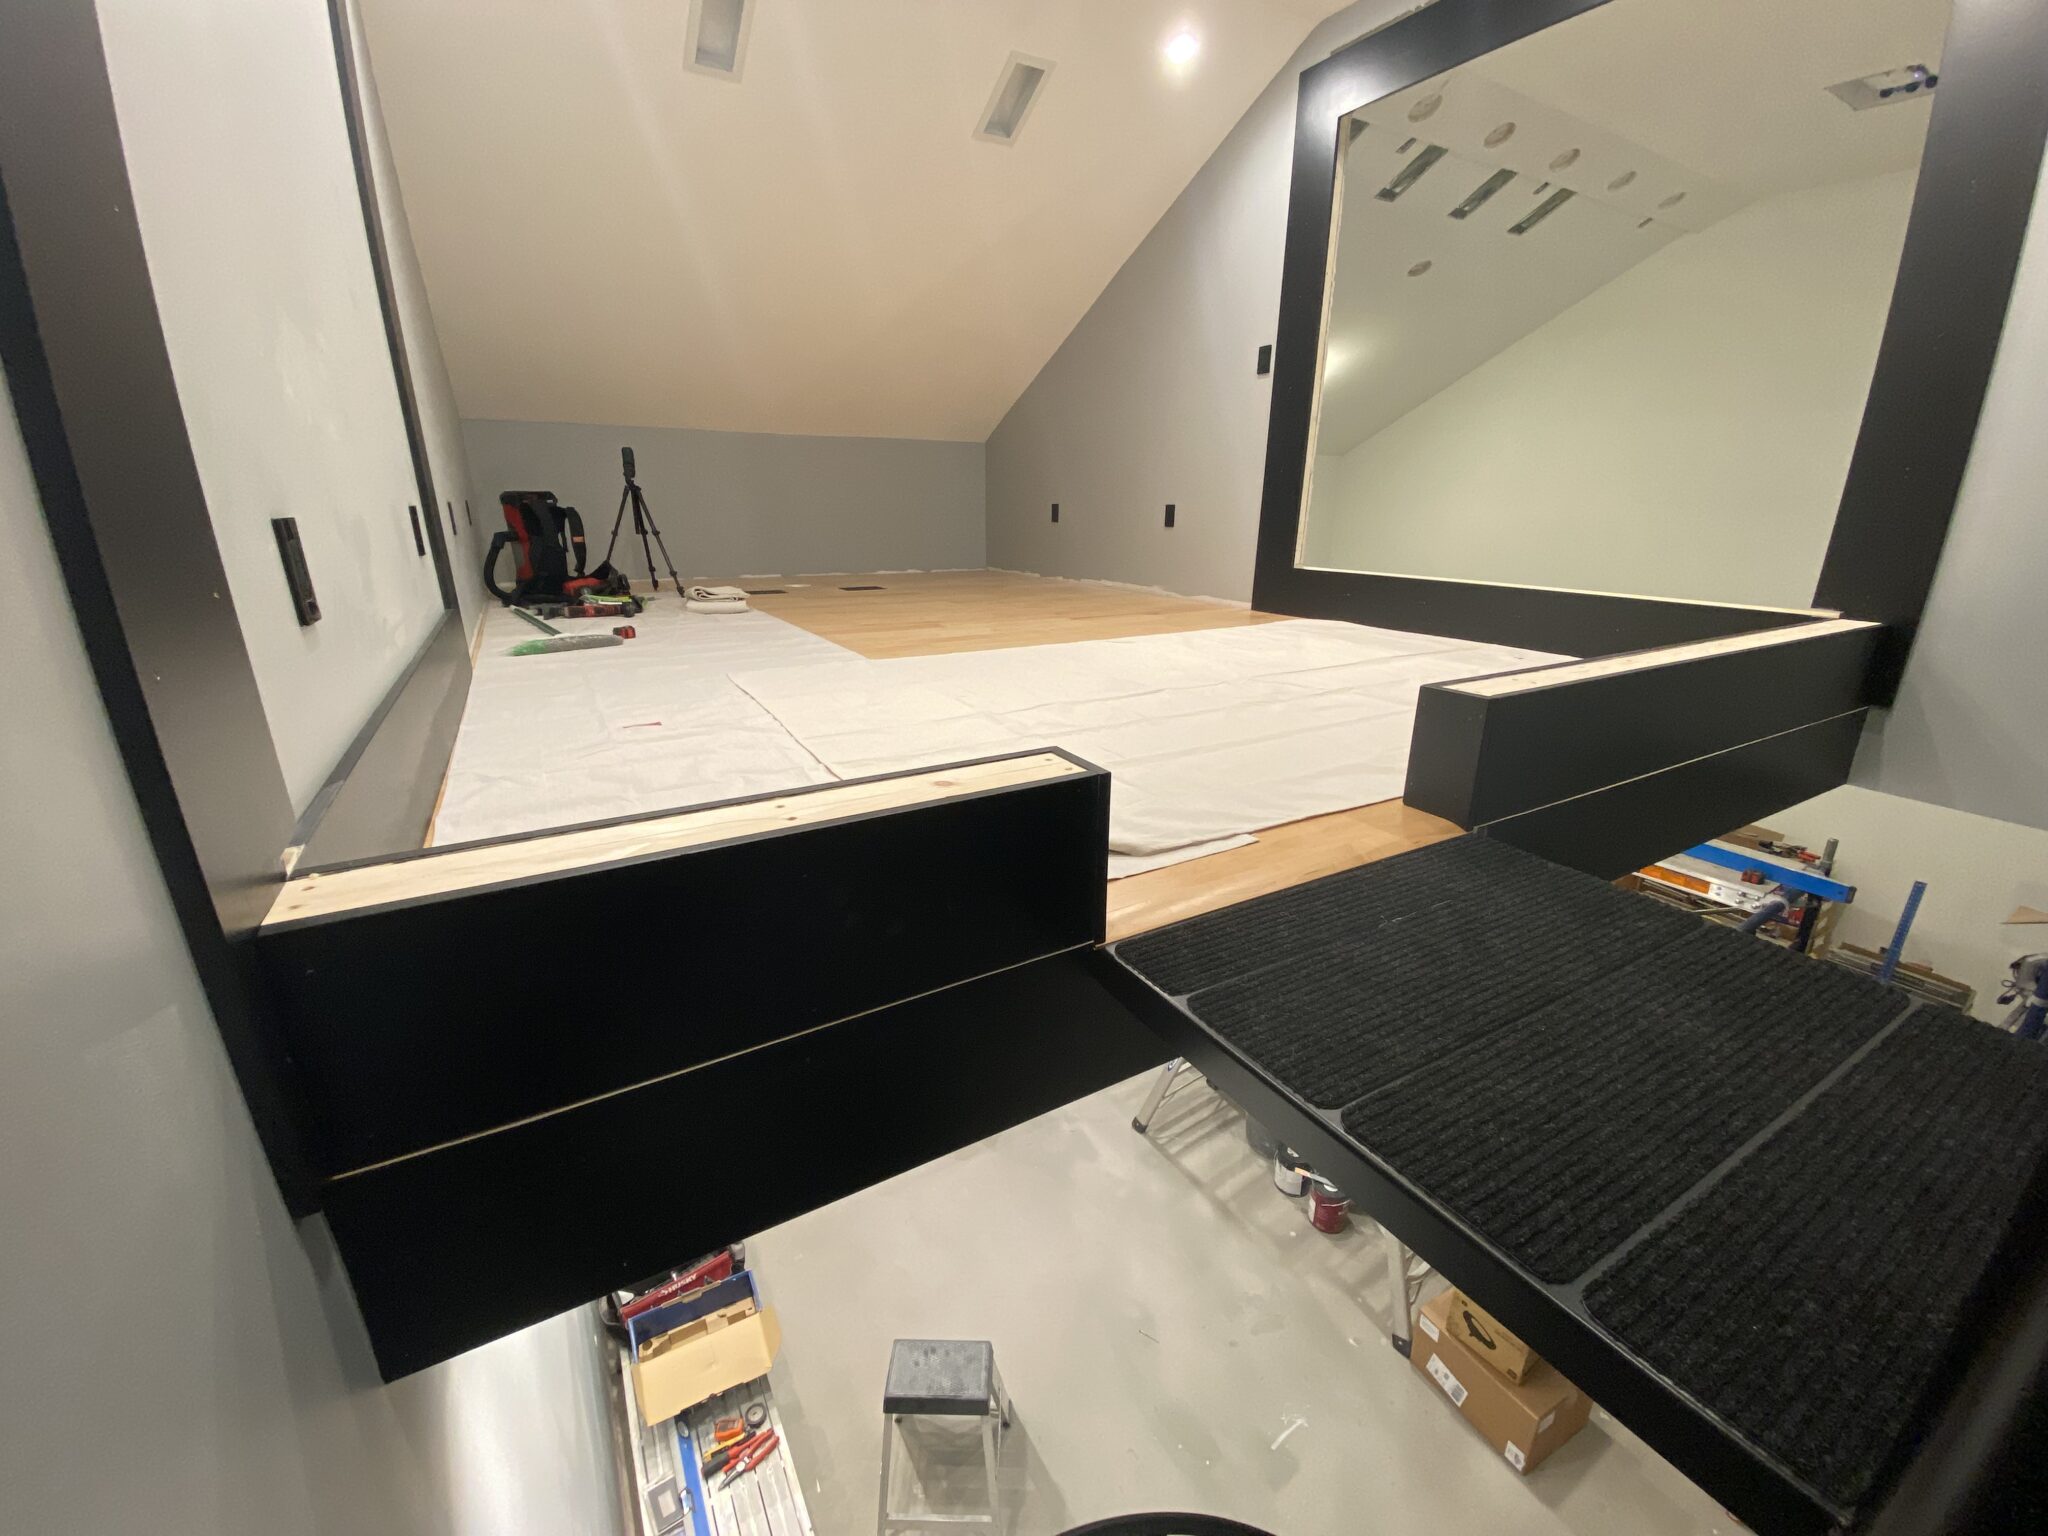
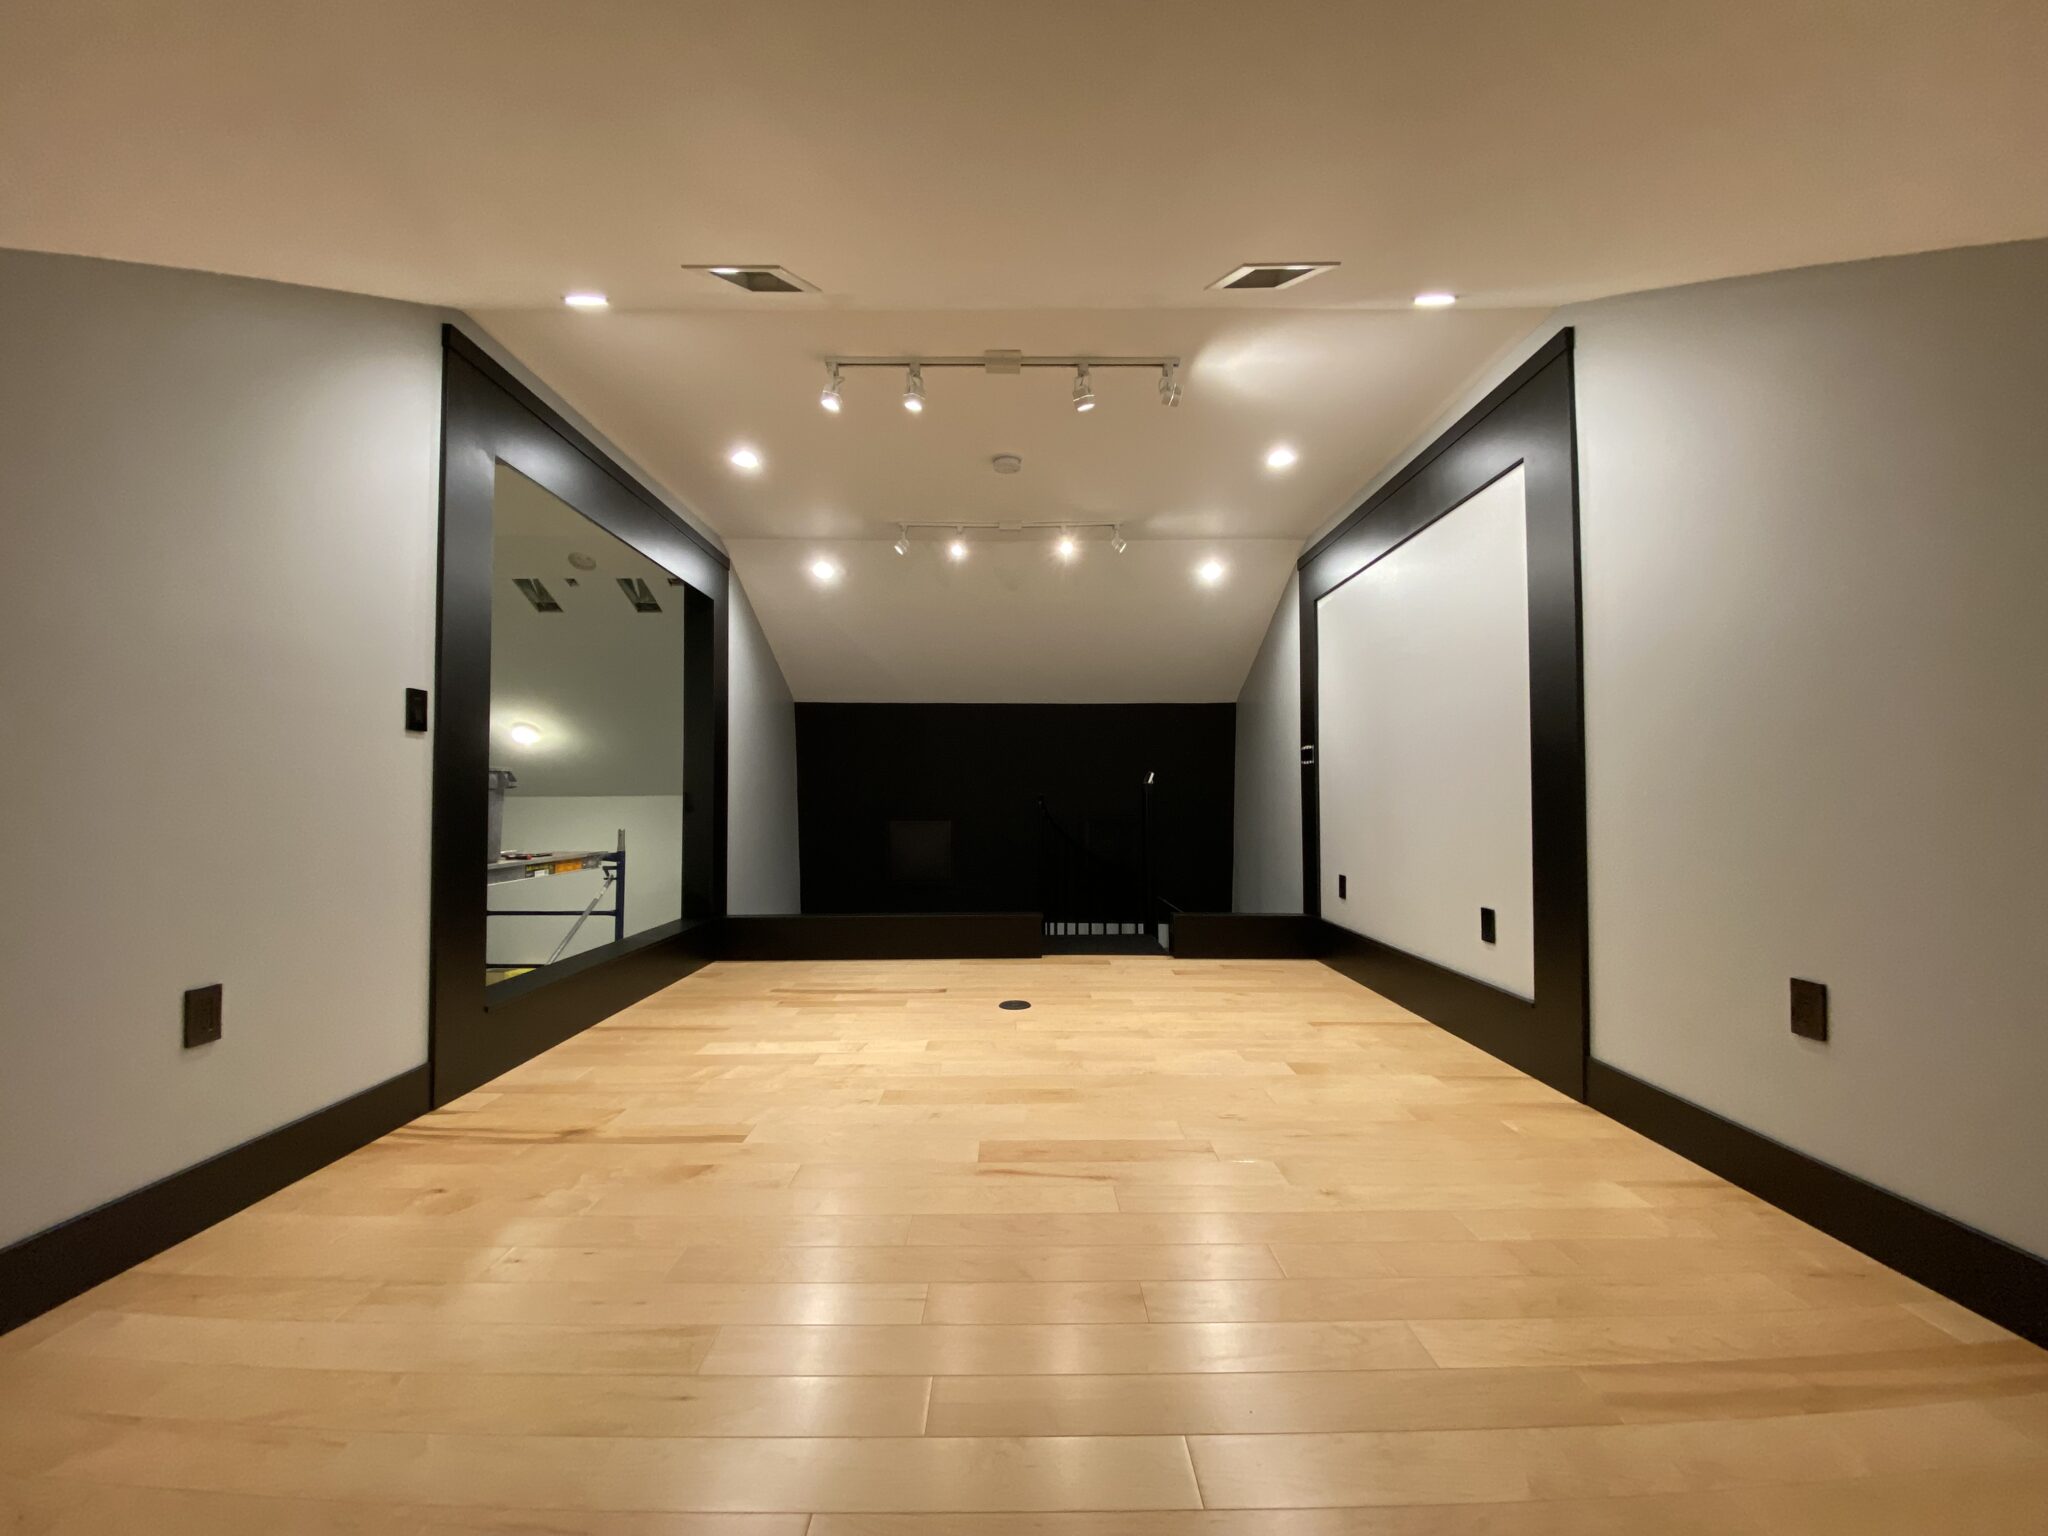
The balcony will have a roll-up door that covers the opening in the wall with solid panels covered in wood slats to provide symmetrical reflections and sound diffusion.
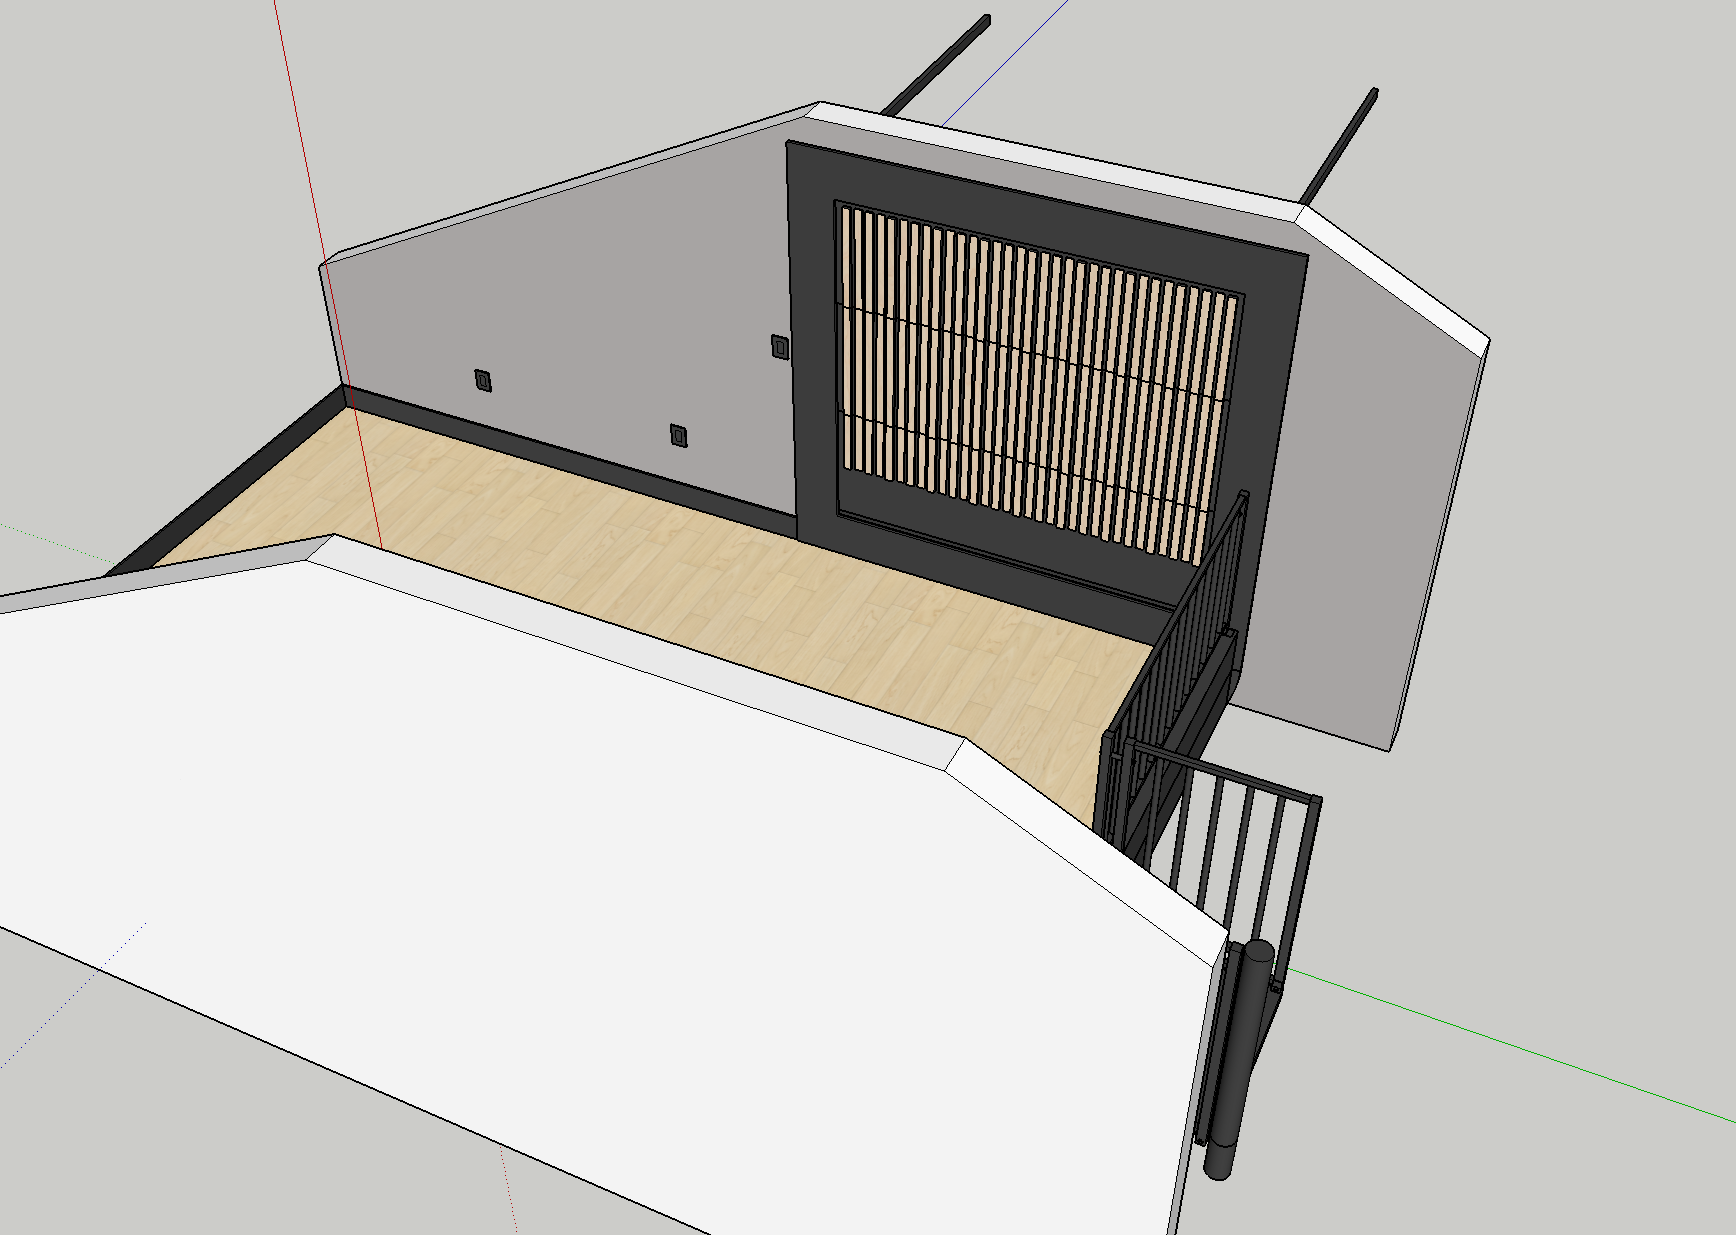
The ensure symmetry, there will be identical trim and slats on the other side as well.
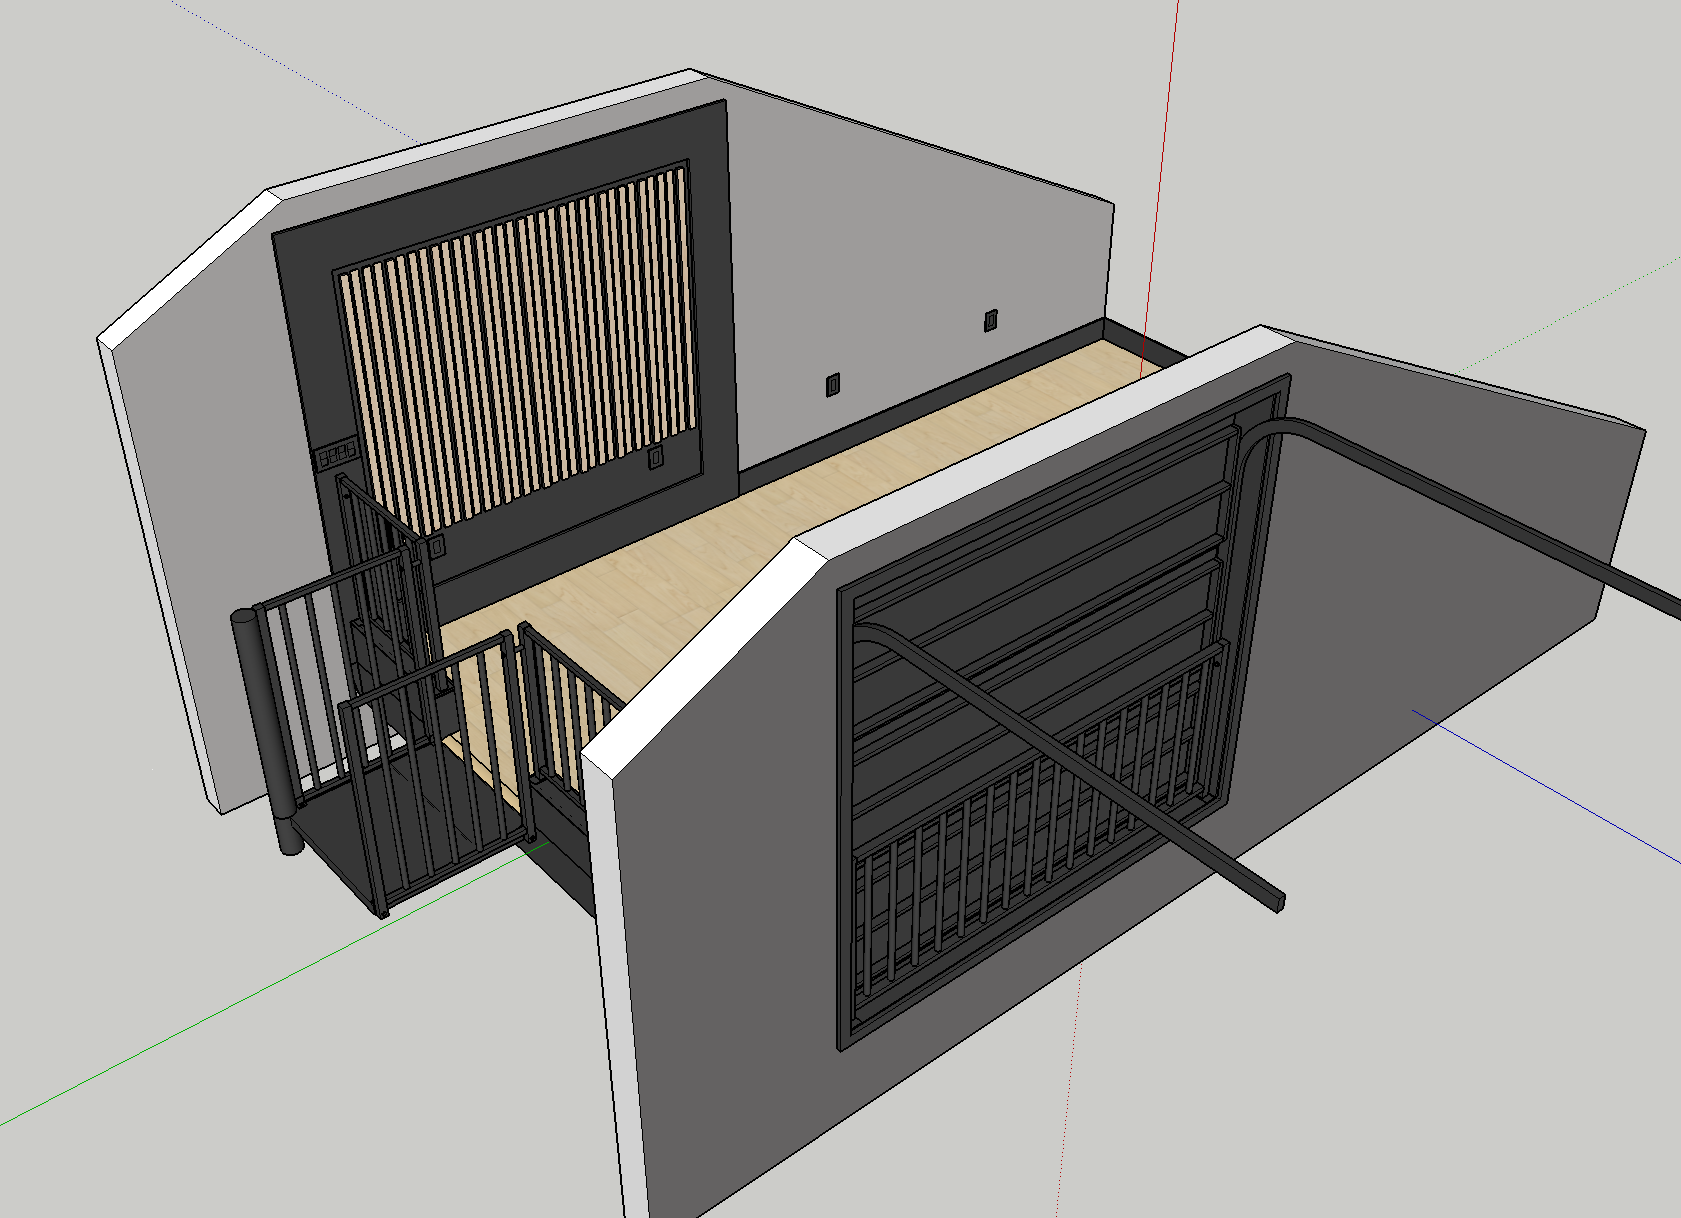
The unusually wide trim makes it possible covering the tracks and rollers of the door as well as covering the intersection of the trim and the switch plate.

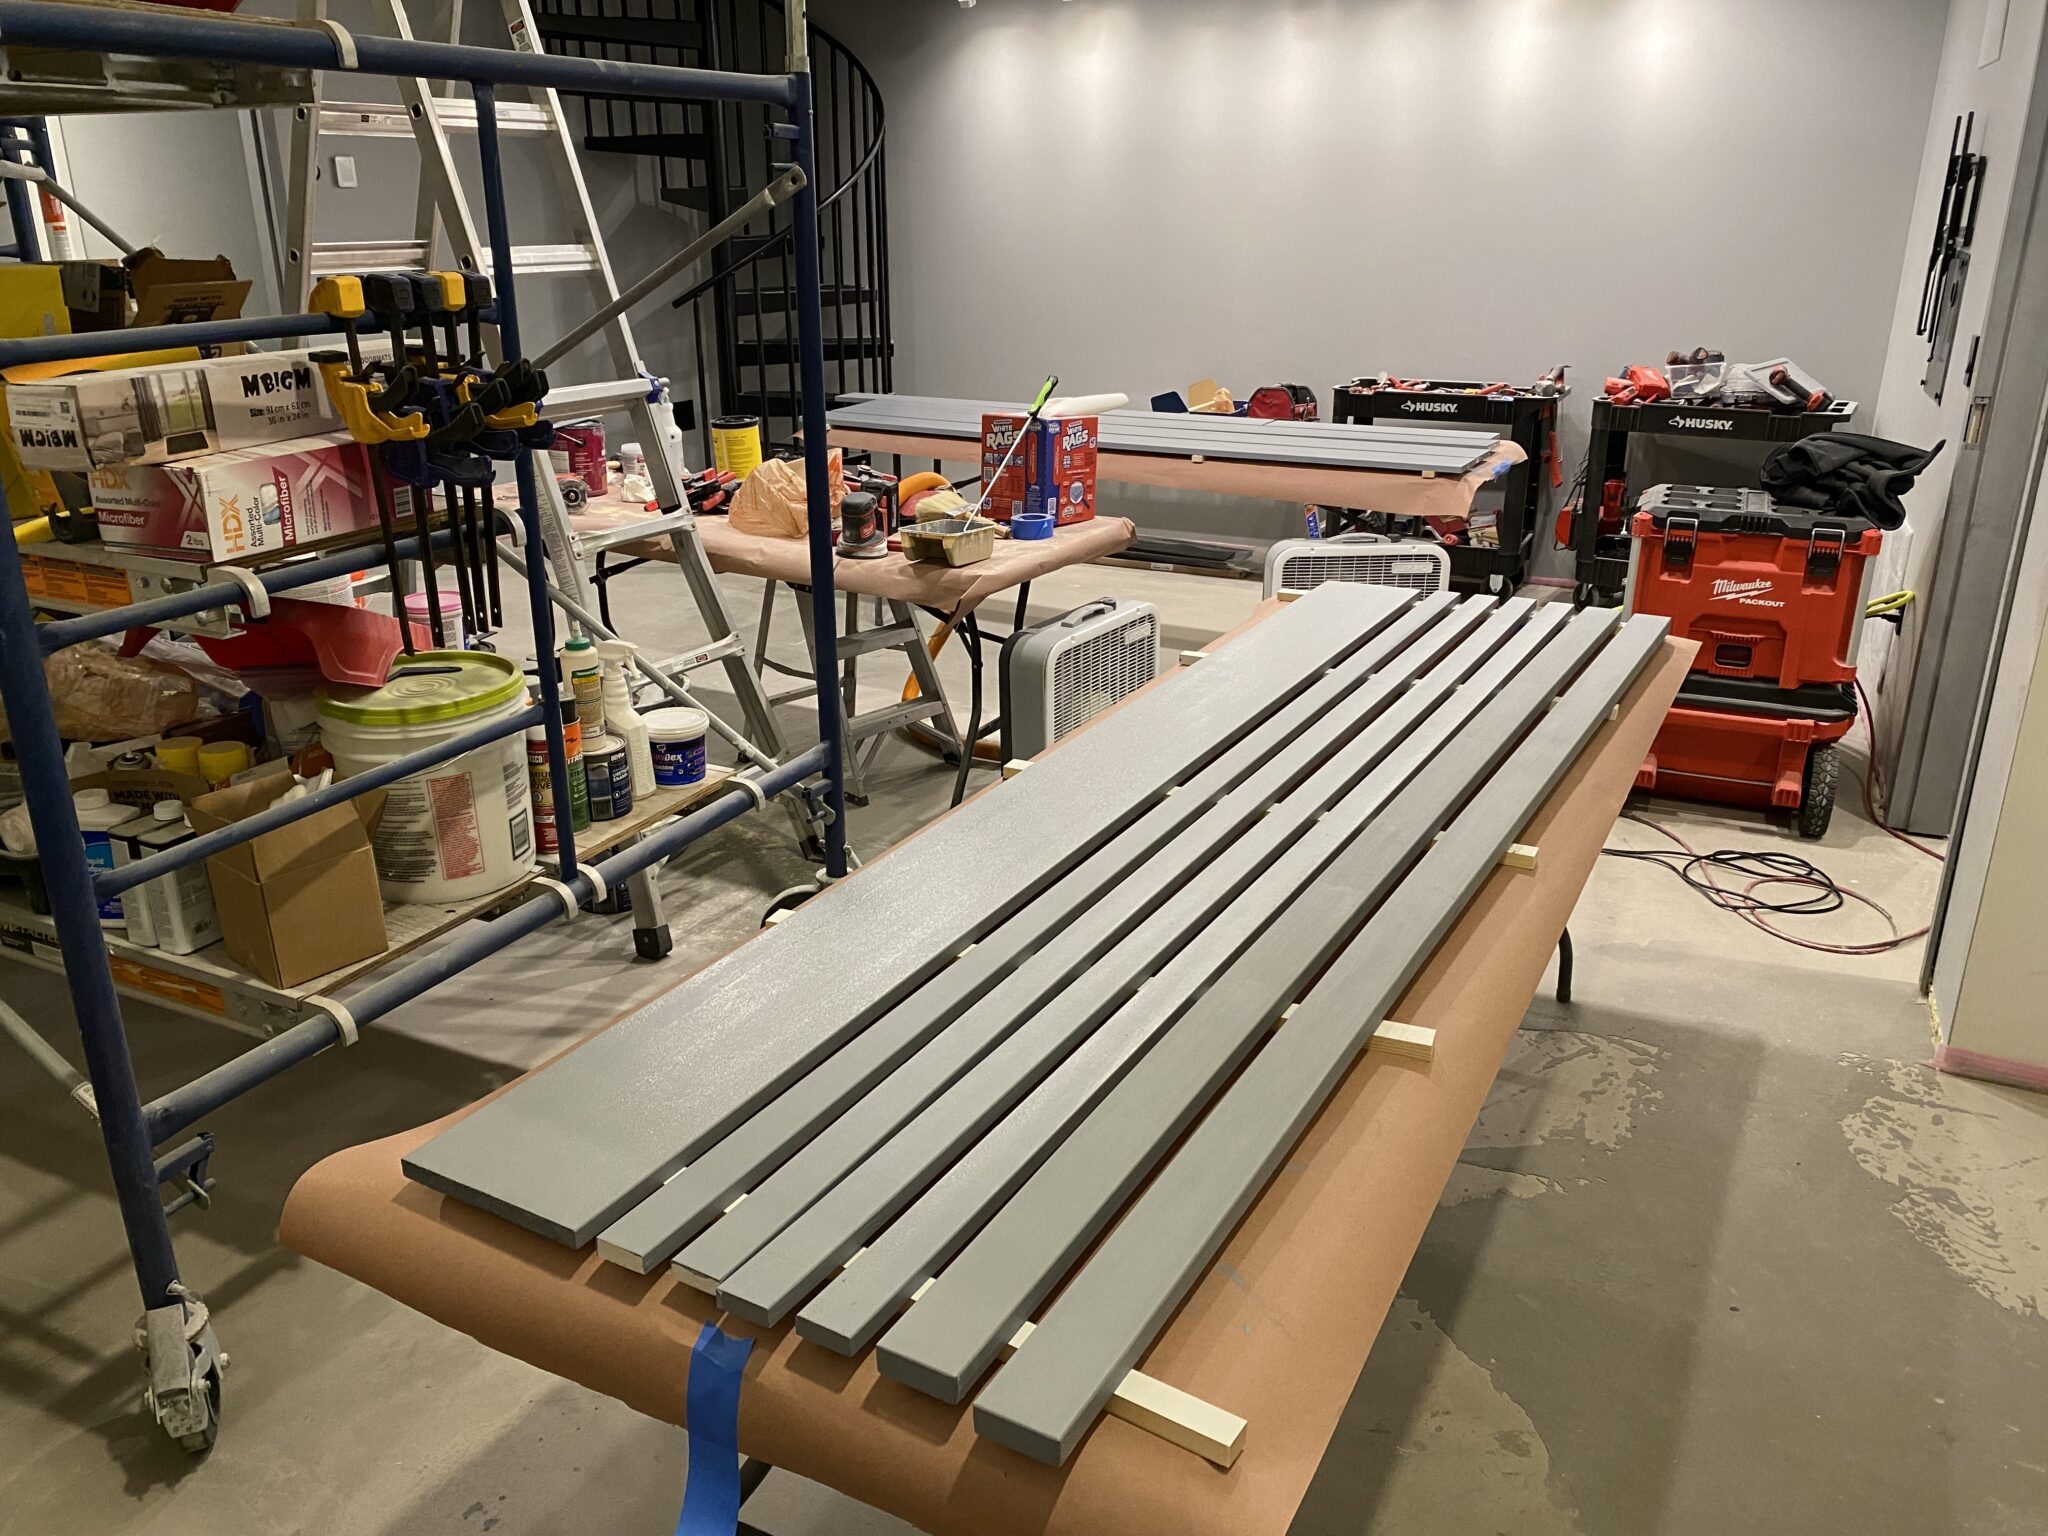
Since the trim will be assembled and painted in the live room and then moved up to the loft to be installed I reinforced the miter joints with dowels.
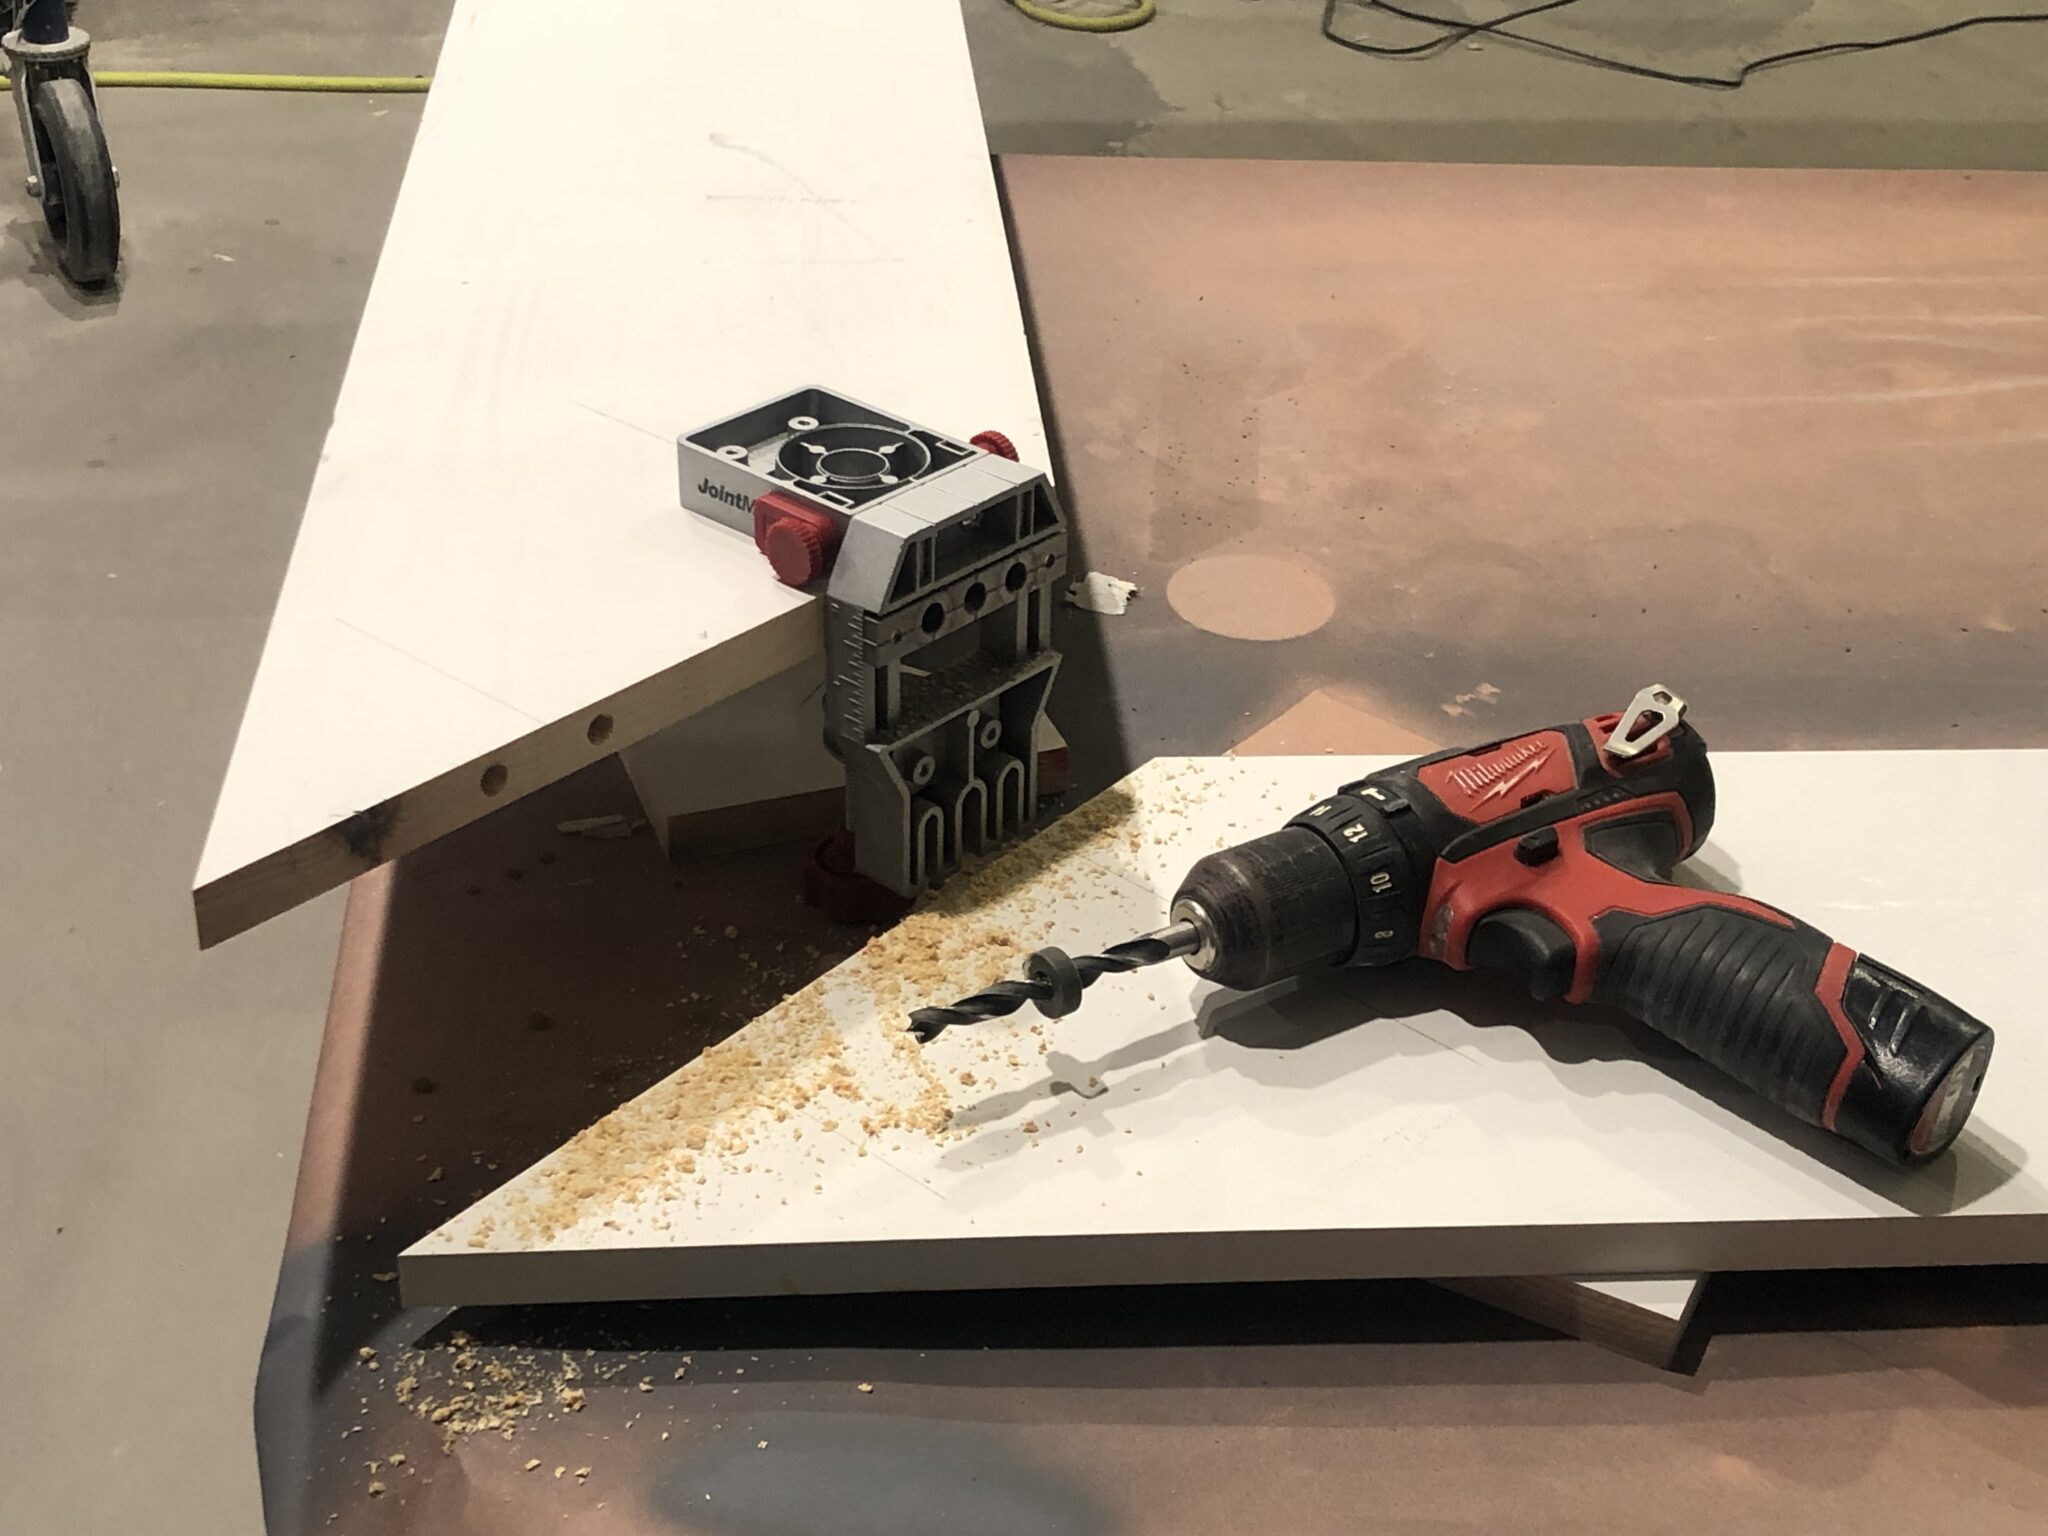
I created some test miters and compared glue only, biscuits, half-depth diagonal splines and dowels and the dowel joints were by far the strongest.
I created some blocks that make it easy to clamp the corners closed while the glue sets.

Due to the angle of the dowels, I had to first glue and clamp the two opposite corners, and then join the two halves together.

I started running out of clamps and had to dig up some older ones just to get it all set.
I planed and sanded the joints to make them disappear, then used some two-part resin-based wood filler to raise the low spots.
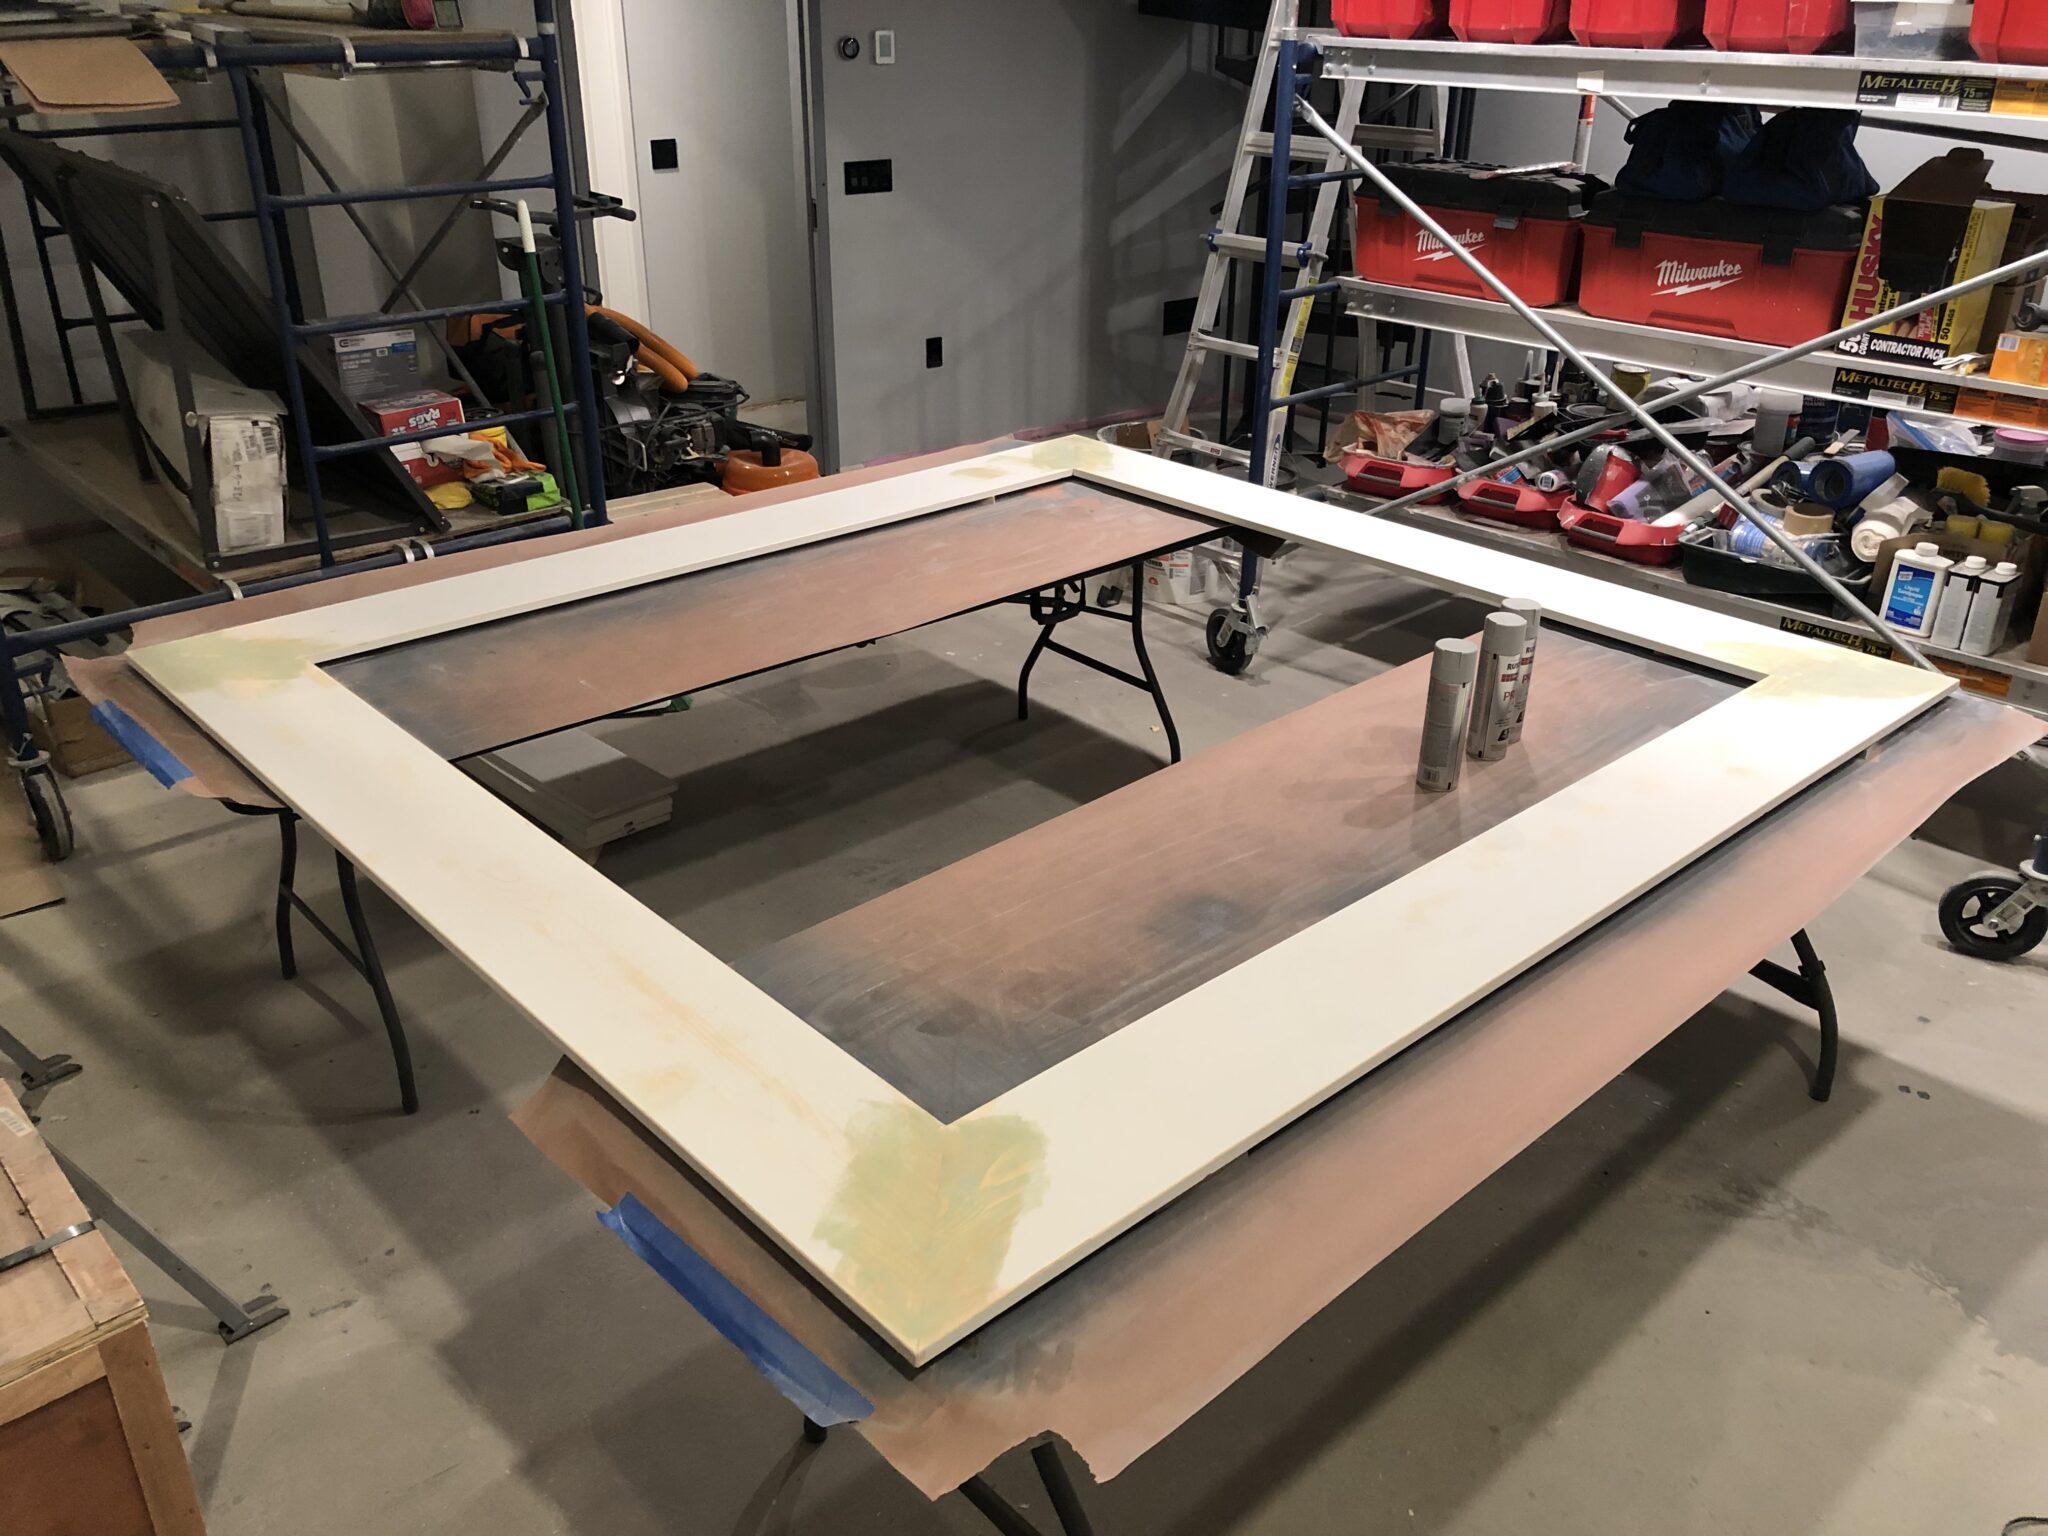
I sprayed on a gray primer and wet sanded it to get it very smooth.
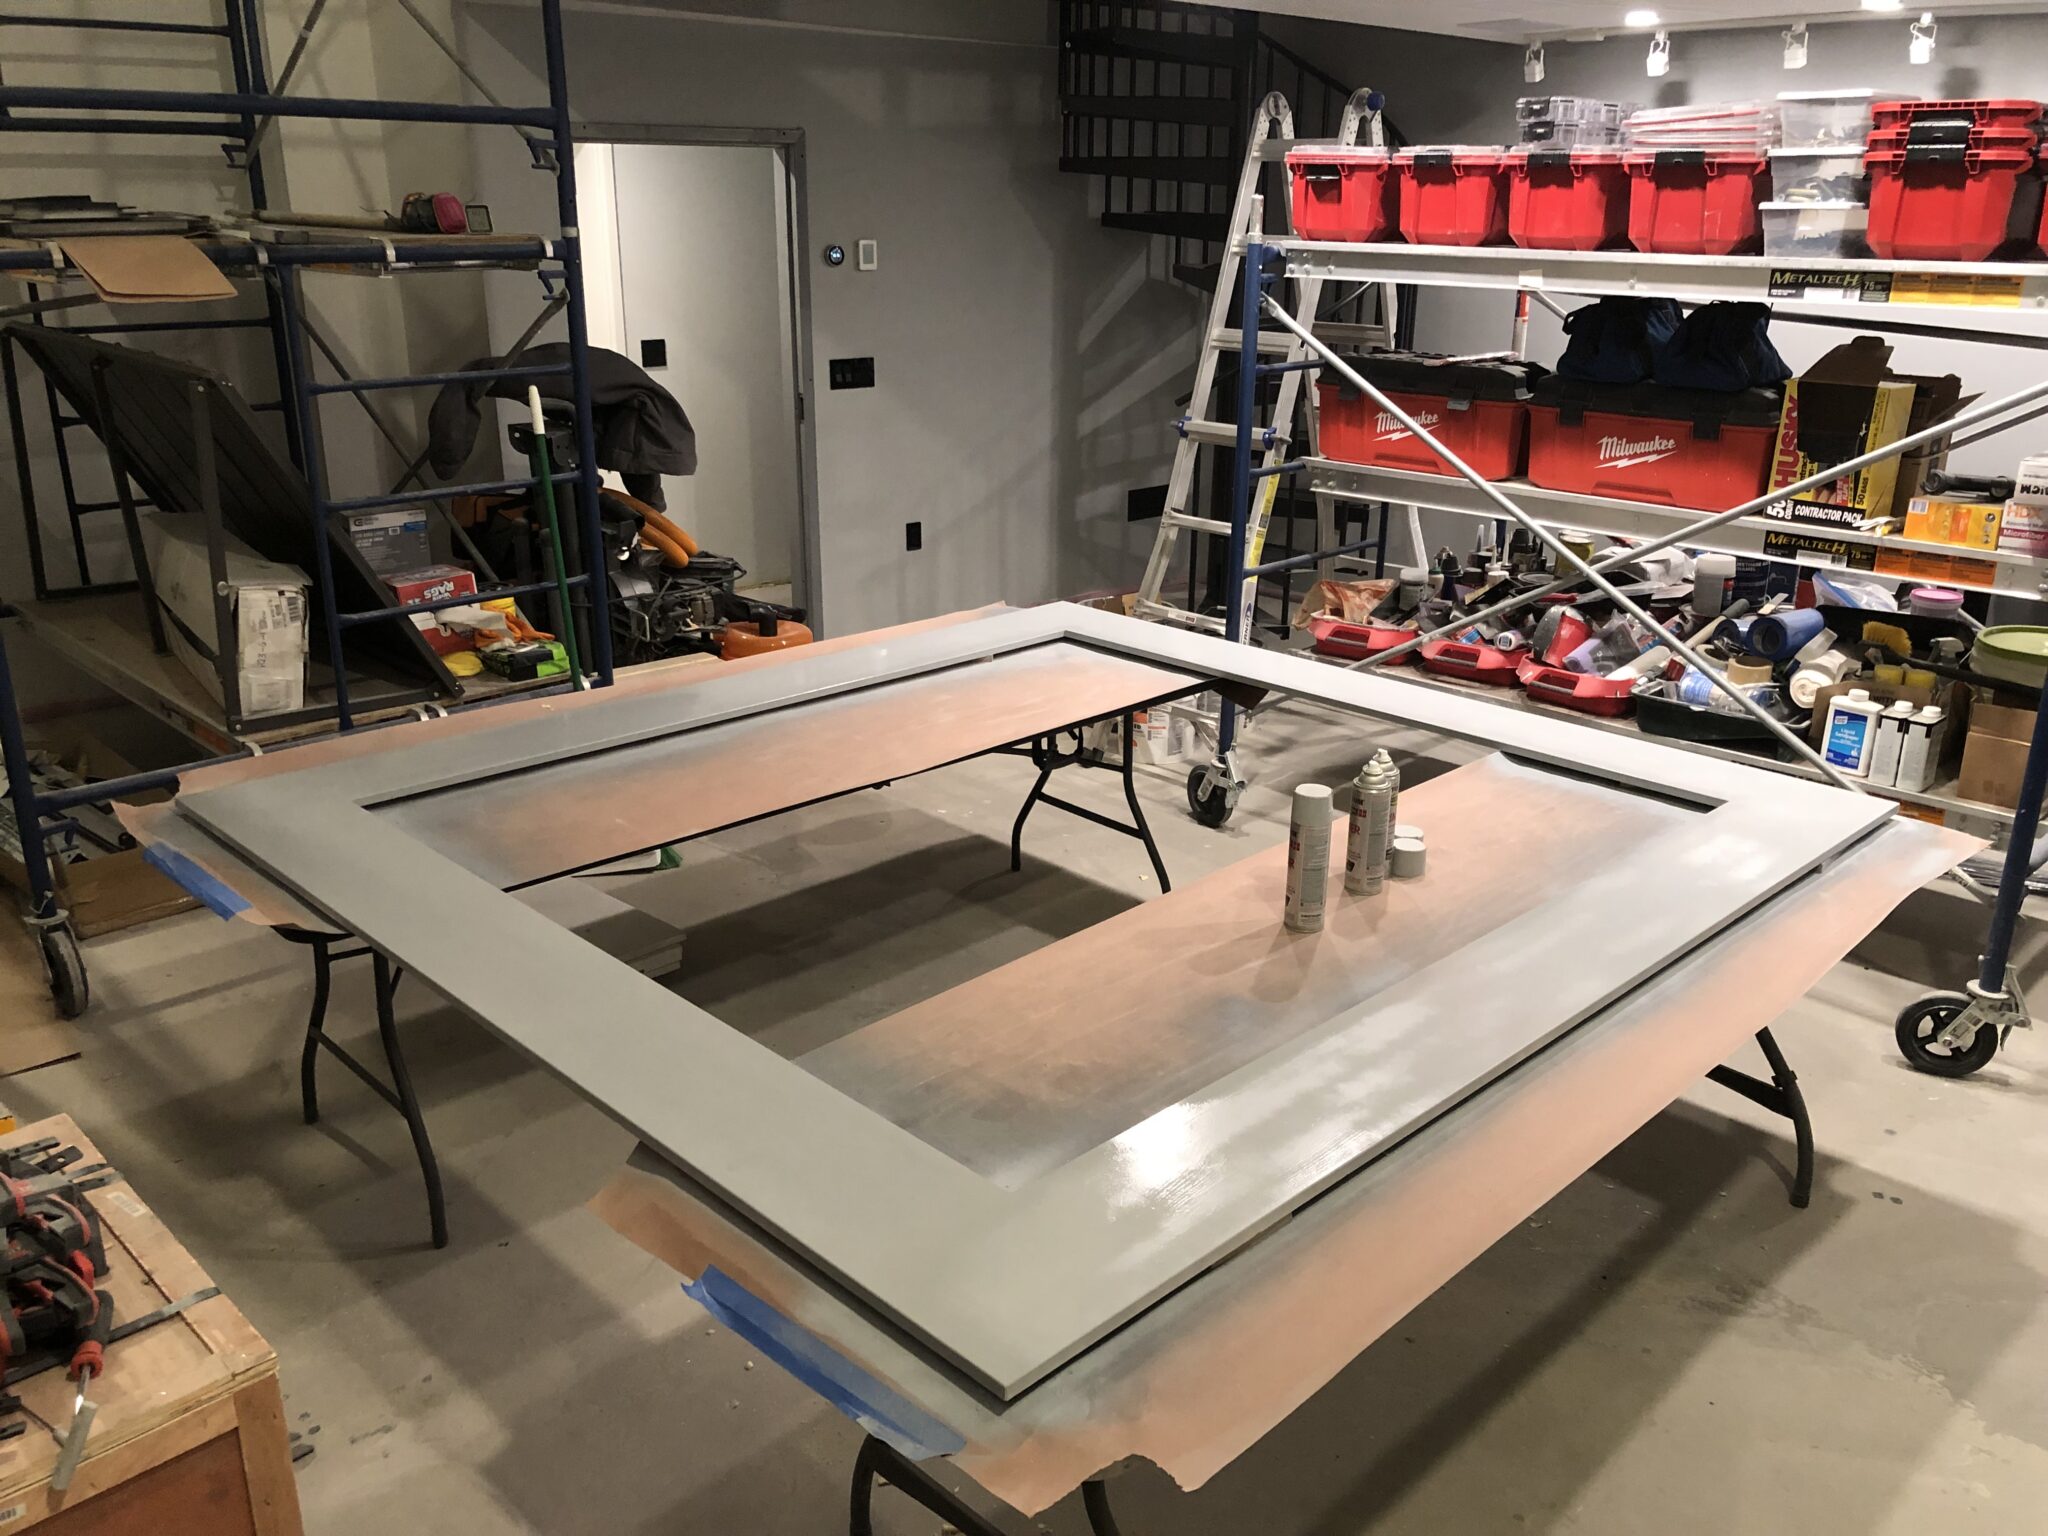
And finally I rolled on some urethane alkalyd enamel, which bonds extremely well and cures exceptionally hard.

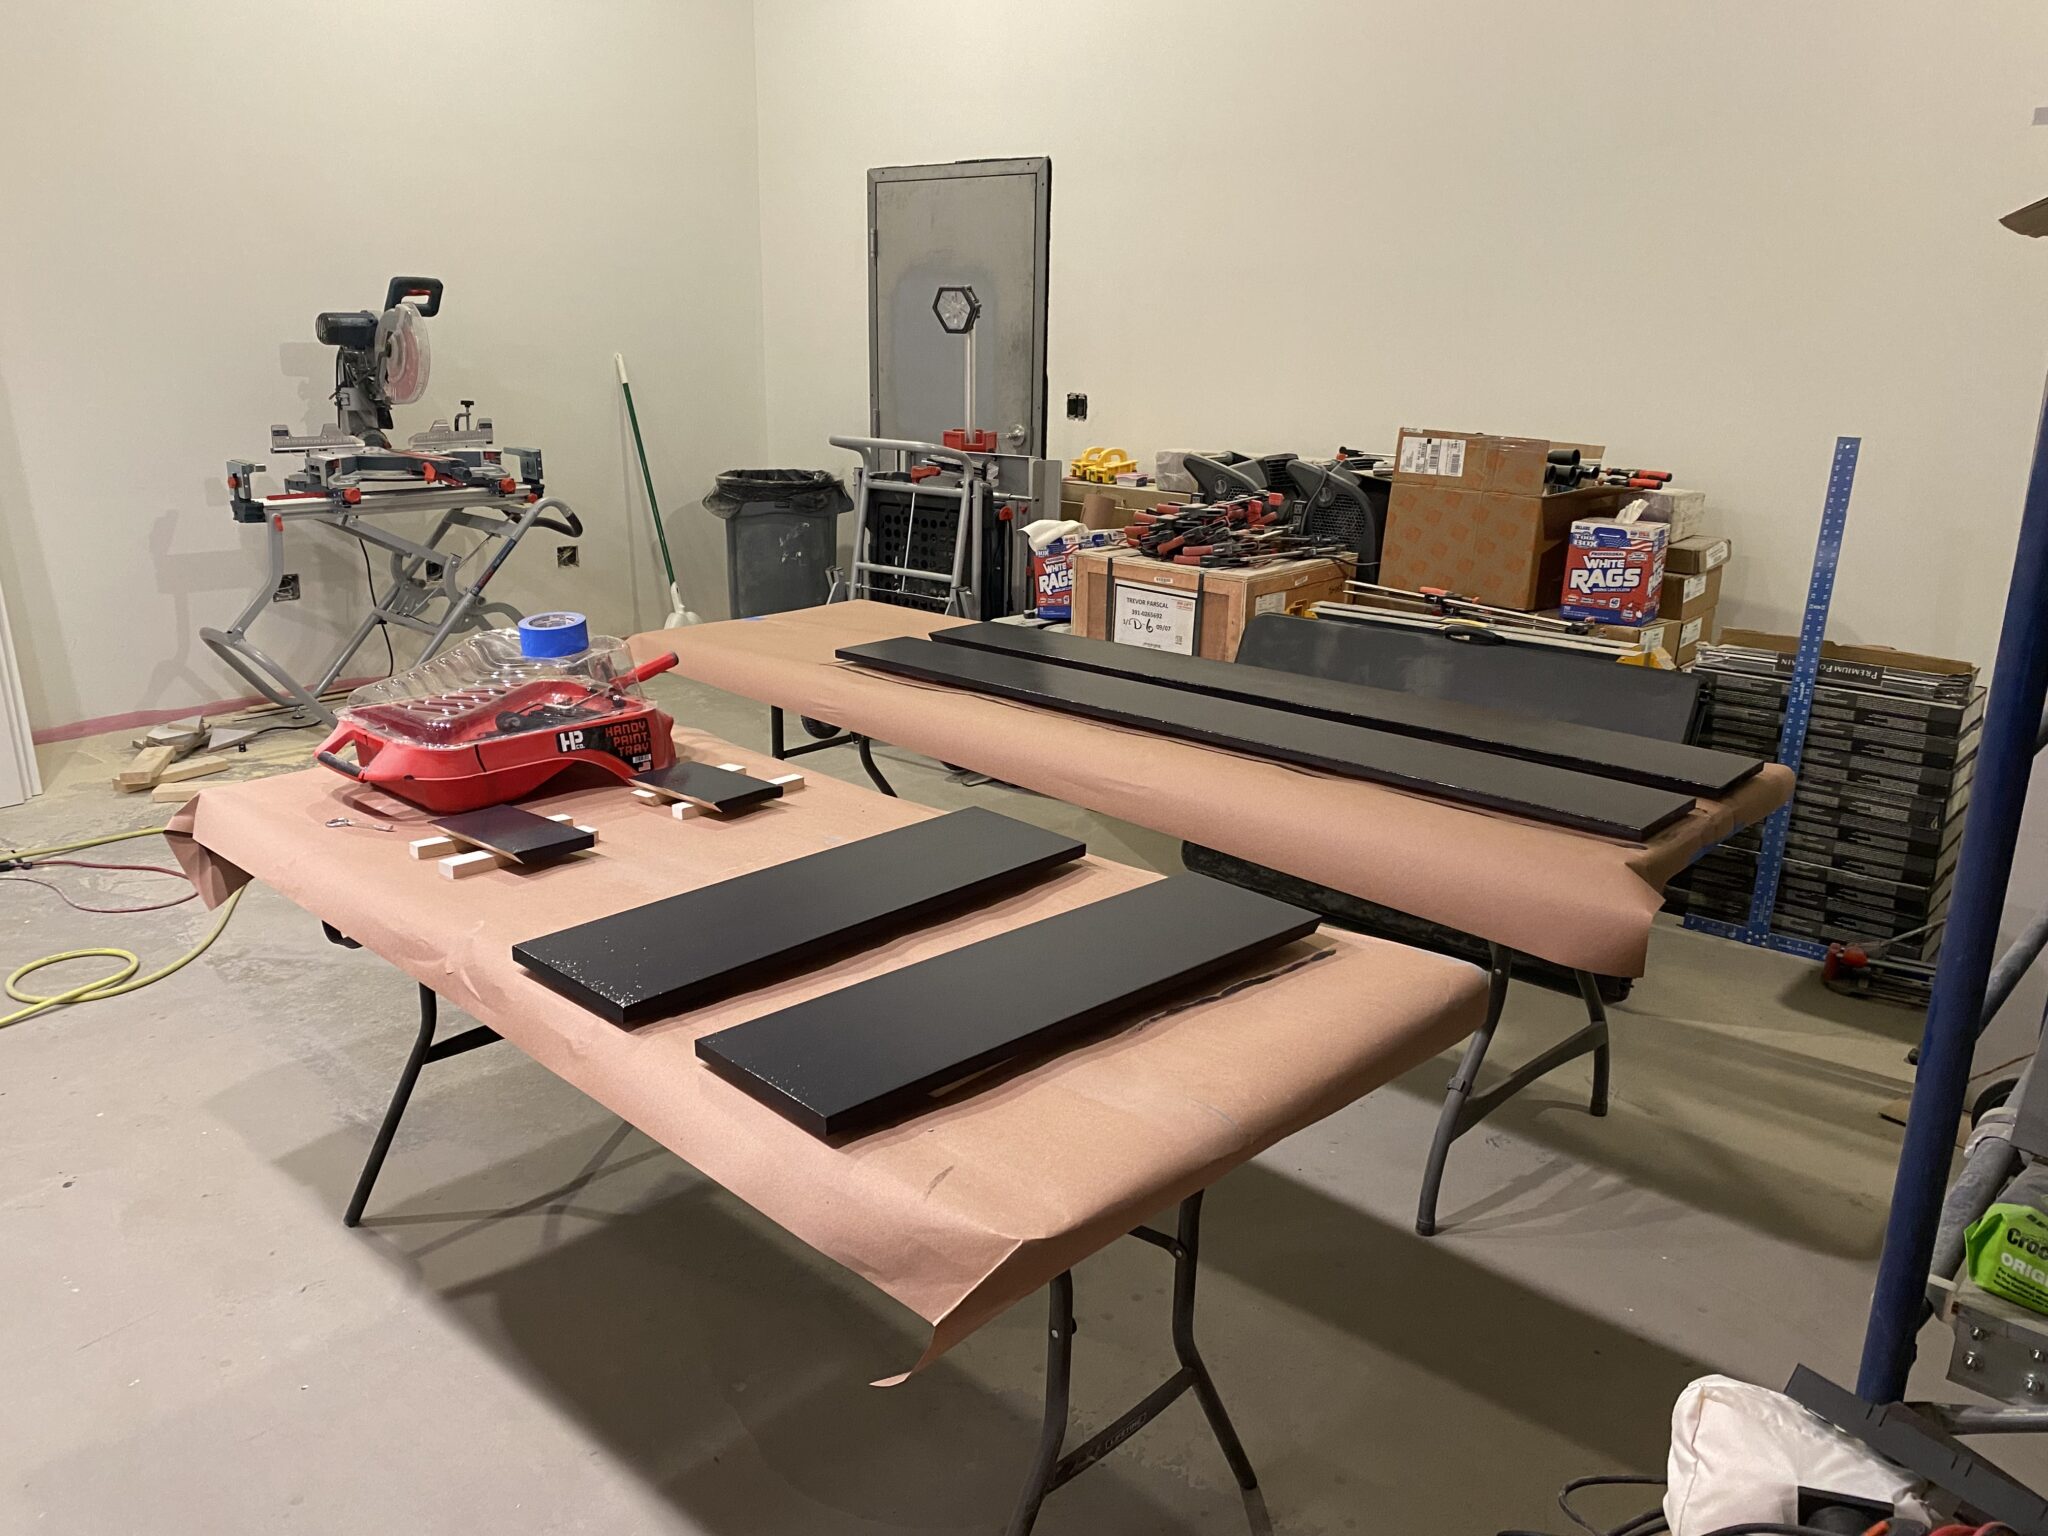
I also painted some boards to go around the sides of the curb.
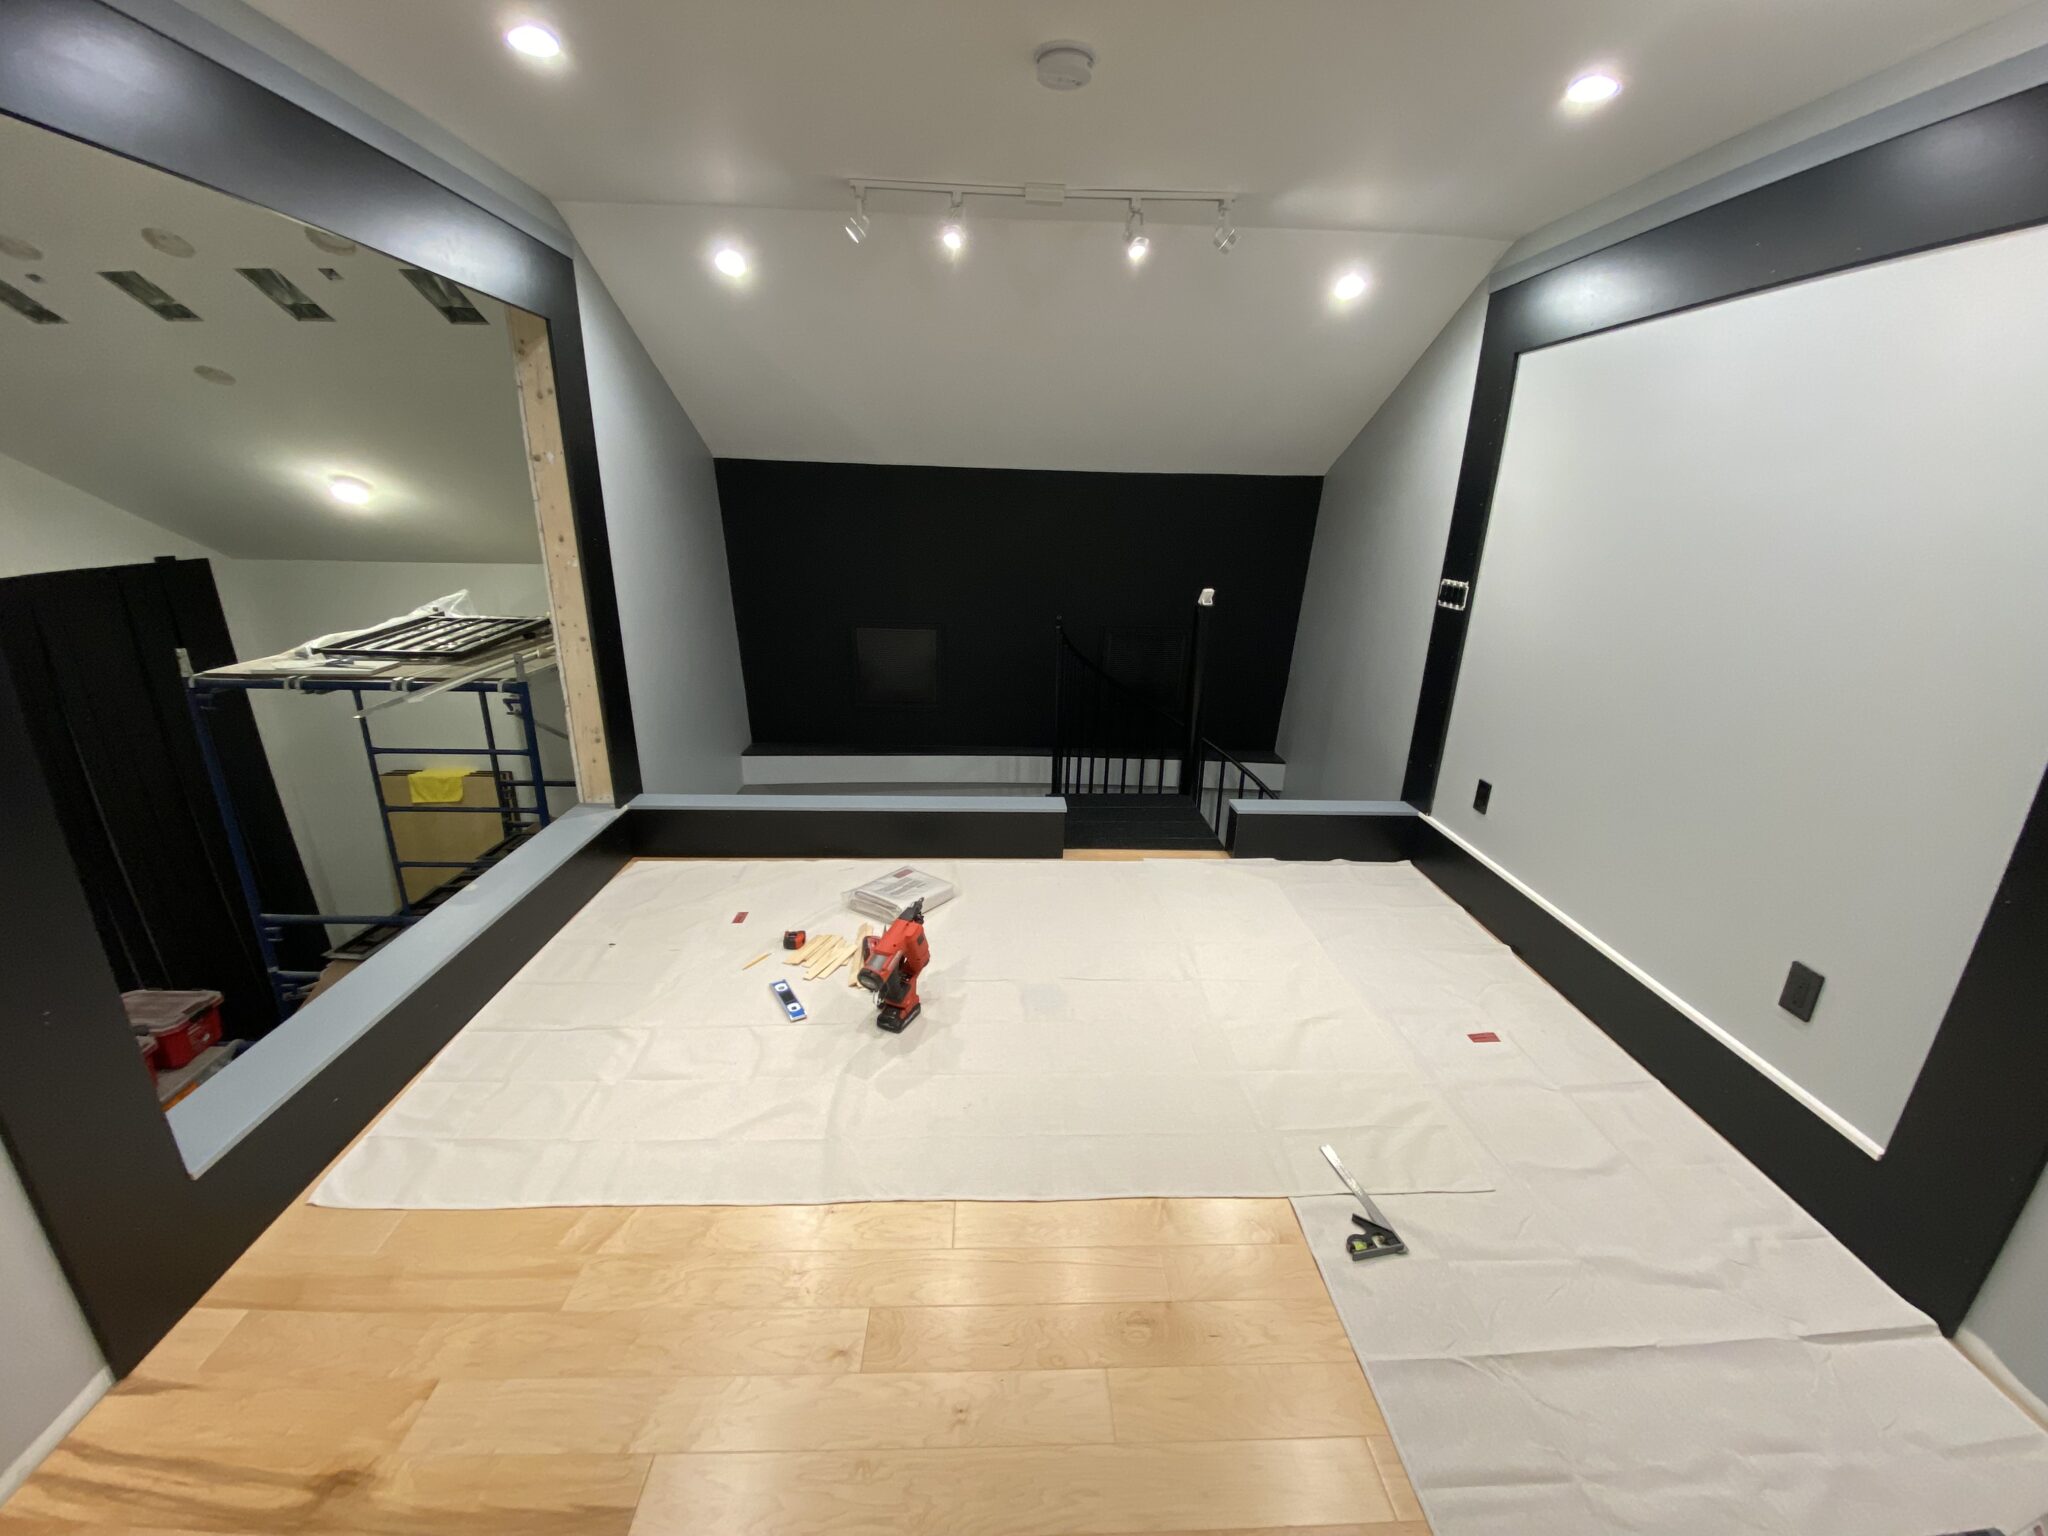
Due to a miscalculation, I had to trim an inch off the bottom of the trim assemblies before attaching them so the bottom of the balcony sill would sit level with the inside of the trim.
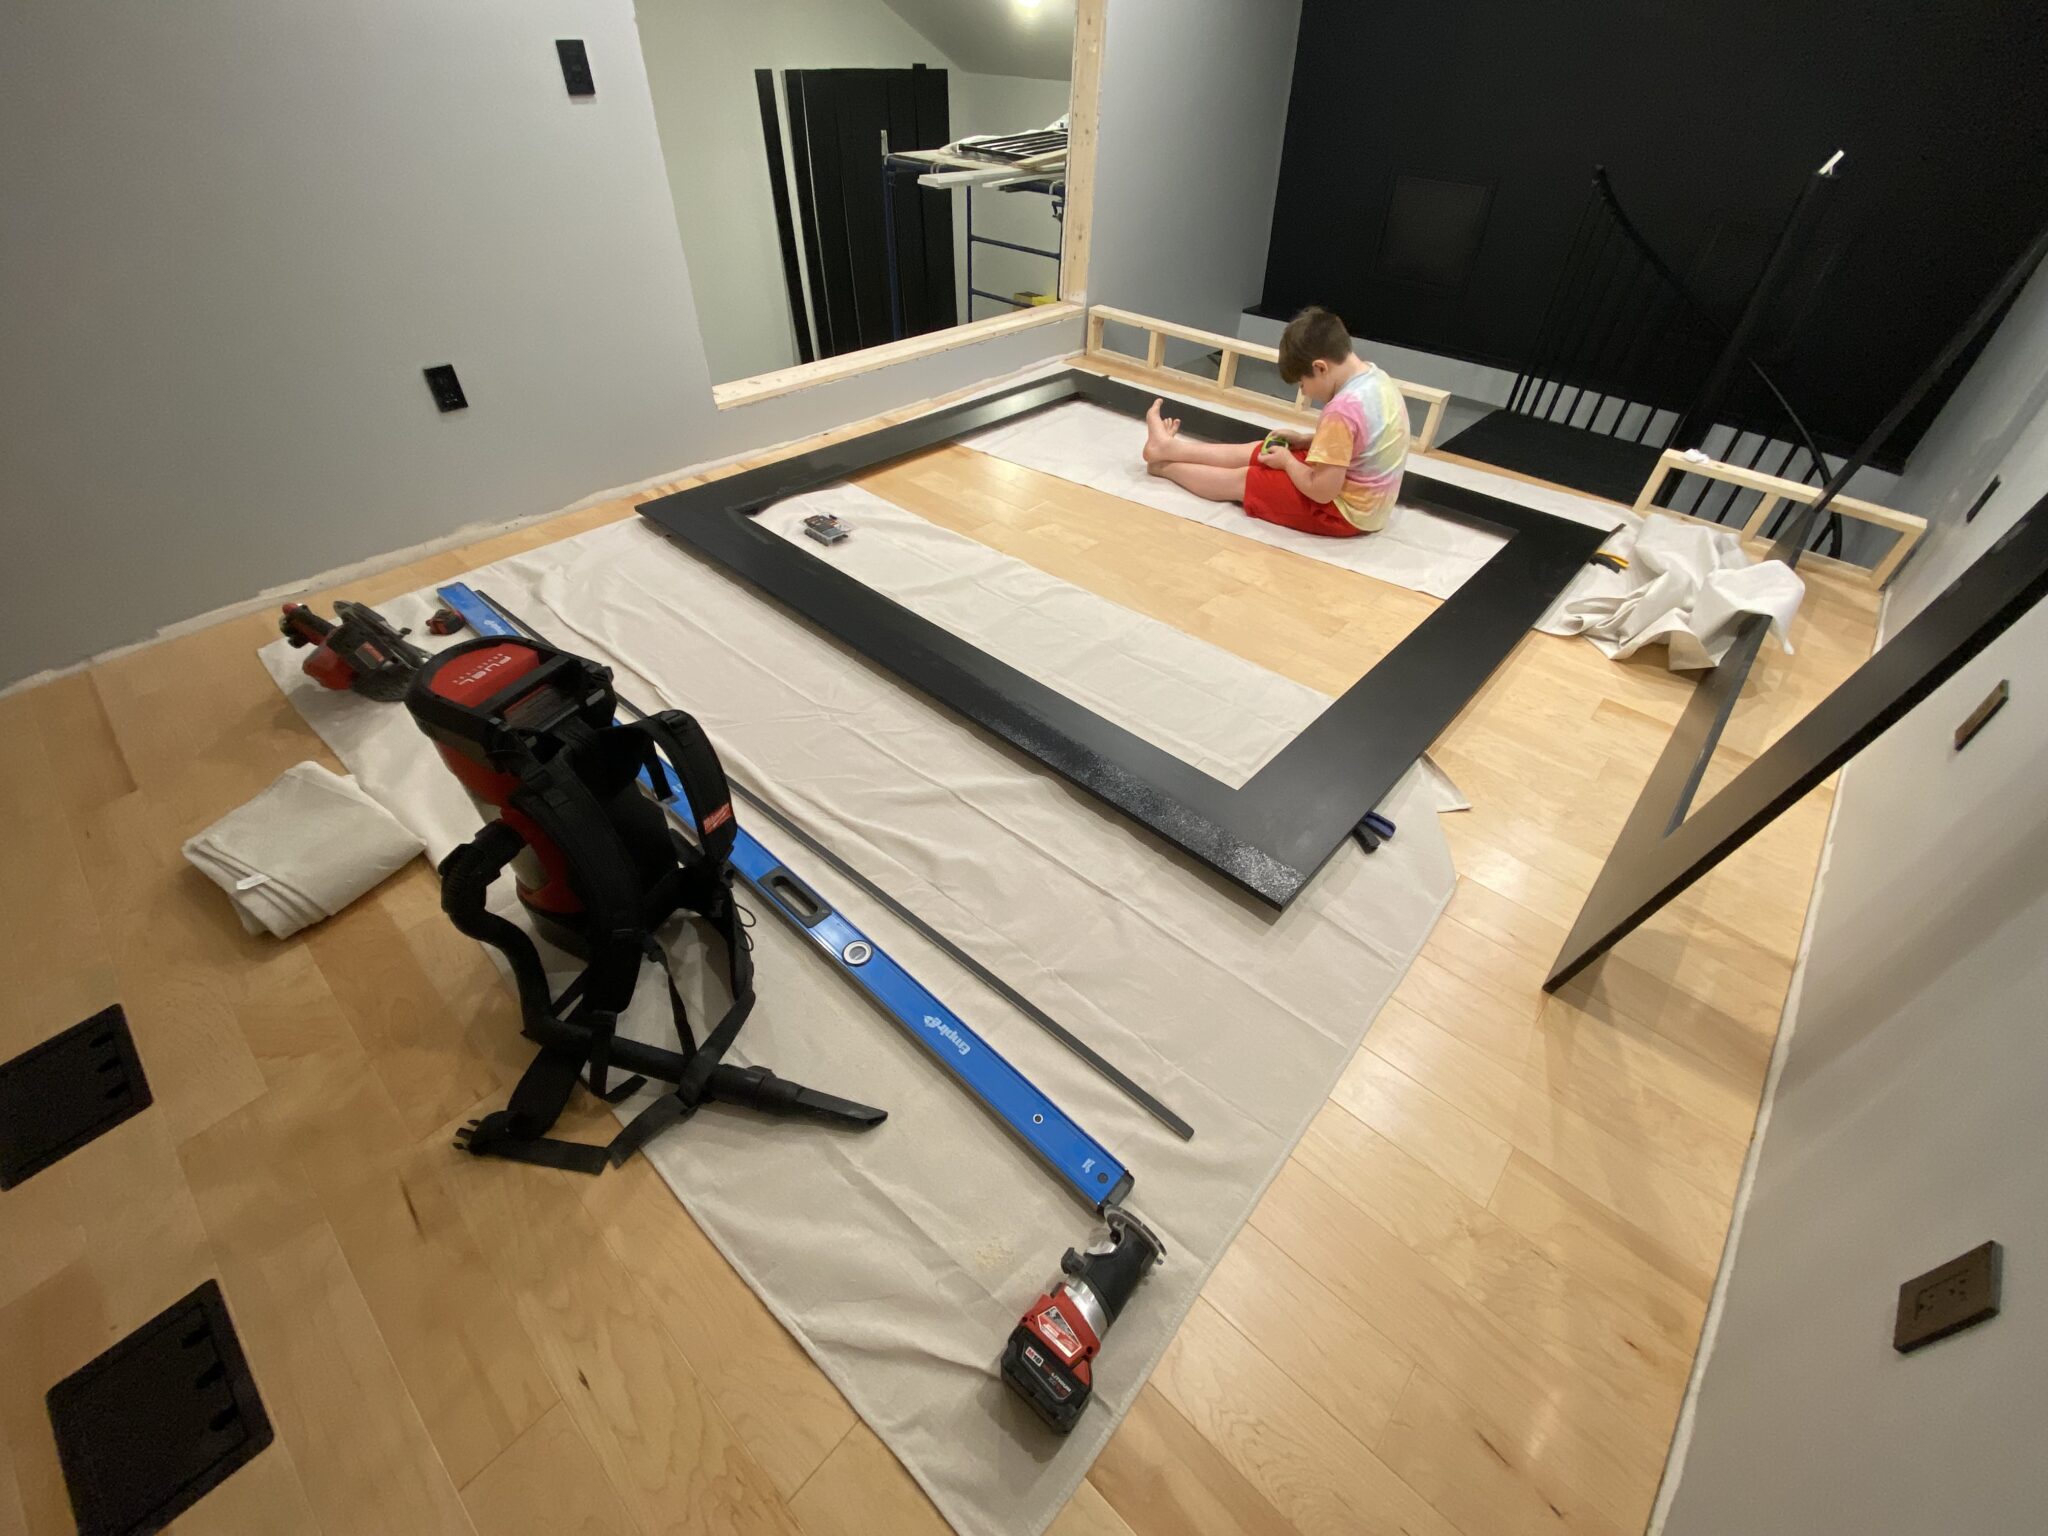
I then attached the trim to the walls and curb with a finish nailer.
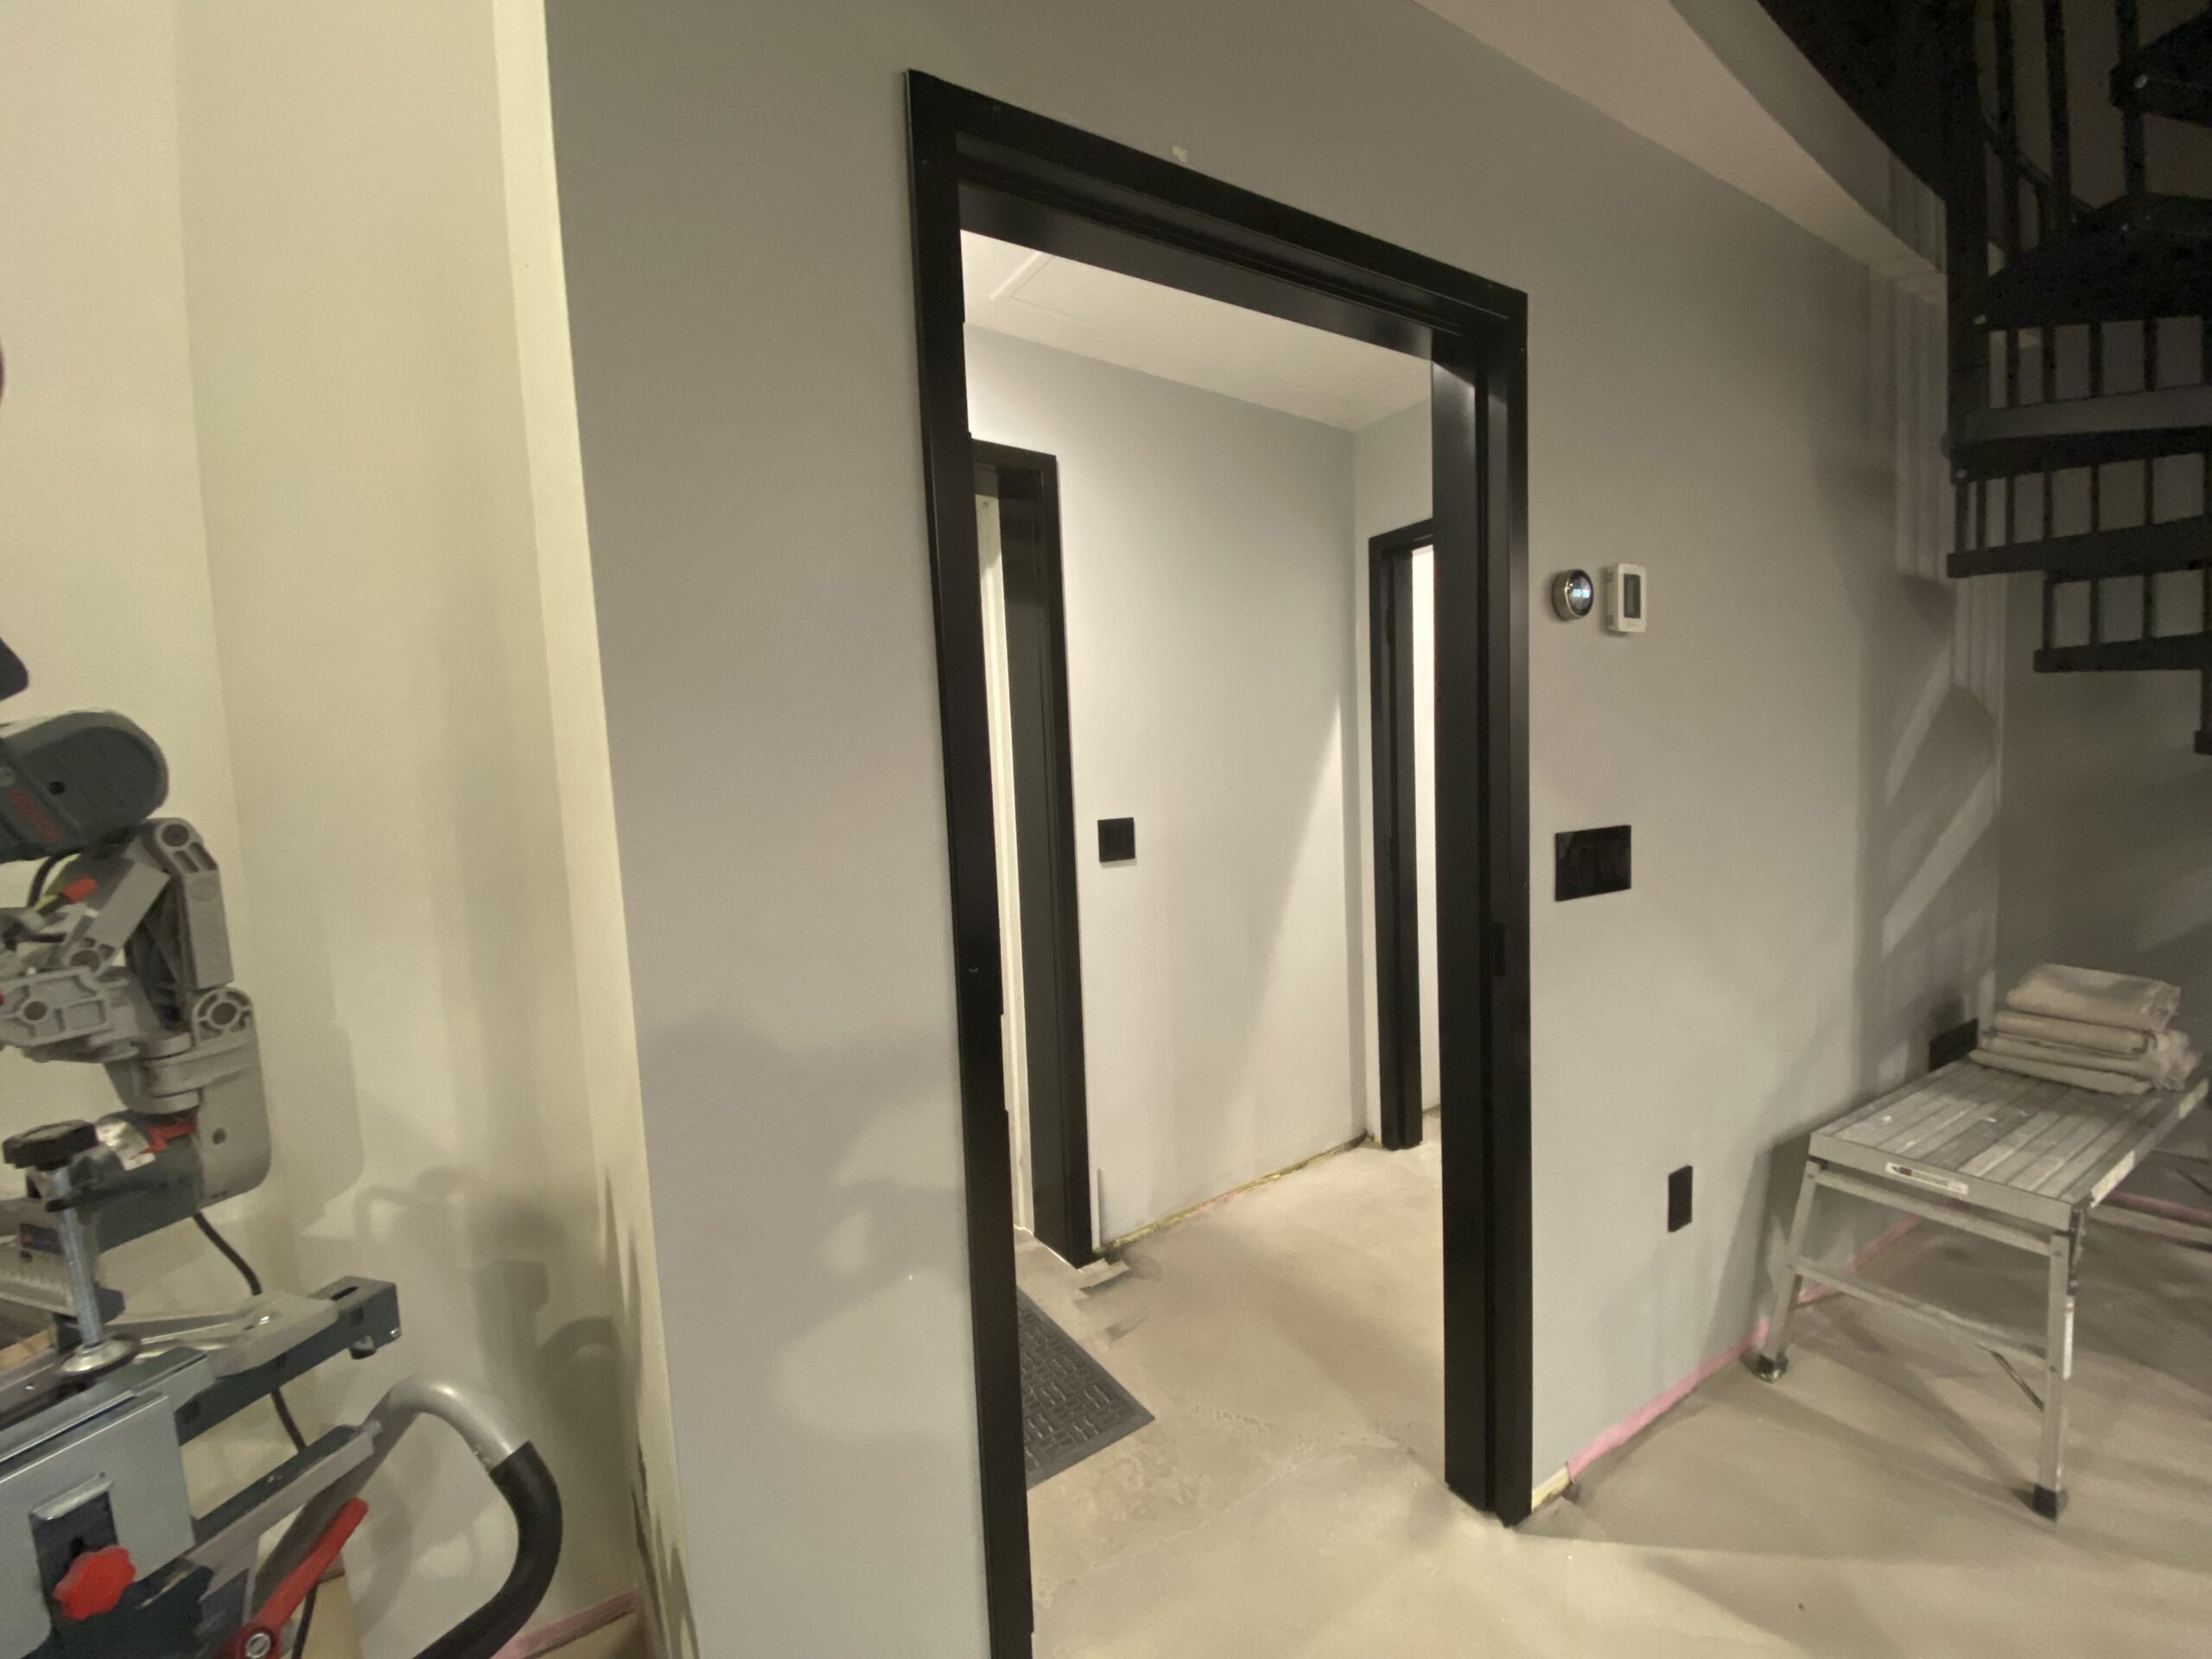
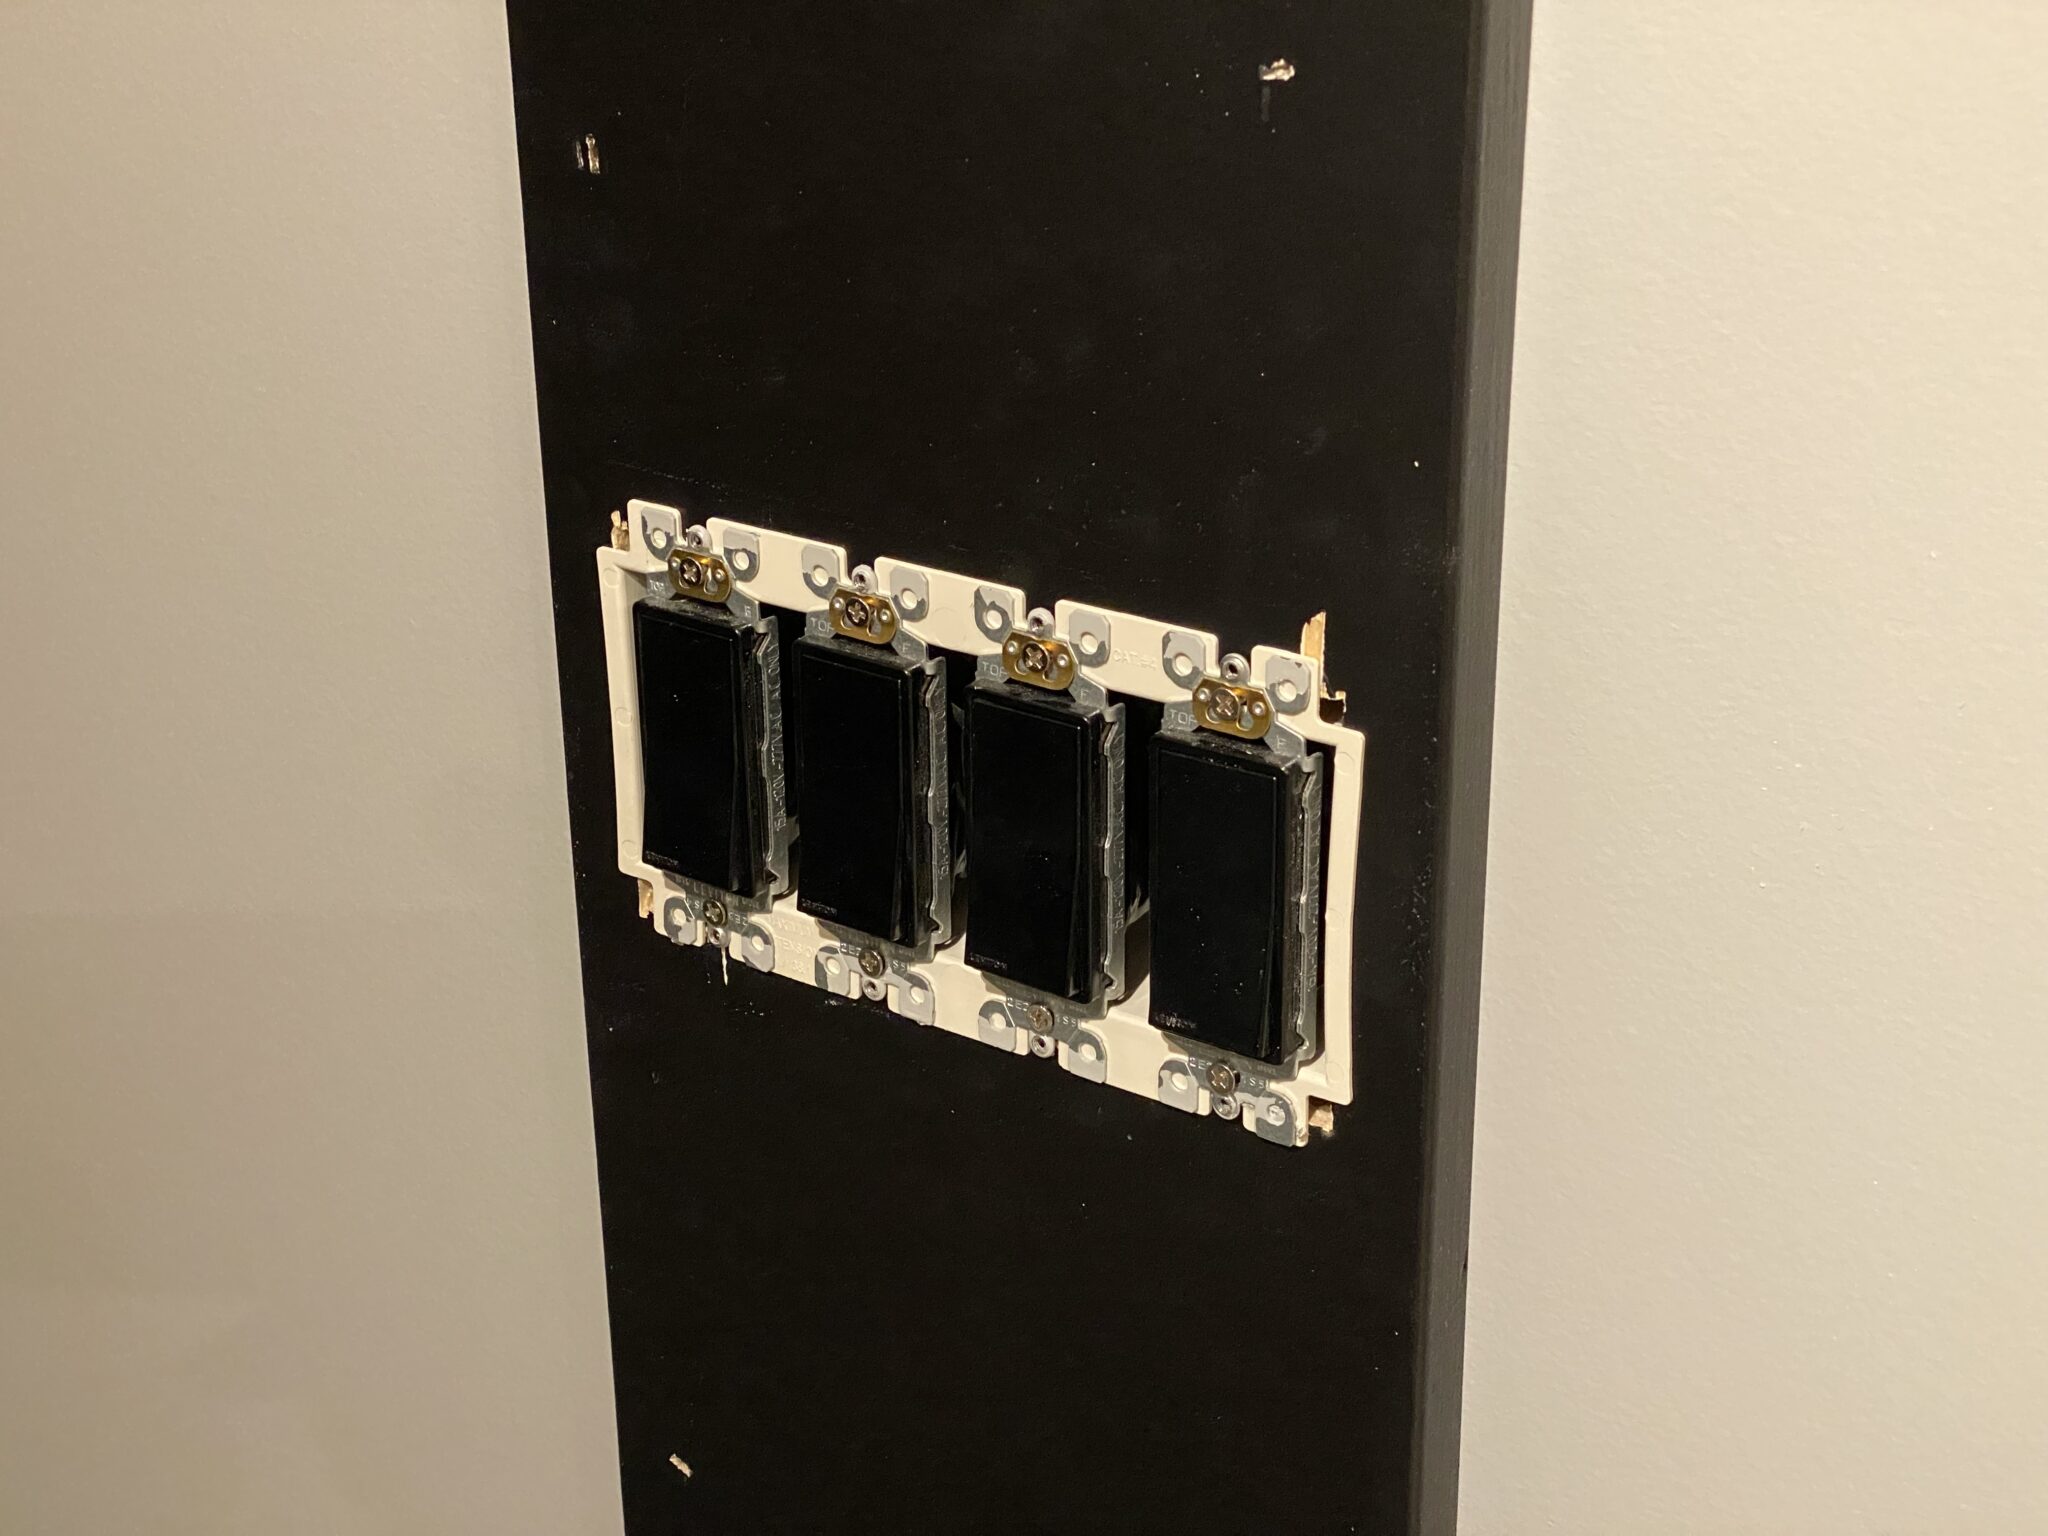
One complexity was cutting a hole for the switch box to feed through the trim.

I installed a box extension and used longer screws to secure the switches.
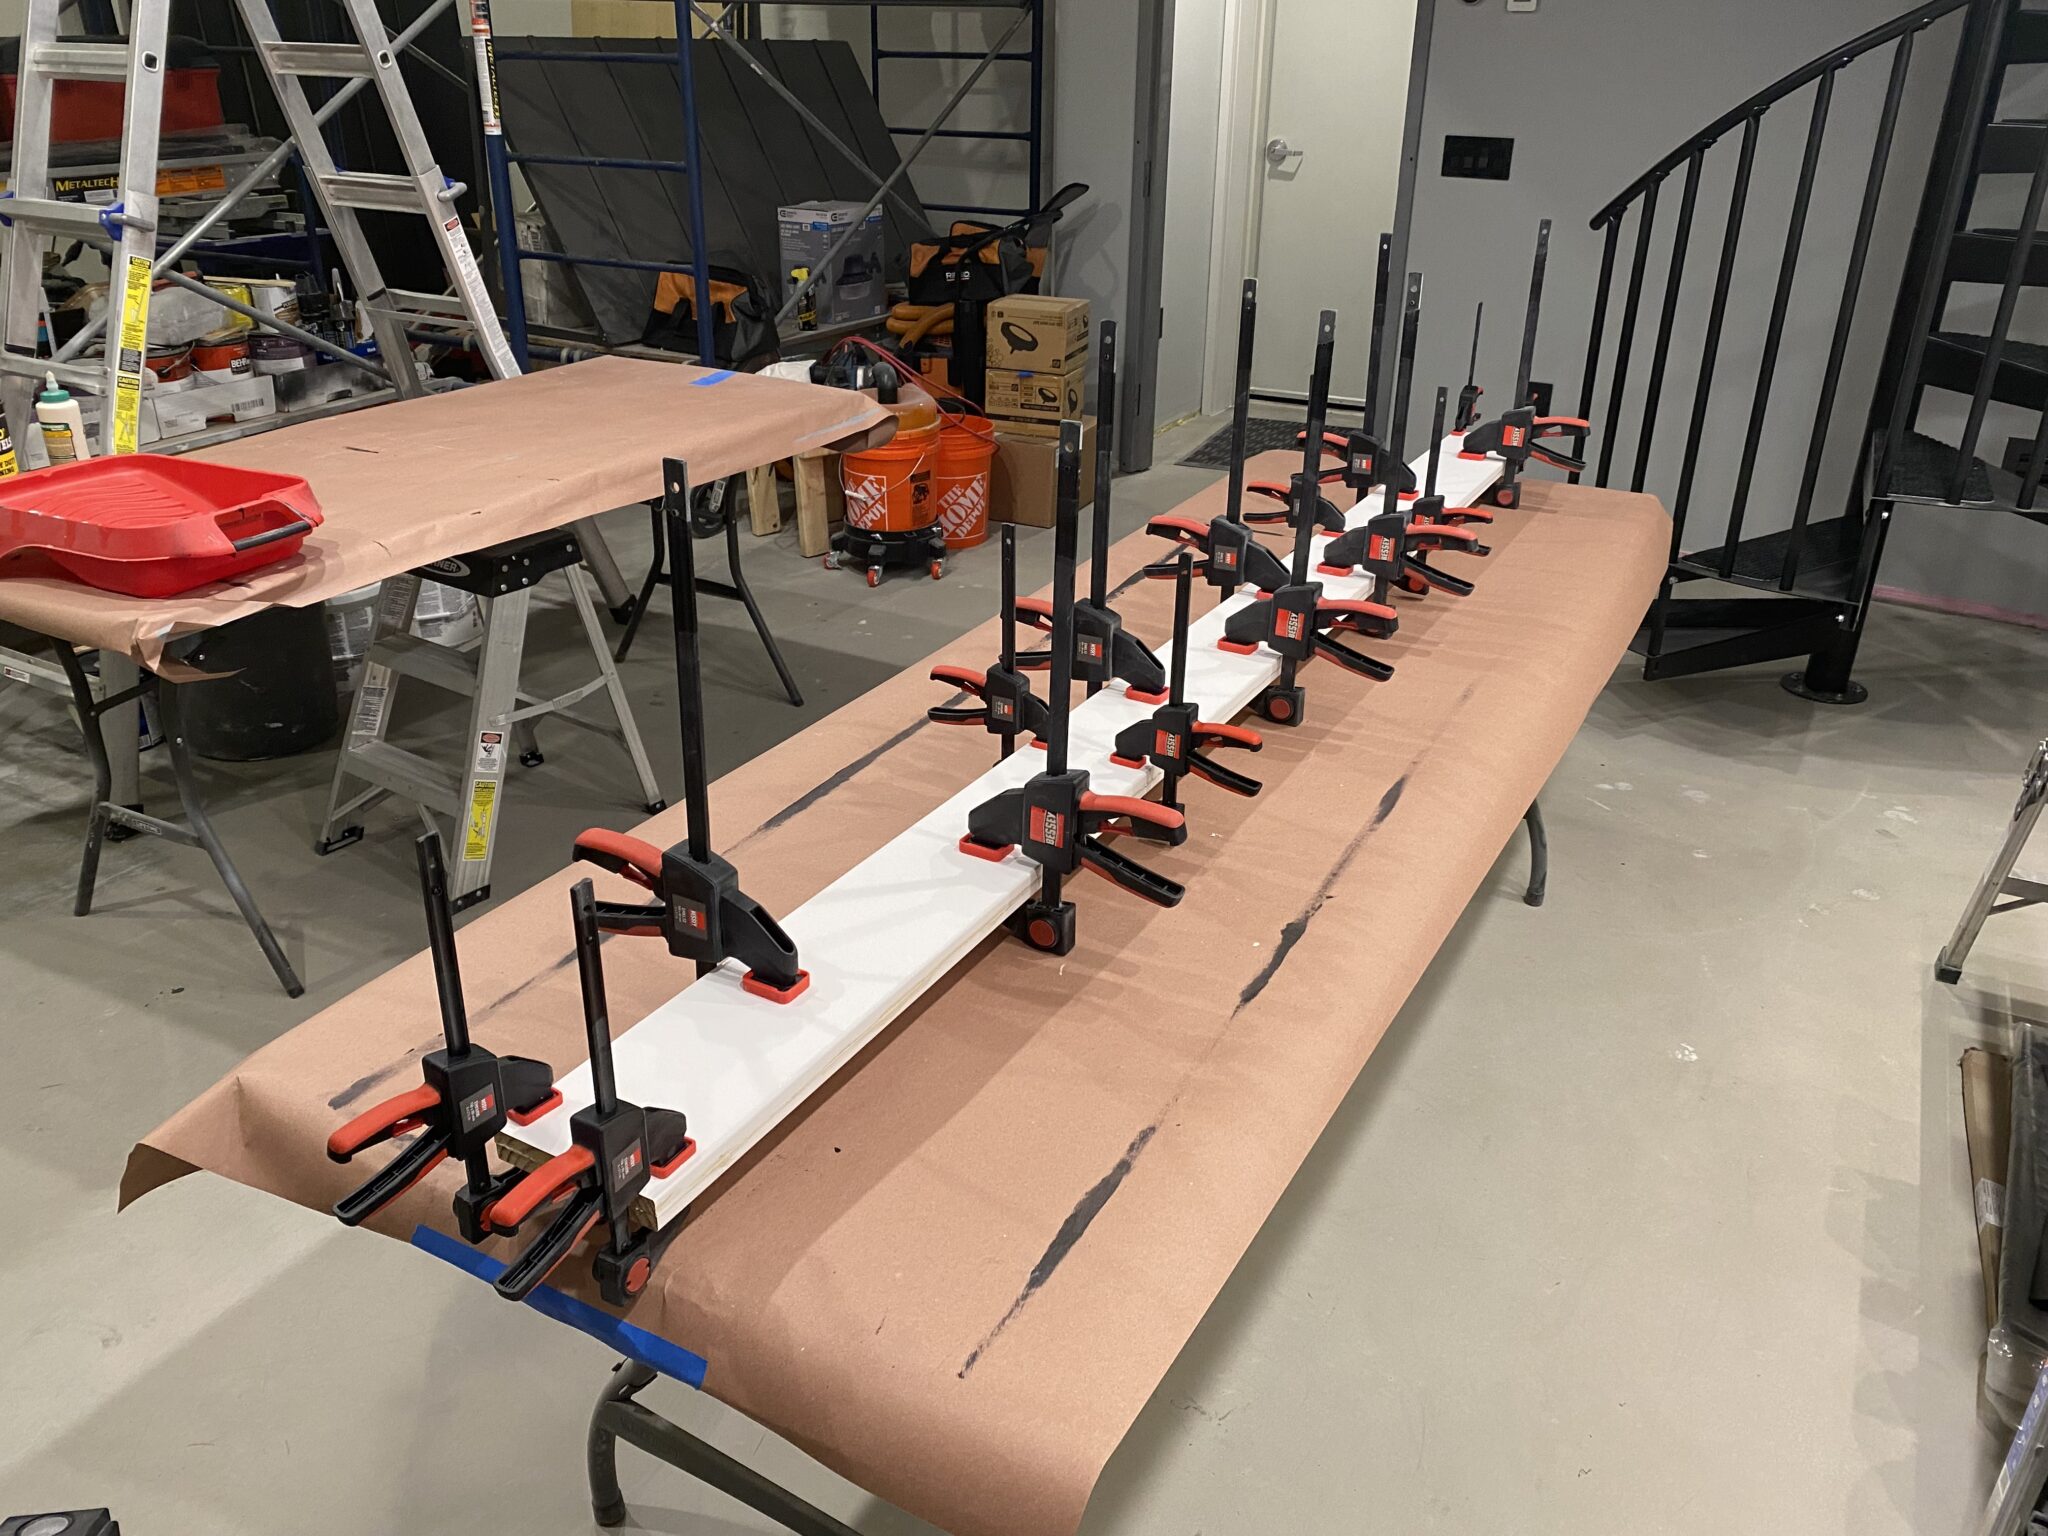
I then directed my attention to some cap pieces that will finish off the tops of the trim assemblies. They needed to be thicker than the trim, so I laminated two thinner pieces together.

Then I clamped them and left them to dry overnight.
I also prepared the trim for the balcony sills and casing for the other side of the wall.
I then attached all the sills without painting them black first, mostly to save time. I would soon be painting another coat on everything anyway.
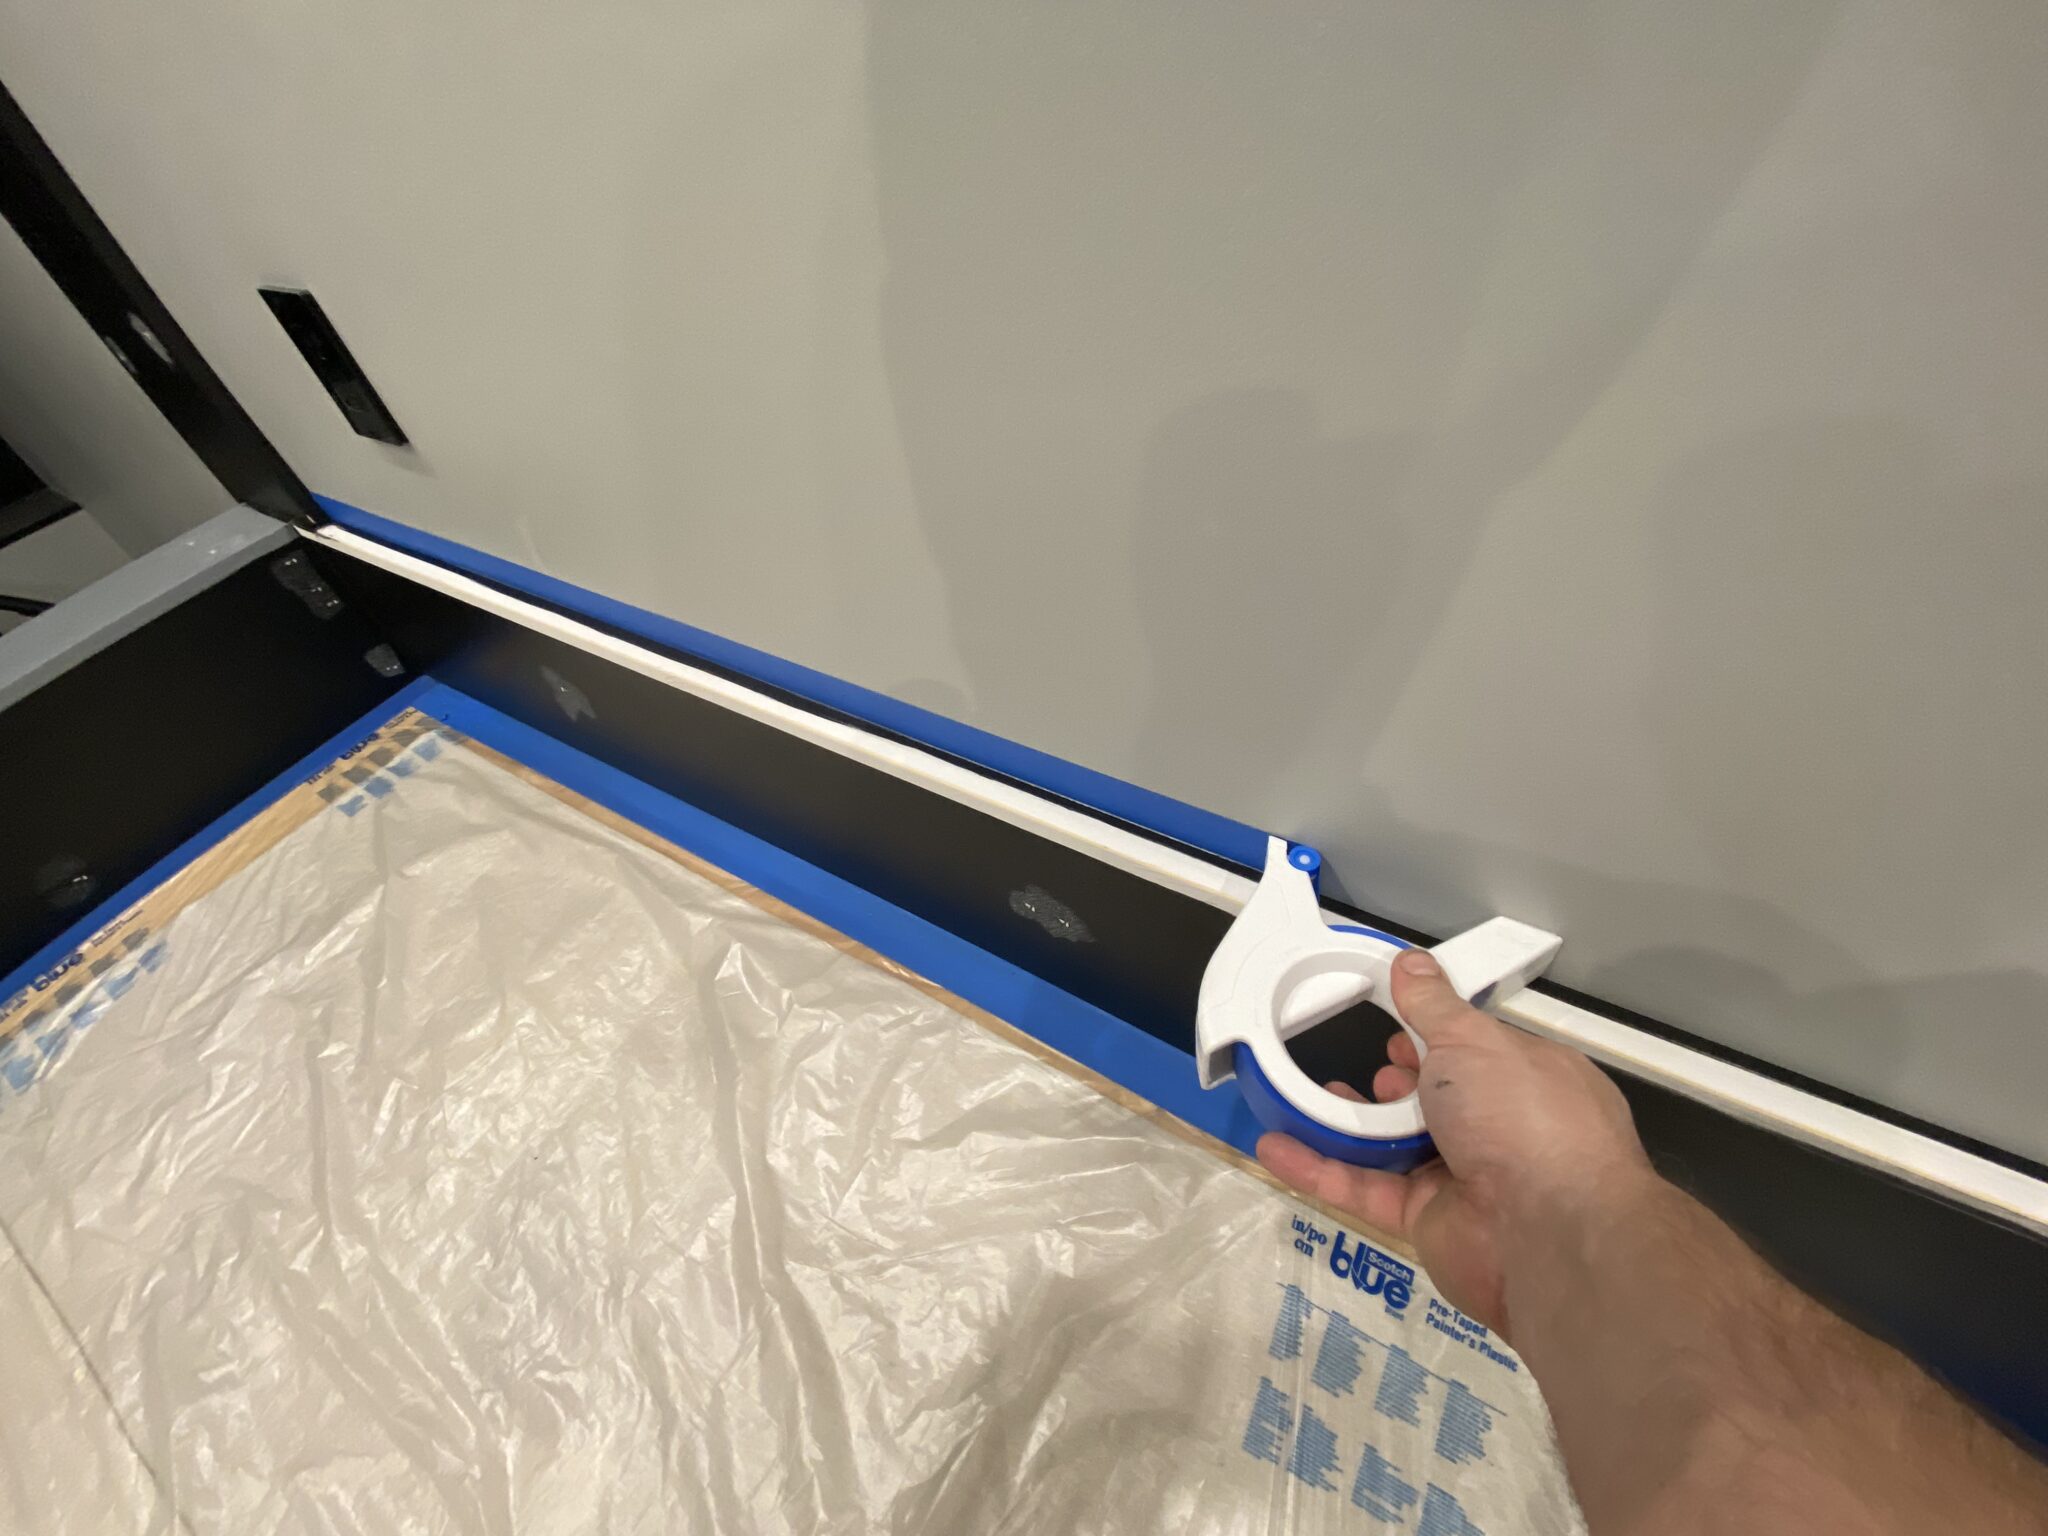
Before the final paint I attached the baseboard to the back side of the room and filled the nail holes everywhere.

Then I masked, caulked and pulled the masking tape while the caulk was still wet, leaving a very clean edge.
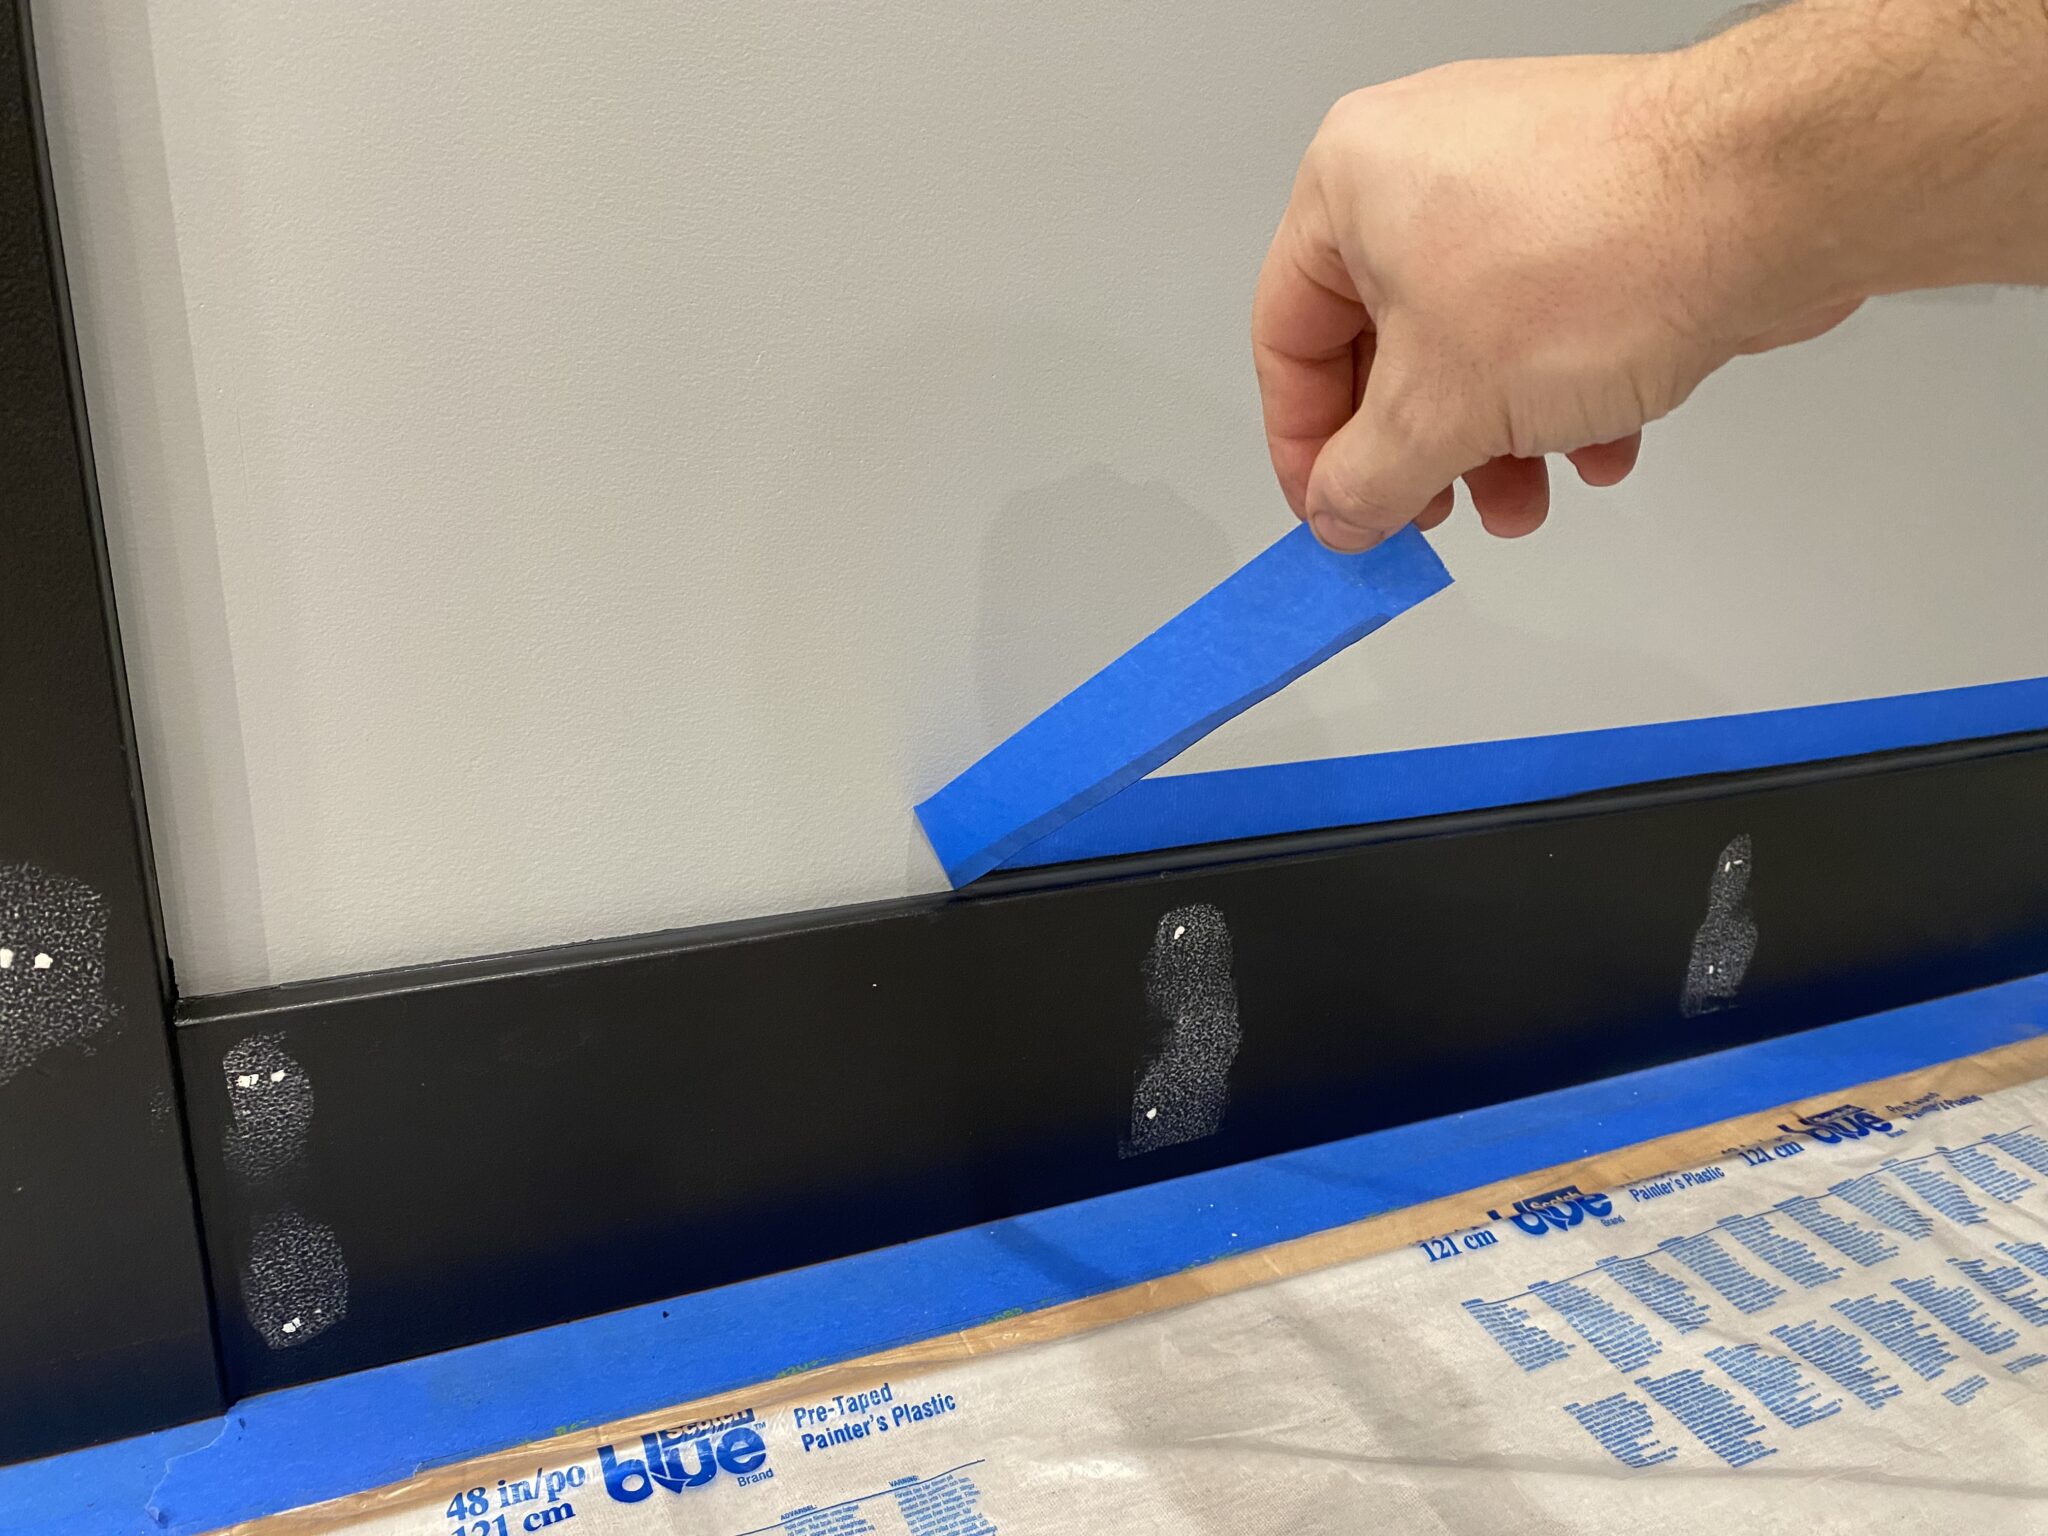
Then I had to mask again for painting.
Finally I painted all the trim.

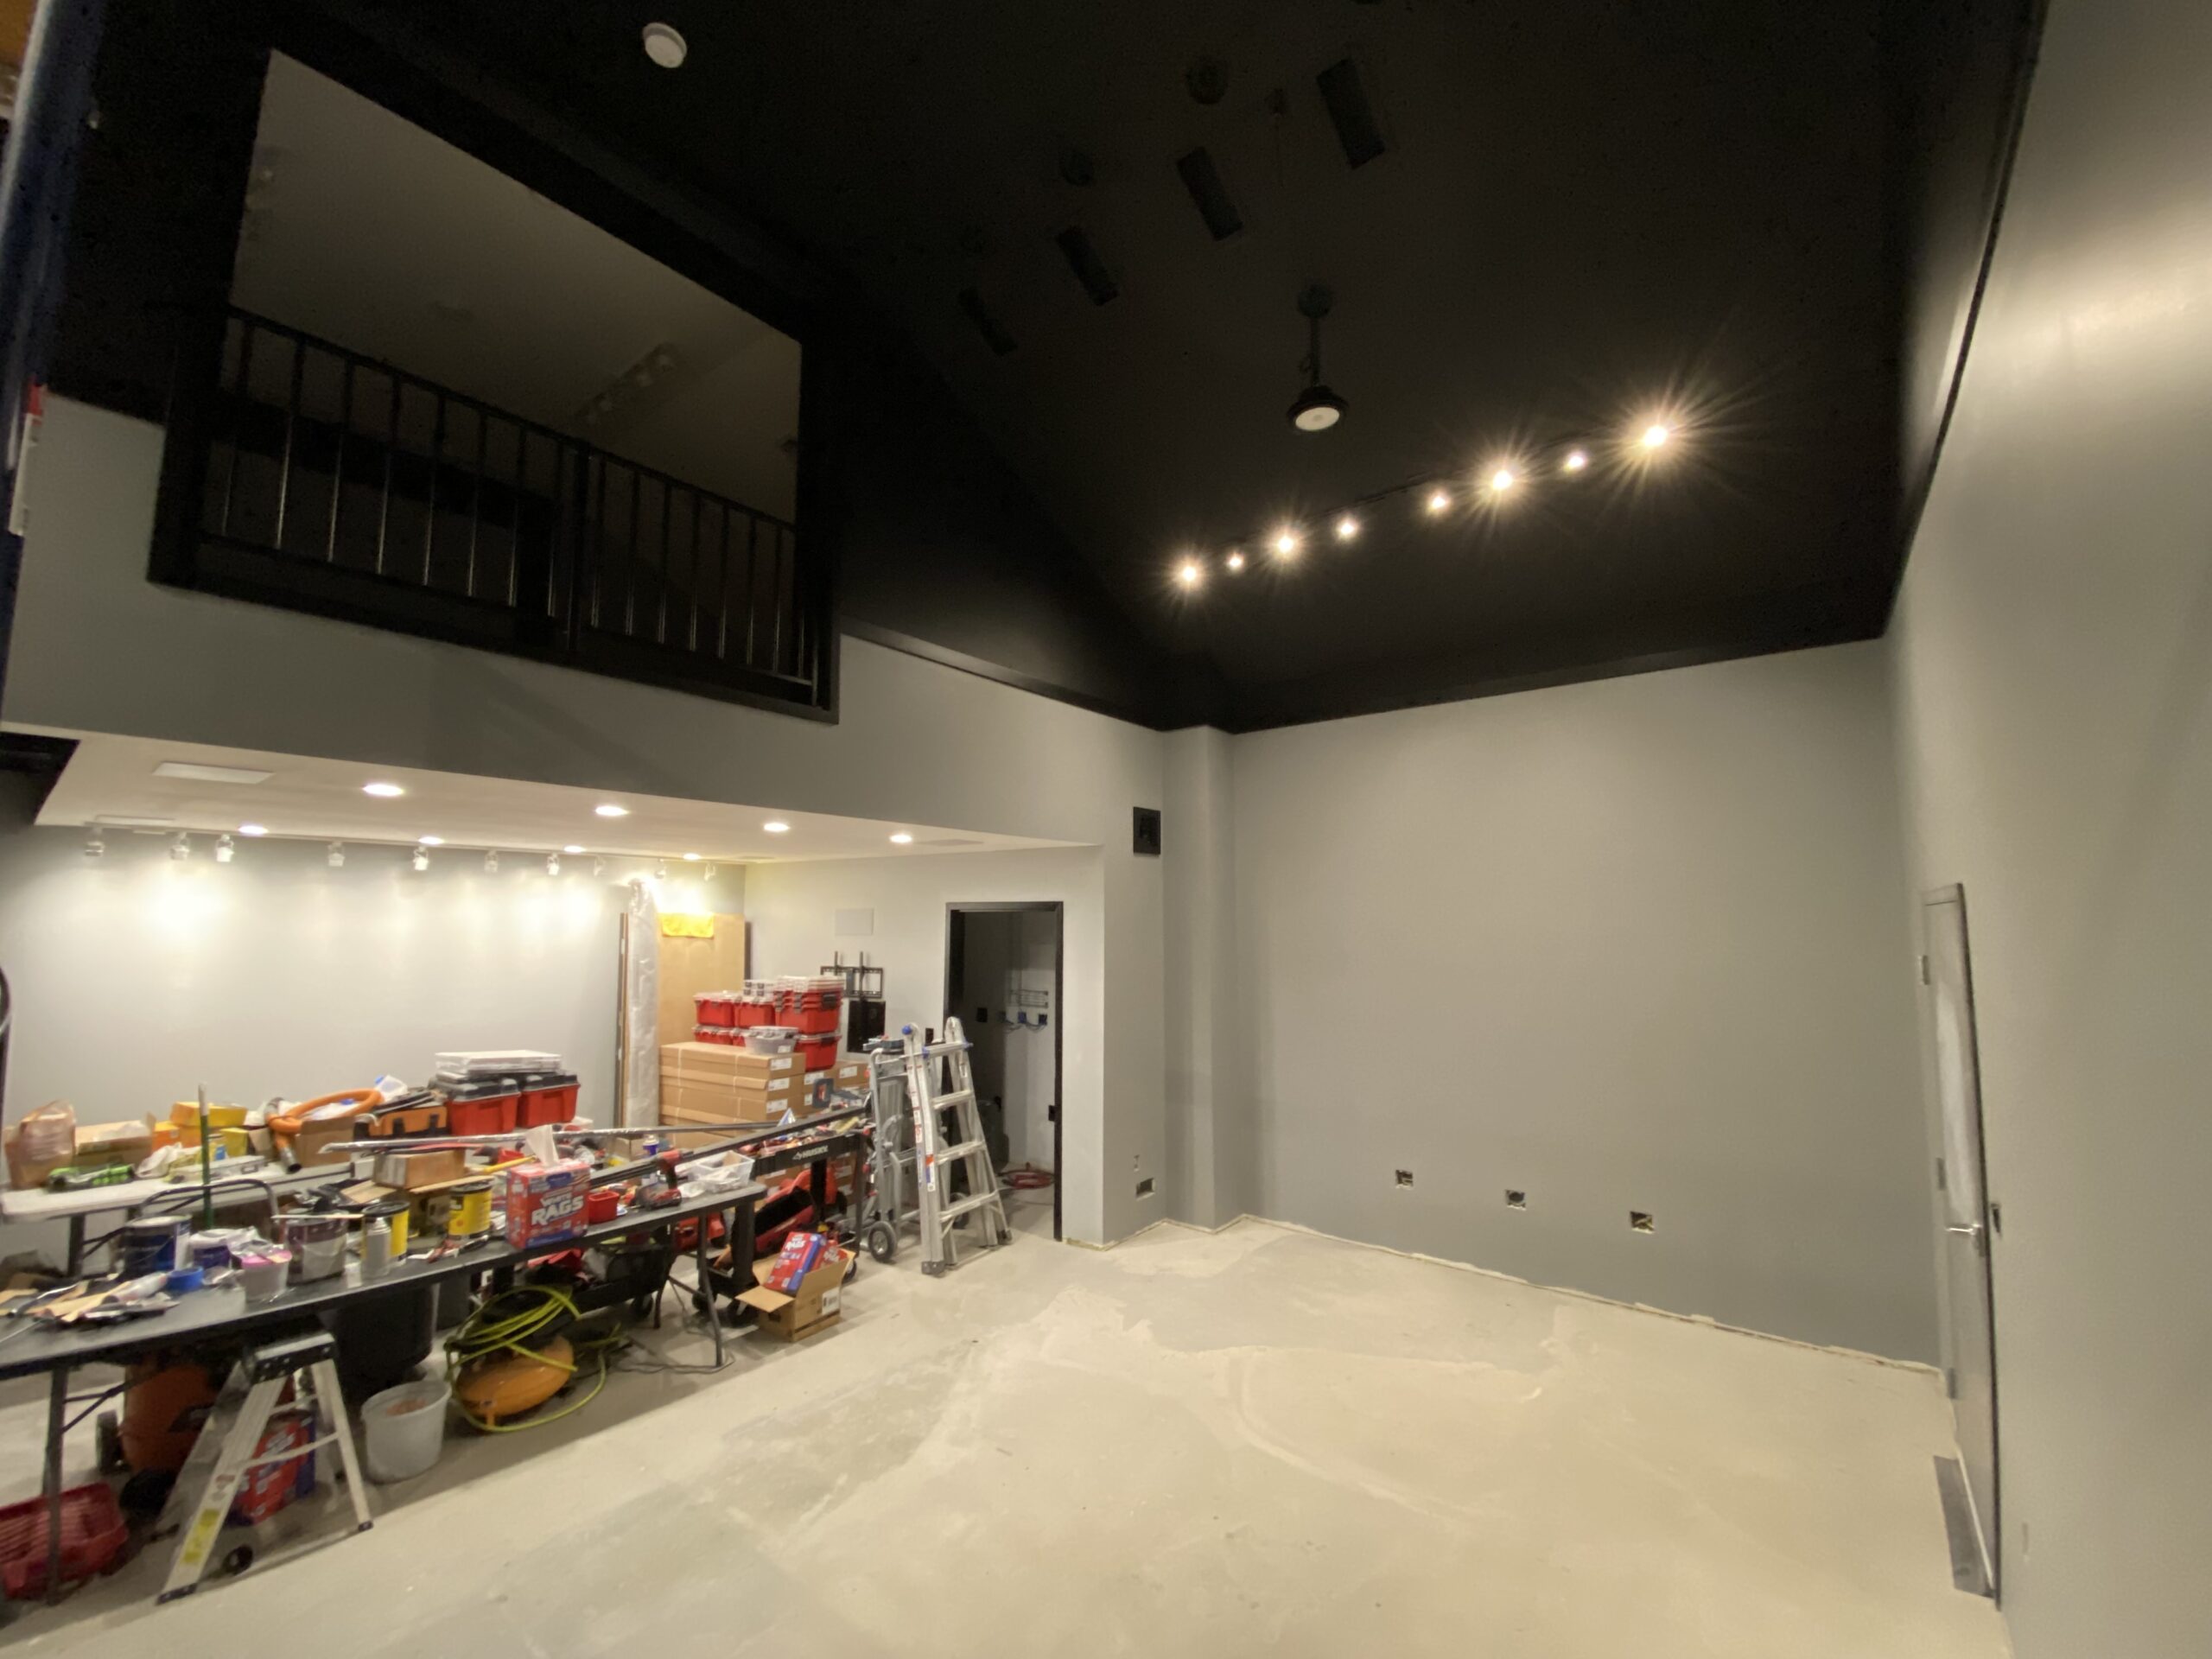
Once I pulled all the masking and drop-cloths, the space looked very closed to finished.
Ryan helped me get the landing railings up, and I was excited to get the others in, but found that one of them wasn’t built right.
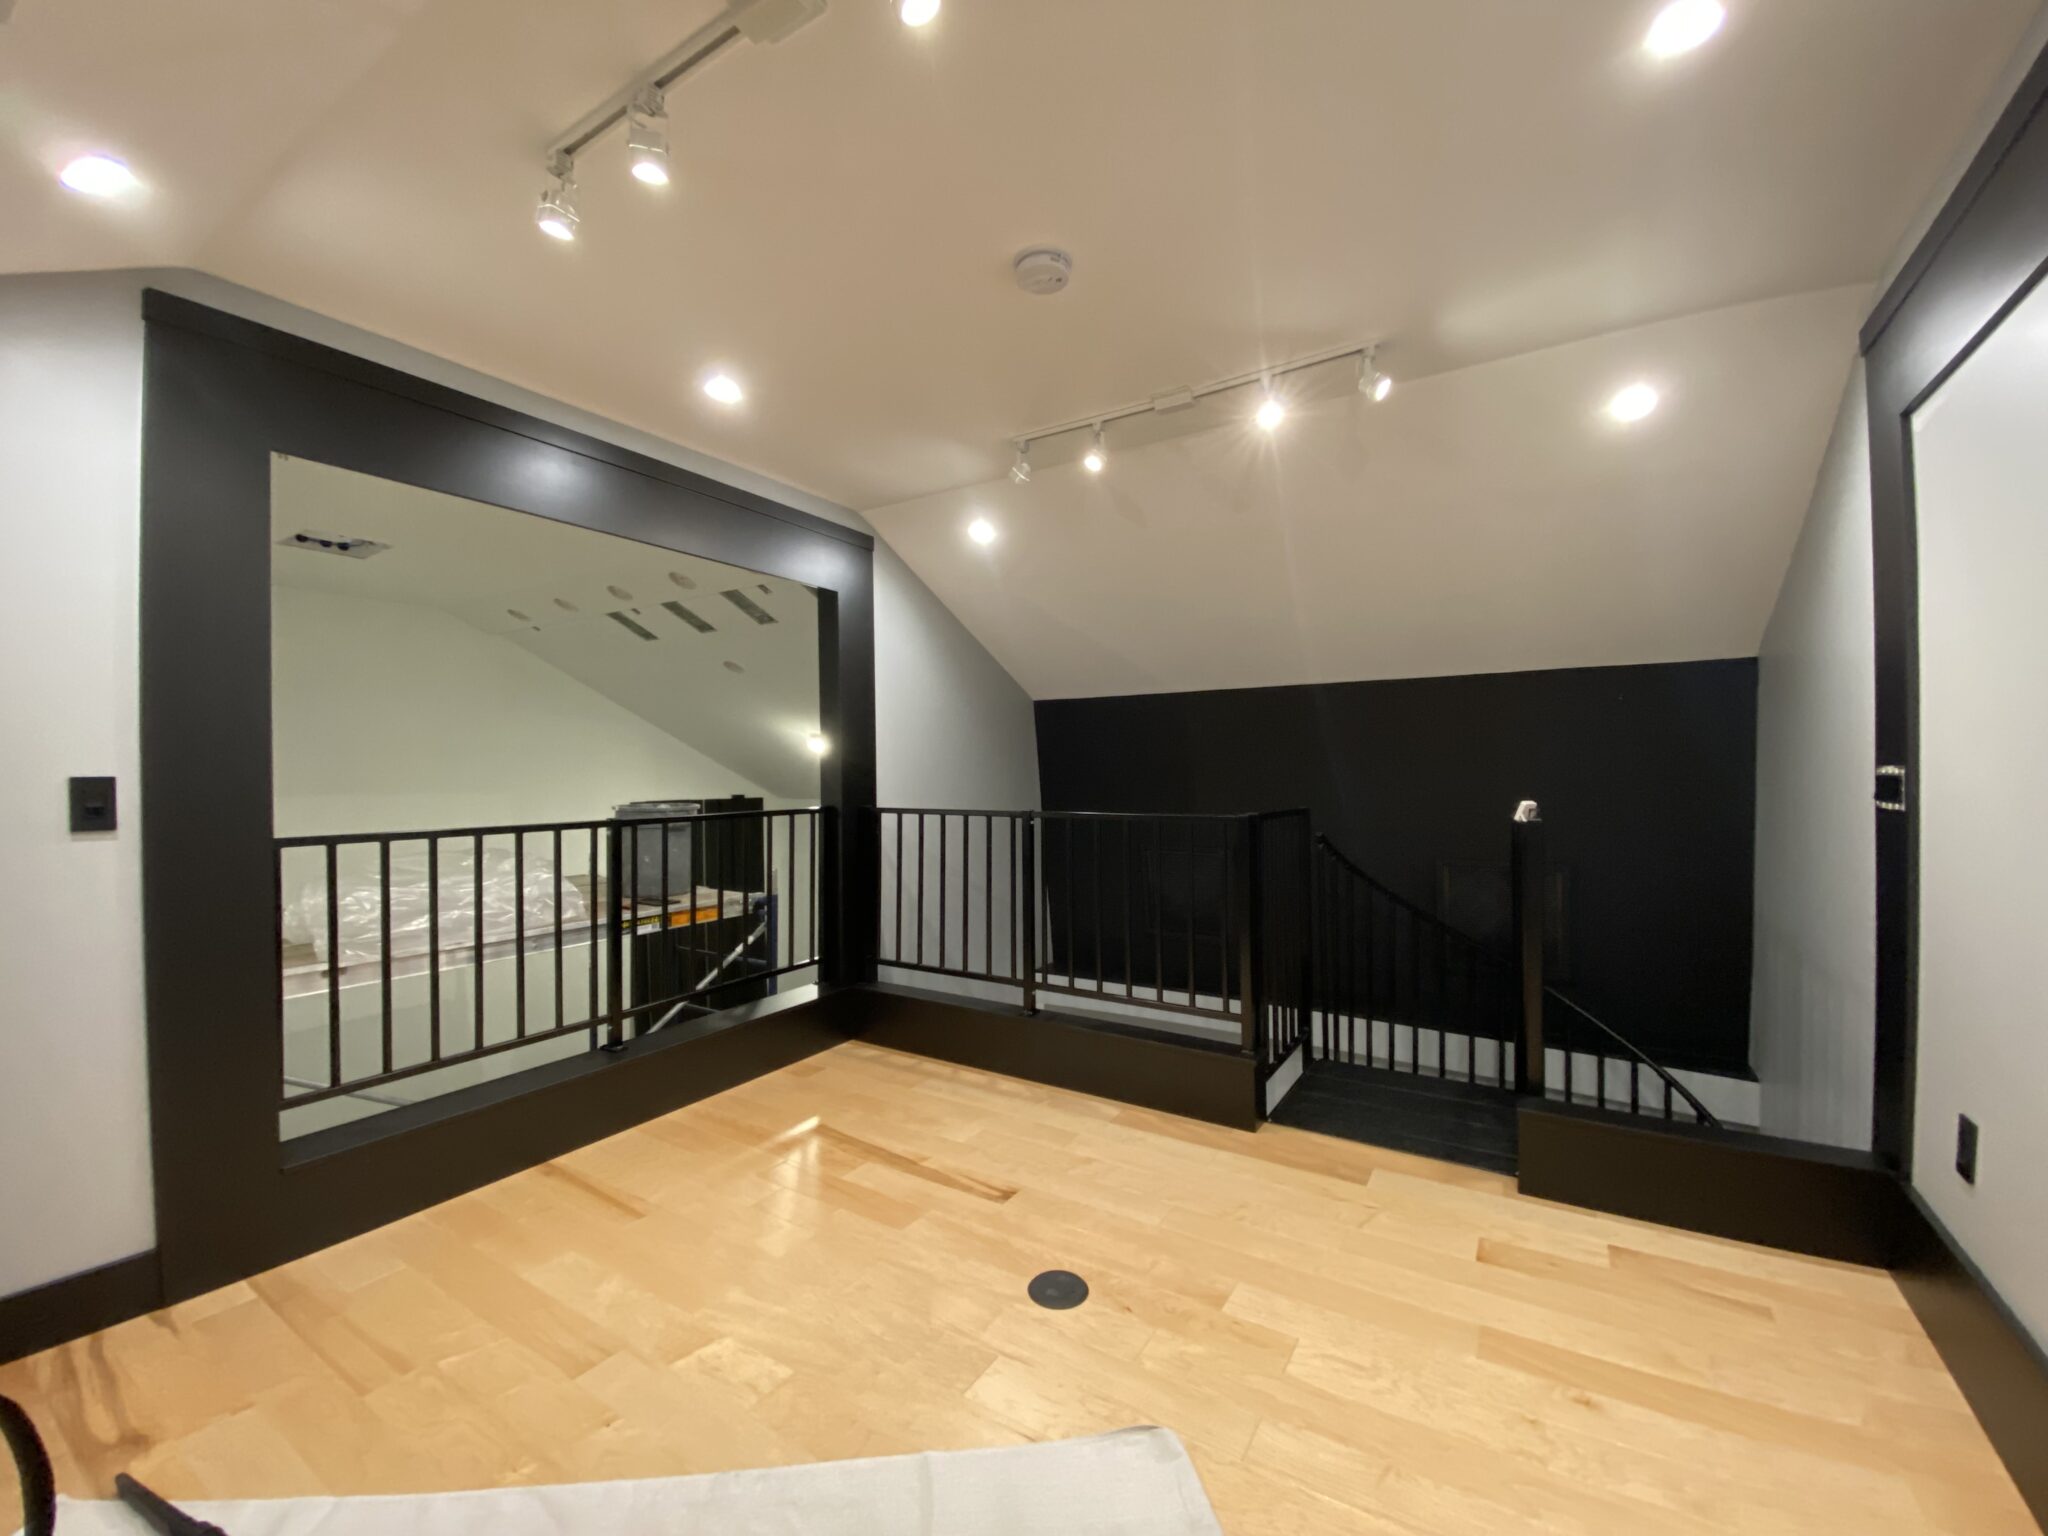
I had the same company that made the stairs make matching custom railings, but they welded the mounting plates 90º off rotation. I had a local metal shop repair them, which was thankfully very affordable.

Once I mounted the final railing, the upstairs is pretty much done.

- Categories
- Construction