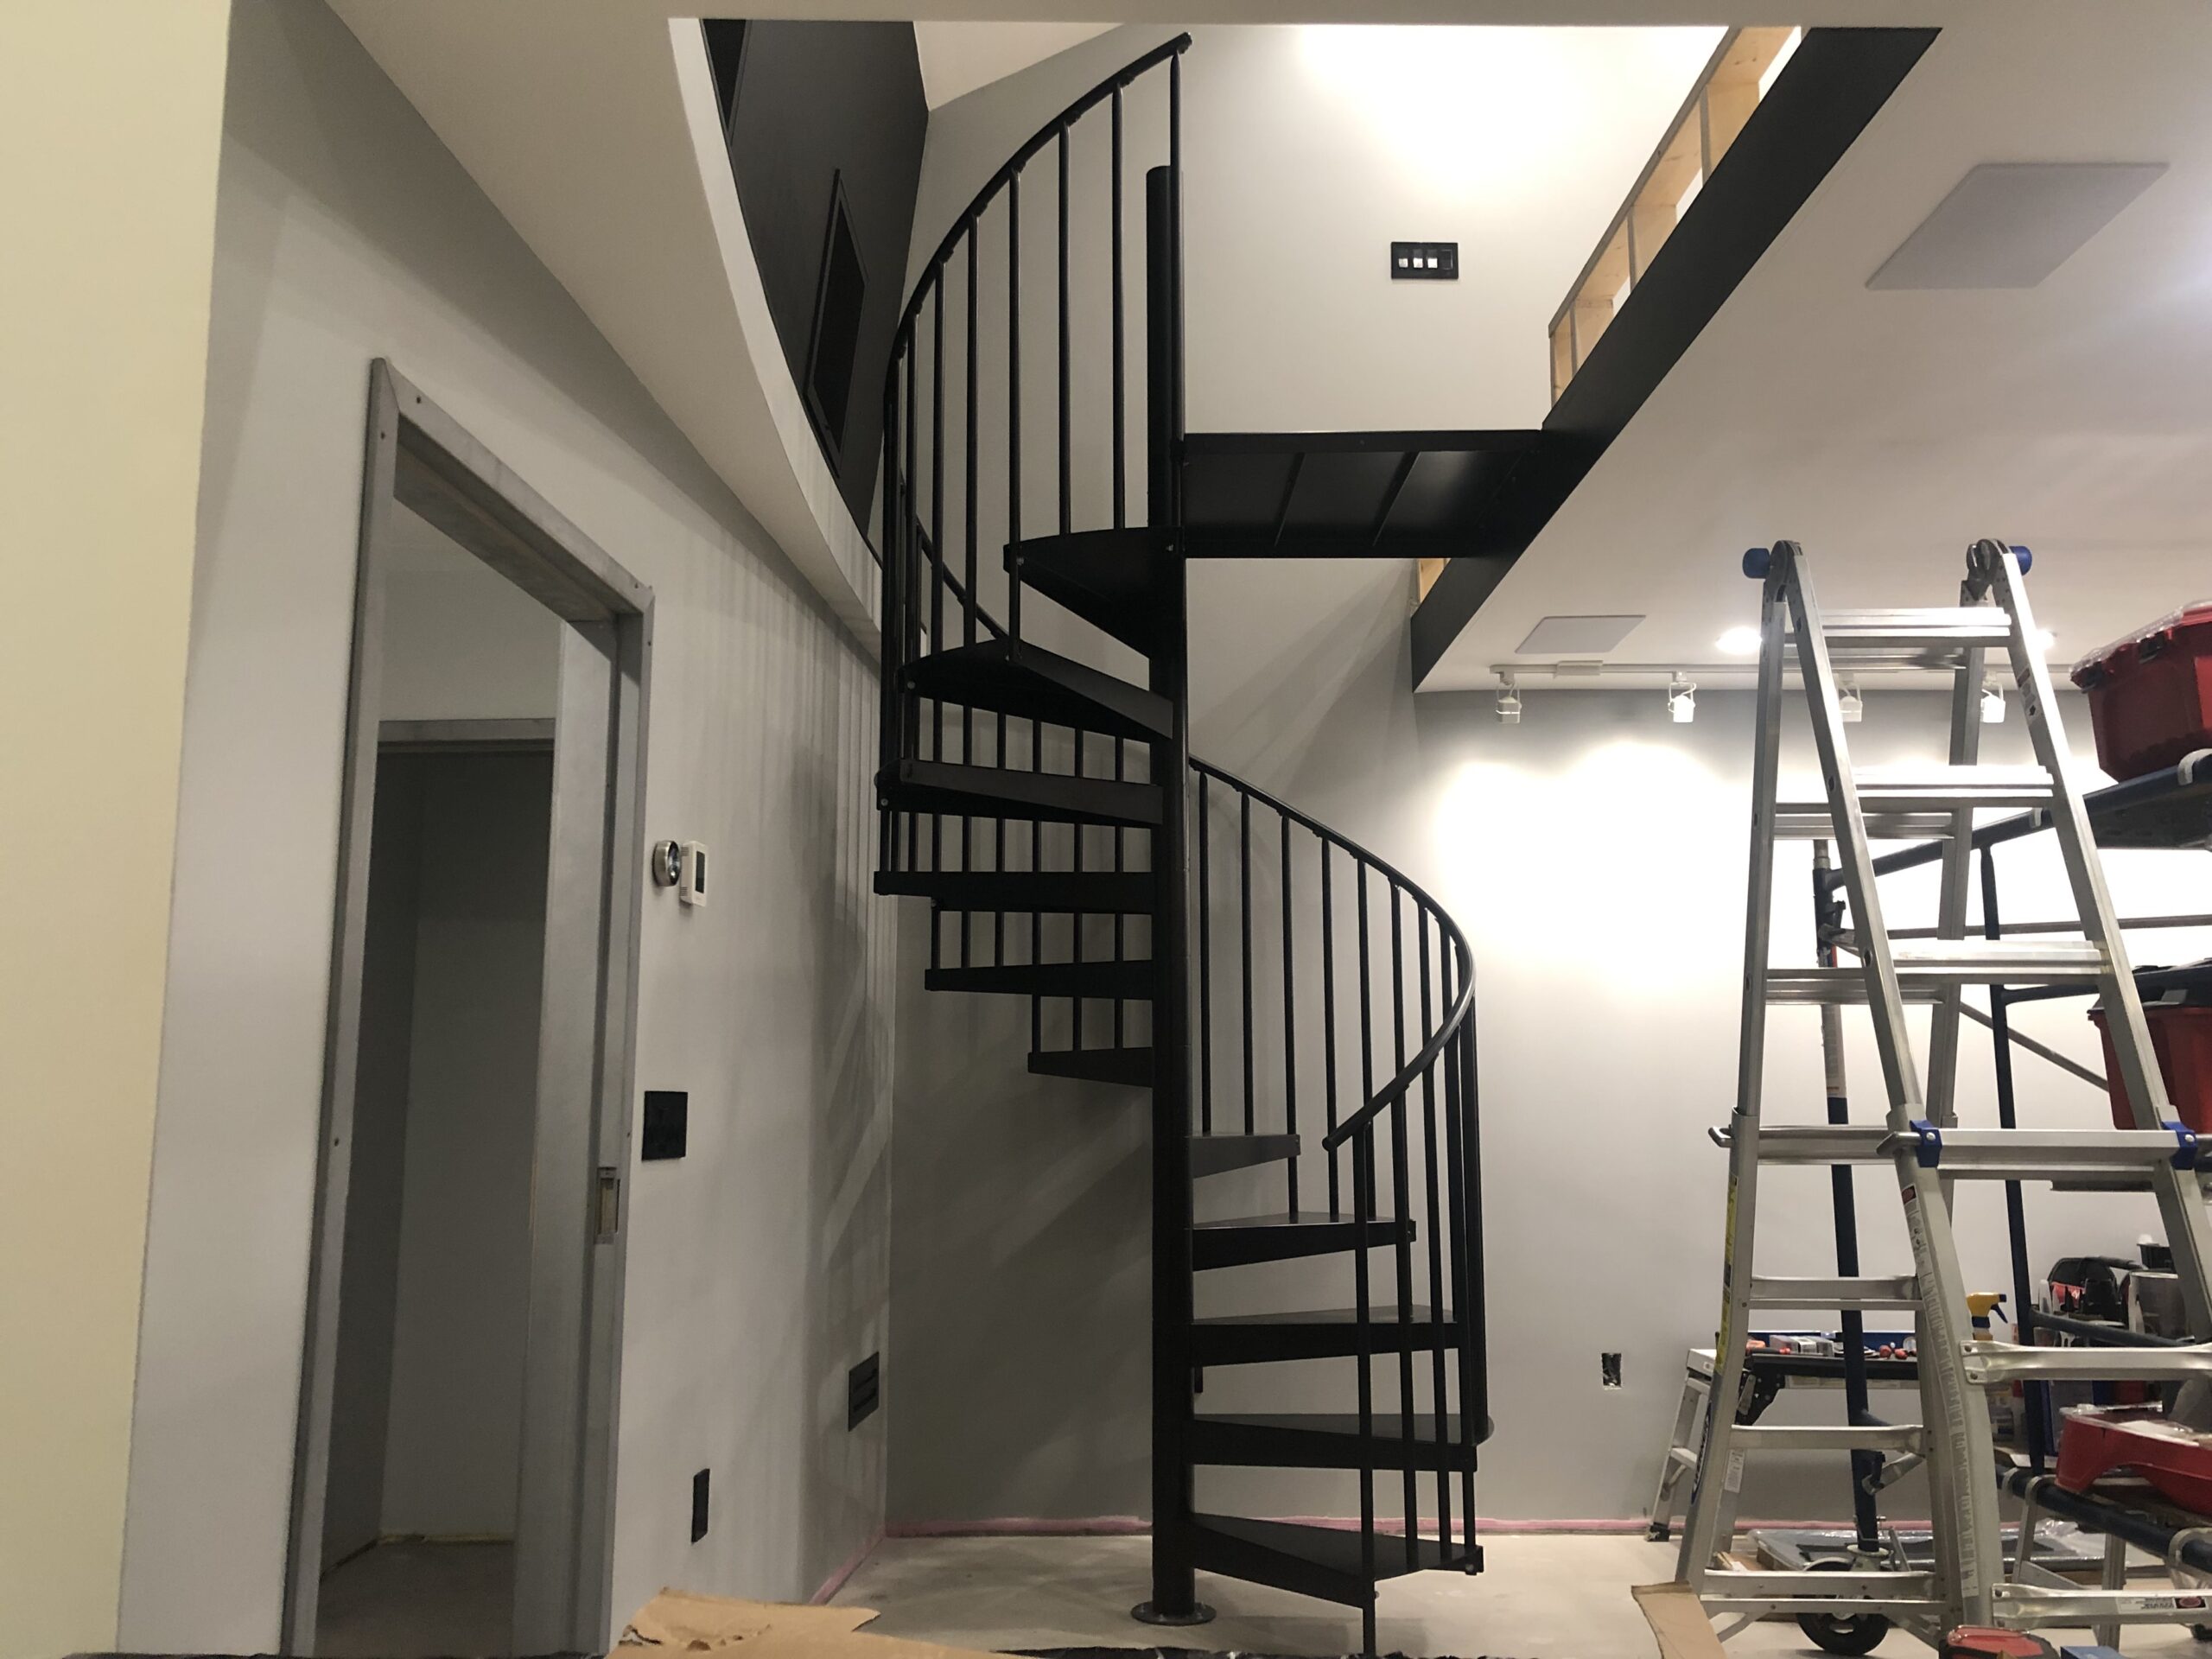
Loft flooring
January 17, 2023
A couple months ago I received the hardwood flooring.
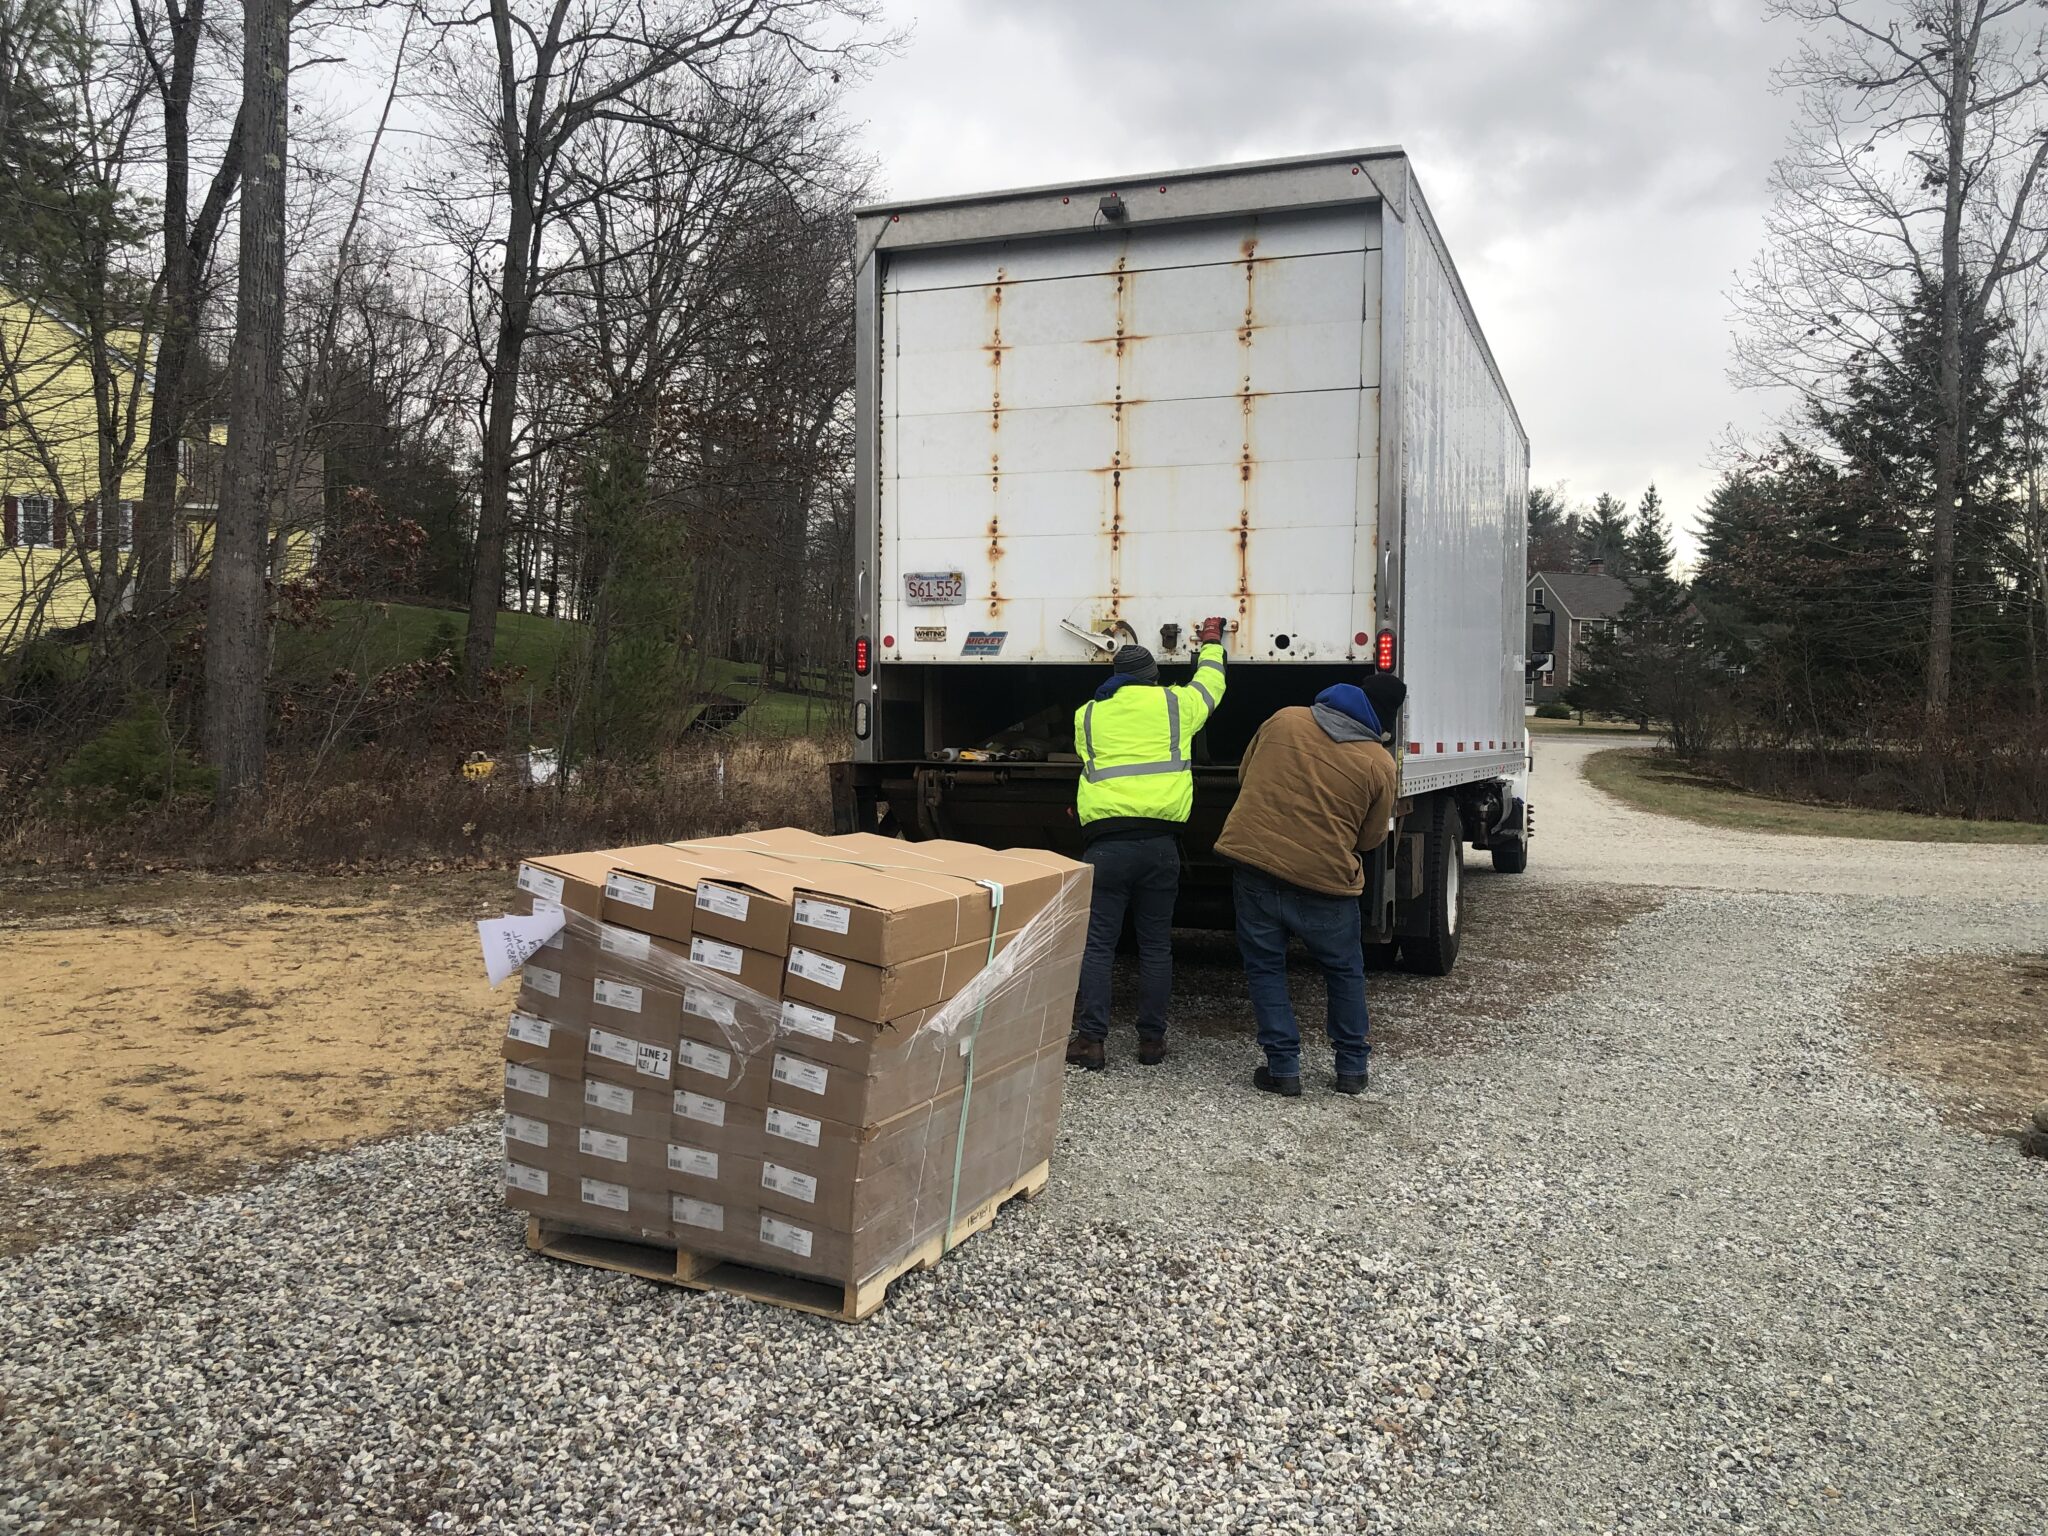
I re-stacked the pallet of boxes inside the studio so it could acclimate.

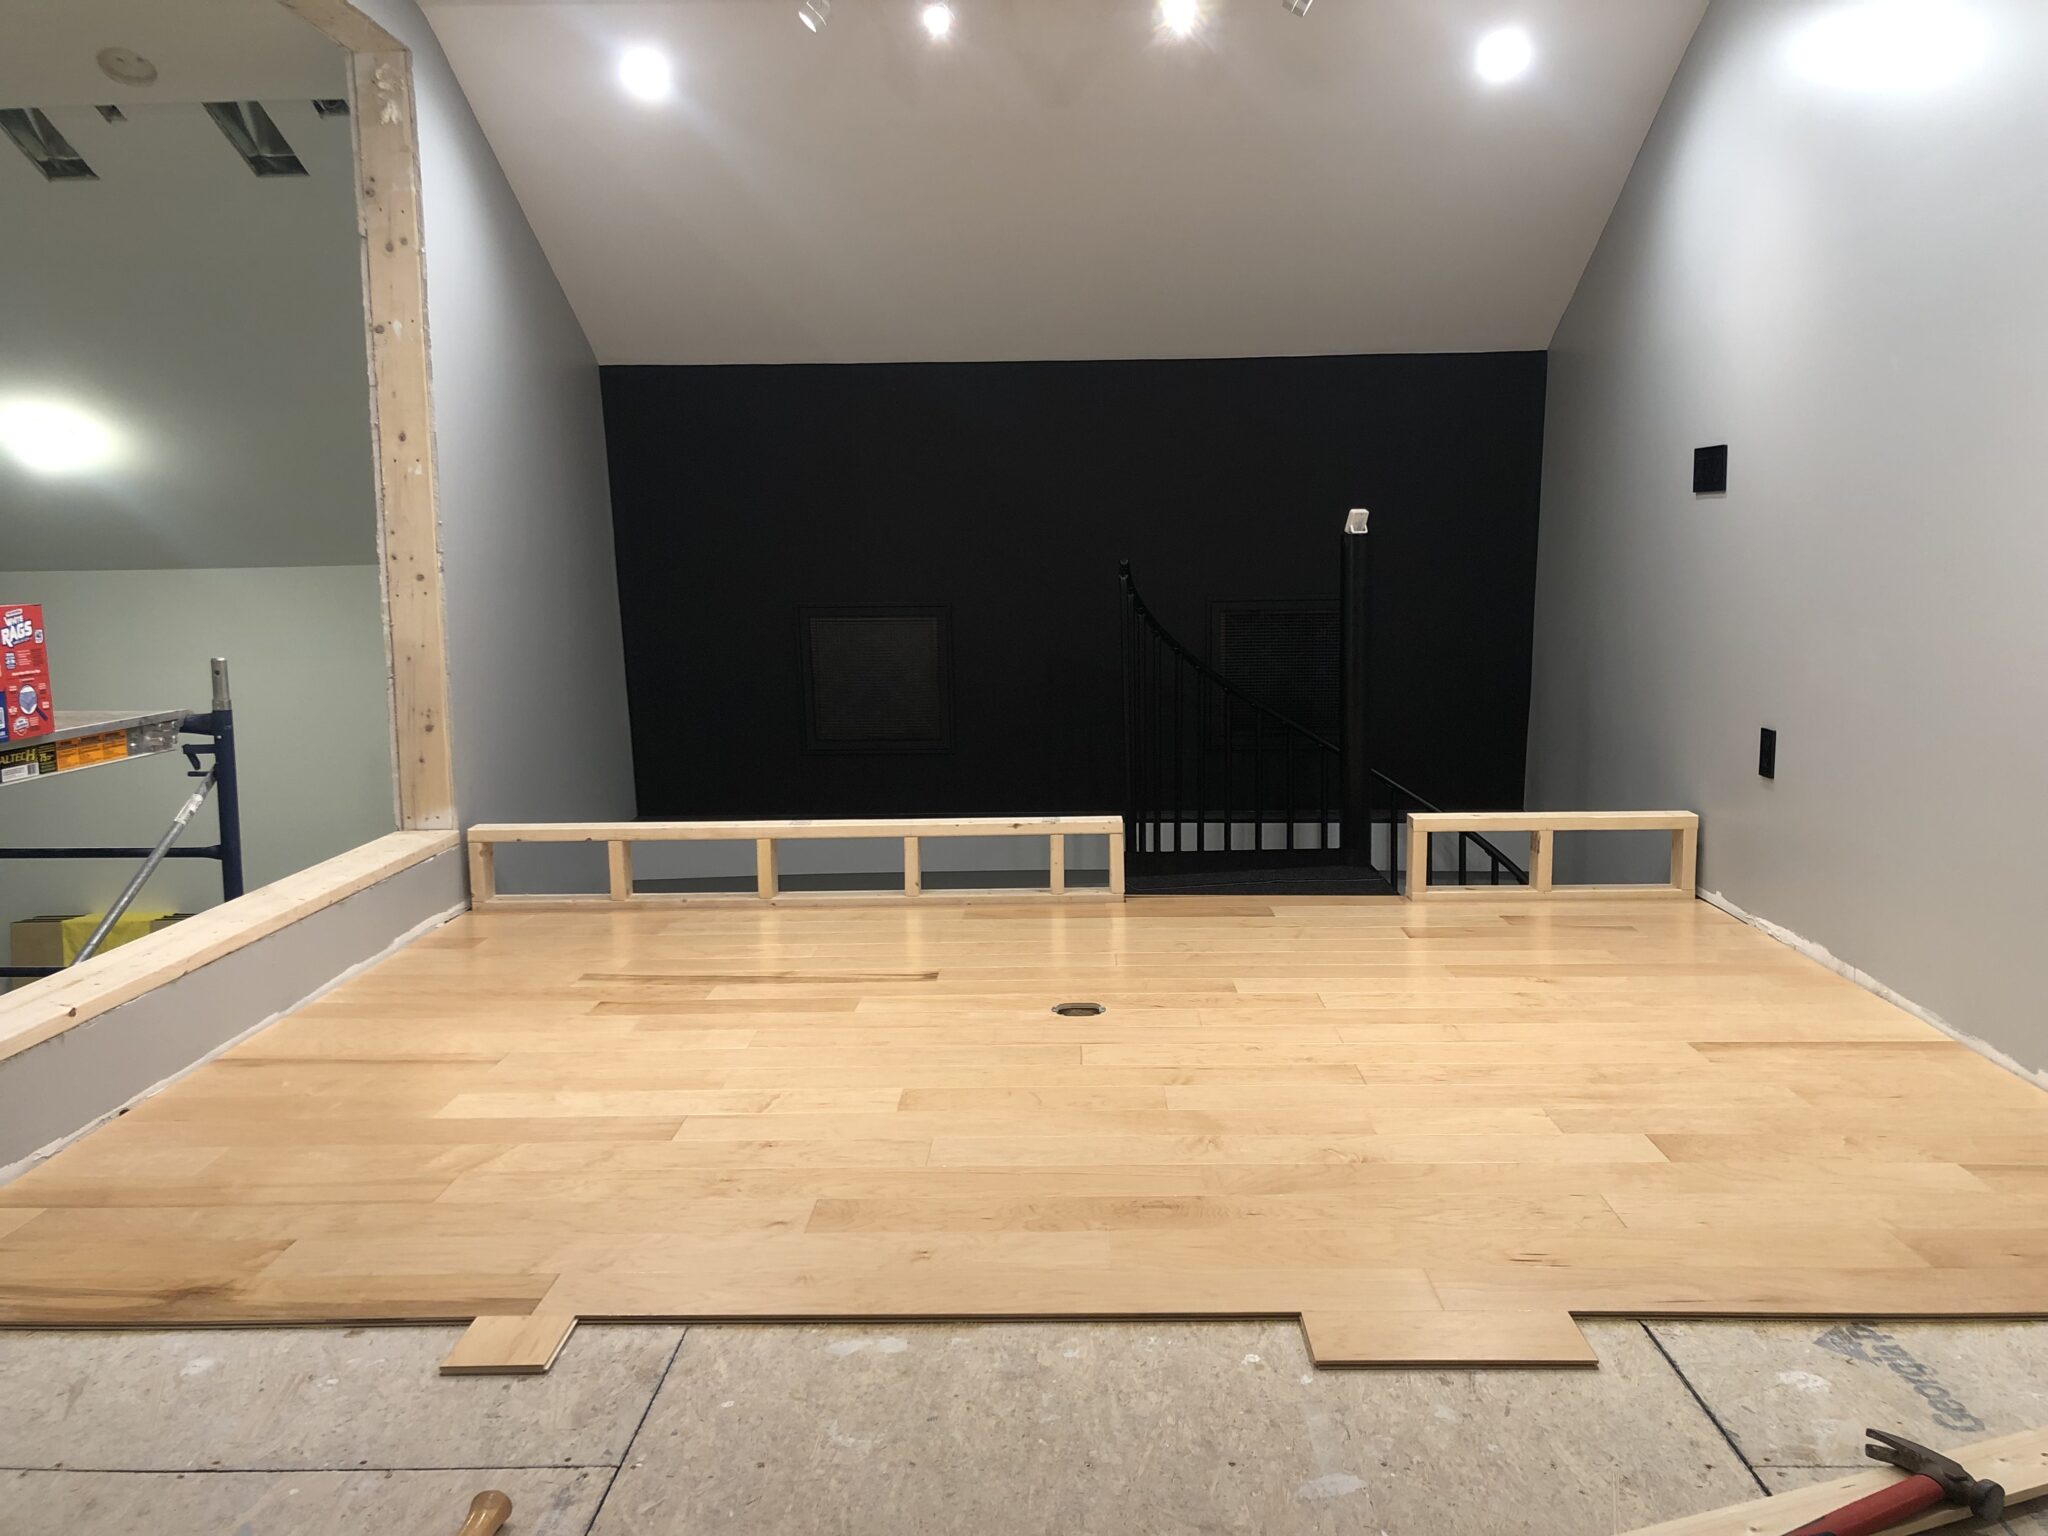
The first row took a long time because I had to carefully cut the boards to fit around the curb, lay them out perfectly straight and secure them with some nails that will be covered by the baseboard.
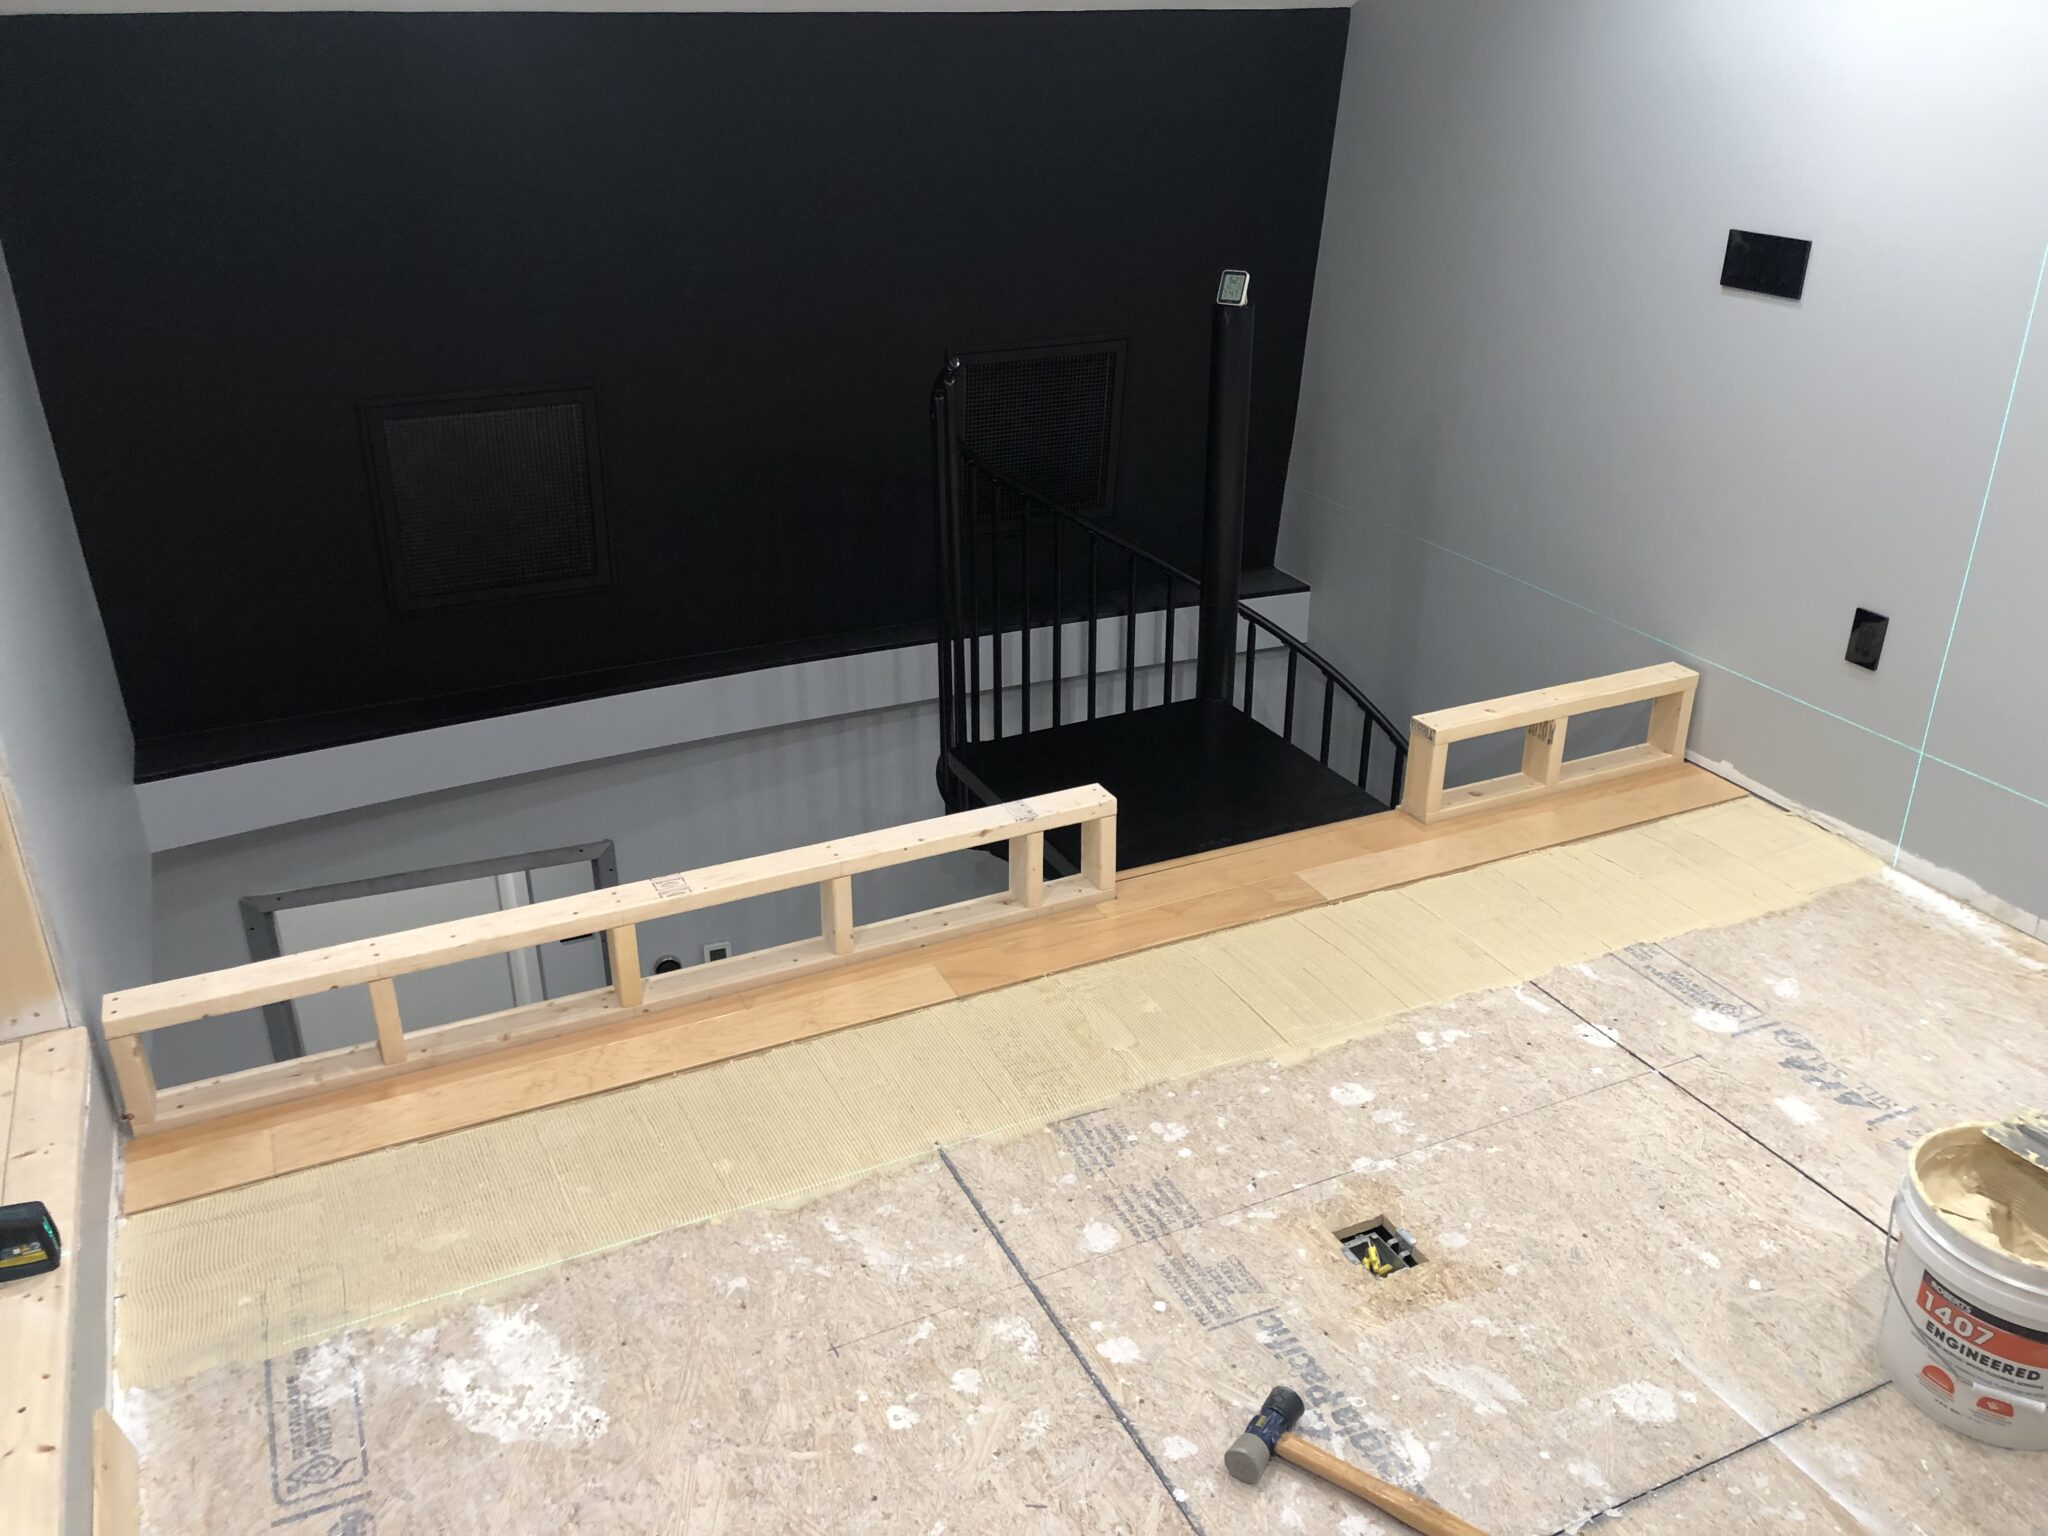
The following rows went much faster, as I could push against the nailed-and-glued first row.
The next day, after the first few rows were dry, I glued the transition moulding in place.
Over the next few days I made steady progress, working in four row sections.
Once the first area was dry, I installed the floor outlet box that will be under the couch.

The rectanglular floor boxes for the desk were fairly simple to work around.

However the round conduit flange was much trickier, as I had to cut one of the boards that wraps around the circular conduit in half and slide each side into place.

Working under a low ceiling was a burden, but thankfully that was only a small amount of the room.

I then mounted the floor boxes in for power, audio and networking.

The power one was pretty easy to wire up, but I expect it will be a real paint to wire up all the audio and networking jacks on the other one.
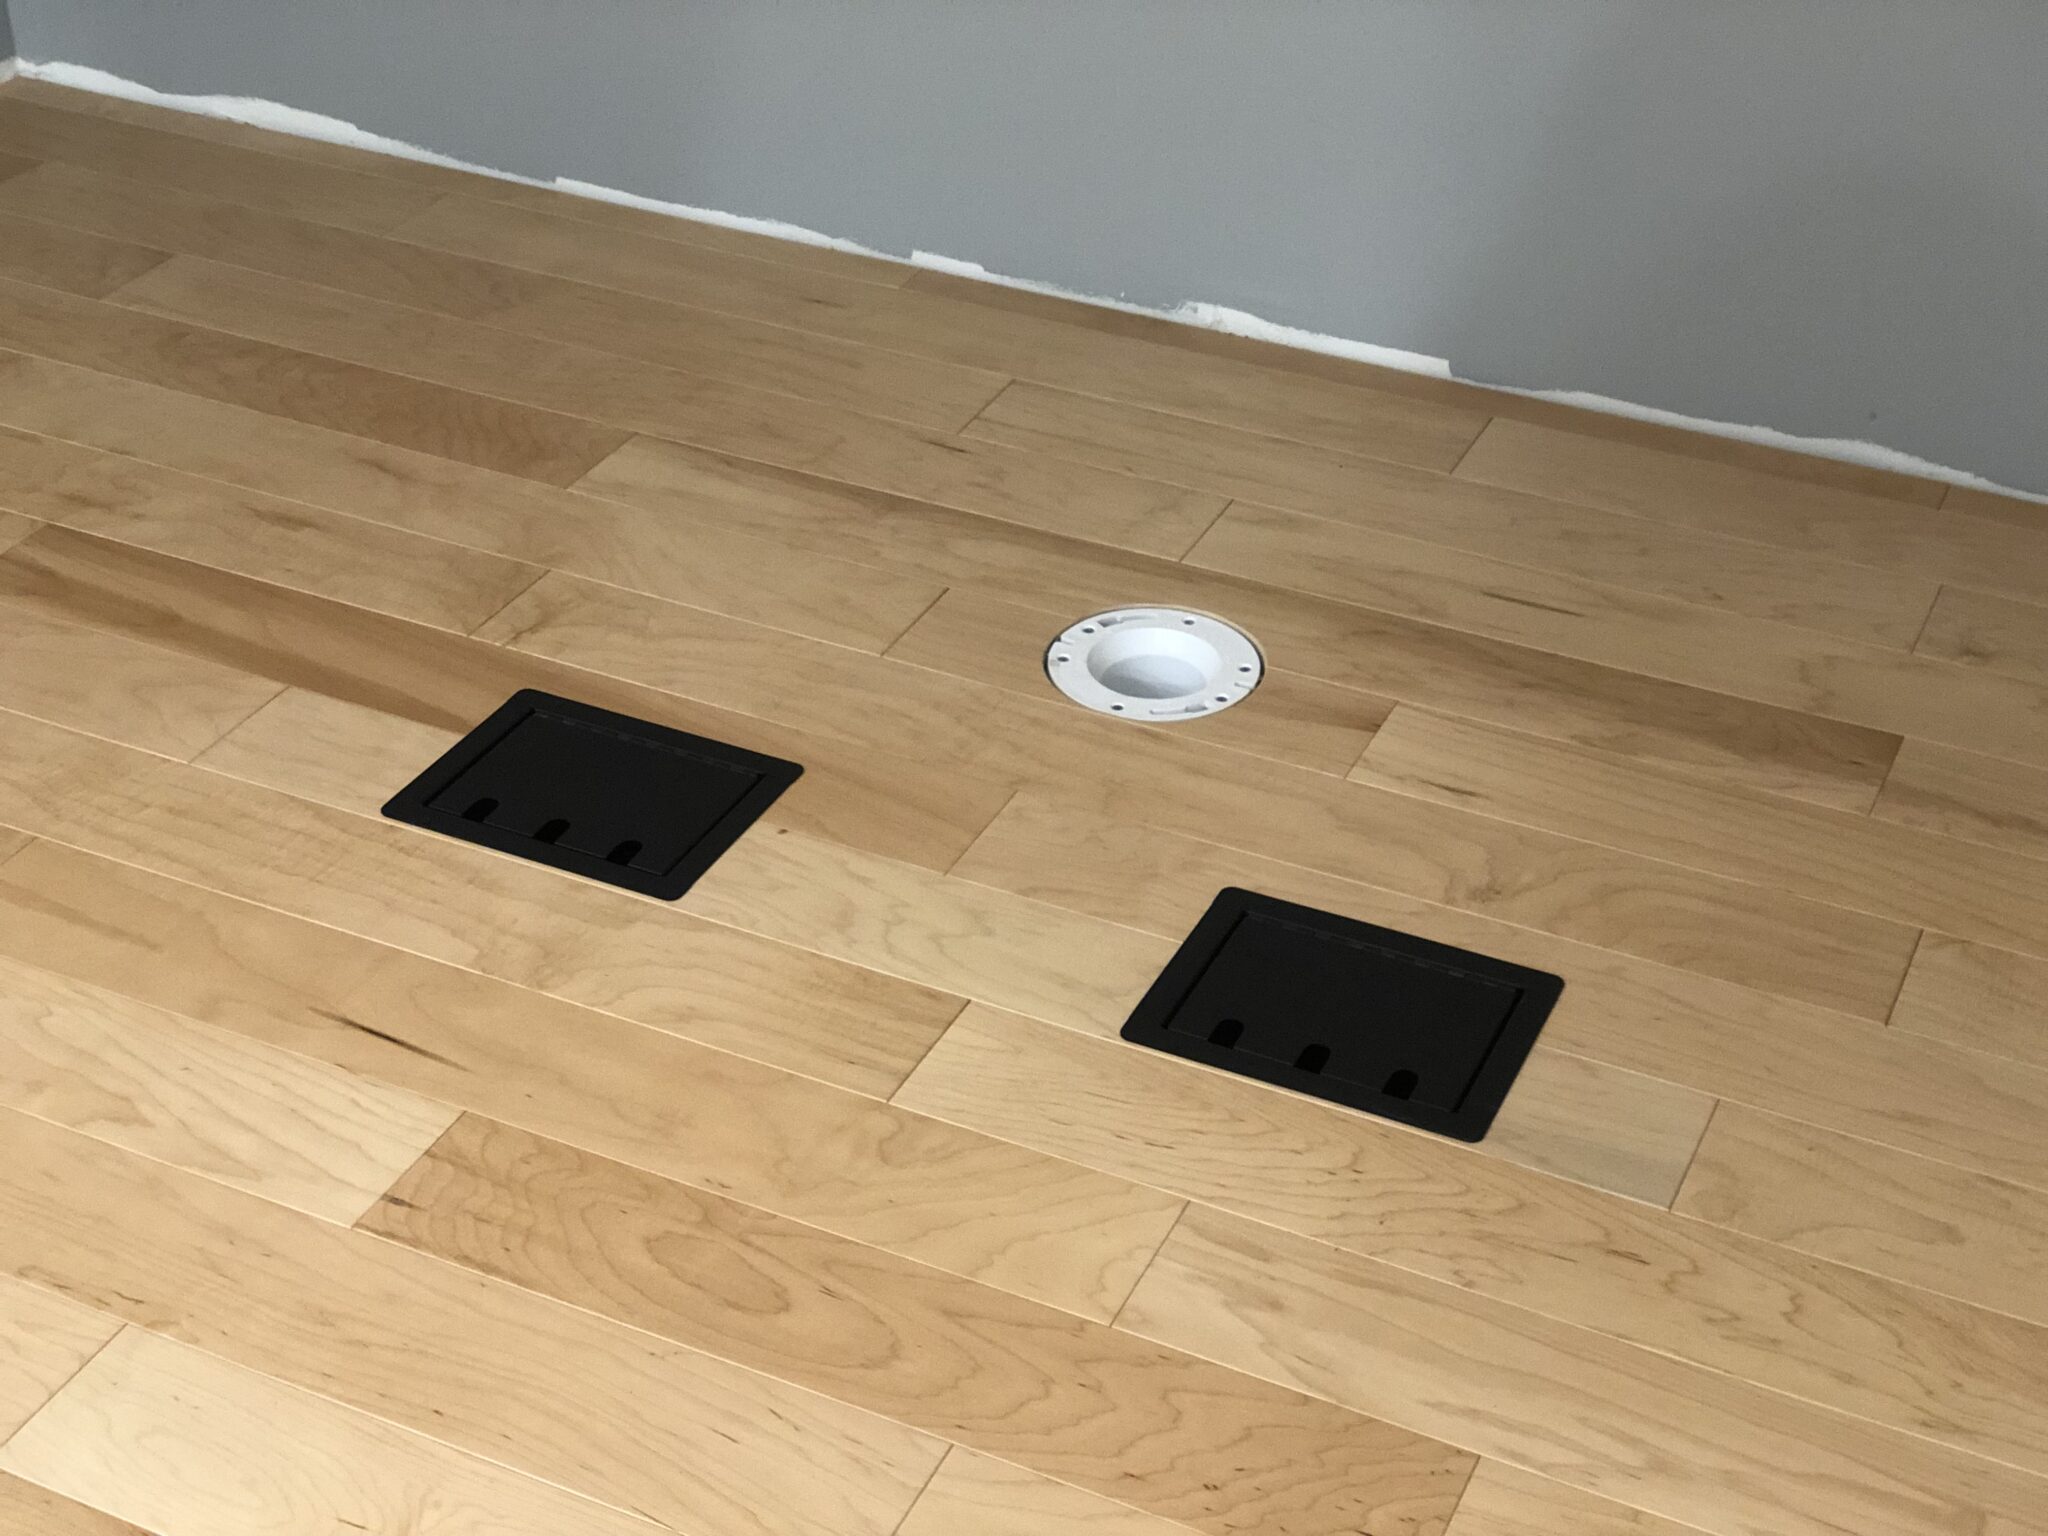
The floor boxes are nearly perfectly flush when closed.
- Categories
- Construction