Doors
December 25, 2022
I took some extra time off around Christmas to make extra progress on the studio, but much of that time was absorbed by dealing with doors.
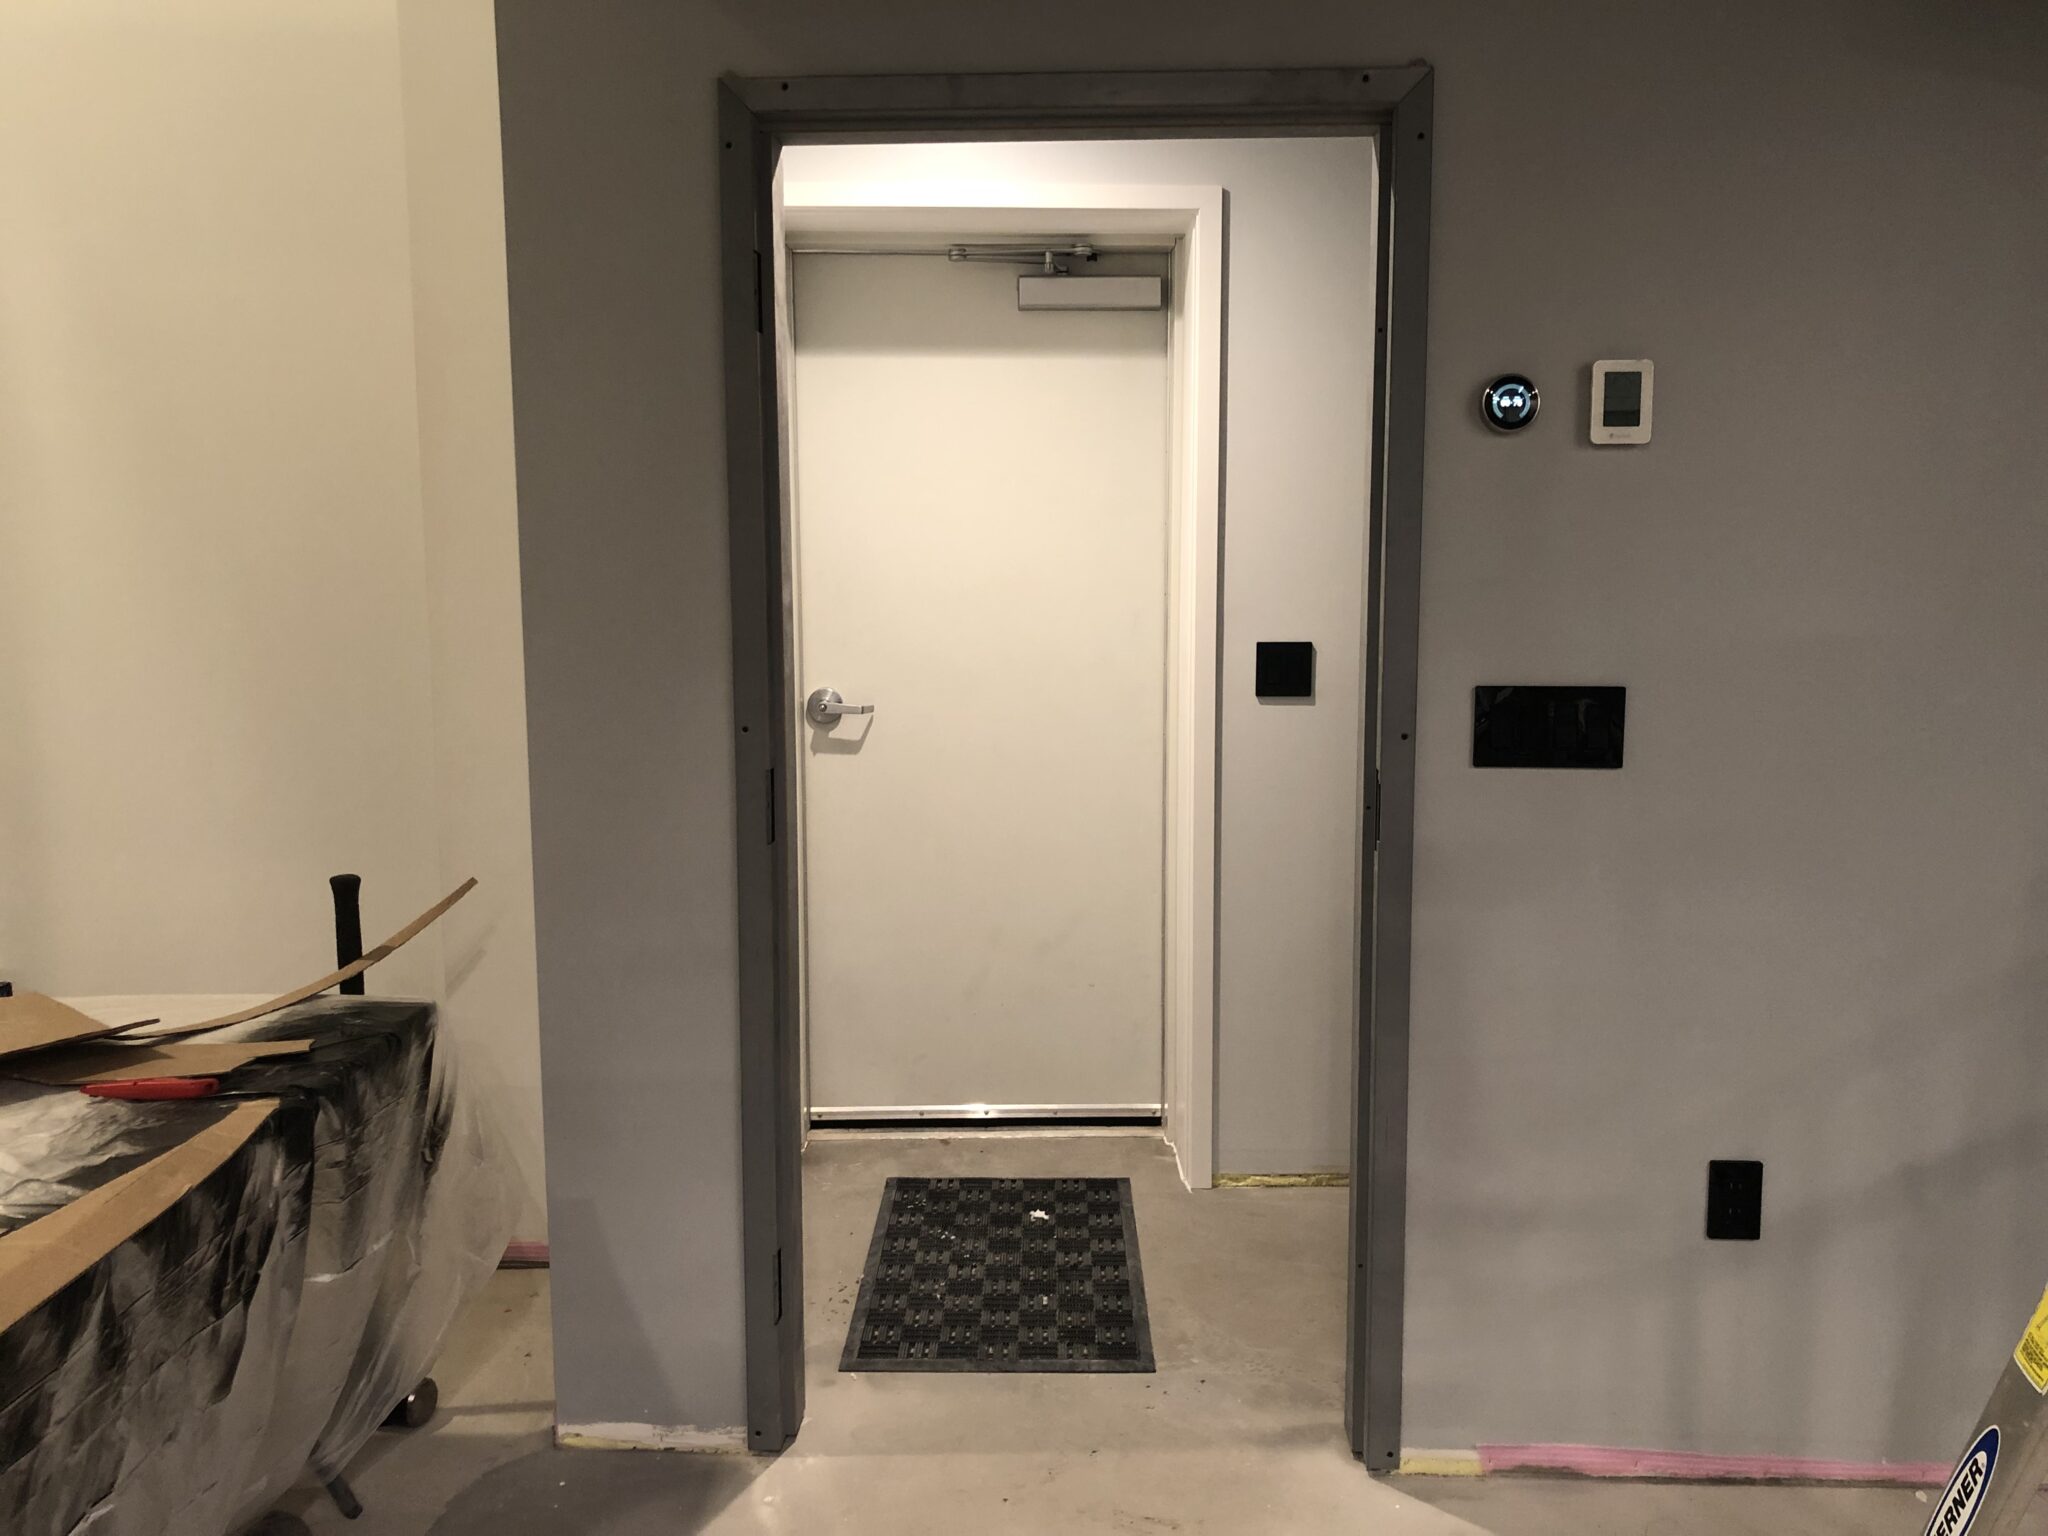
I got started by finishing the casing to match the style of the steel doors used inside.

I also added trim around the attic door, which while perhaps not a source of drafts, was unsightly.

Then I started priming the steel interior doors.

Then I painted them black on one side.

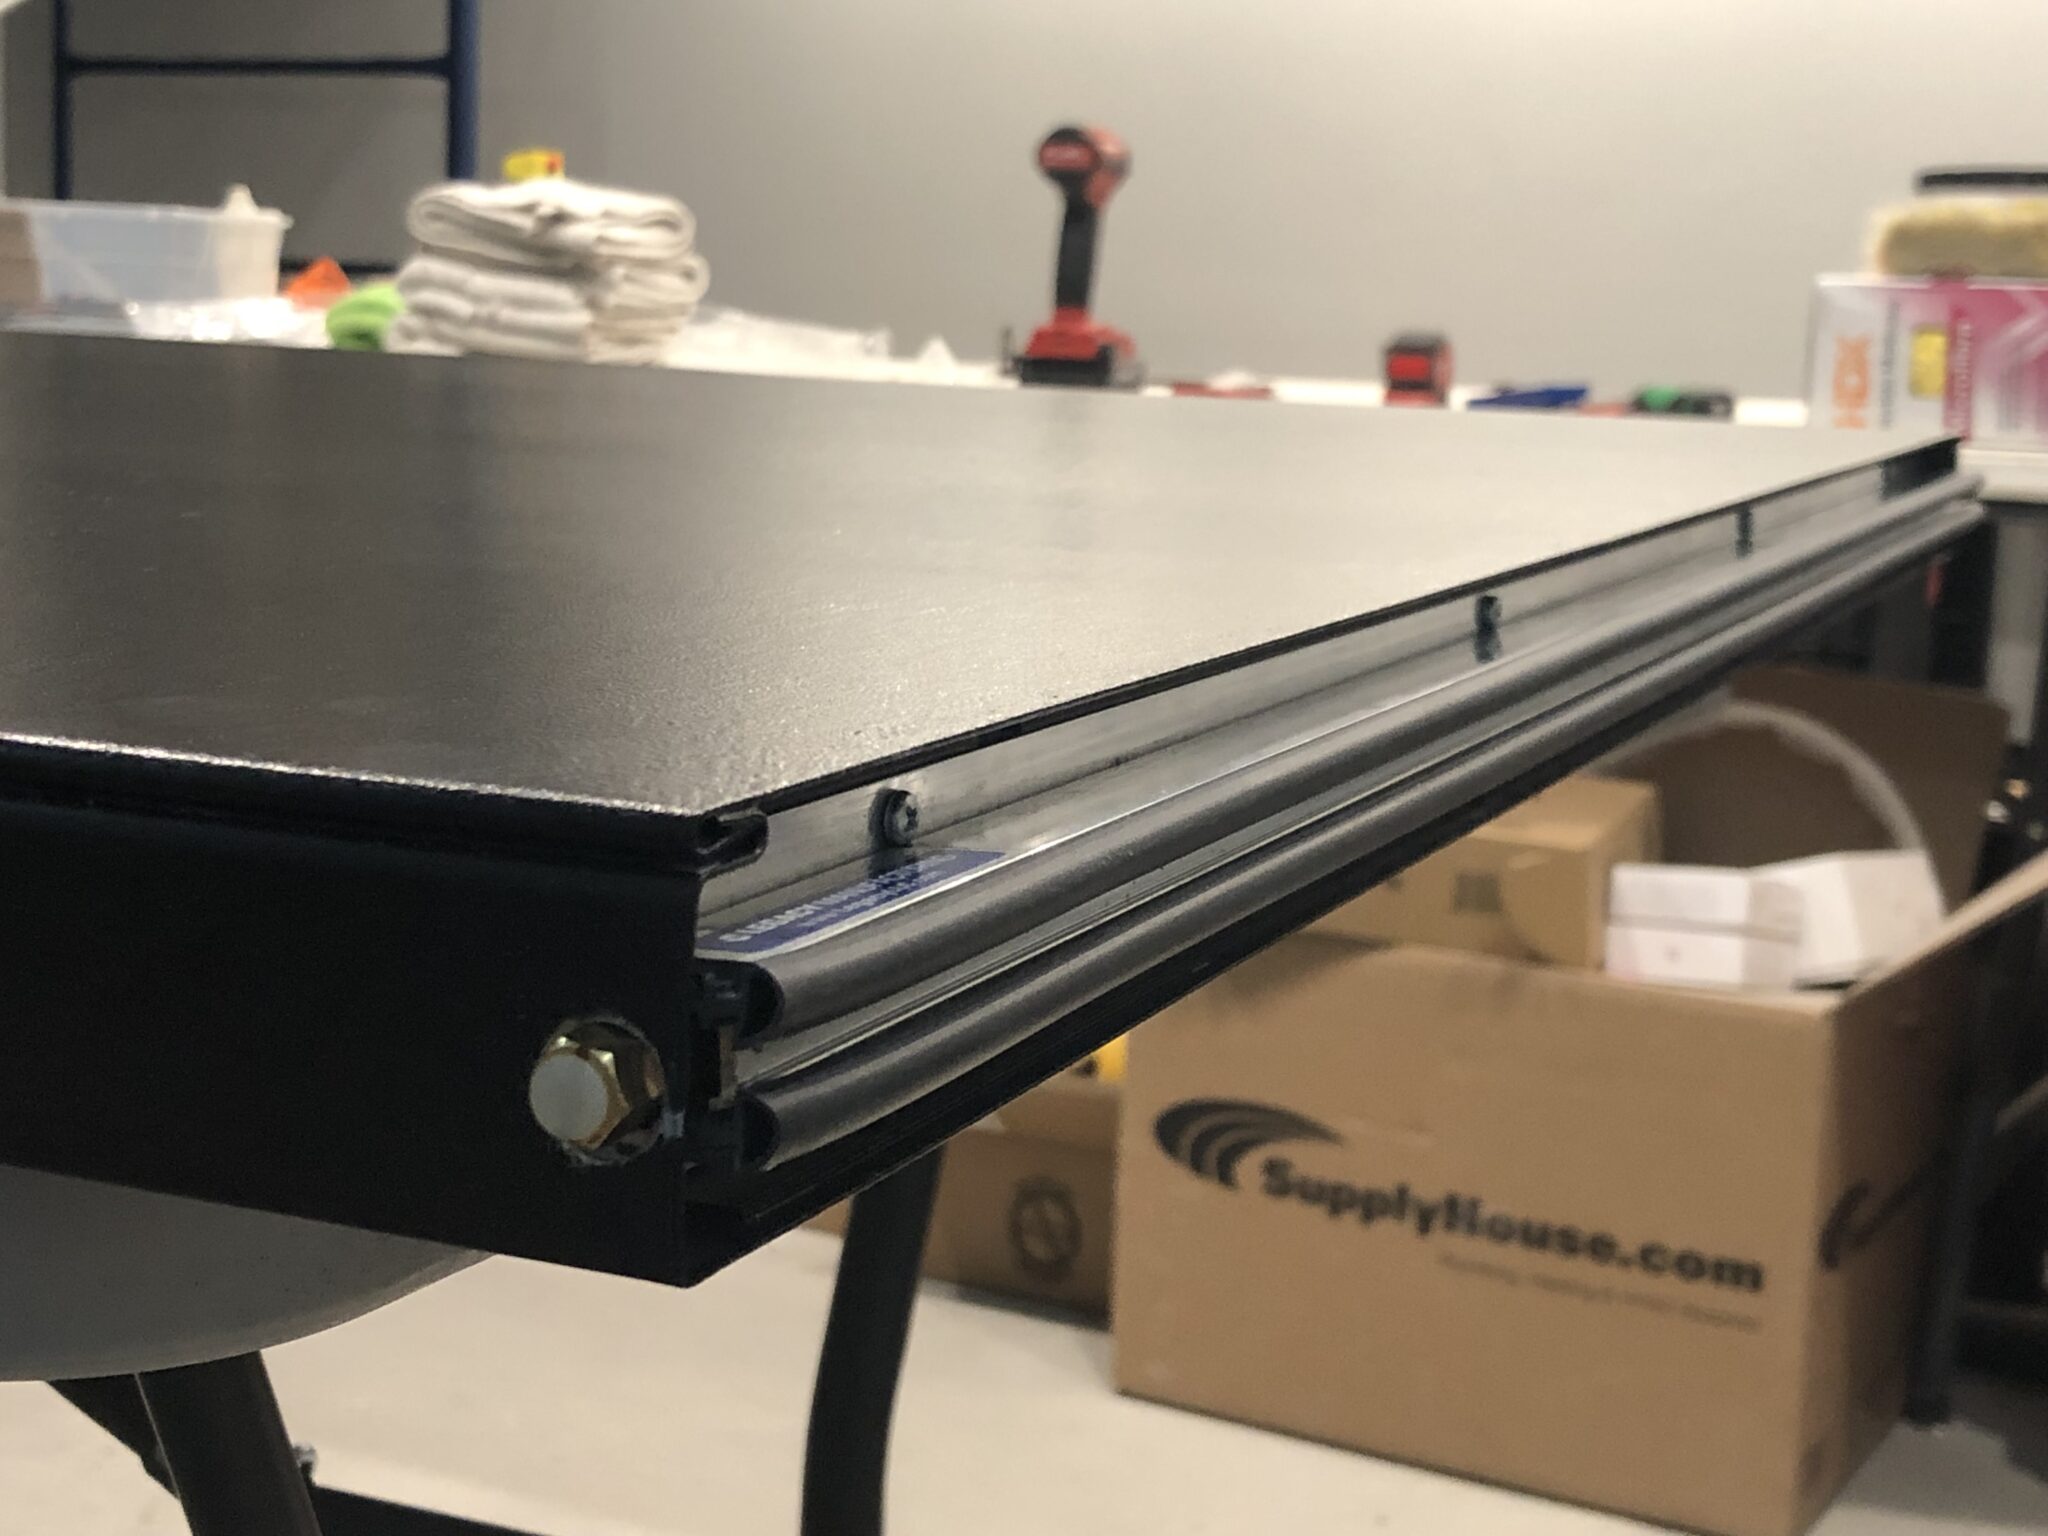
I then installed the automatic door sweeps, which press downward when the door is closed.
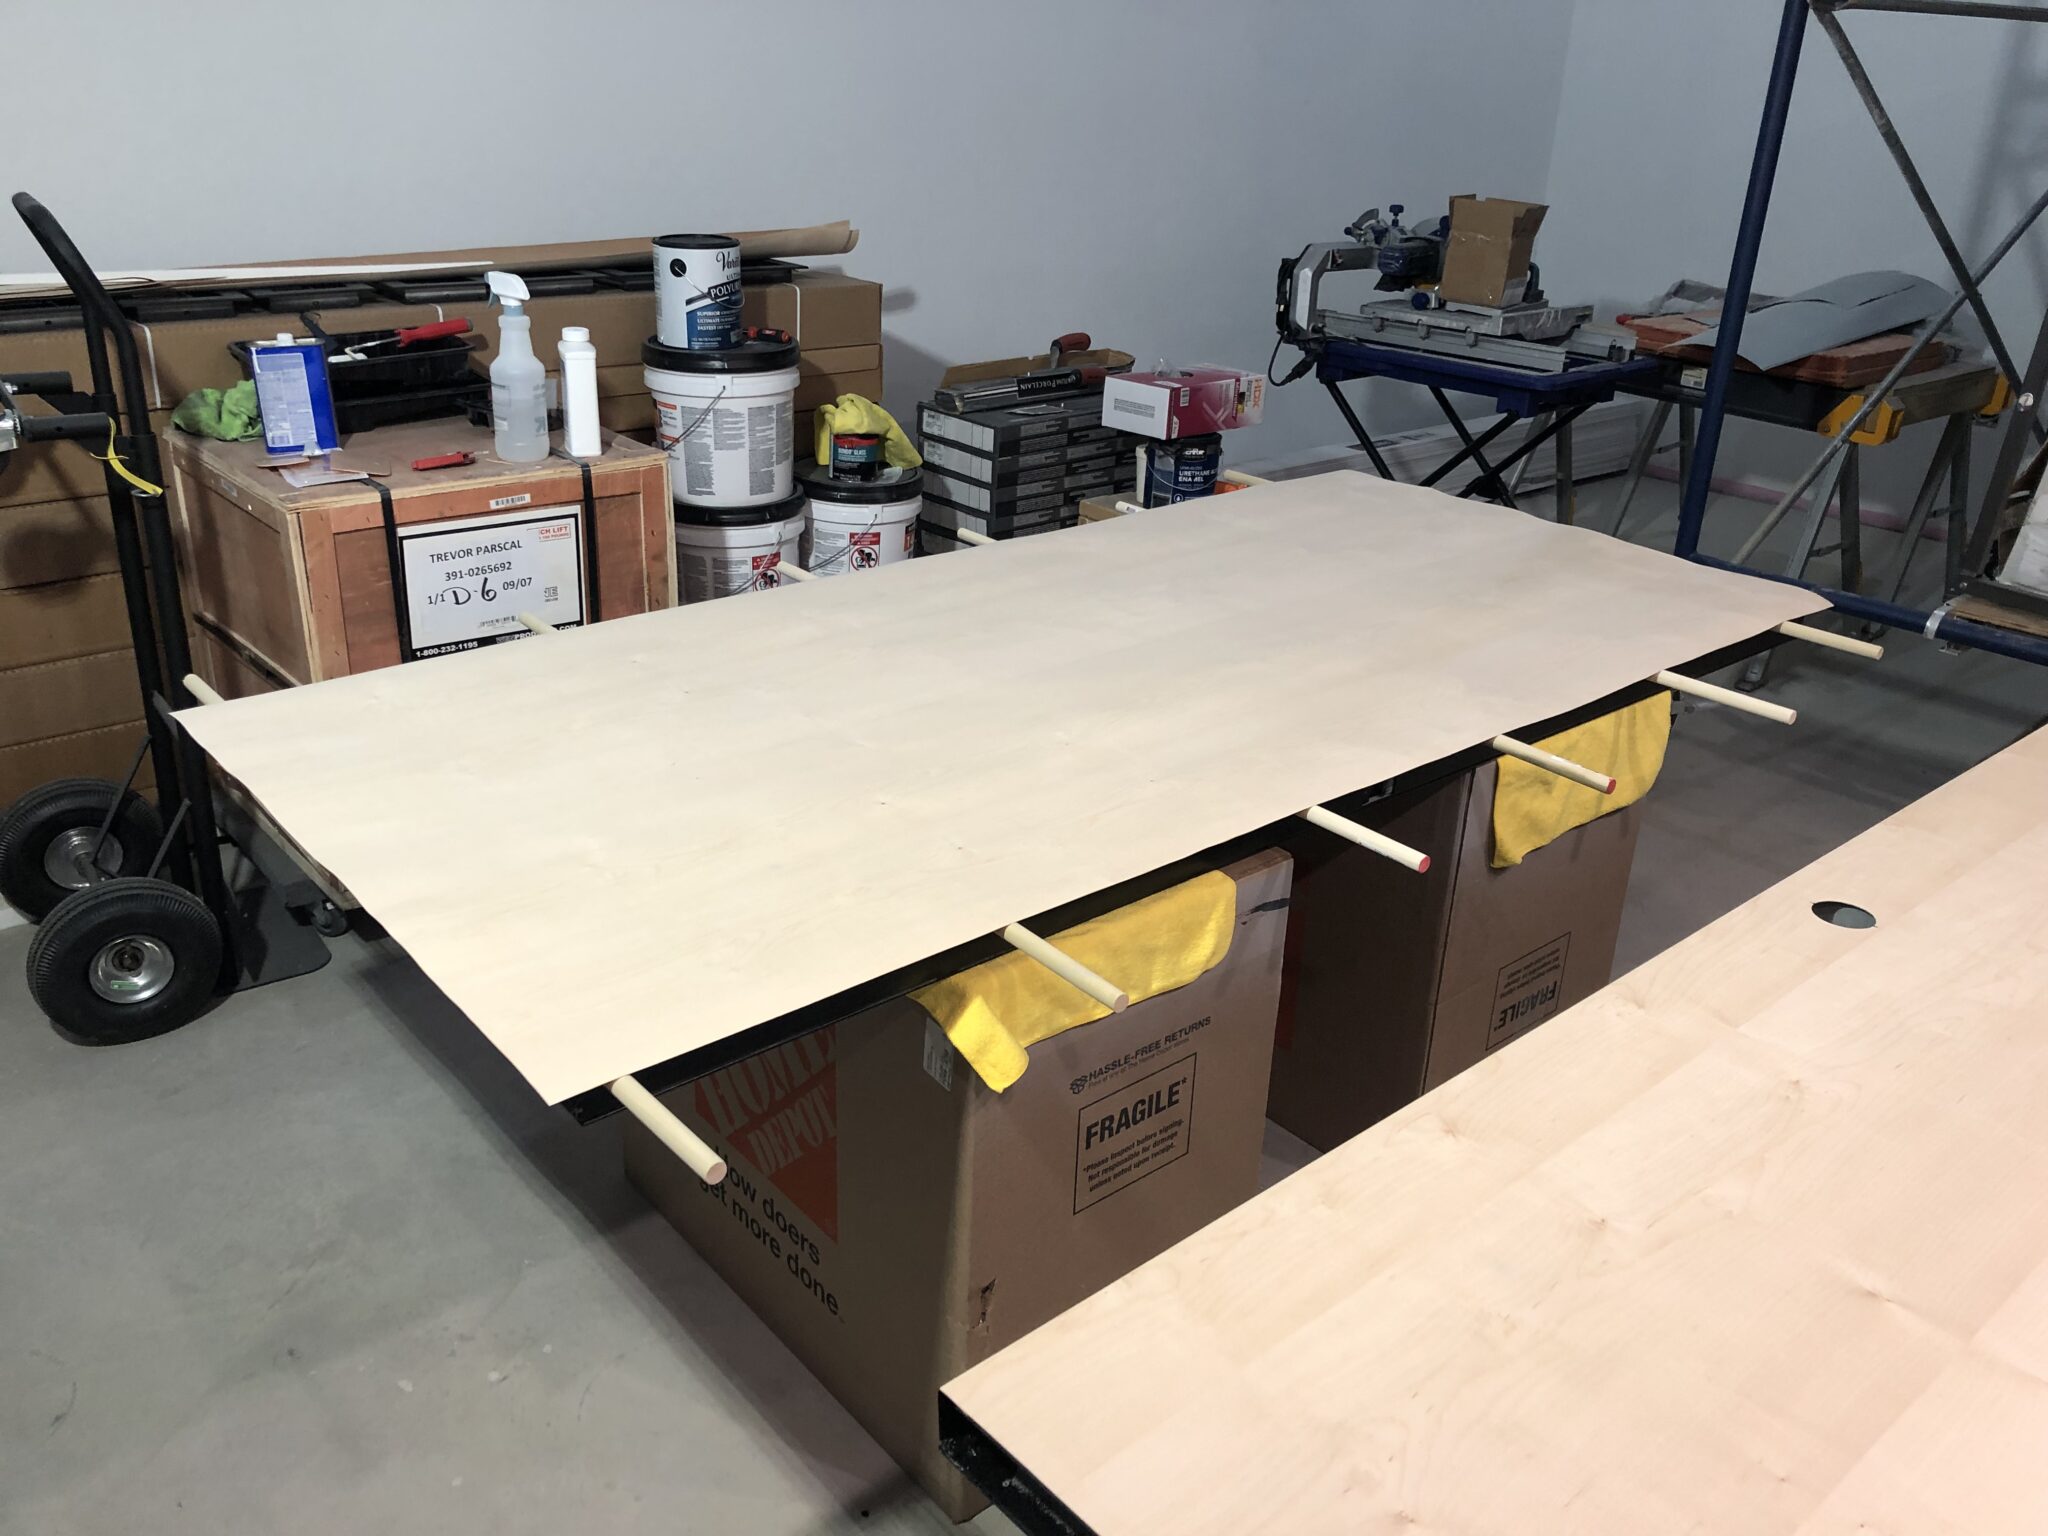
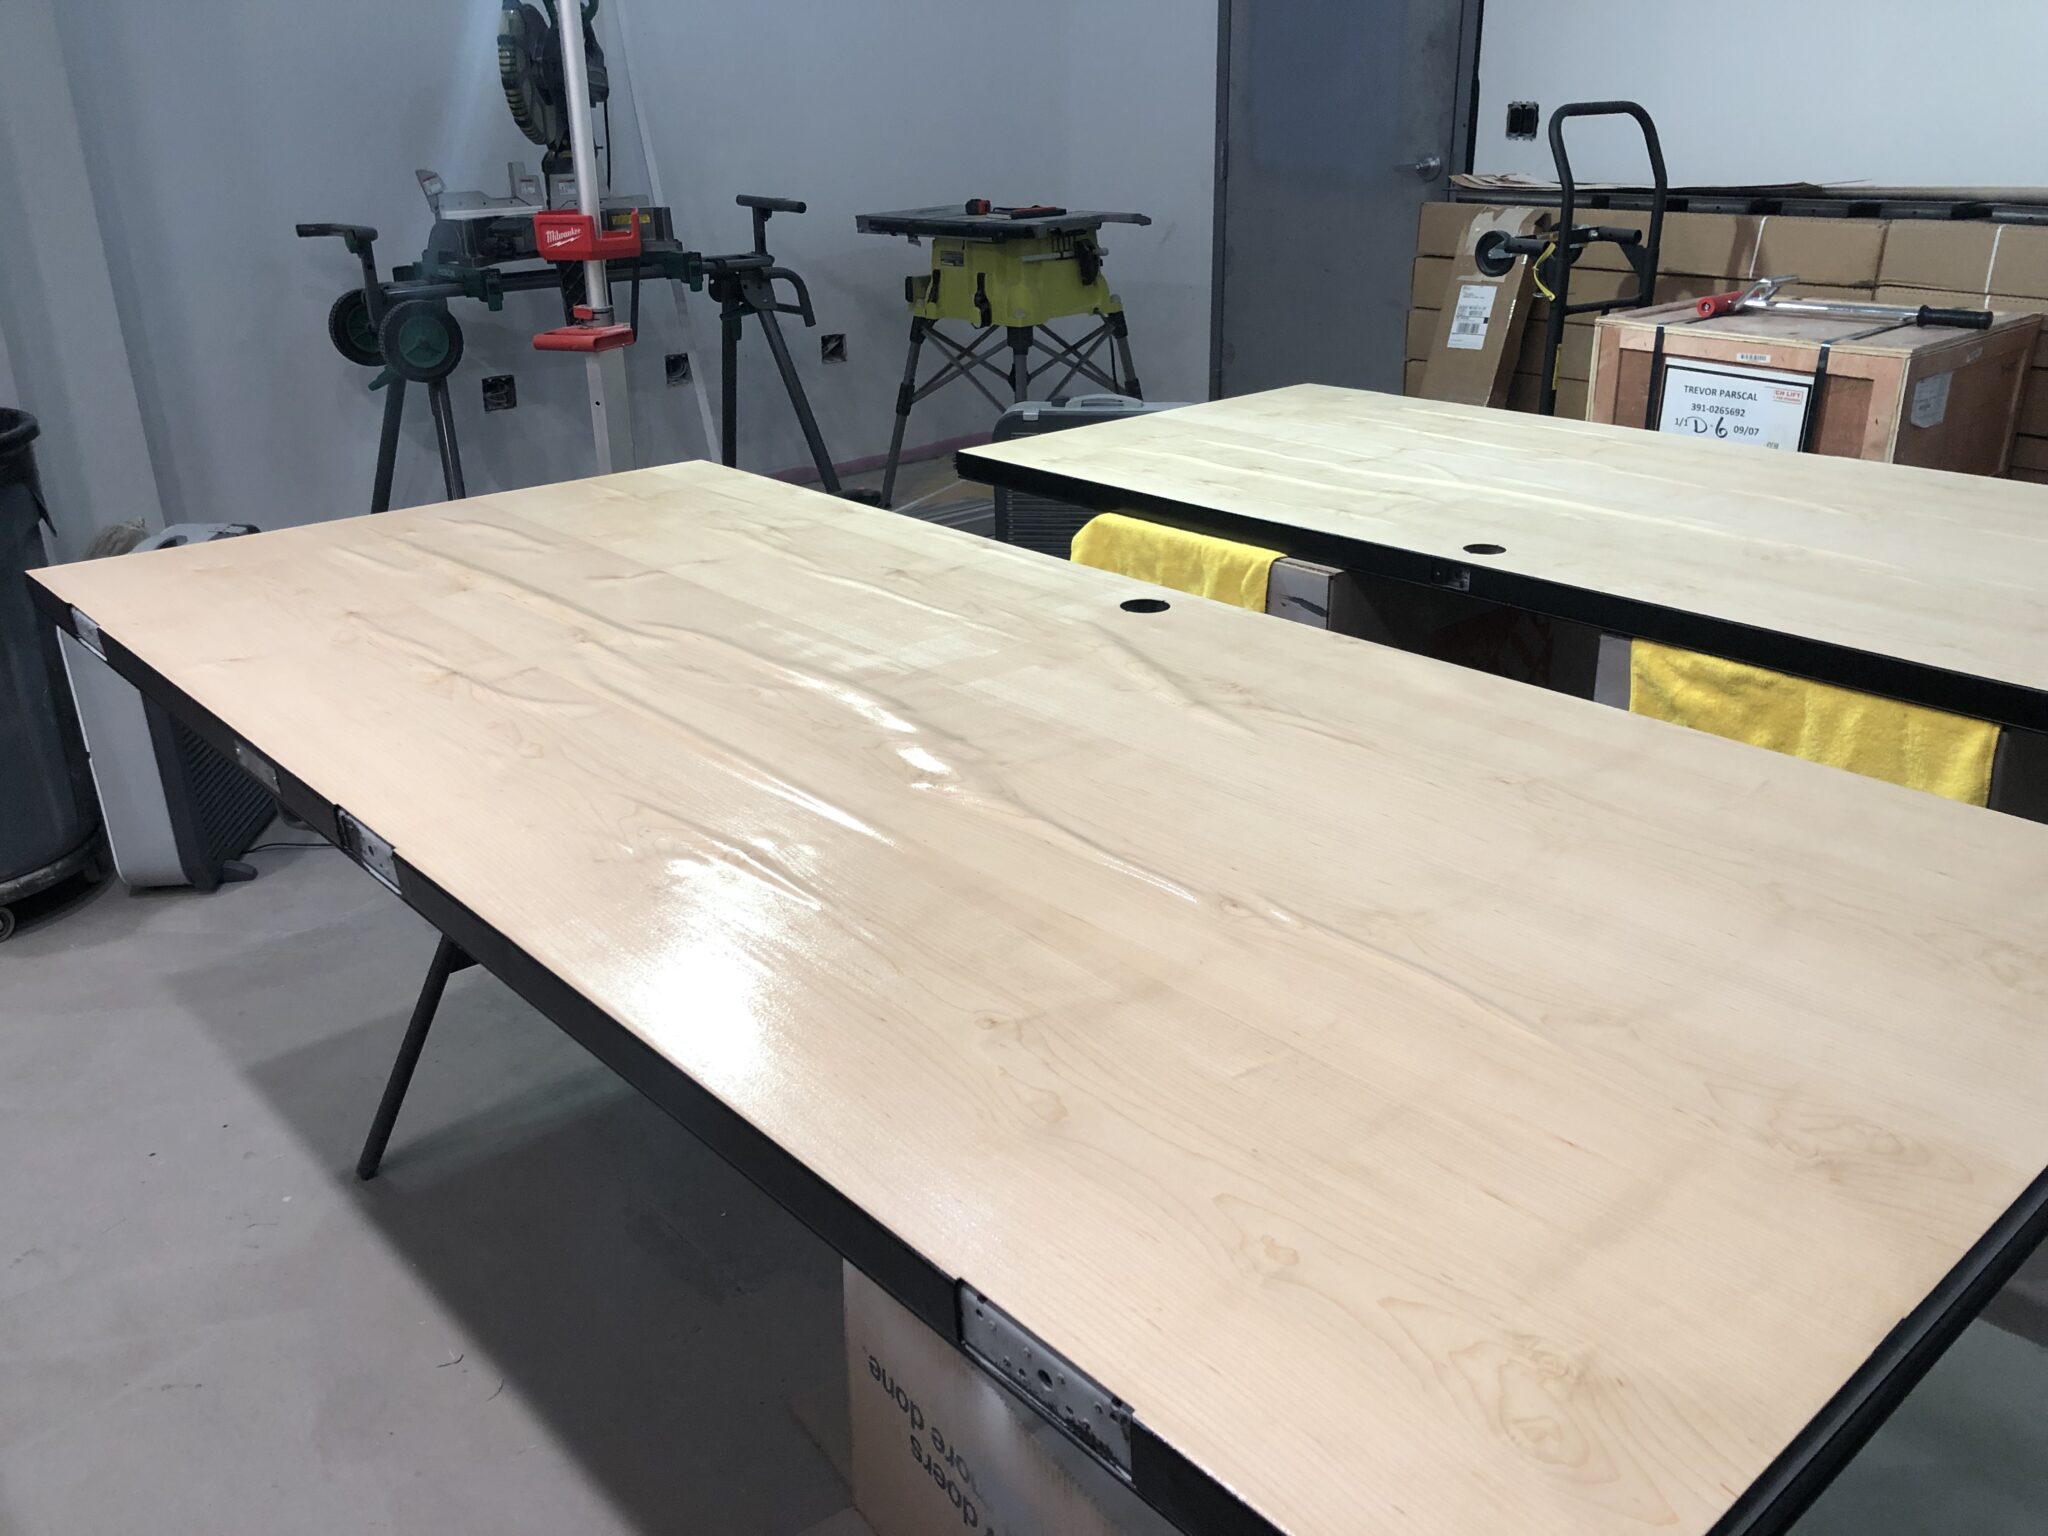
After letting the paint dry, I flipped them over and spread contact cement both the door and a sheet of veneer.
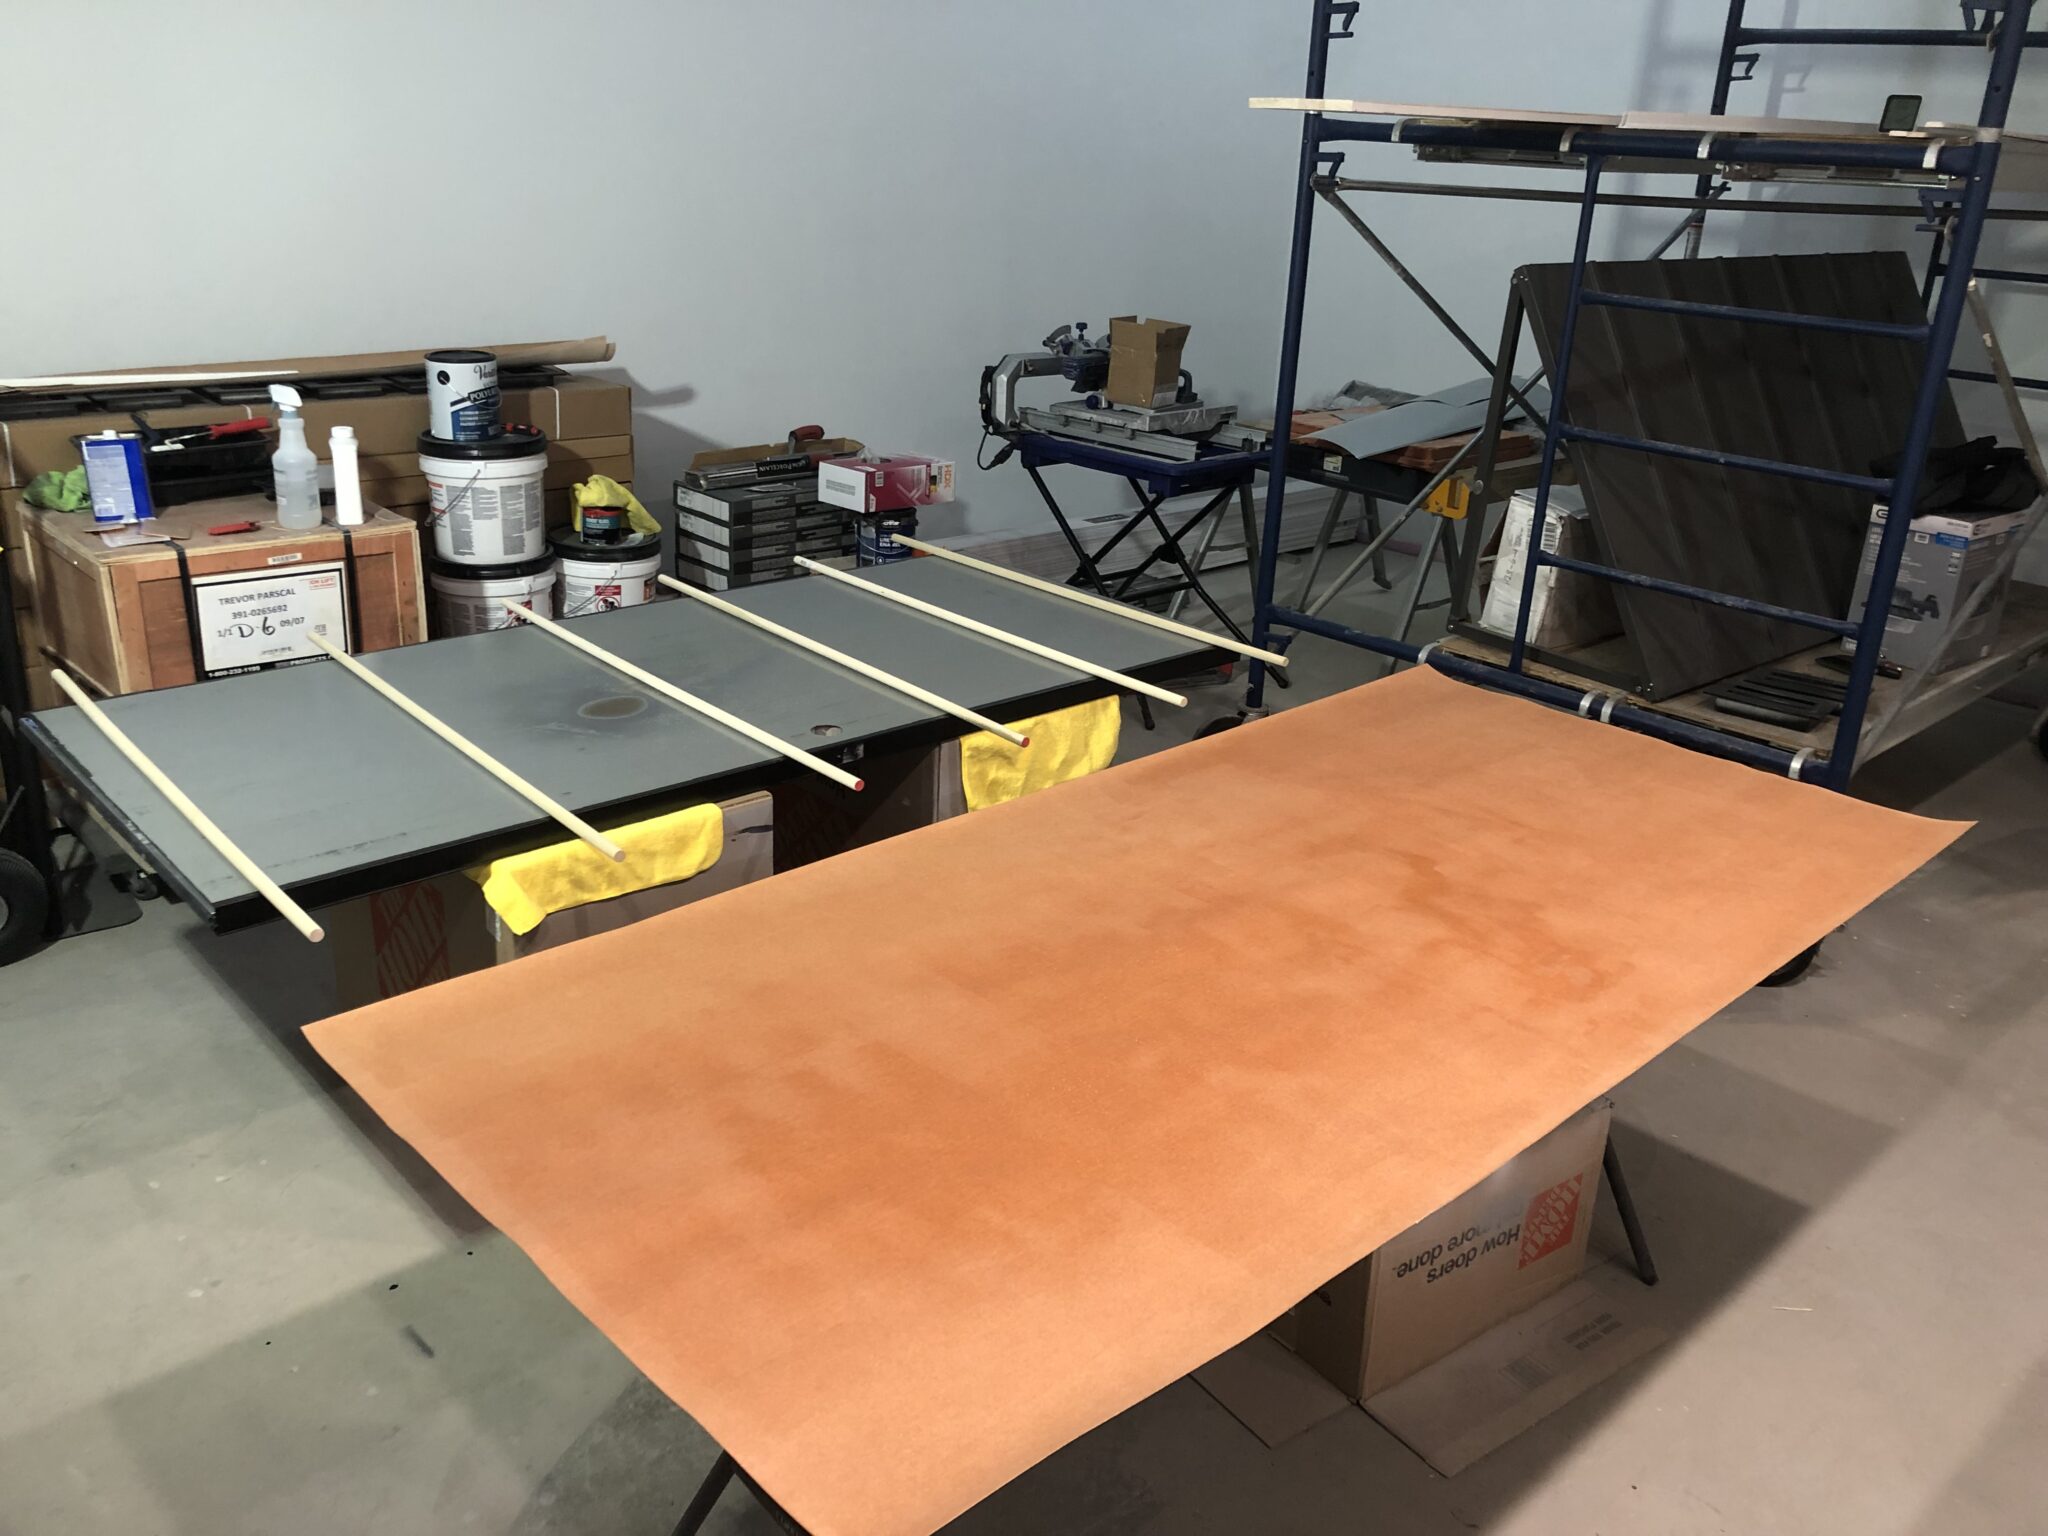
After the contact cement was no longer tacky to the touch, I laid the veneer over some dowels to help get it in just the right spot.
Then I rolled it out, removing one dowel at a time, and then scraped it to ensure good adhesion.
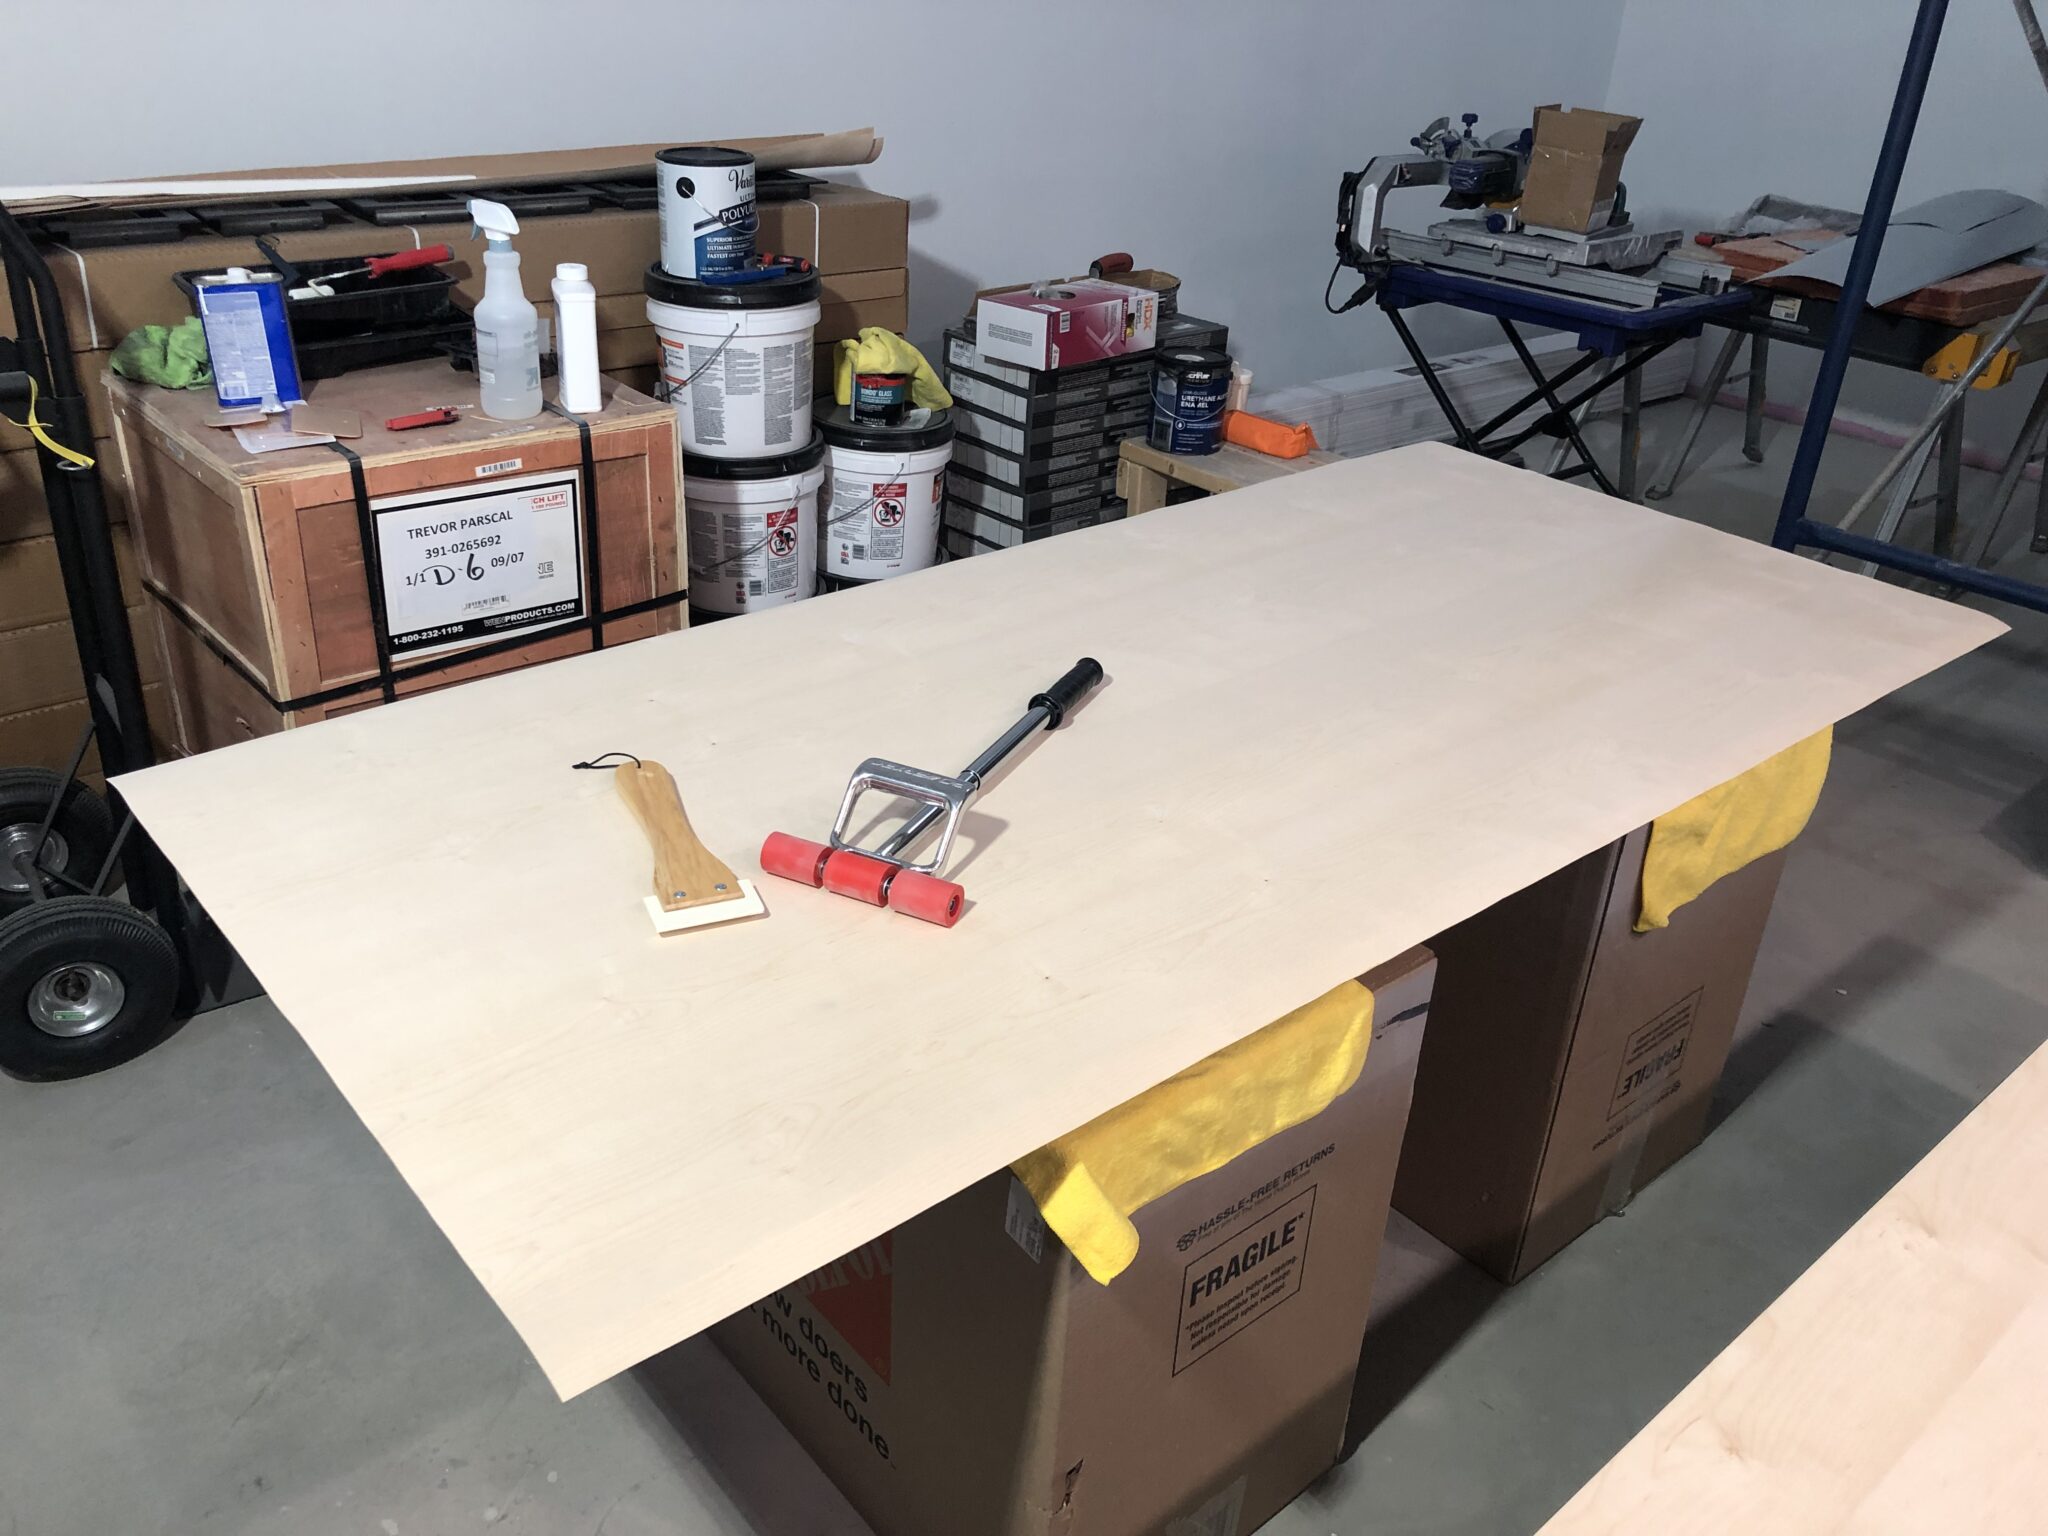
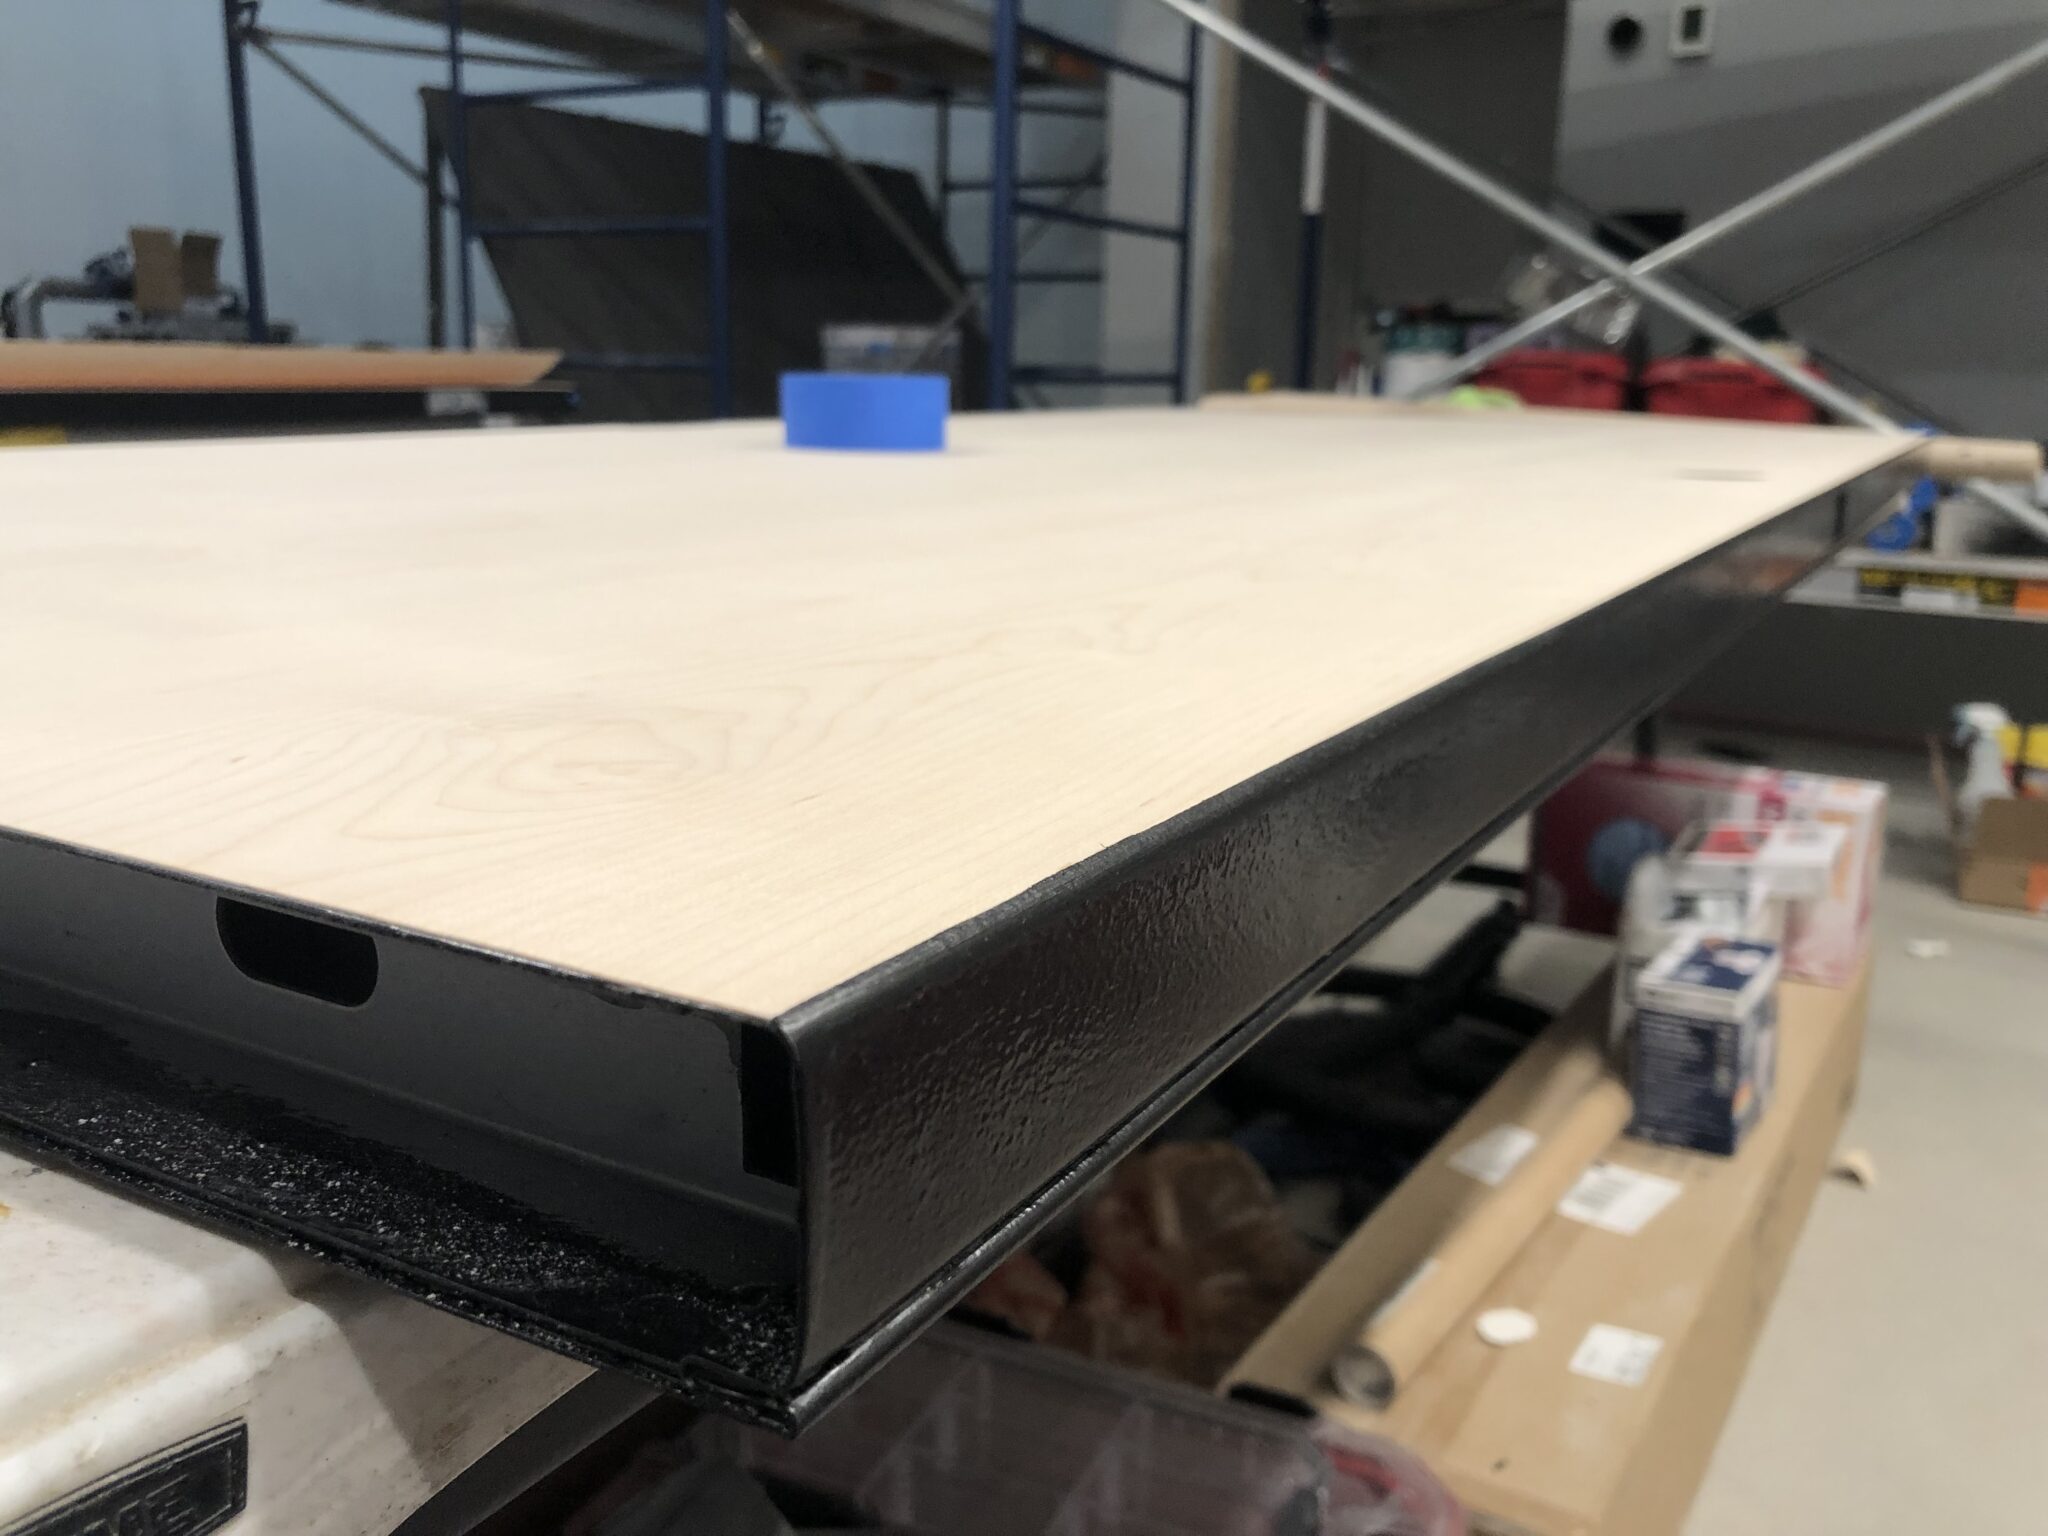
The veneer then had to be trimmed, which I did with a razor knife, and then sanded the edges.
The paint was scratched off around the edges, so I rolled over them using tape to create a clean line between the painted black metal and the wood.
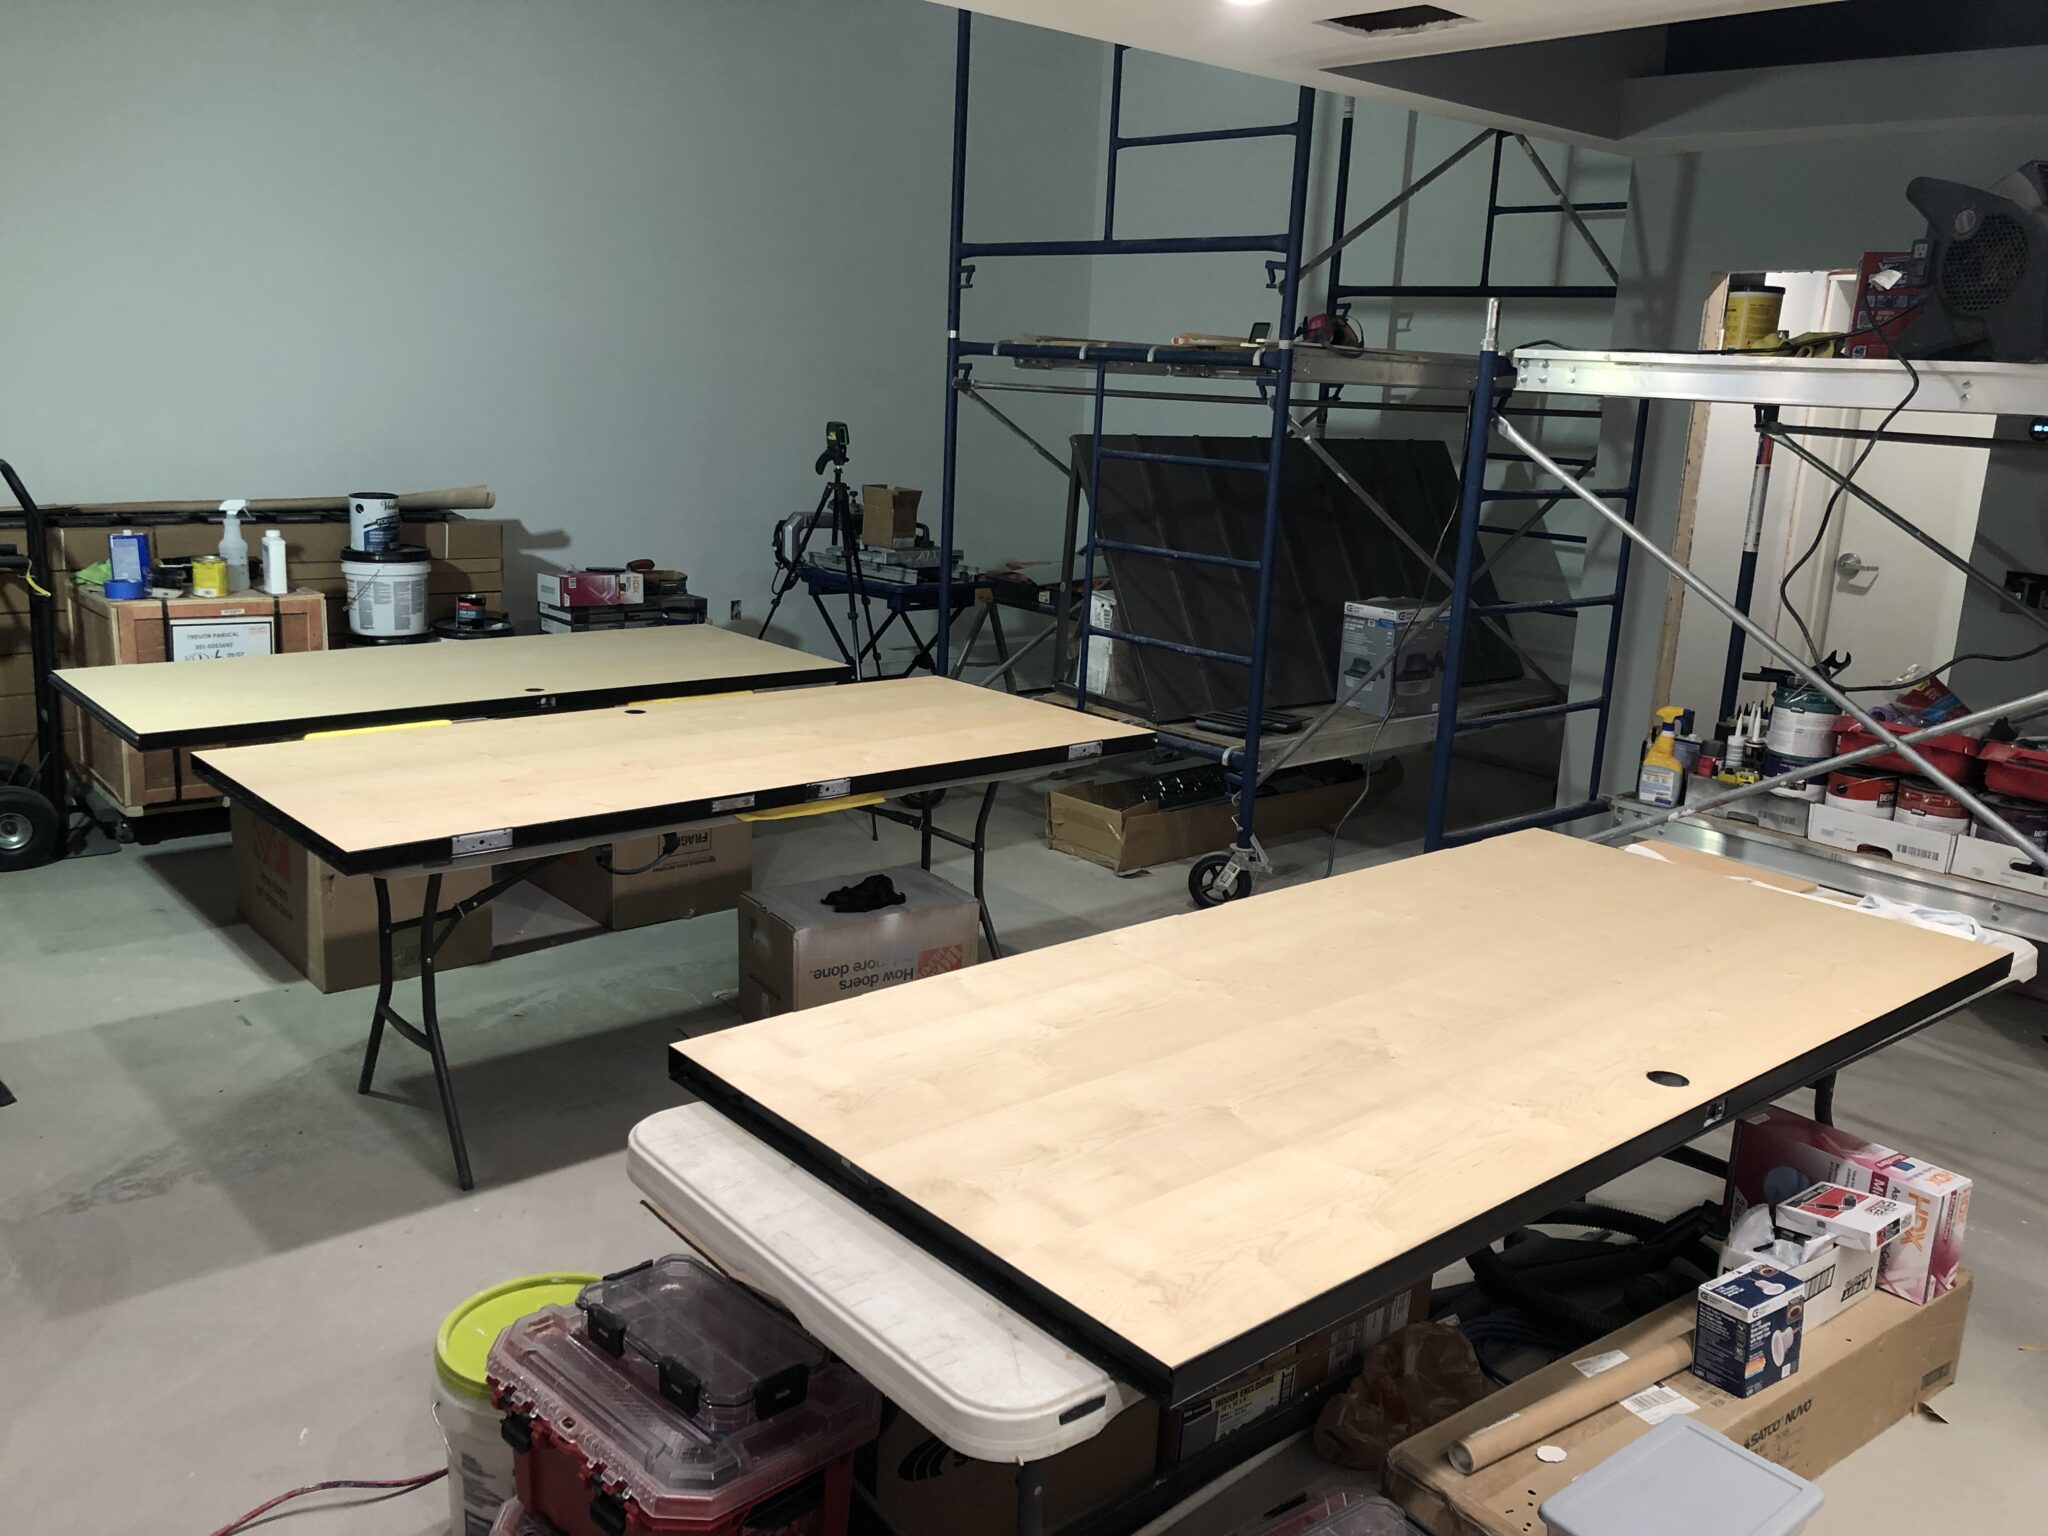
Next I stained the doors with a very slight “natural” color to get them to match the flooring a little better.

The flooring is still a bit darker and has more red in it, but I think it’s close enough considering they will be perpendicular to each other, so the light will hit them differently.

Everything was going well, if not a bit slow waiting for paint, glue and stain to dry. And then I made a horrible choice and went with a water-based varnish.
The veneer swelled and anywhere that wasn’t perfectly adhered bubbled up. Thankfully, once it dried, I was able to flatten the bubbles out with an iron.
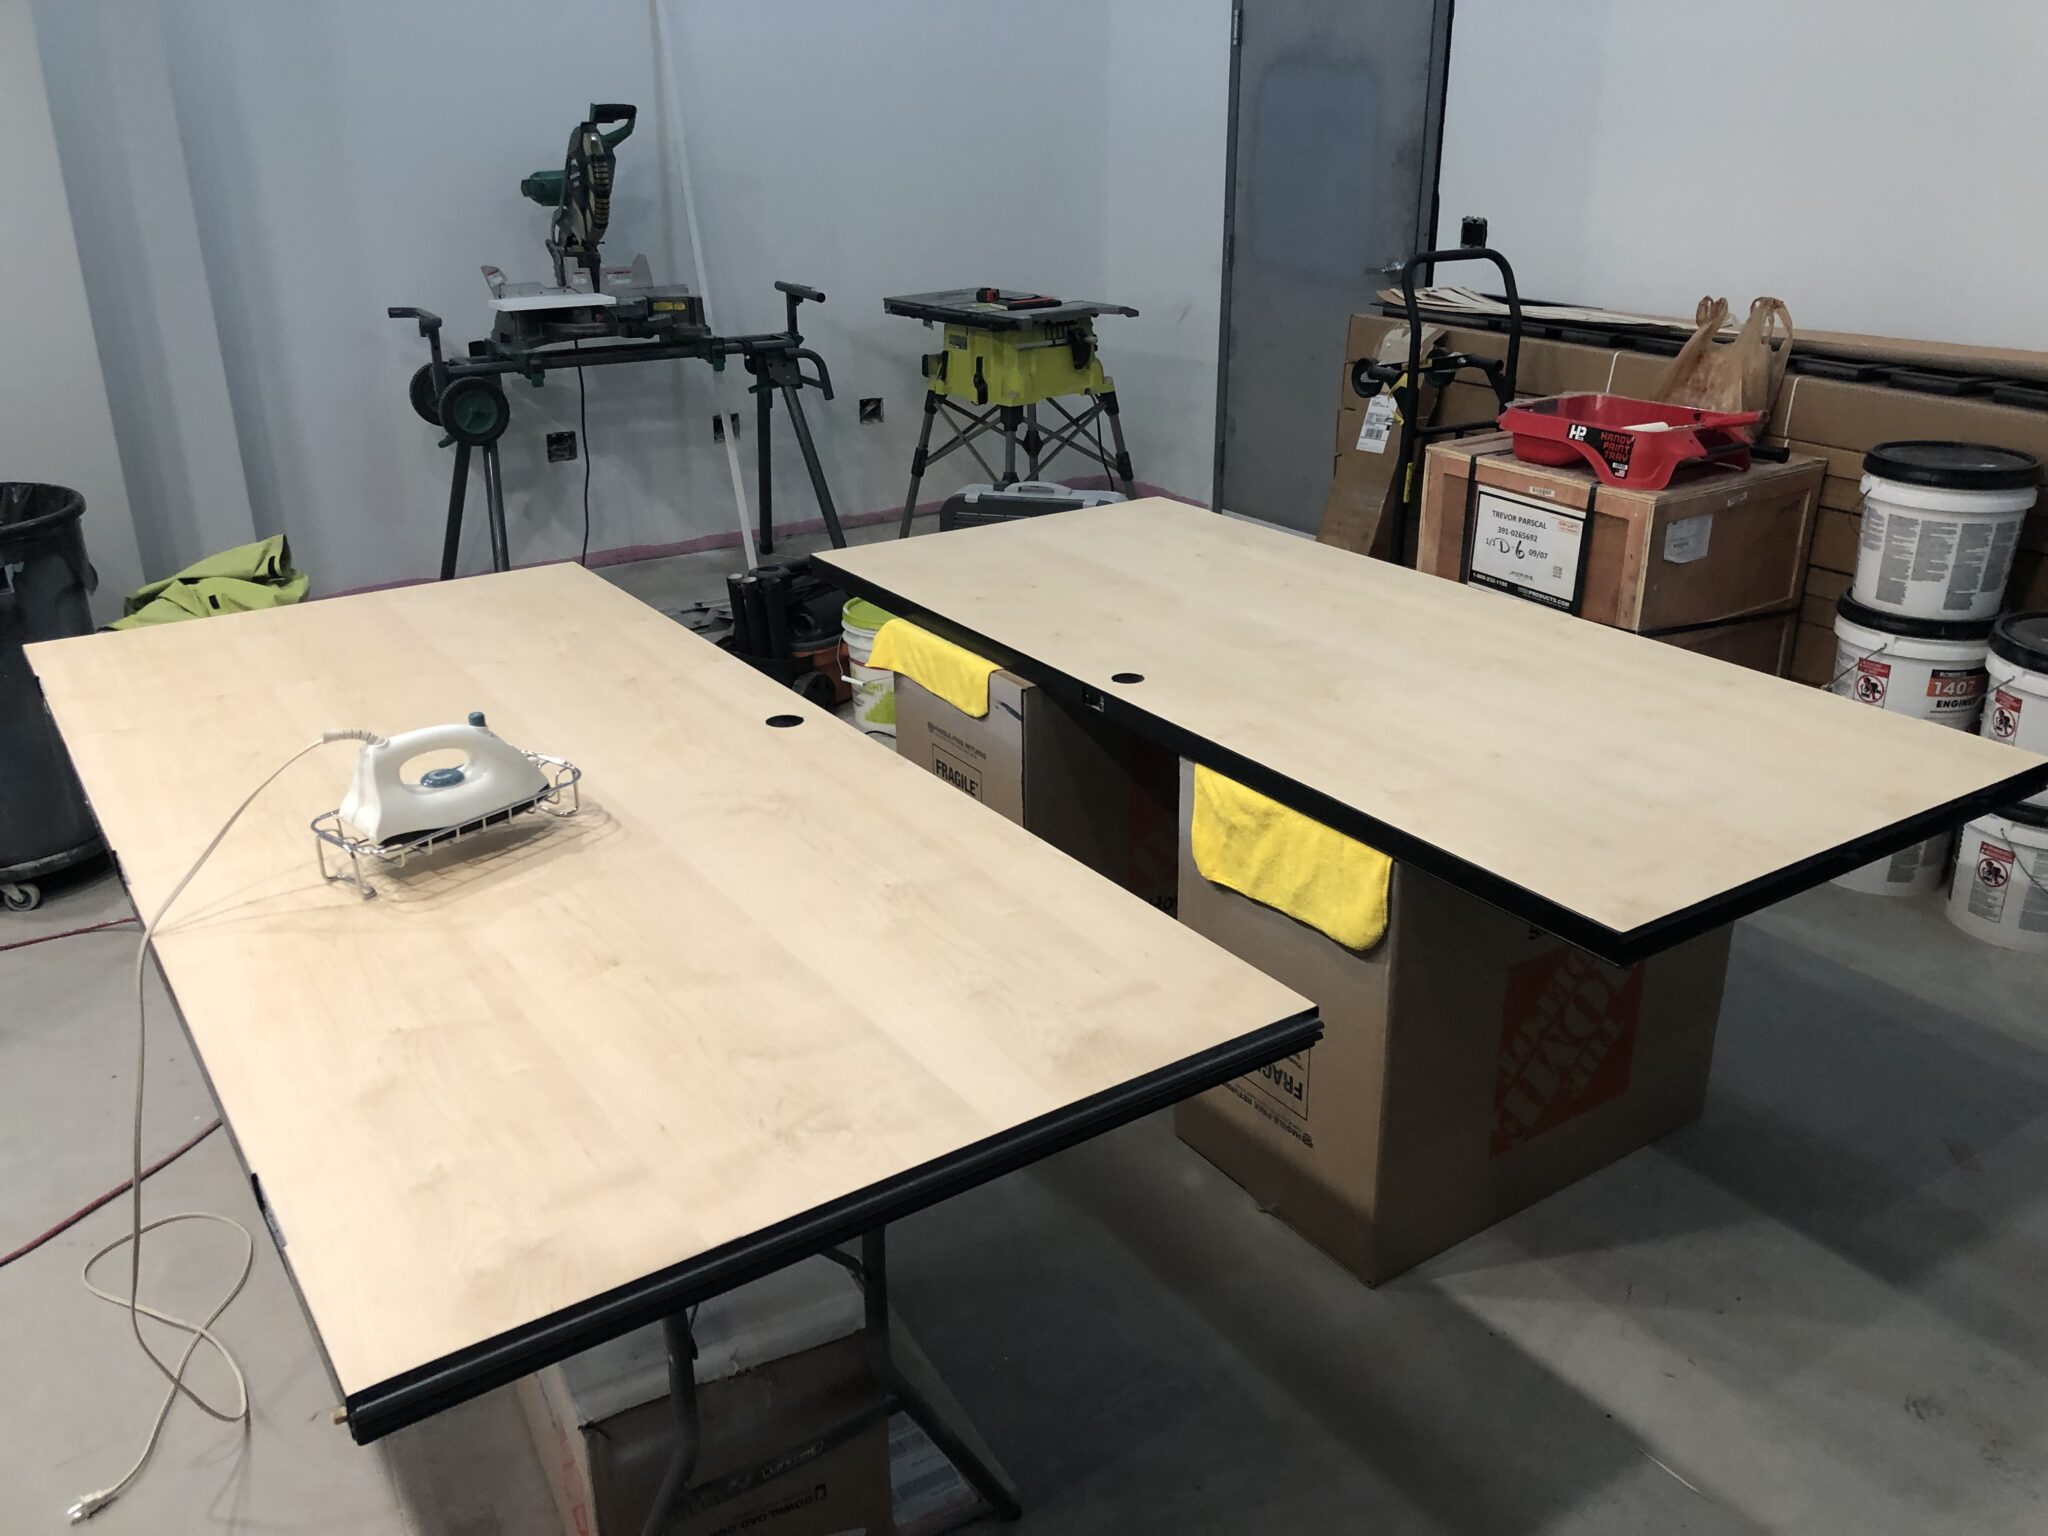
After hours of ironing and some very light sanding, I rolled on a thick layer of oil-based polyurethane varnish, which of course created no bubbles. I then sanded that down a bit and finished with two coats of wipe-on poly.
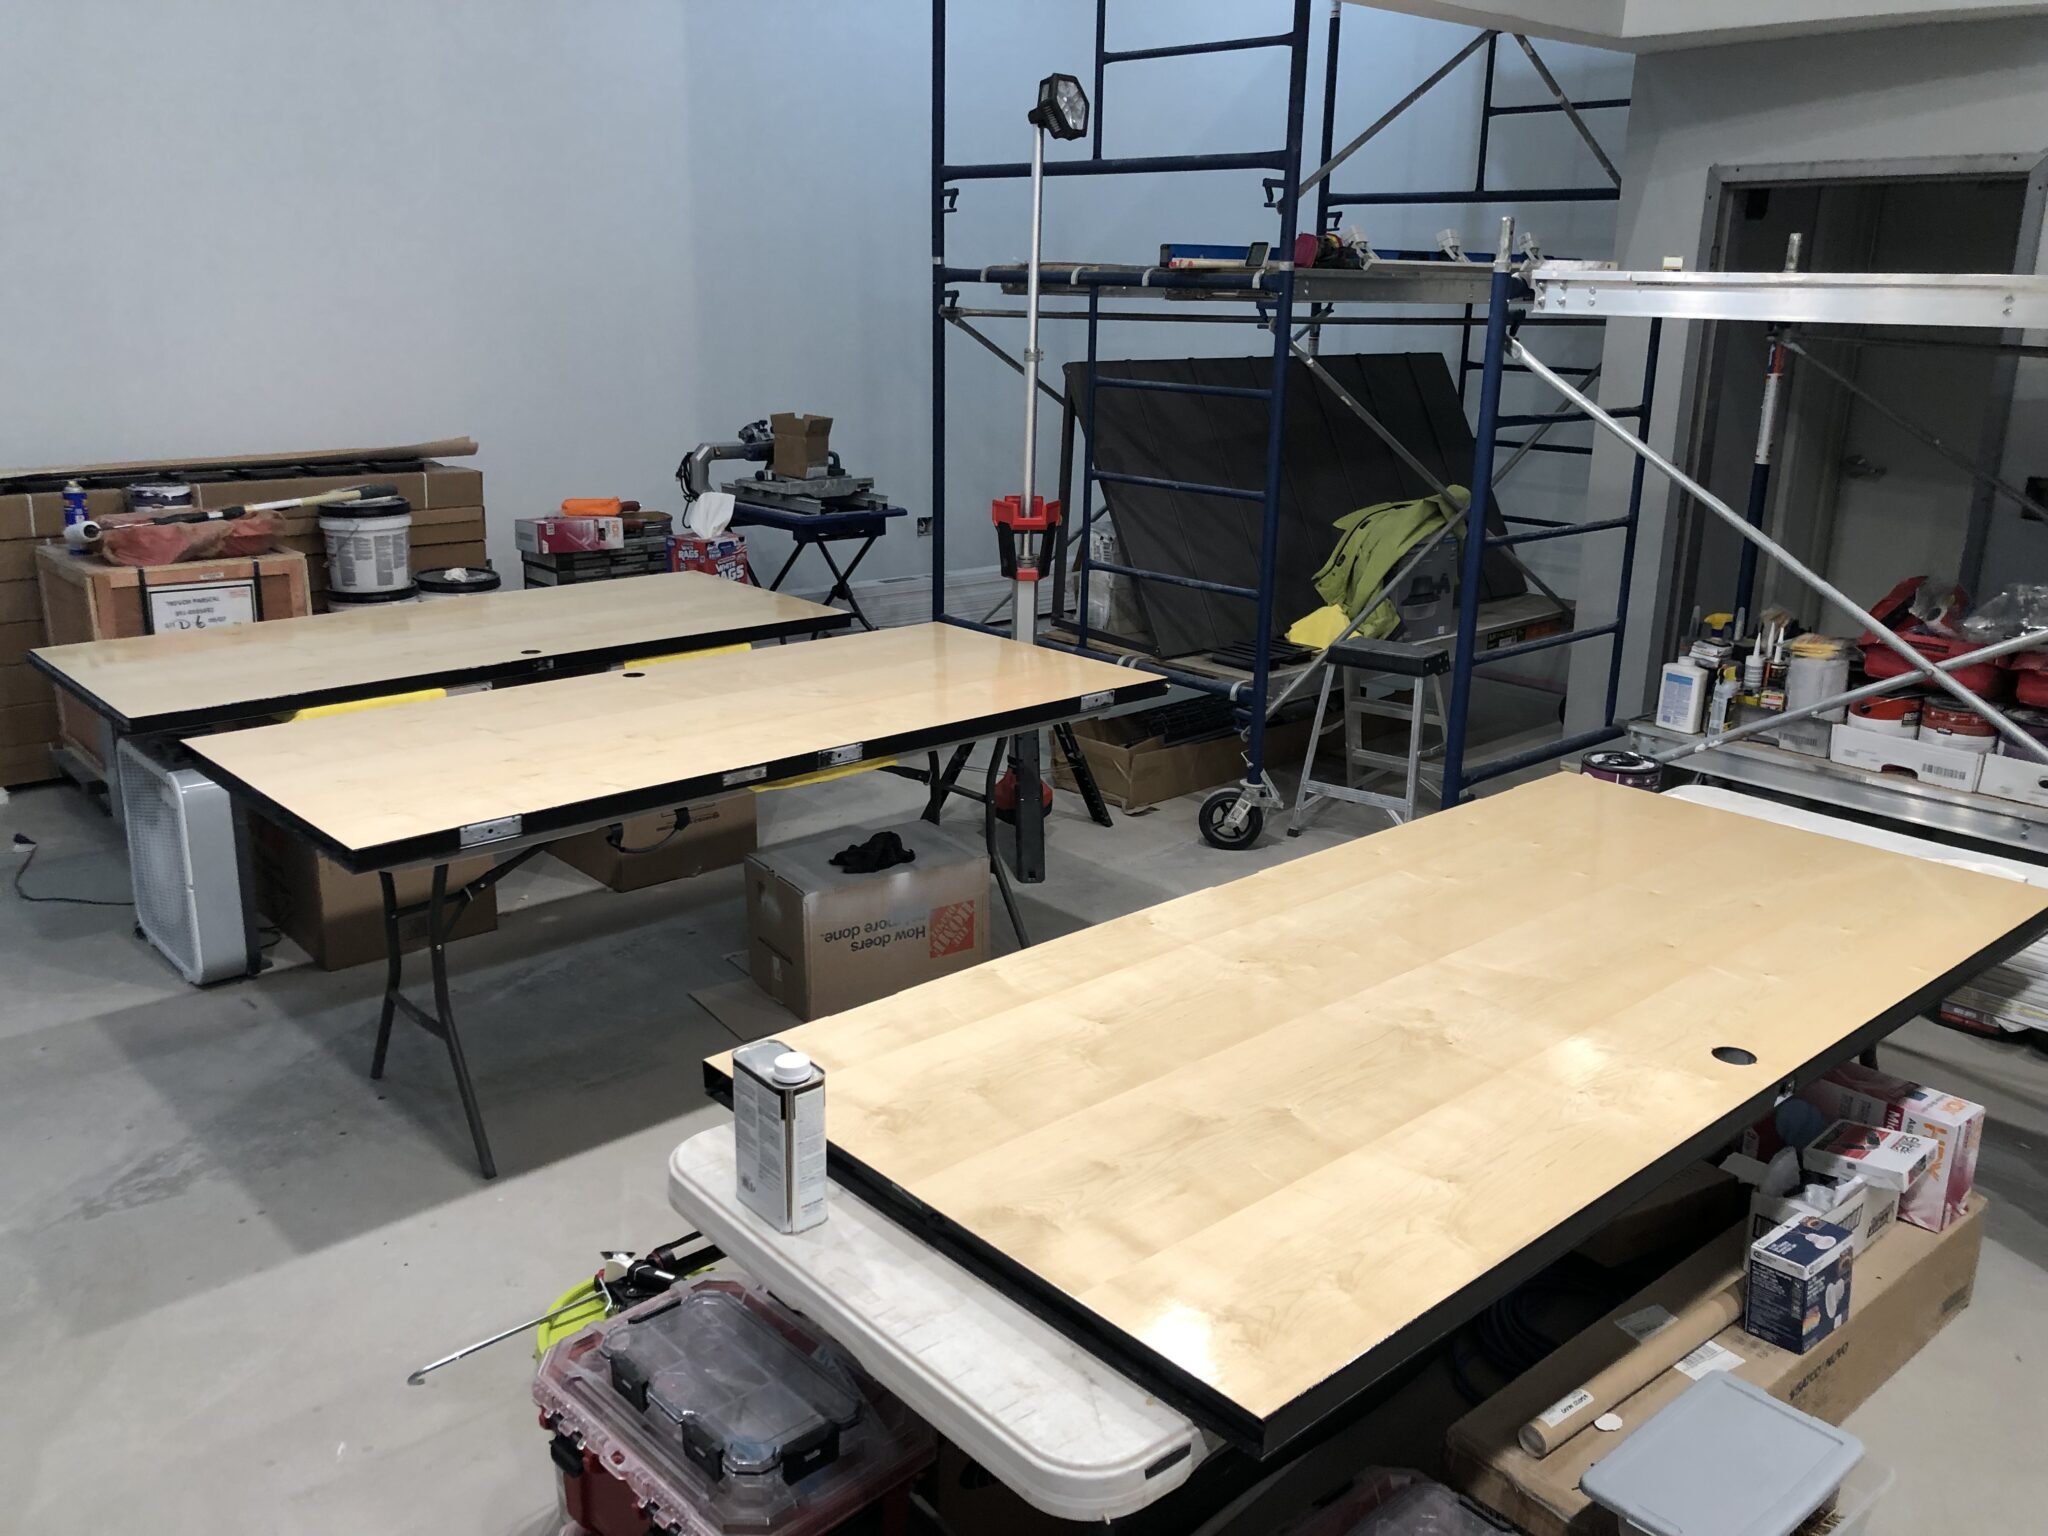
With the doors finally done, I set them aside to cure and got to work on the door jambs.
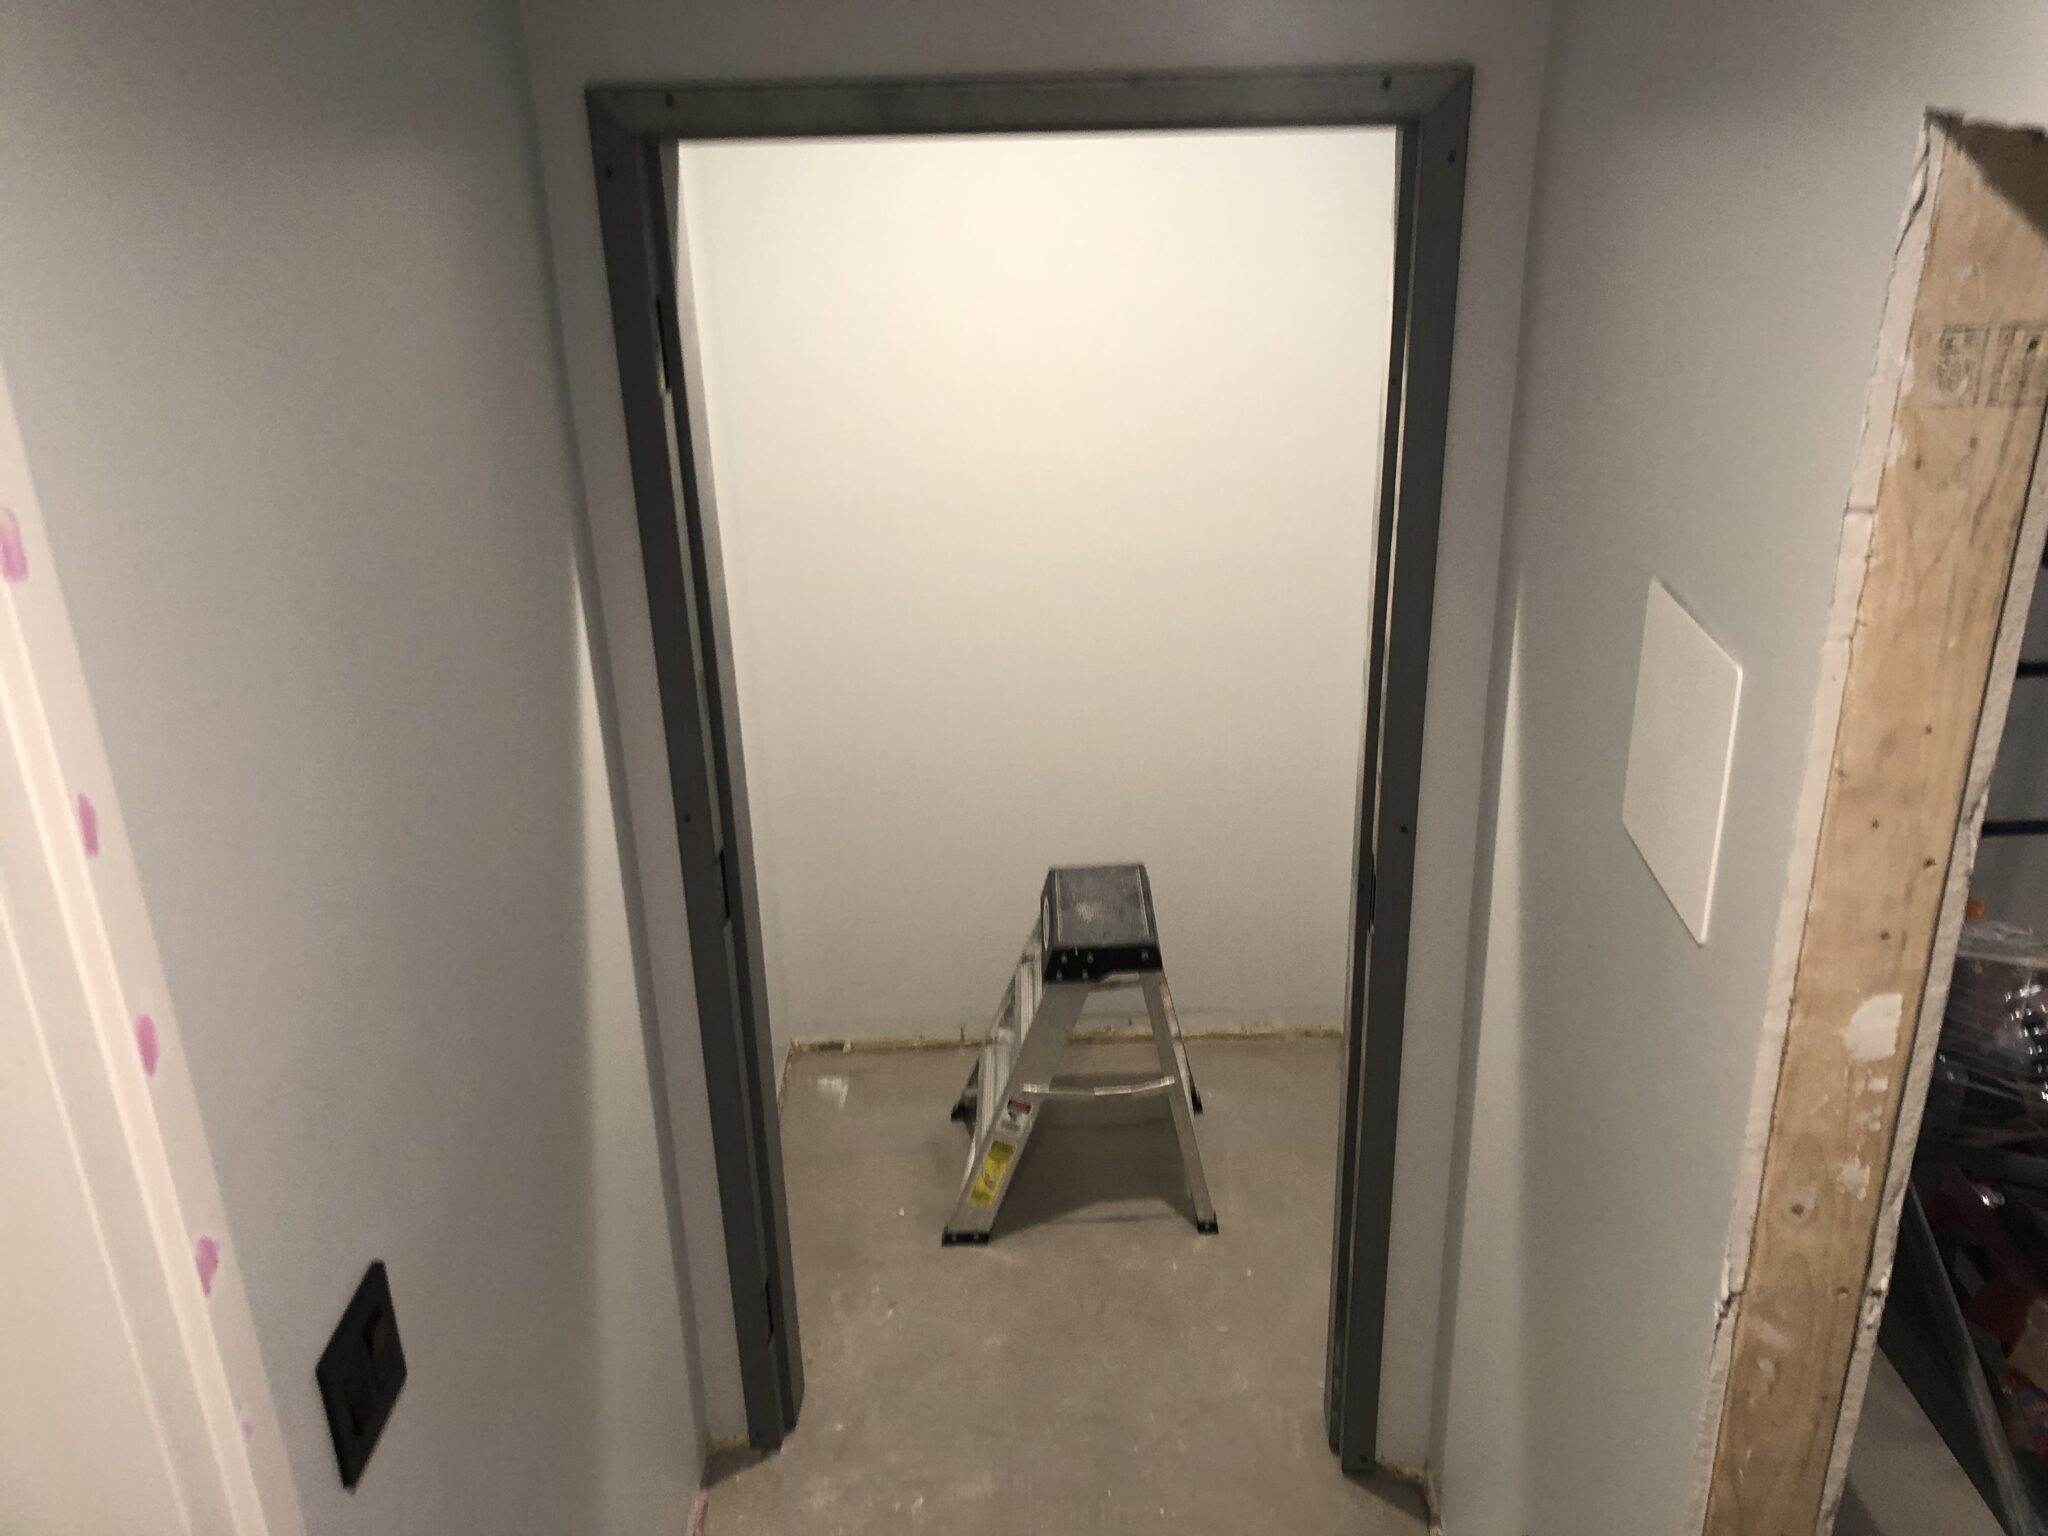
The jambs all needed to be shimmed in a bit, but thankfully the narrow trim covered the drywall edges.
I created a template out of wood to ensure the left and right sides of the jambs were square and equidistant with each other.
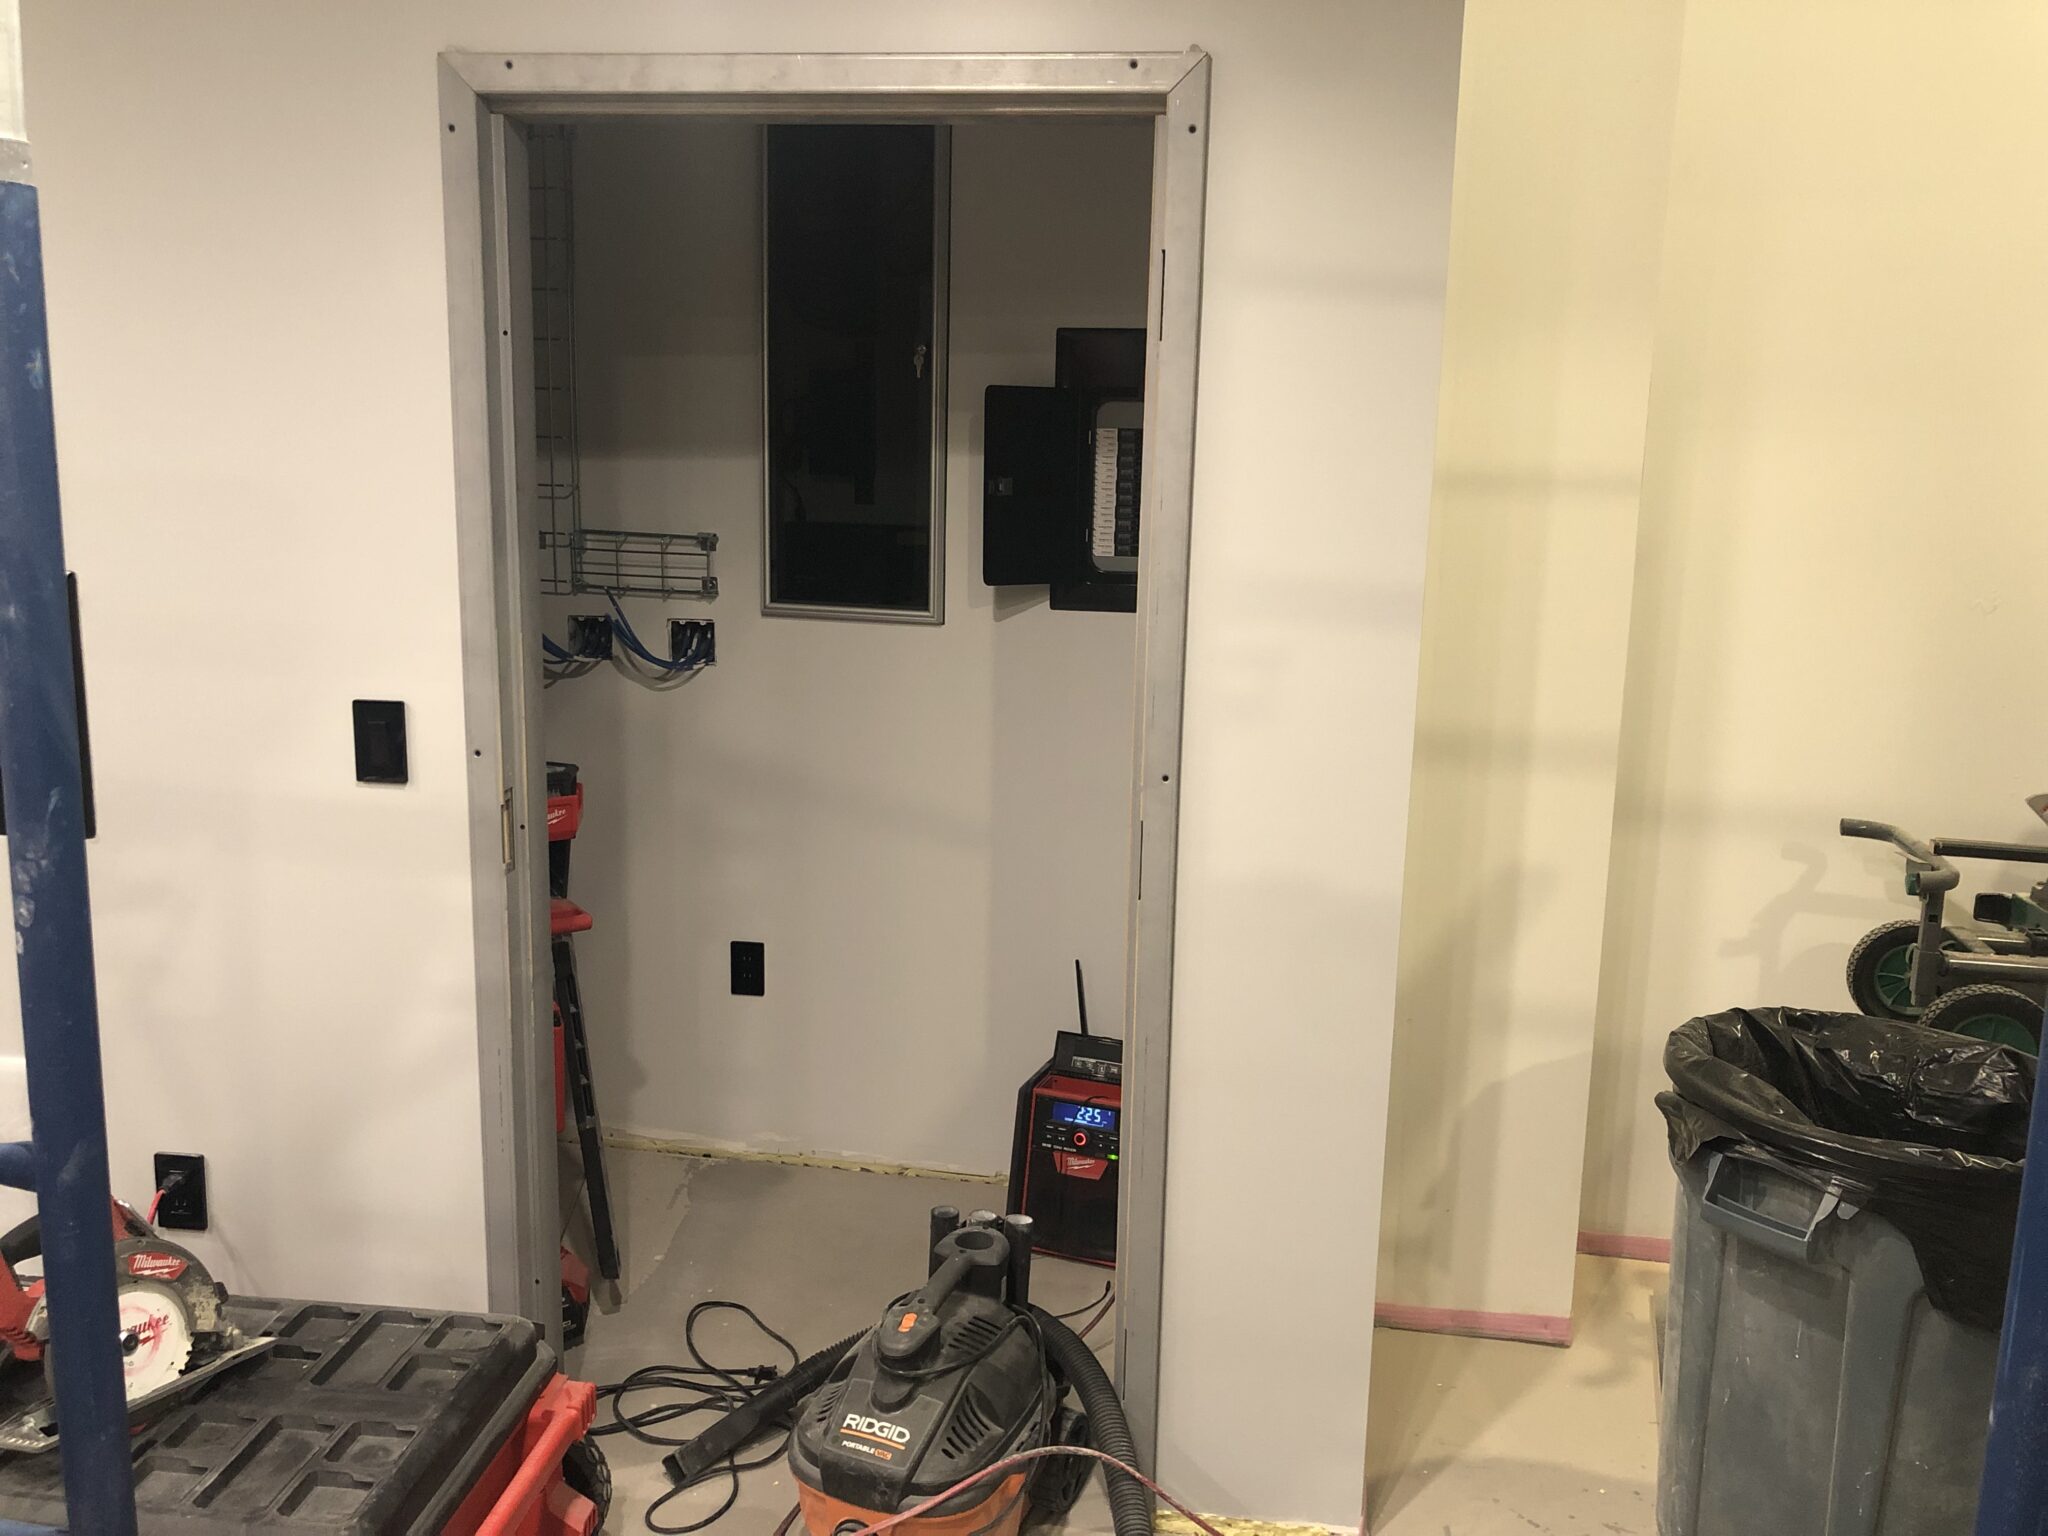
Even though all measurements indicate they are spot-on, I am going to wait until I’ve hung a door on them before I paint them.
- Categories
- Construction