HVAC Setup and Modifications
November 20, 2022
Over the last couple weeks, I’ve been working on getting the HVAC system online.

First, I had to fill in the gap between the wood structure’s entry room and the metal structure’s exterior door.

Then Will came by and helped me hang the first of 4 steel doors to close up the wall between the live room and the workshop.
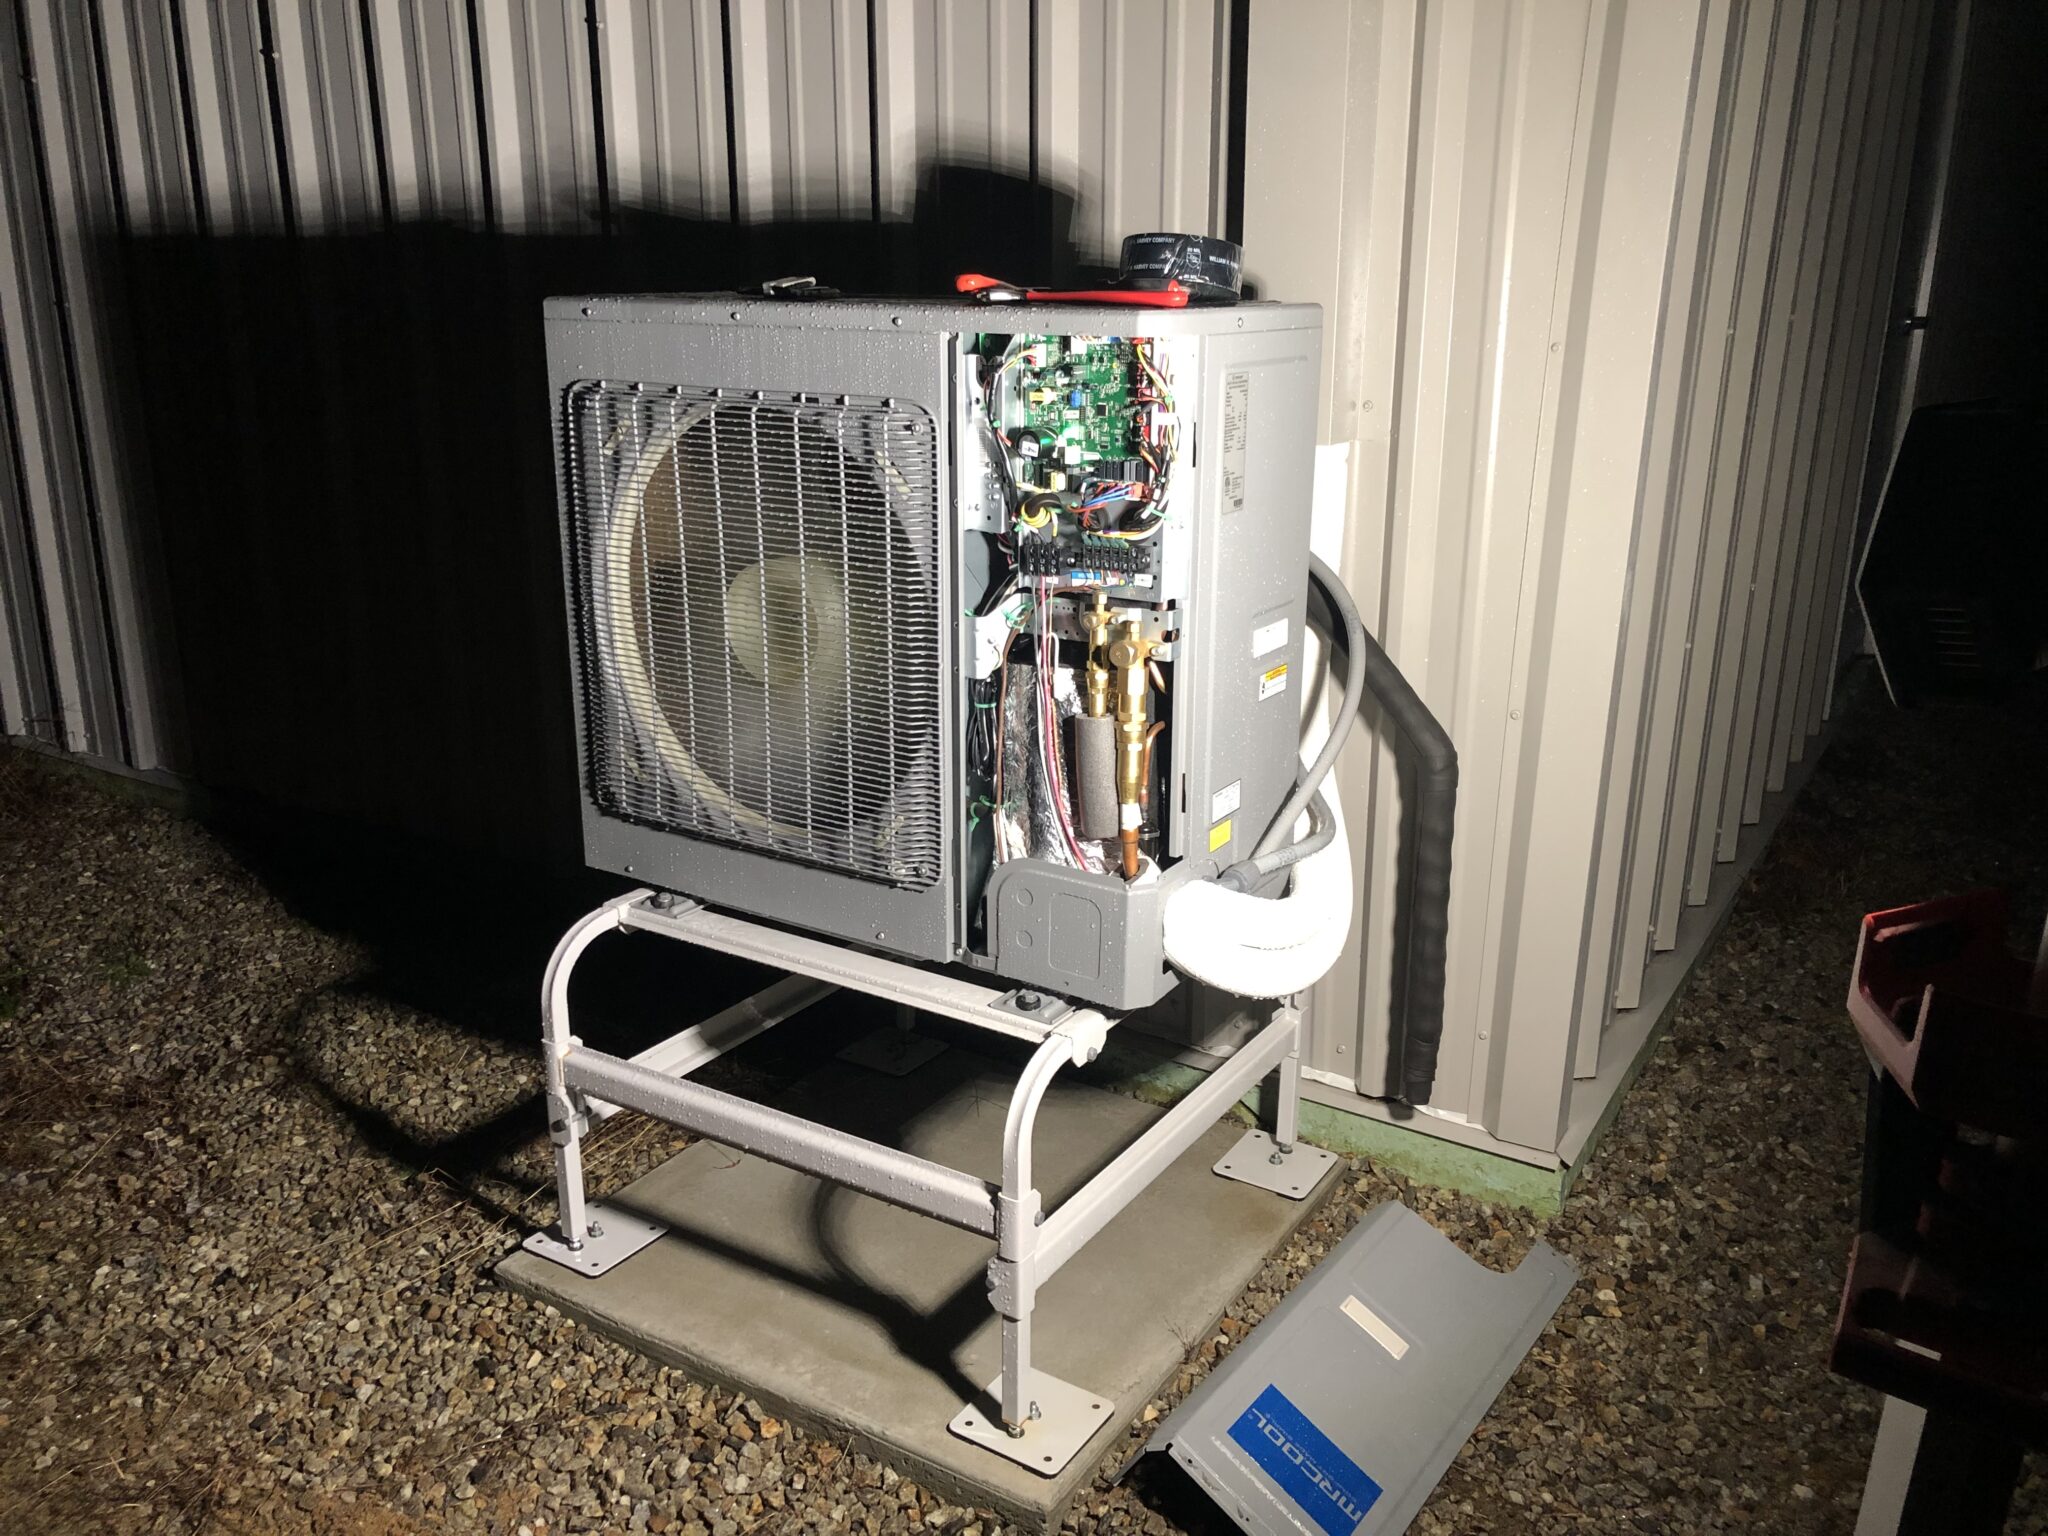
To kick things off, Adam came by again and helped me get the exterior drain installed. Since it will be exposed to cold temperatures, the pipe is wrapped in a heating coil and then insulated.
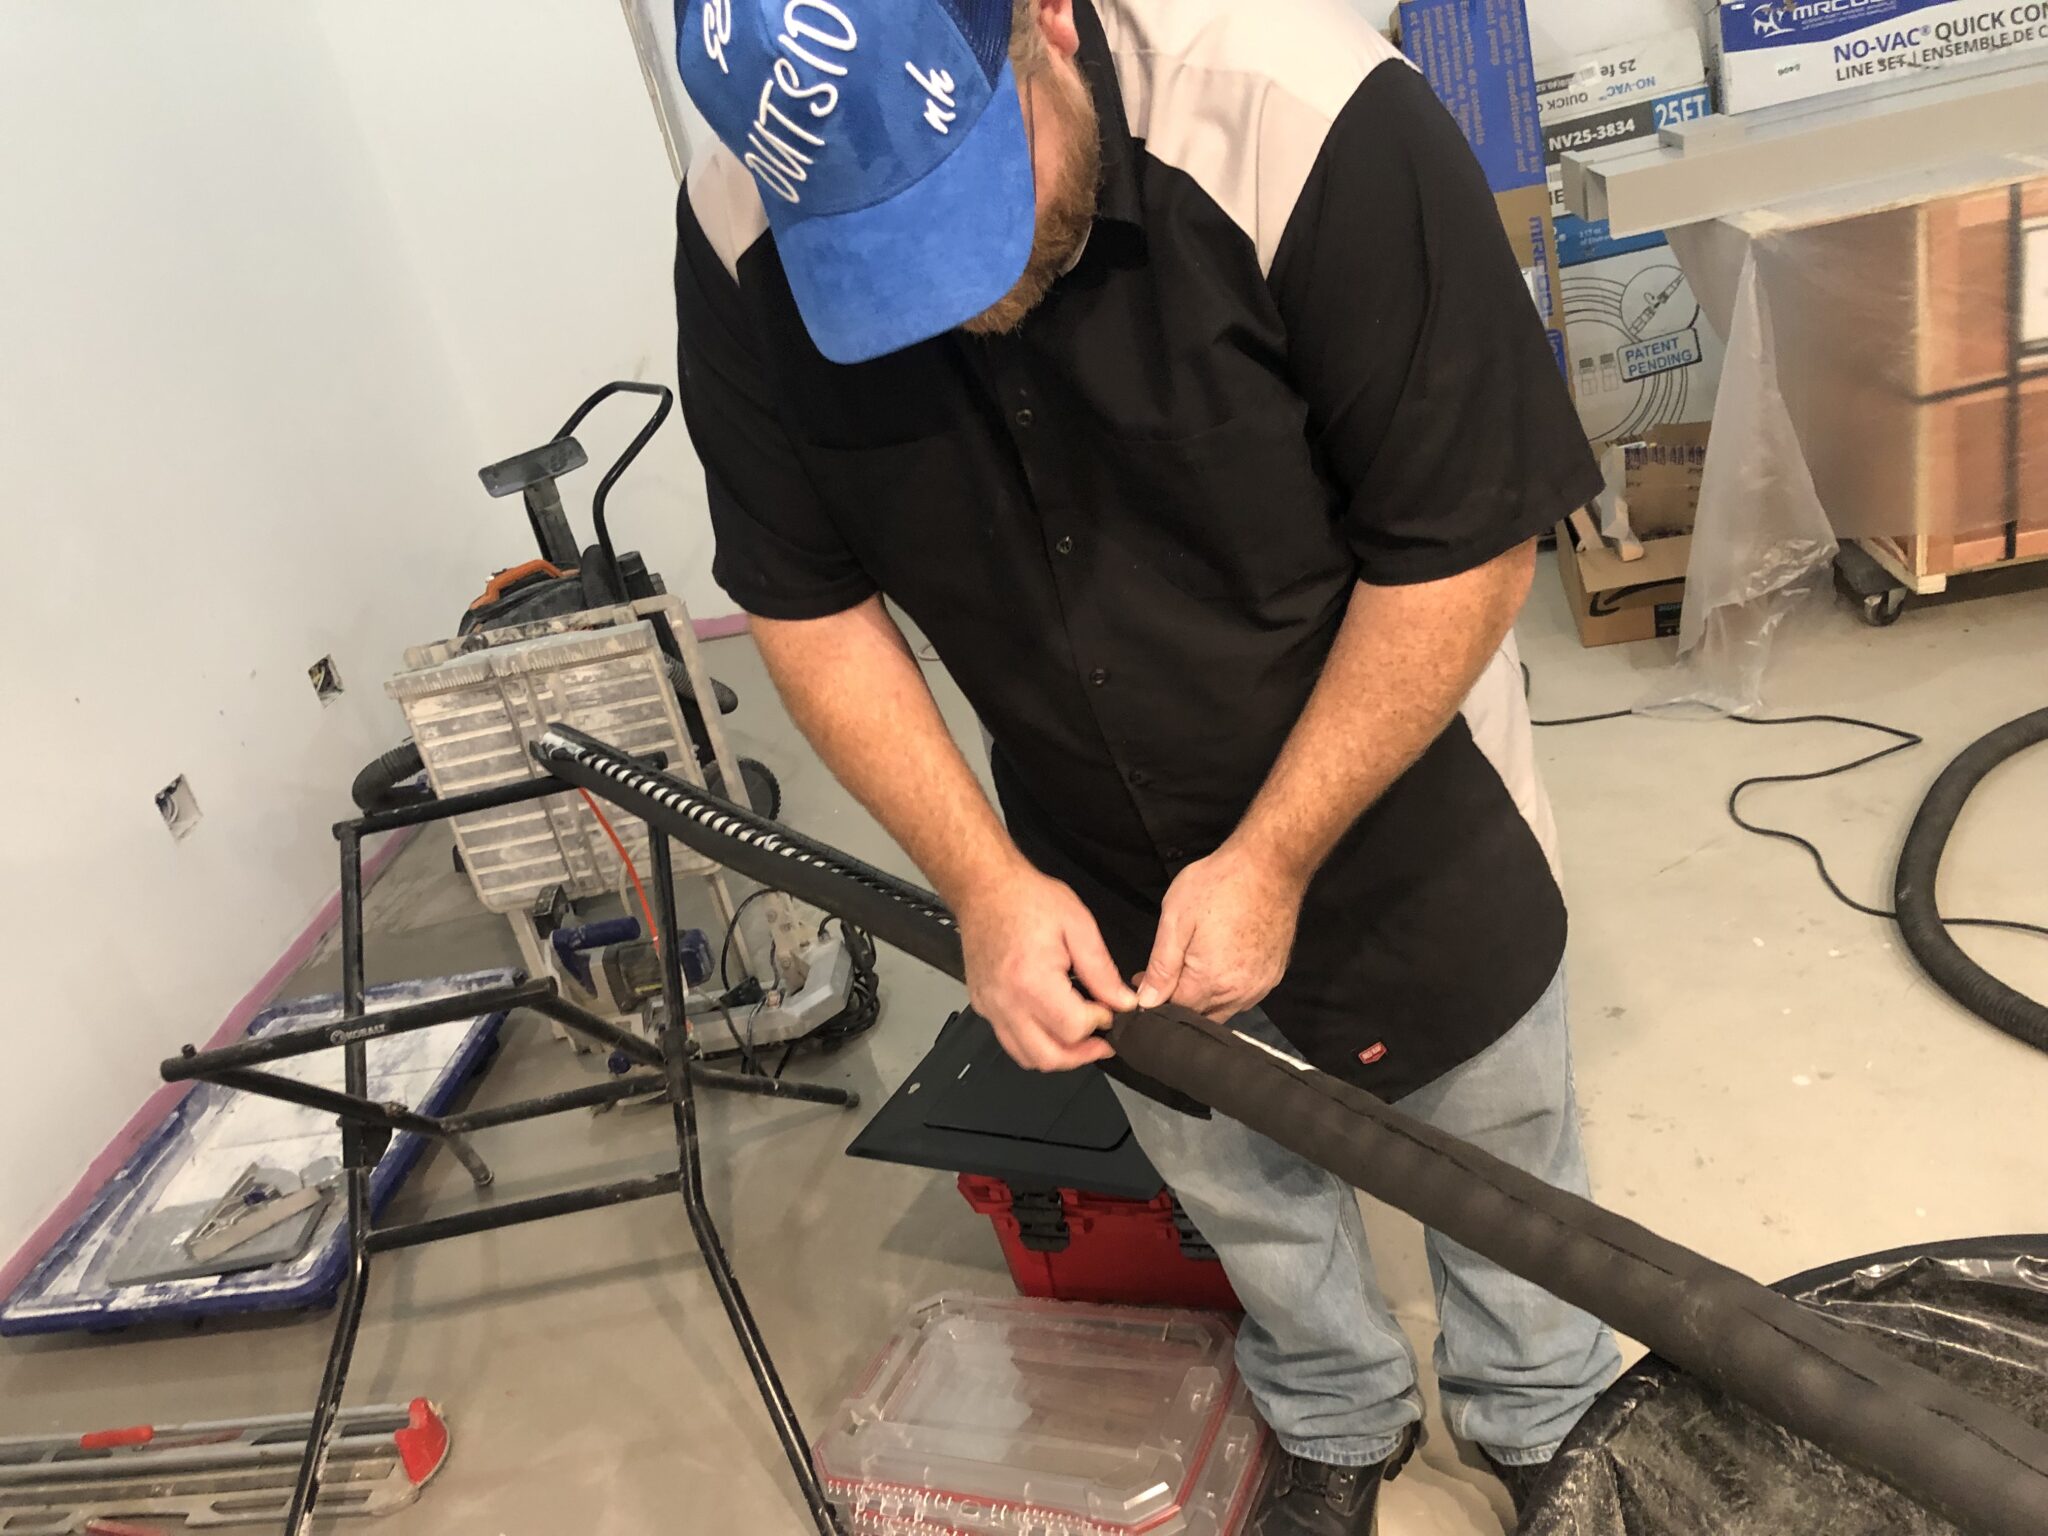
We then ran it along side the line-set and covered it with the new metal line-set cover.
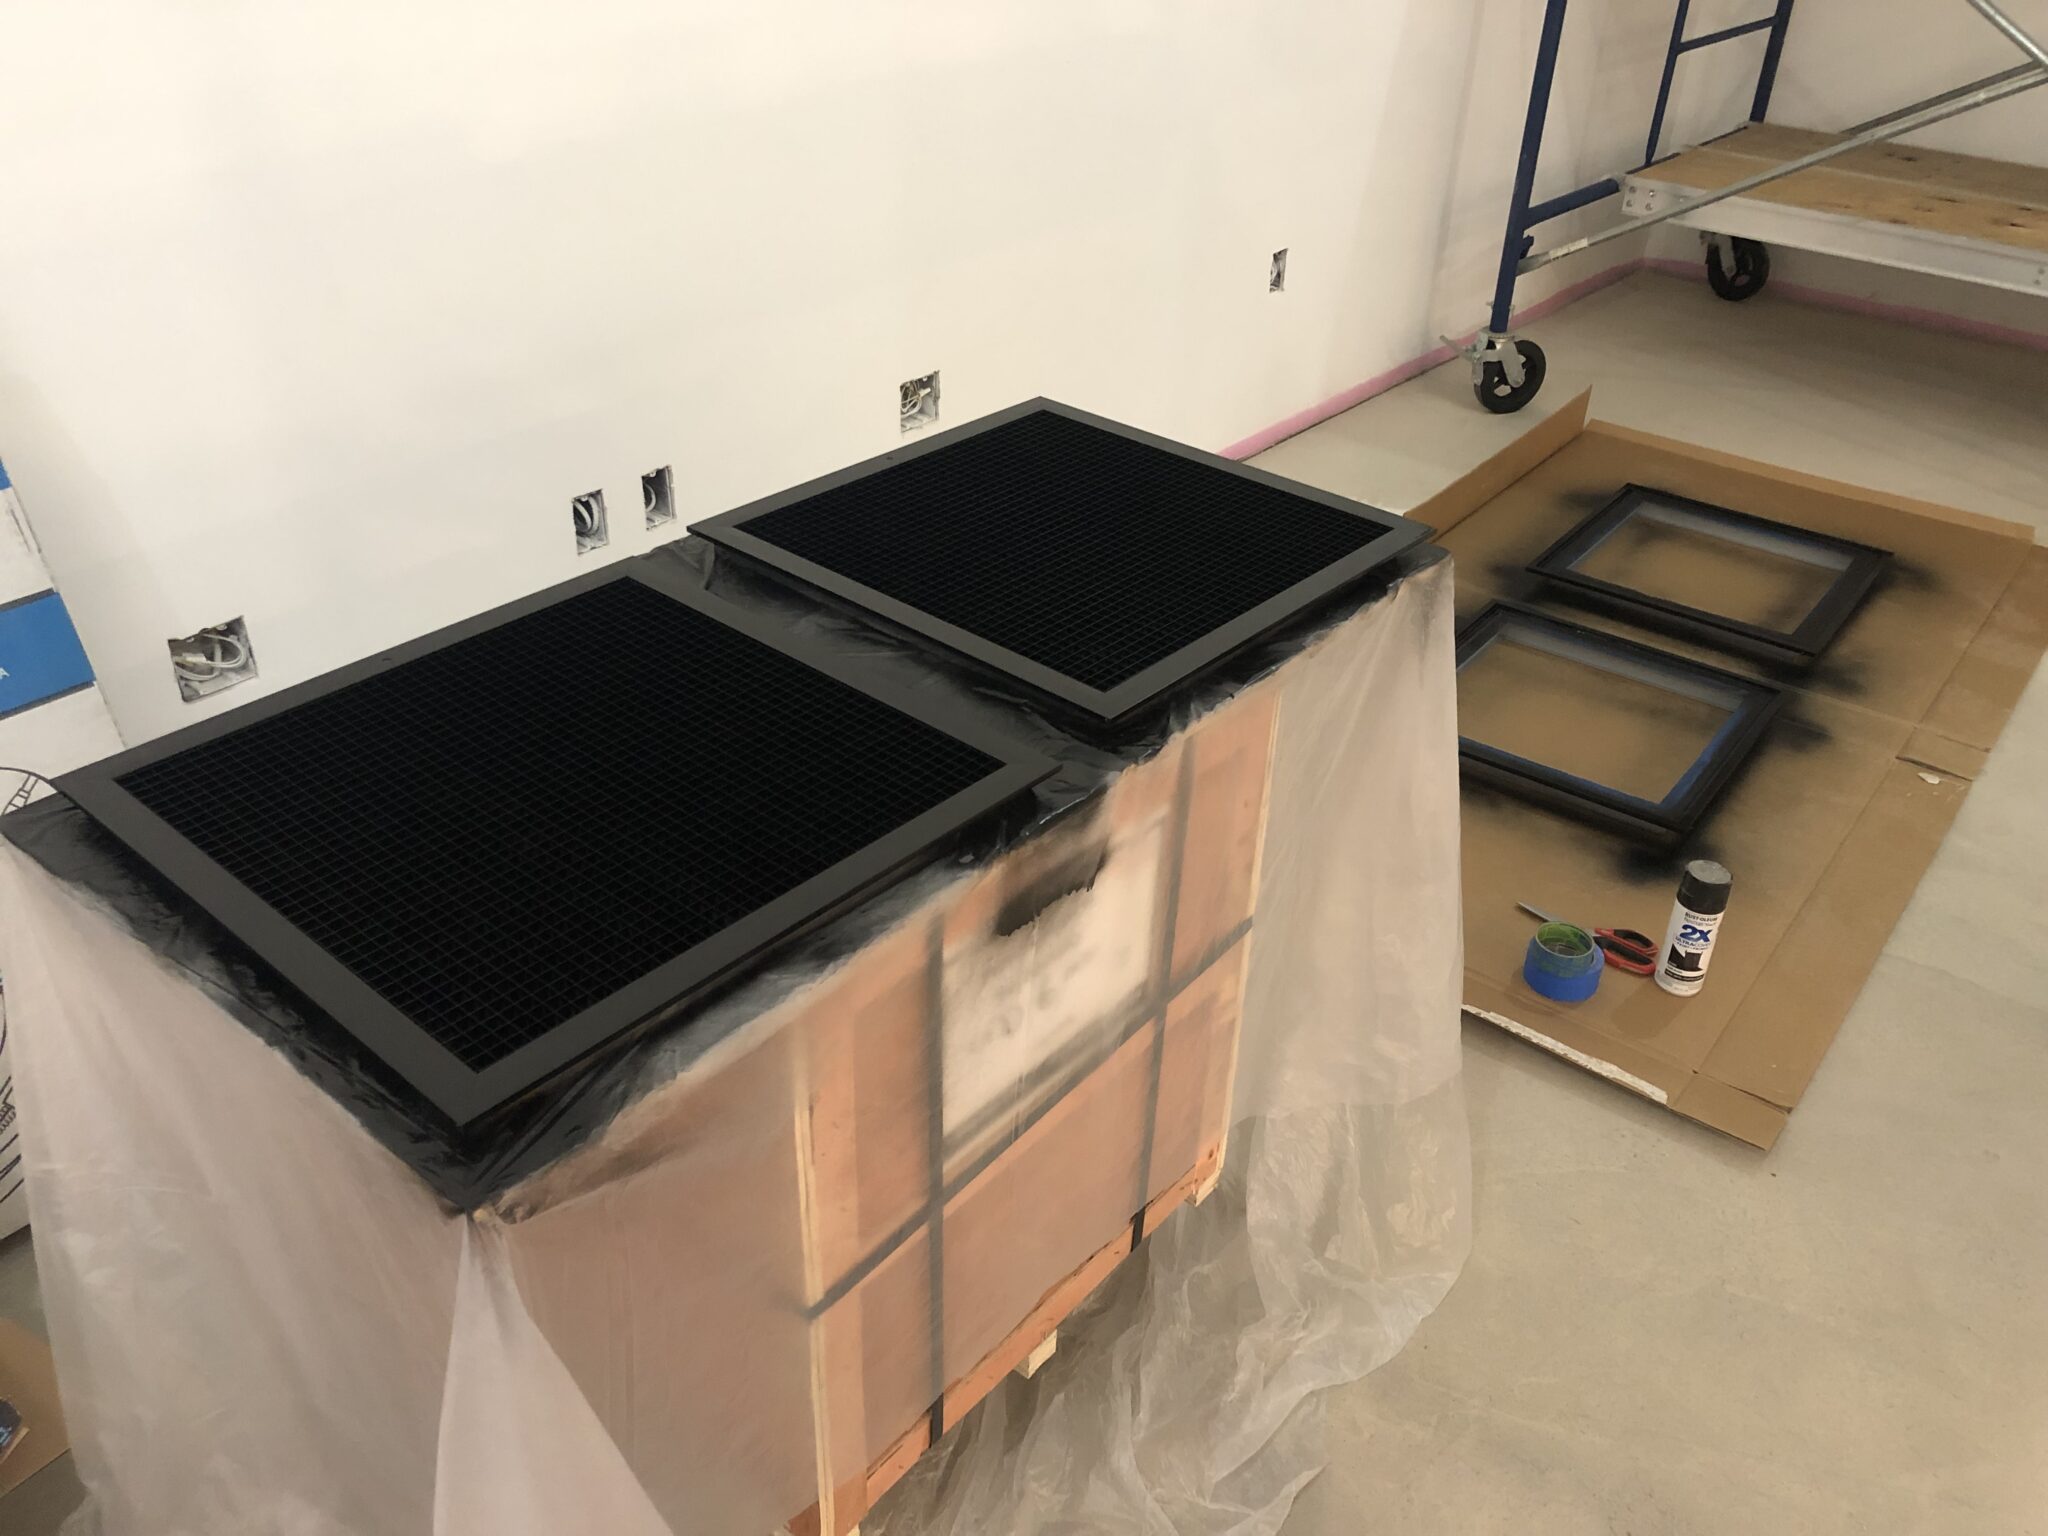
I then directed my attention at painting the custom-made filter return grilles.

While those were drying, I added an alarm to the HVAC control system which blinks and makes a loud beeping sound when the system is disabled due to drainage issues.
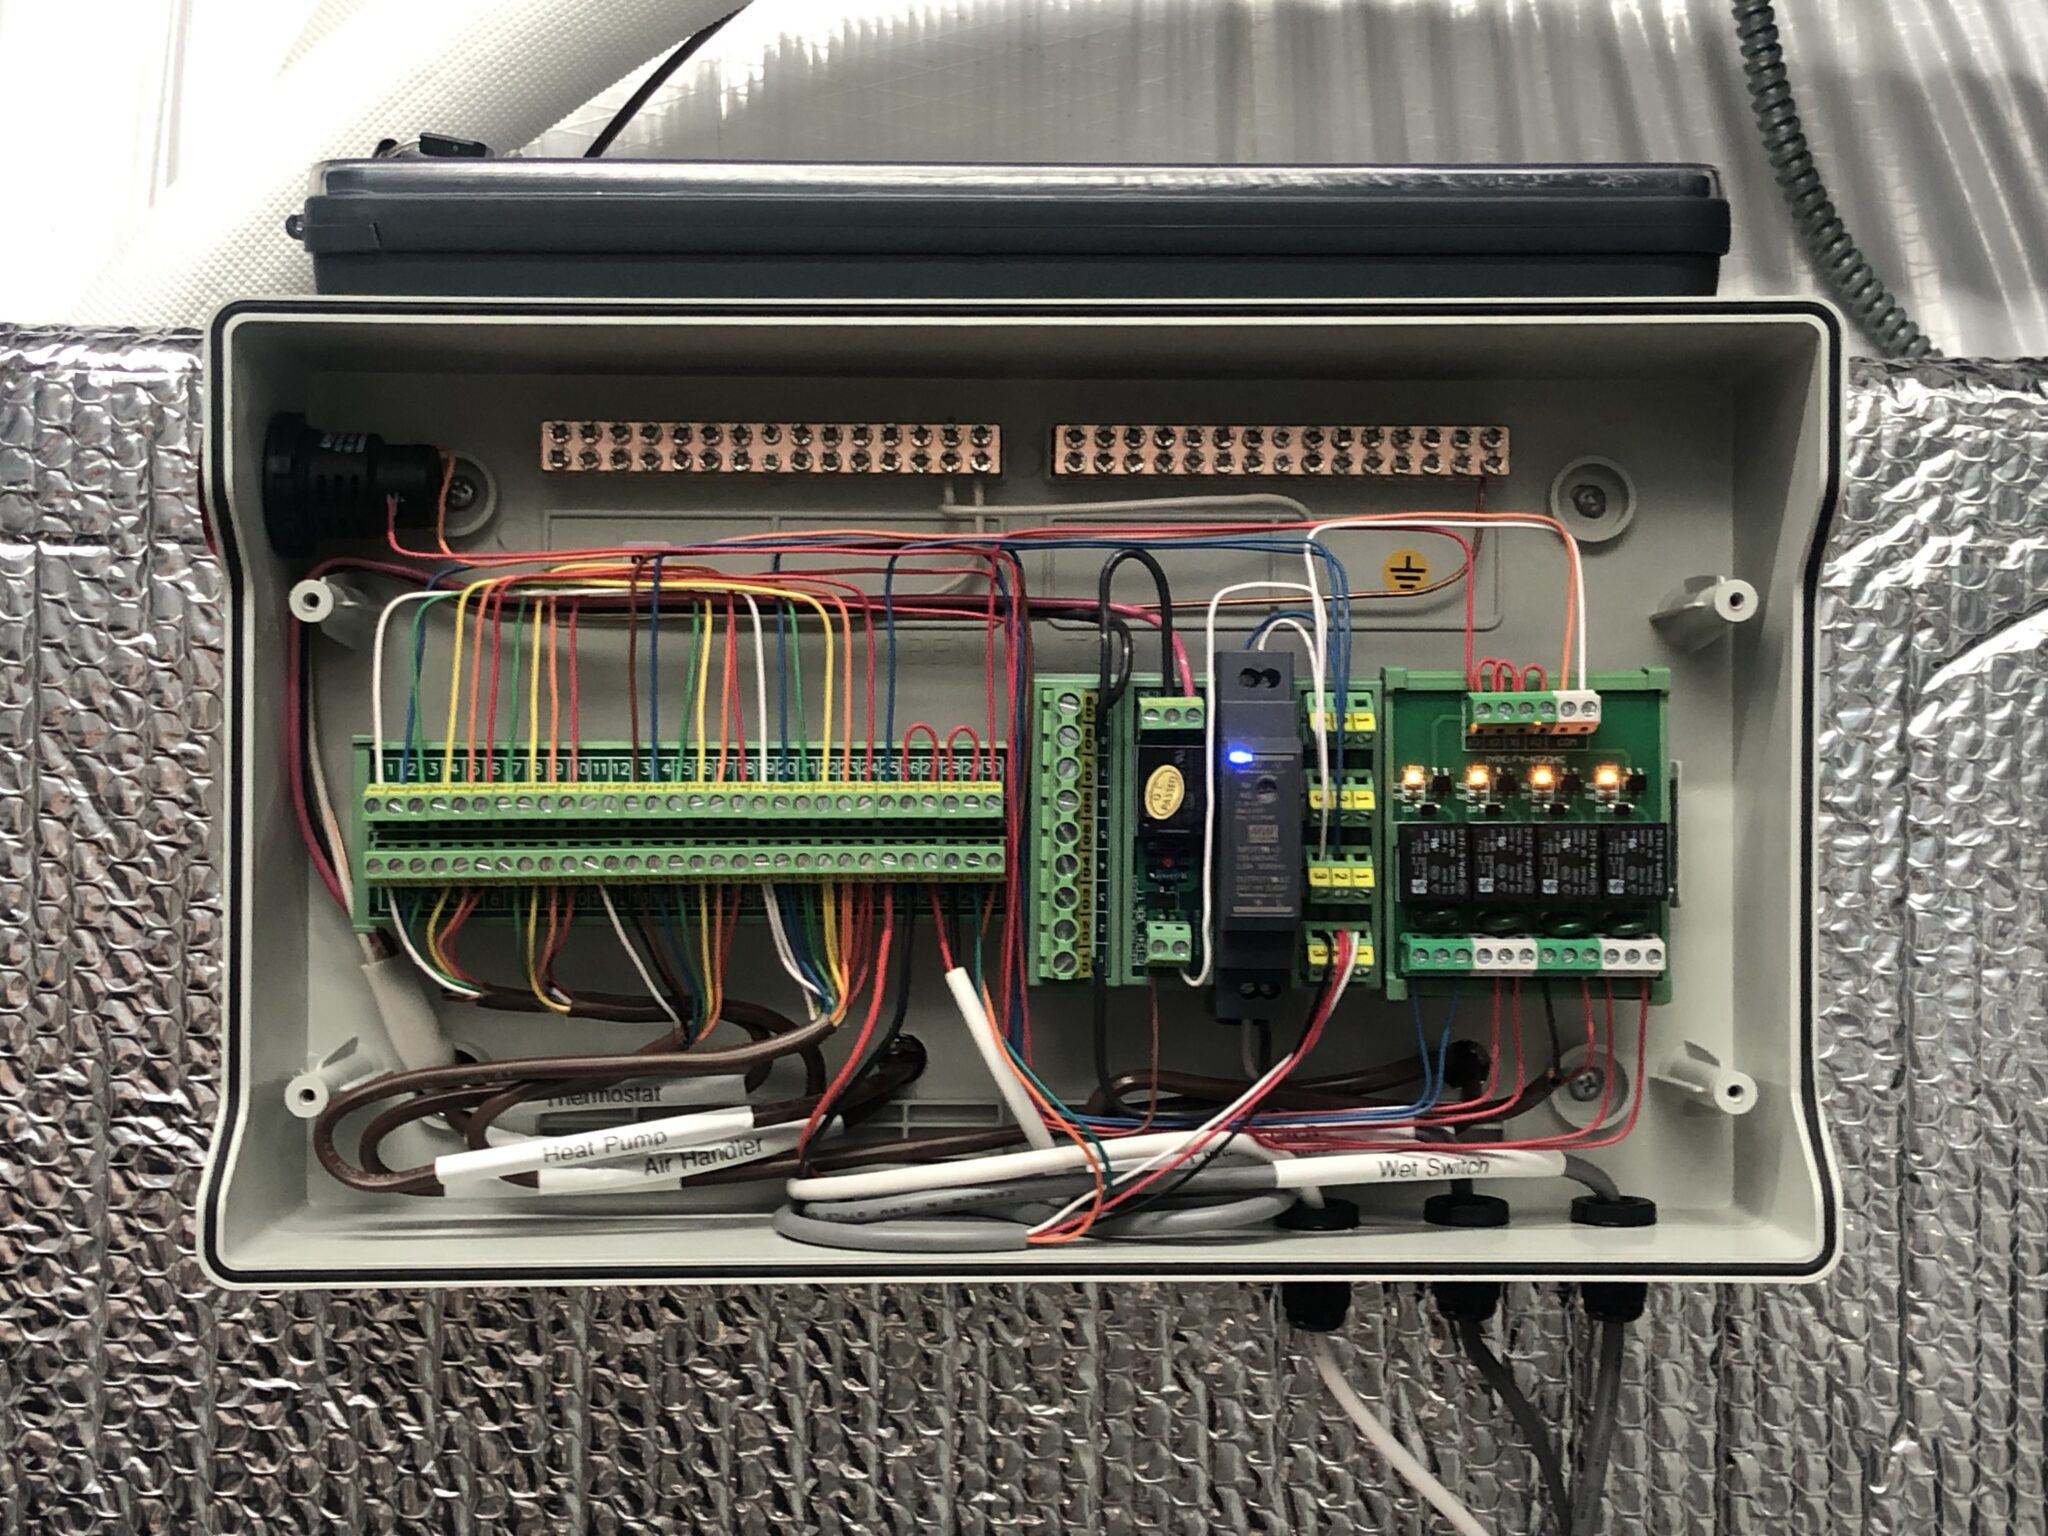
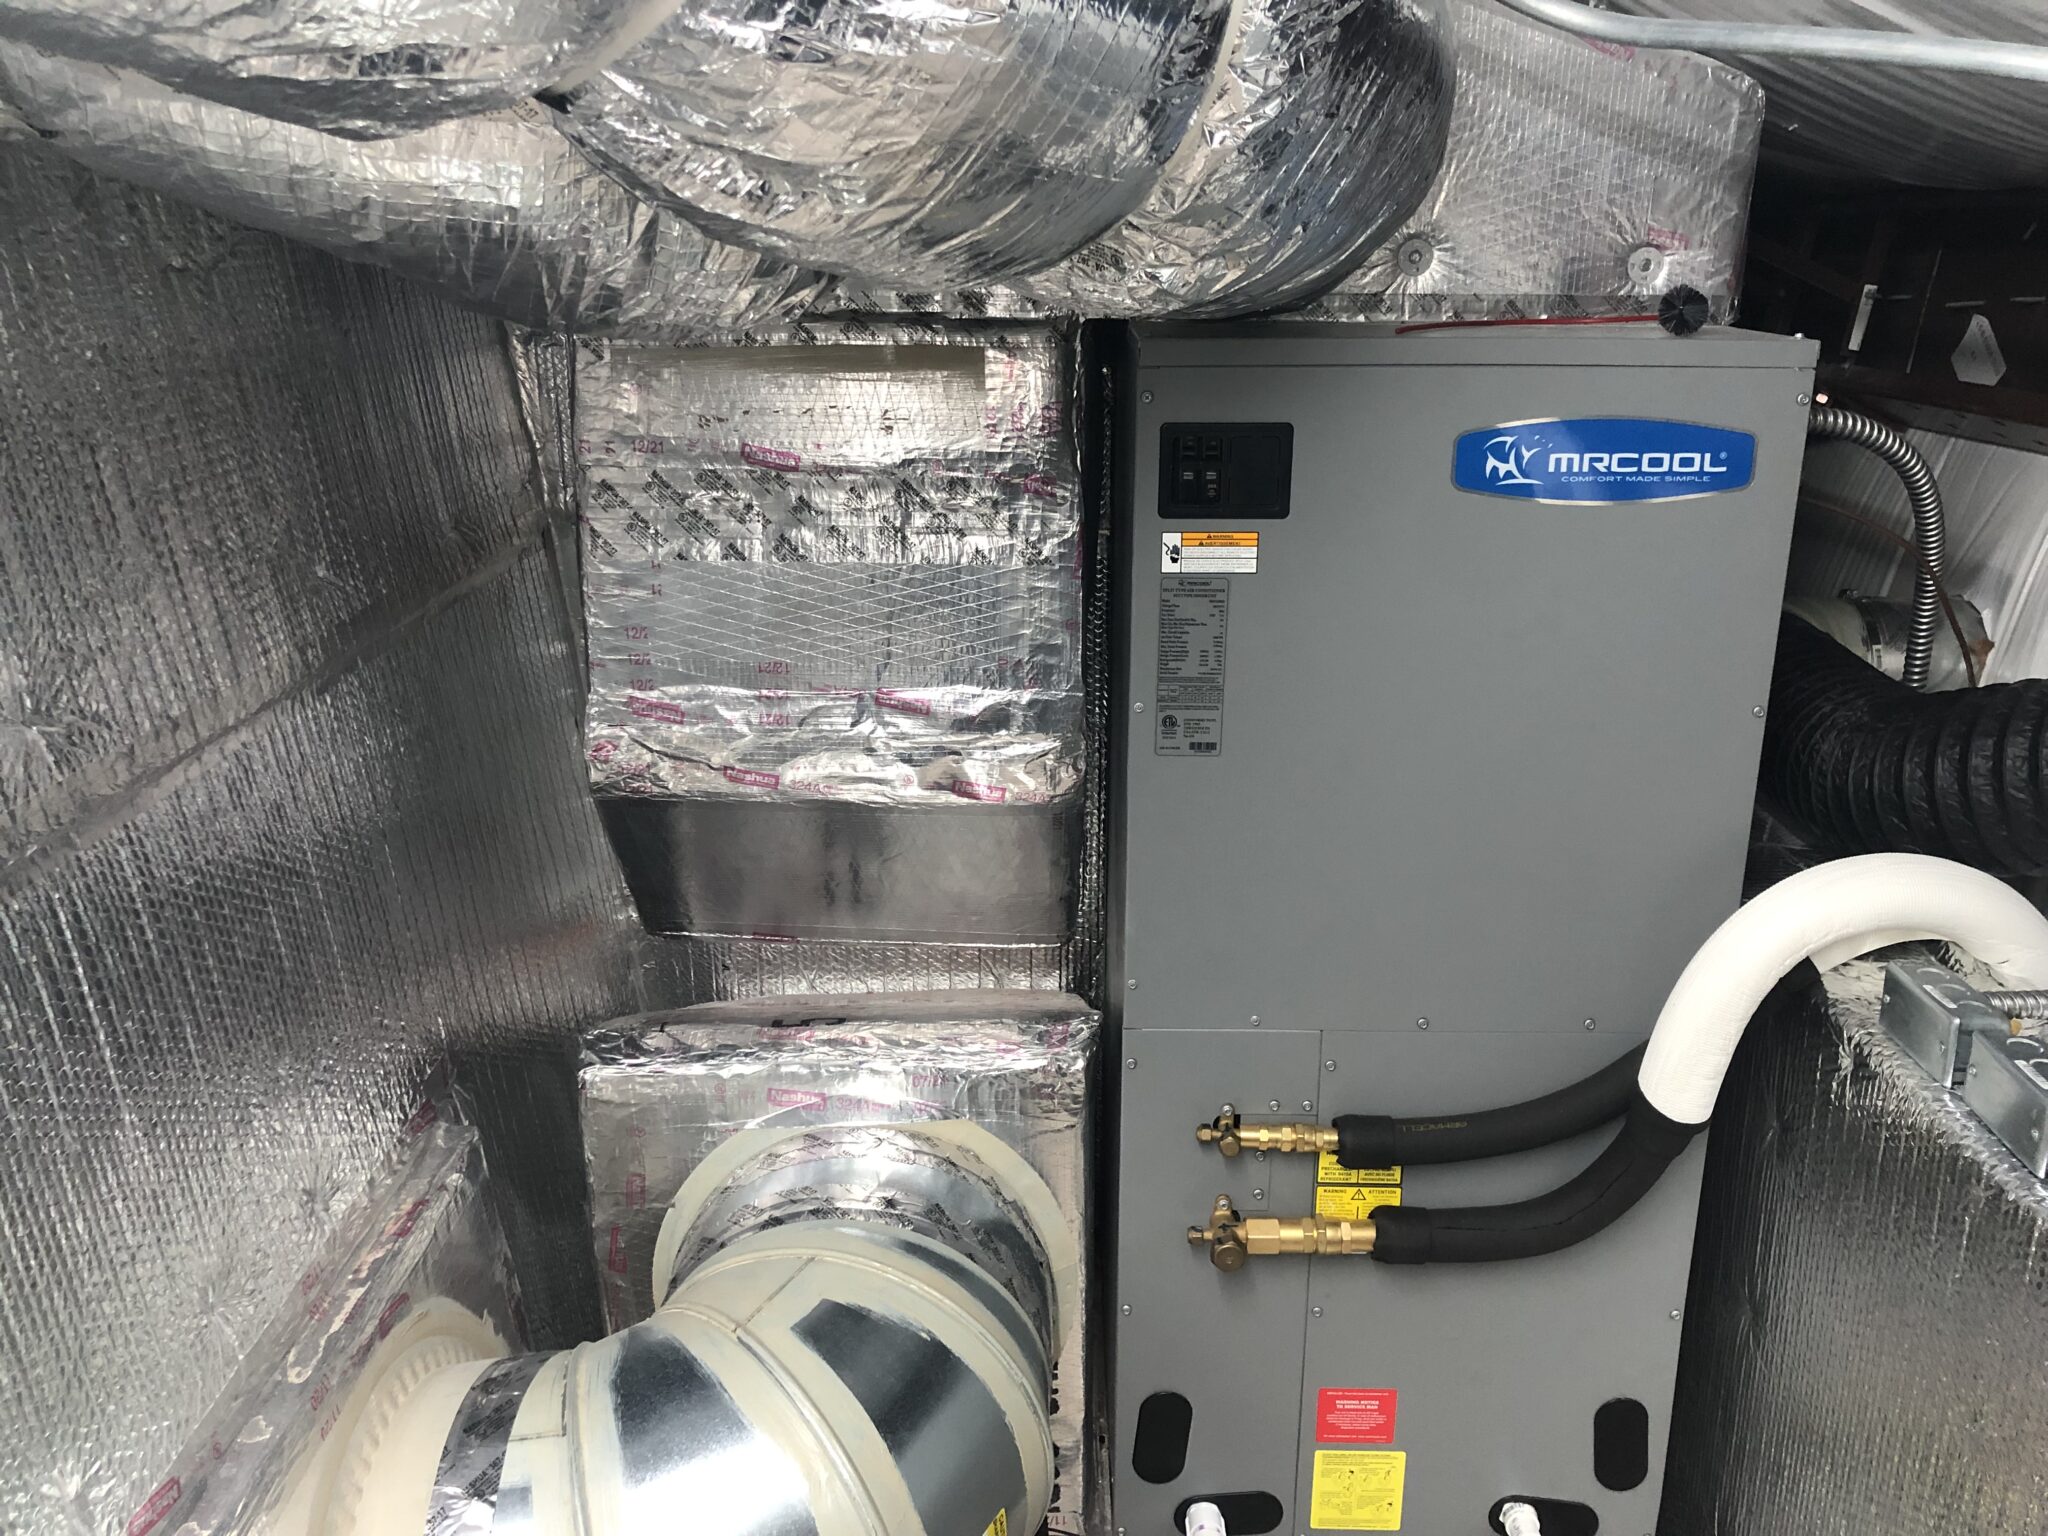
I then finished wiring the HVAC control system which uses a clever DIN rail system and includes junctions, distribution blocks, relays and a 24VAC transformer.

Next, I connected the remaining ducts for the dehumidifier and ERV, as well as their drain lines to the condensate pump.
I also installed the heat pump’s drain line, including a p-trap with an integrated float switch and clean-out.

Then I added a short extension to the drain line, which is also heated and insulated and drops water onto a special water diverter to avoid erosion.

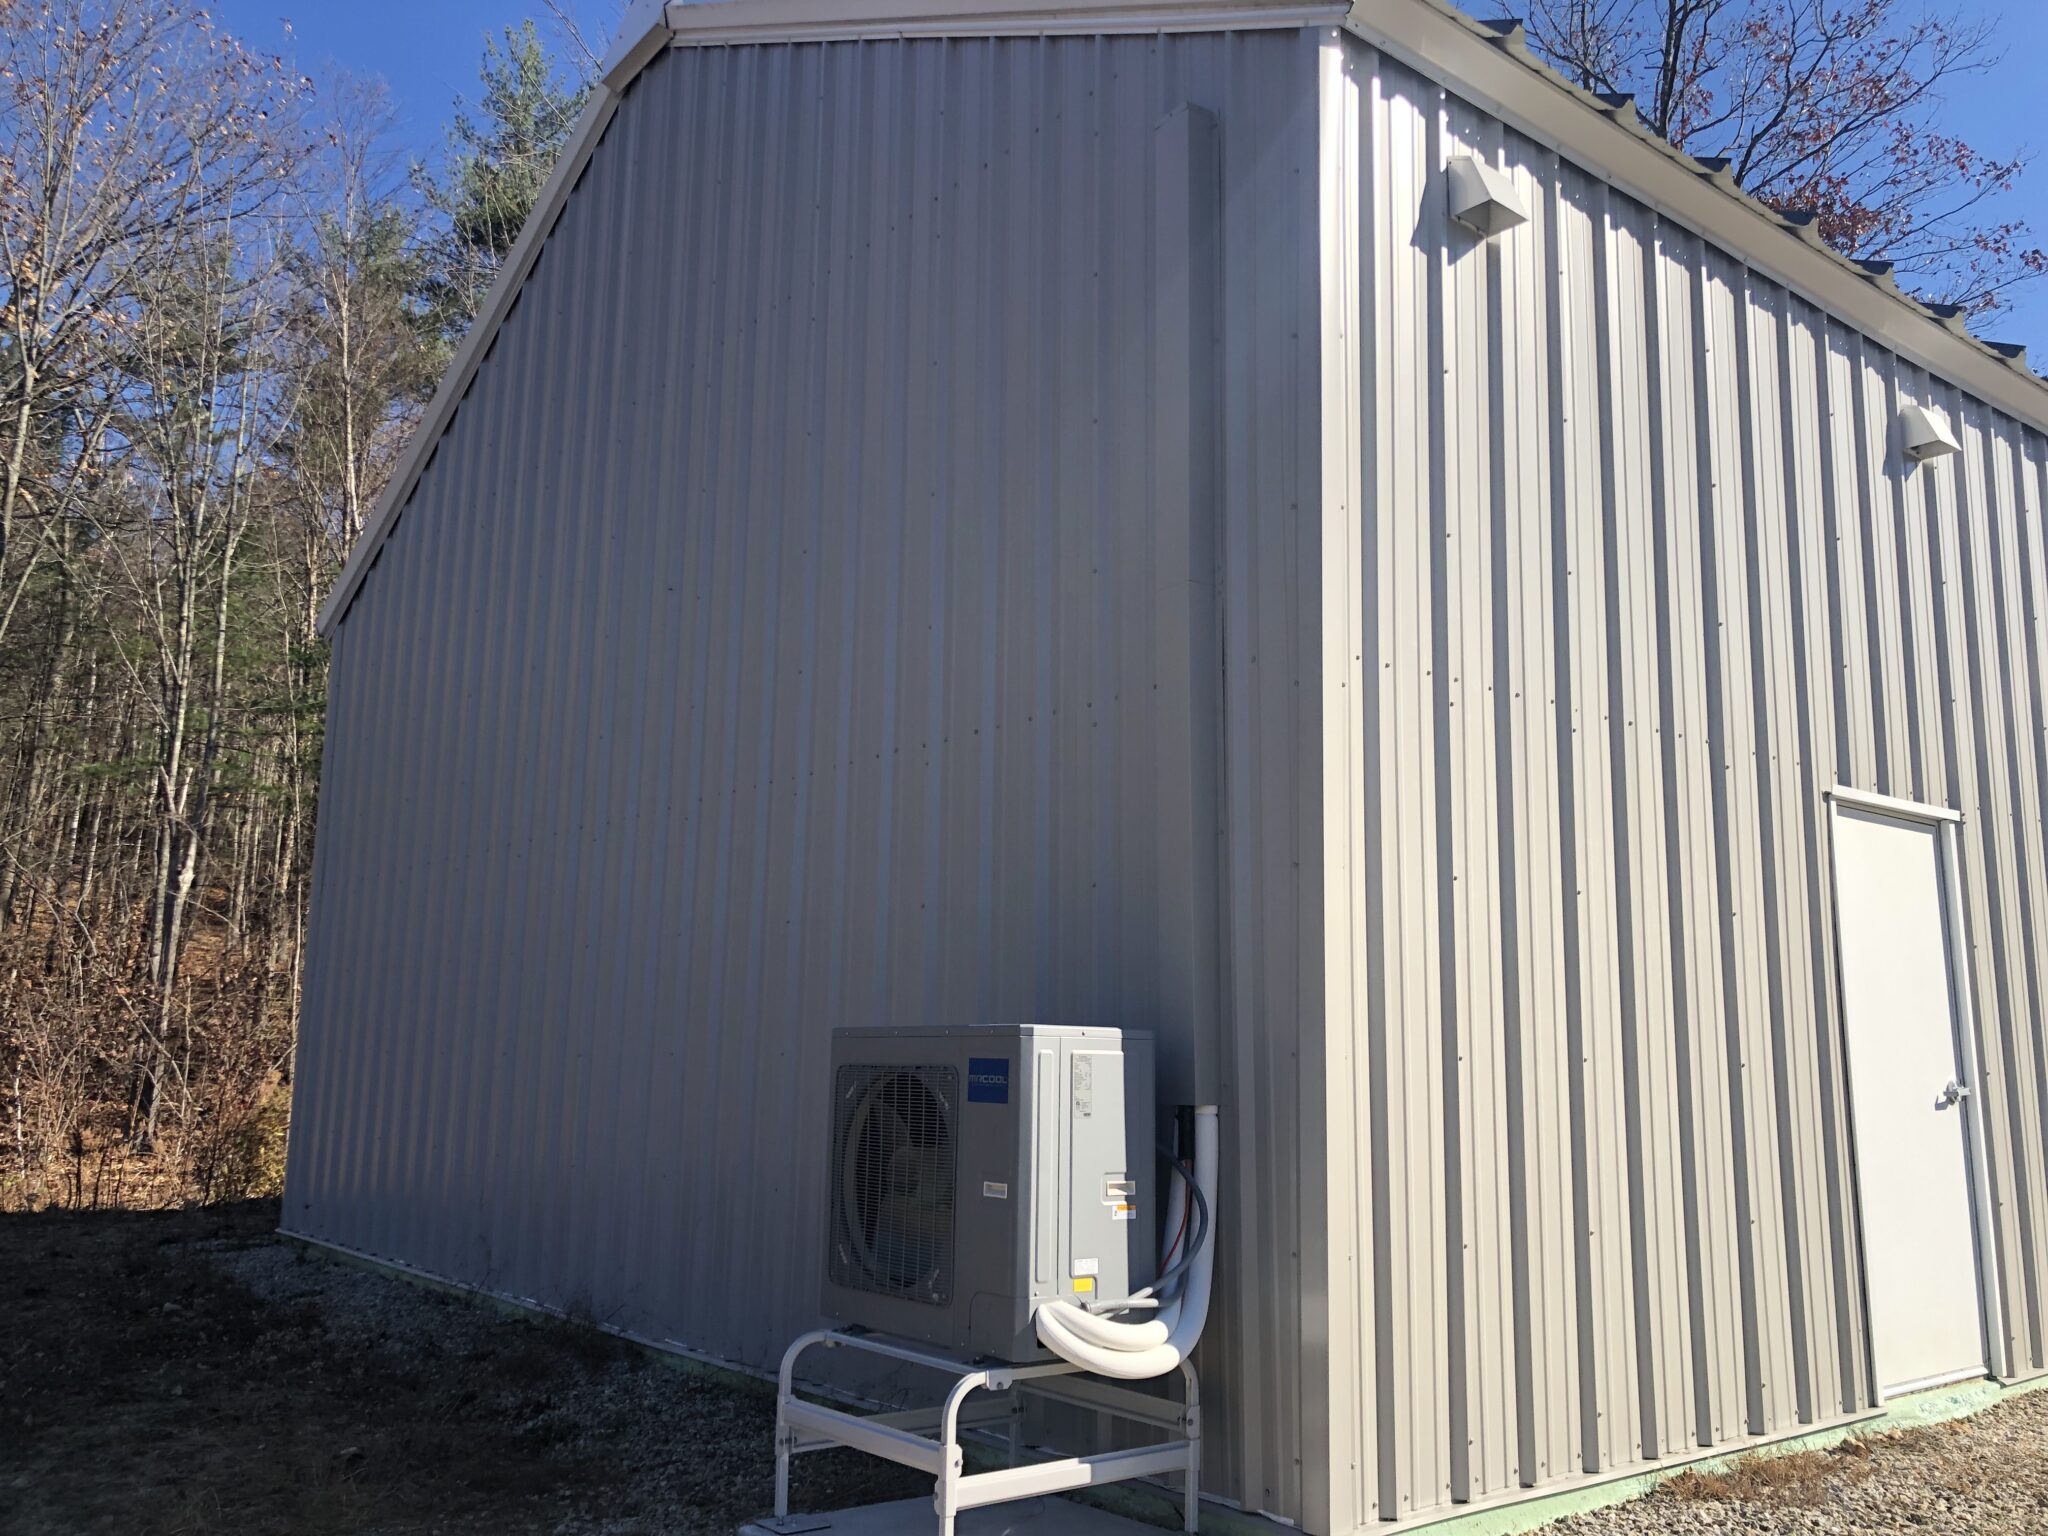
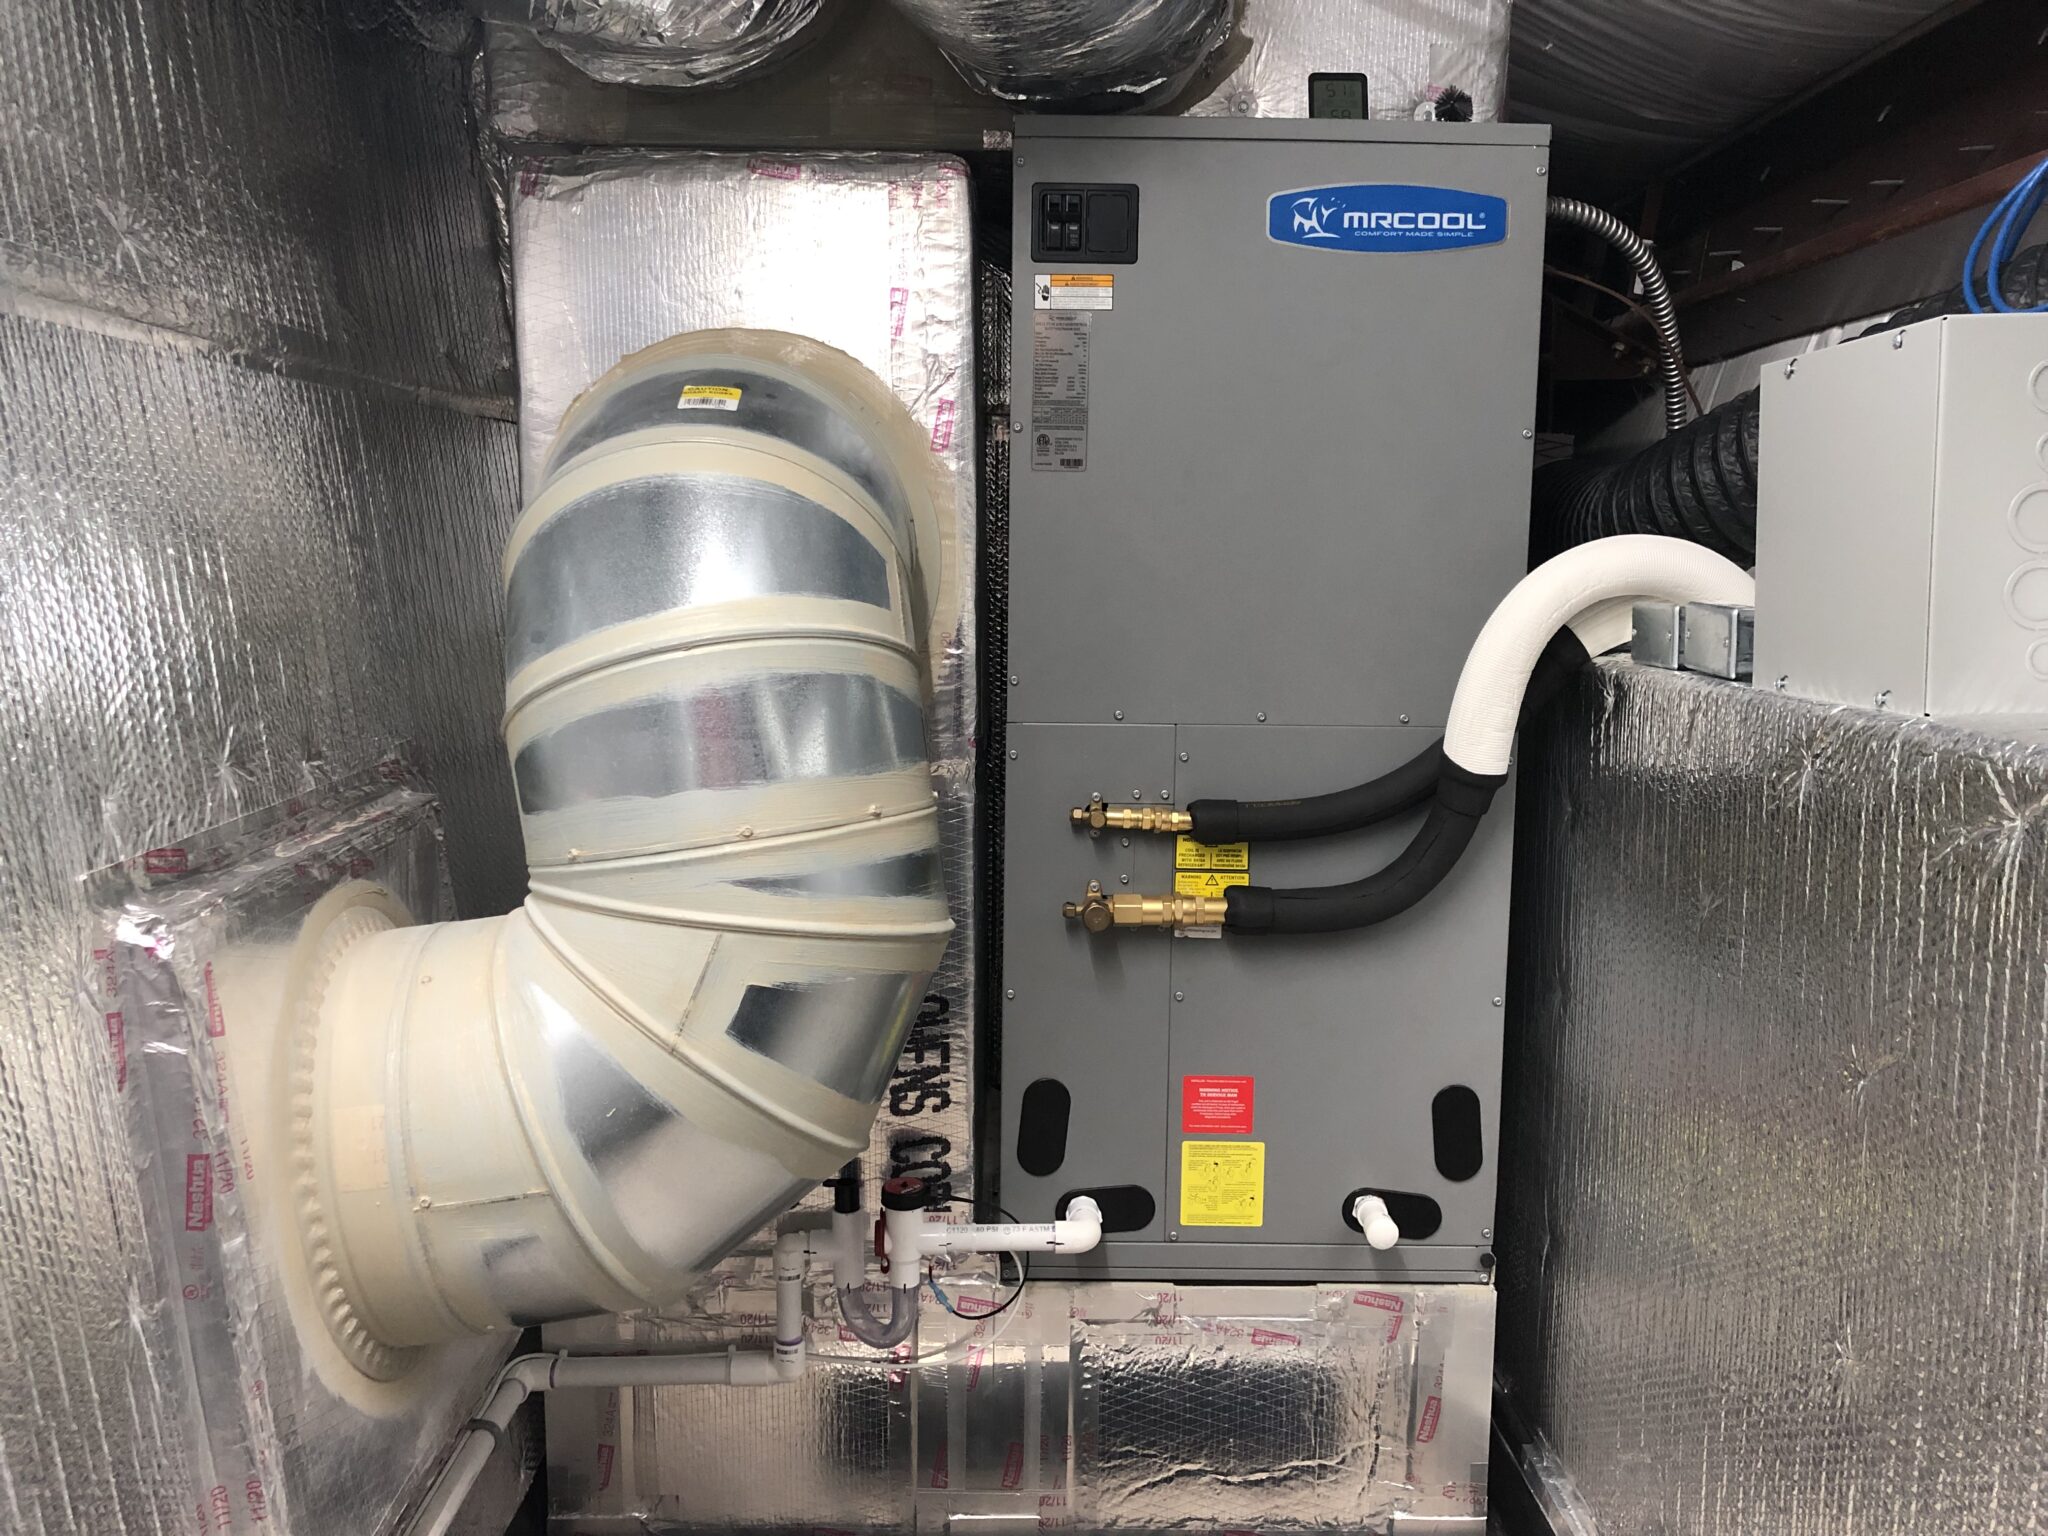
Adam came back out and helped me go through the final steps to turn on the heat pump for the first time. I cut the protective covers off the vents to let air flow and we fired it up.
The compressor was not starting, which led us to realized we had to open the line-set ports. Once we did that, it kicked on and worked. However, it was much louder than I had hoped, and the culprit was turbulence.
It turns out that I made some calculation mistakes and undersized the ductwork in the ceiling. I also biased too far toward directing the air around corners to reduce sound transmission and causing excessive turbulence in the return plenum. I was pretty stressed about this, but I came up with a plan.

The wall just behind the air handler in the attic is more or less empty. It’s got a wire for the smoke detector in the entry and is now filled with open-cell insulation and covered with drywall. However, it’s a great location for a very direct path for additional airflow from the supply plenum.
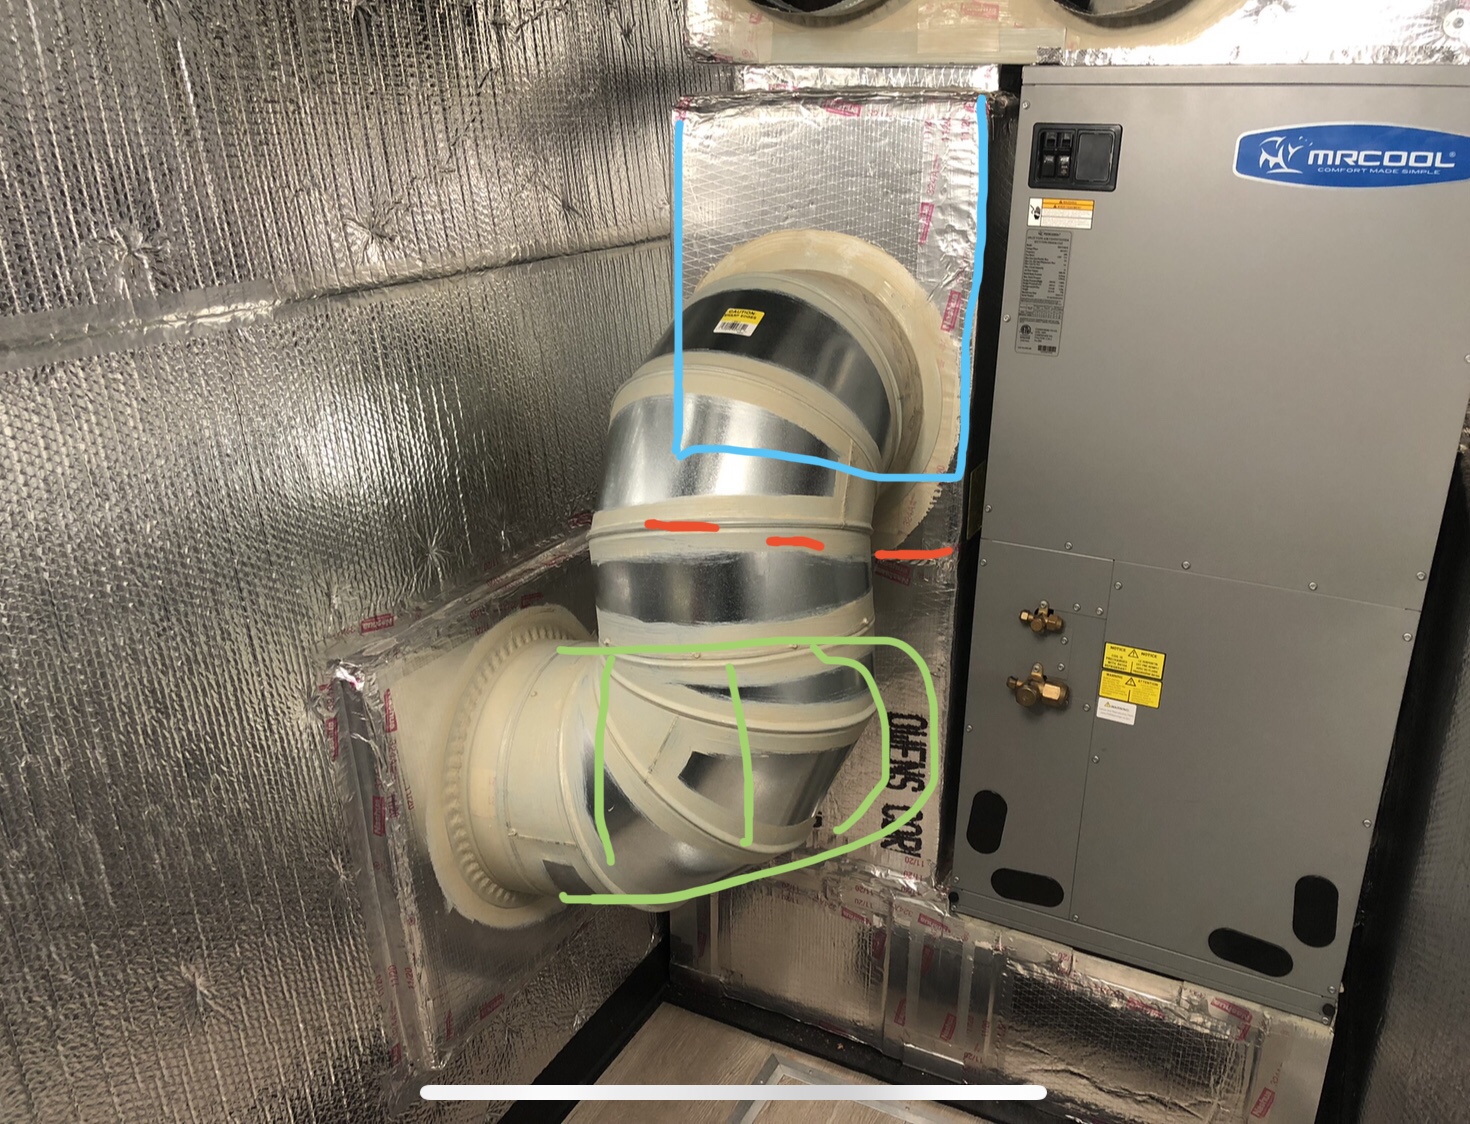
Meanwhile in the attic, the return plenum could be made much shorter, making space for an extension to the supply plenum that would be in exactly the right spot.

The next day I tore down the return plenum to make space for the extra supply duct.

I then simplified the air path in the return plenum by using only one elbow to enter the plenum more directly.
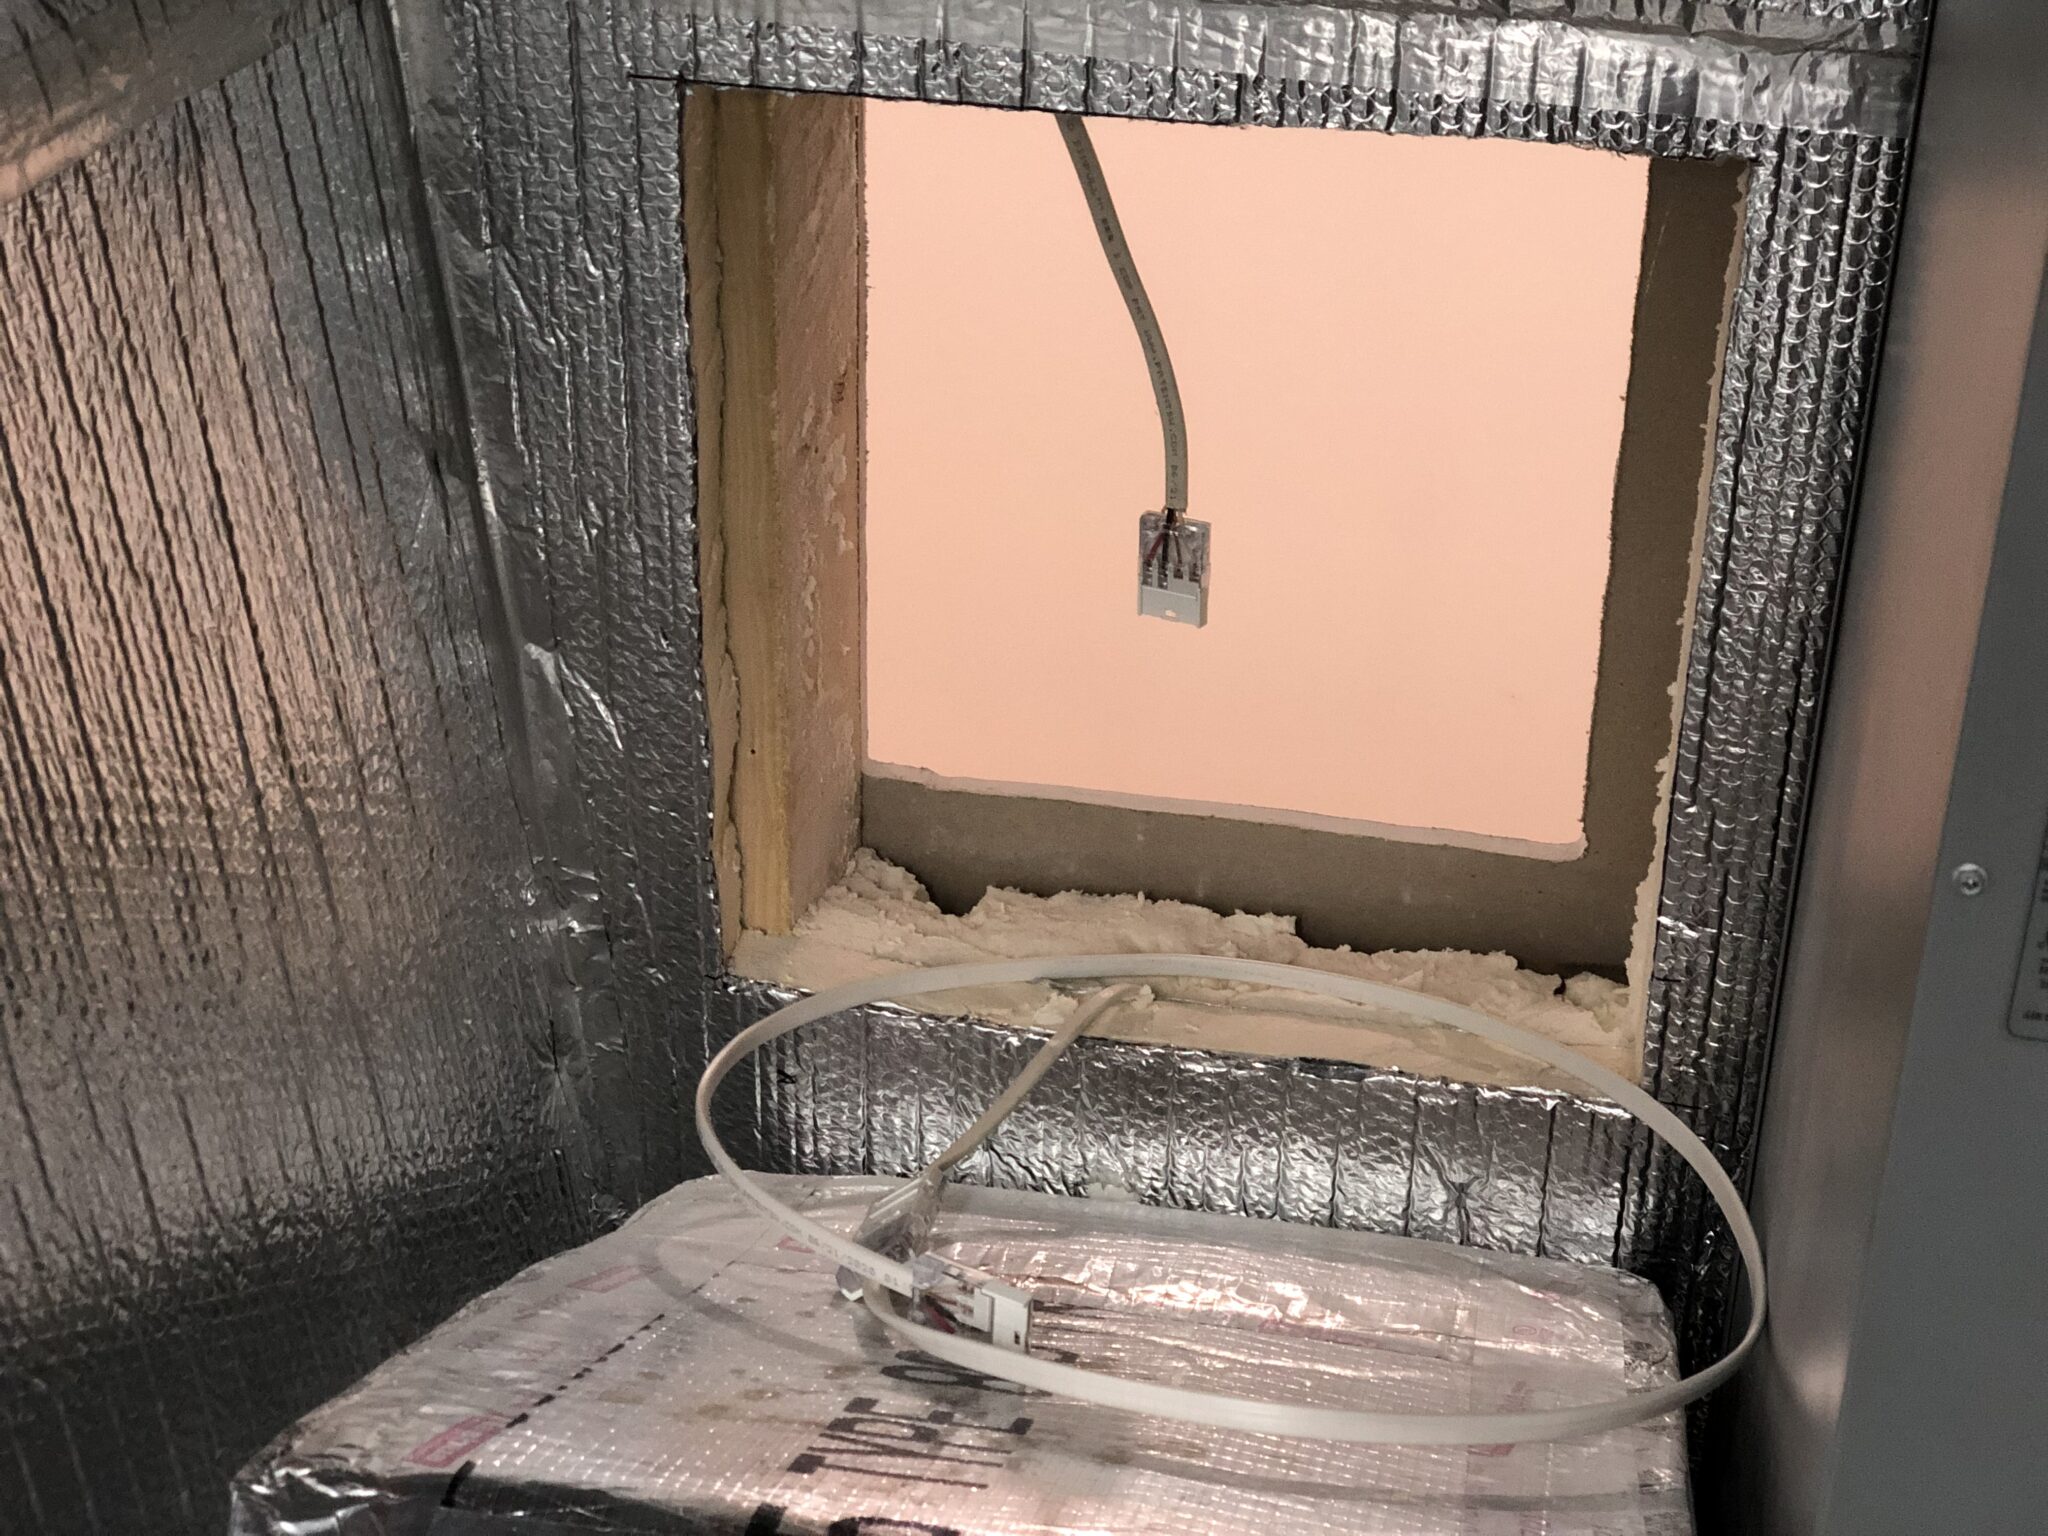
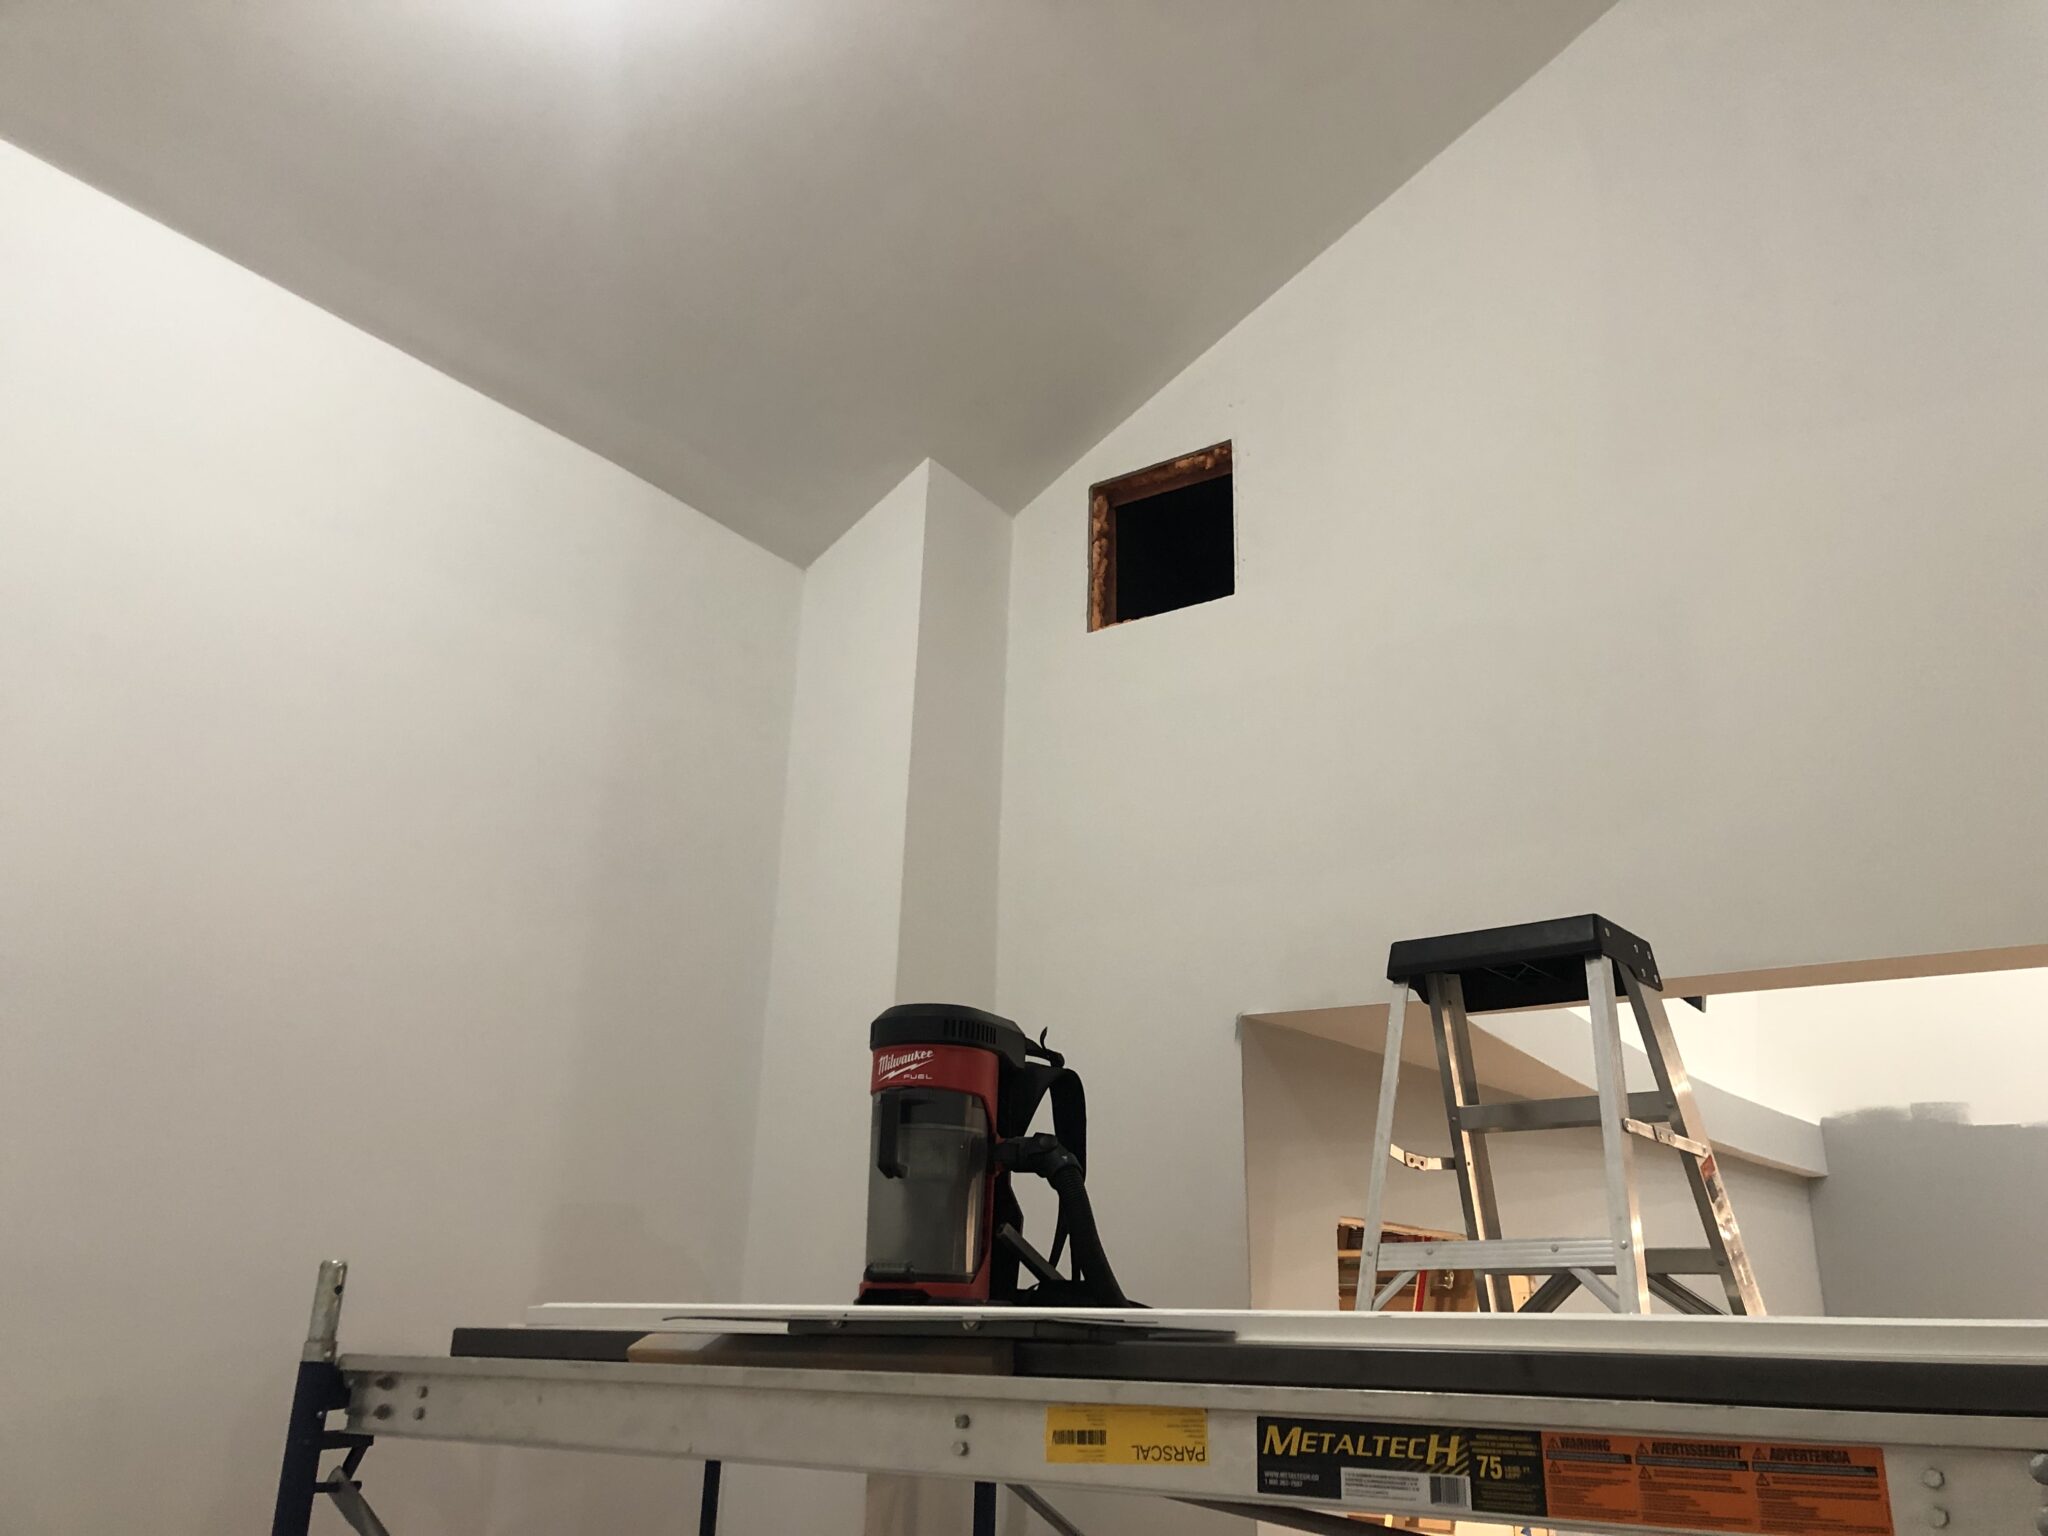
Next, I cut a hole through the attic wall into the live room and extended the electrical wire that was in the way using some in-wall junctions.
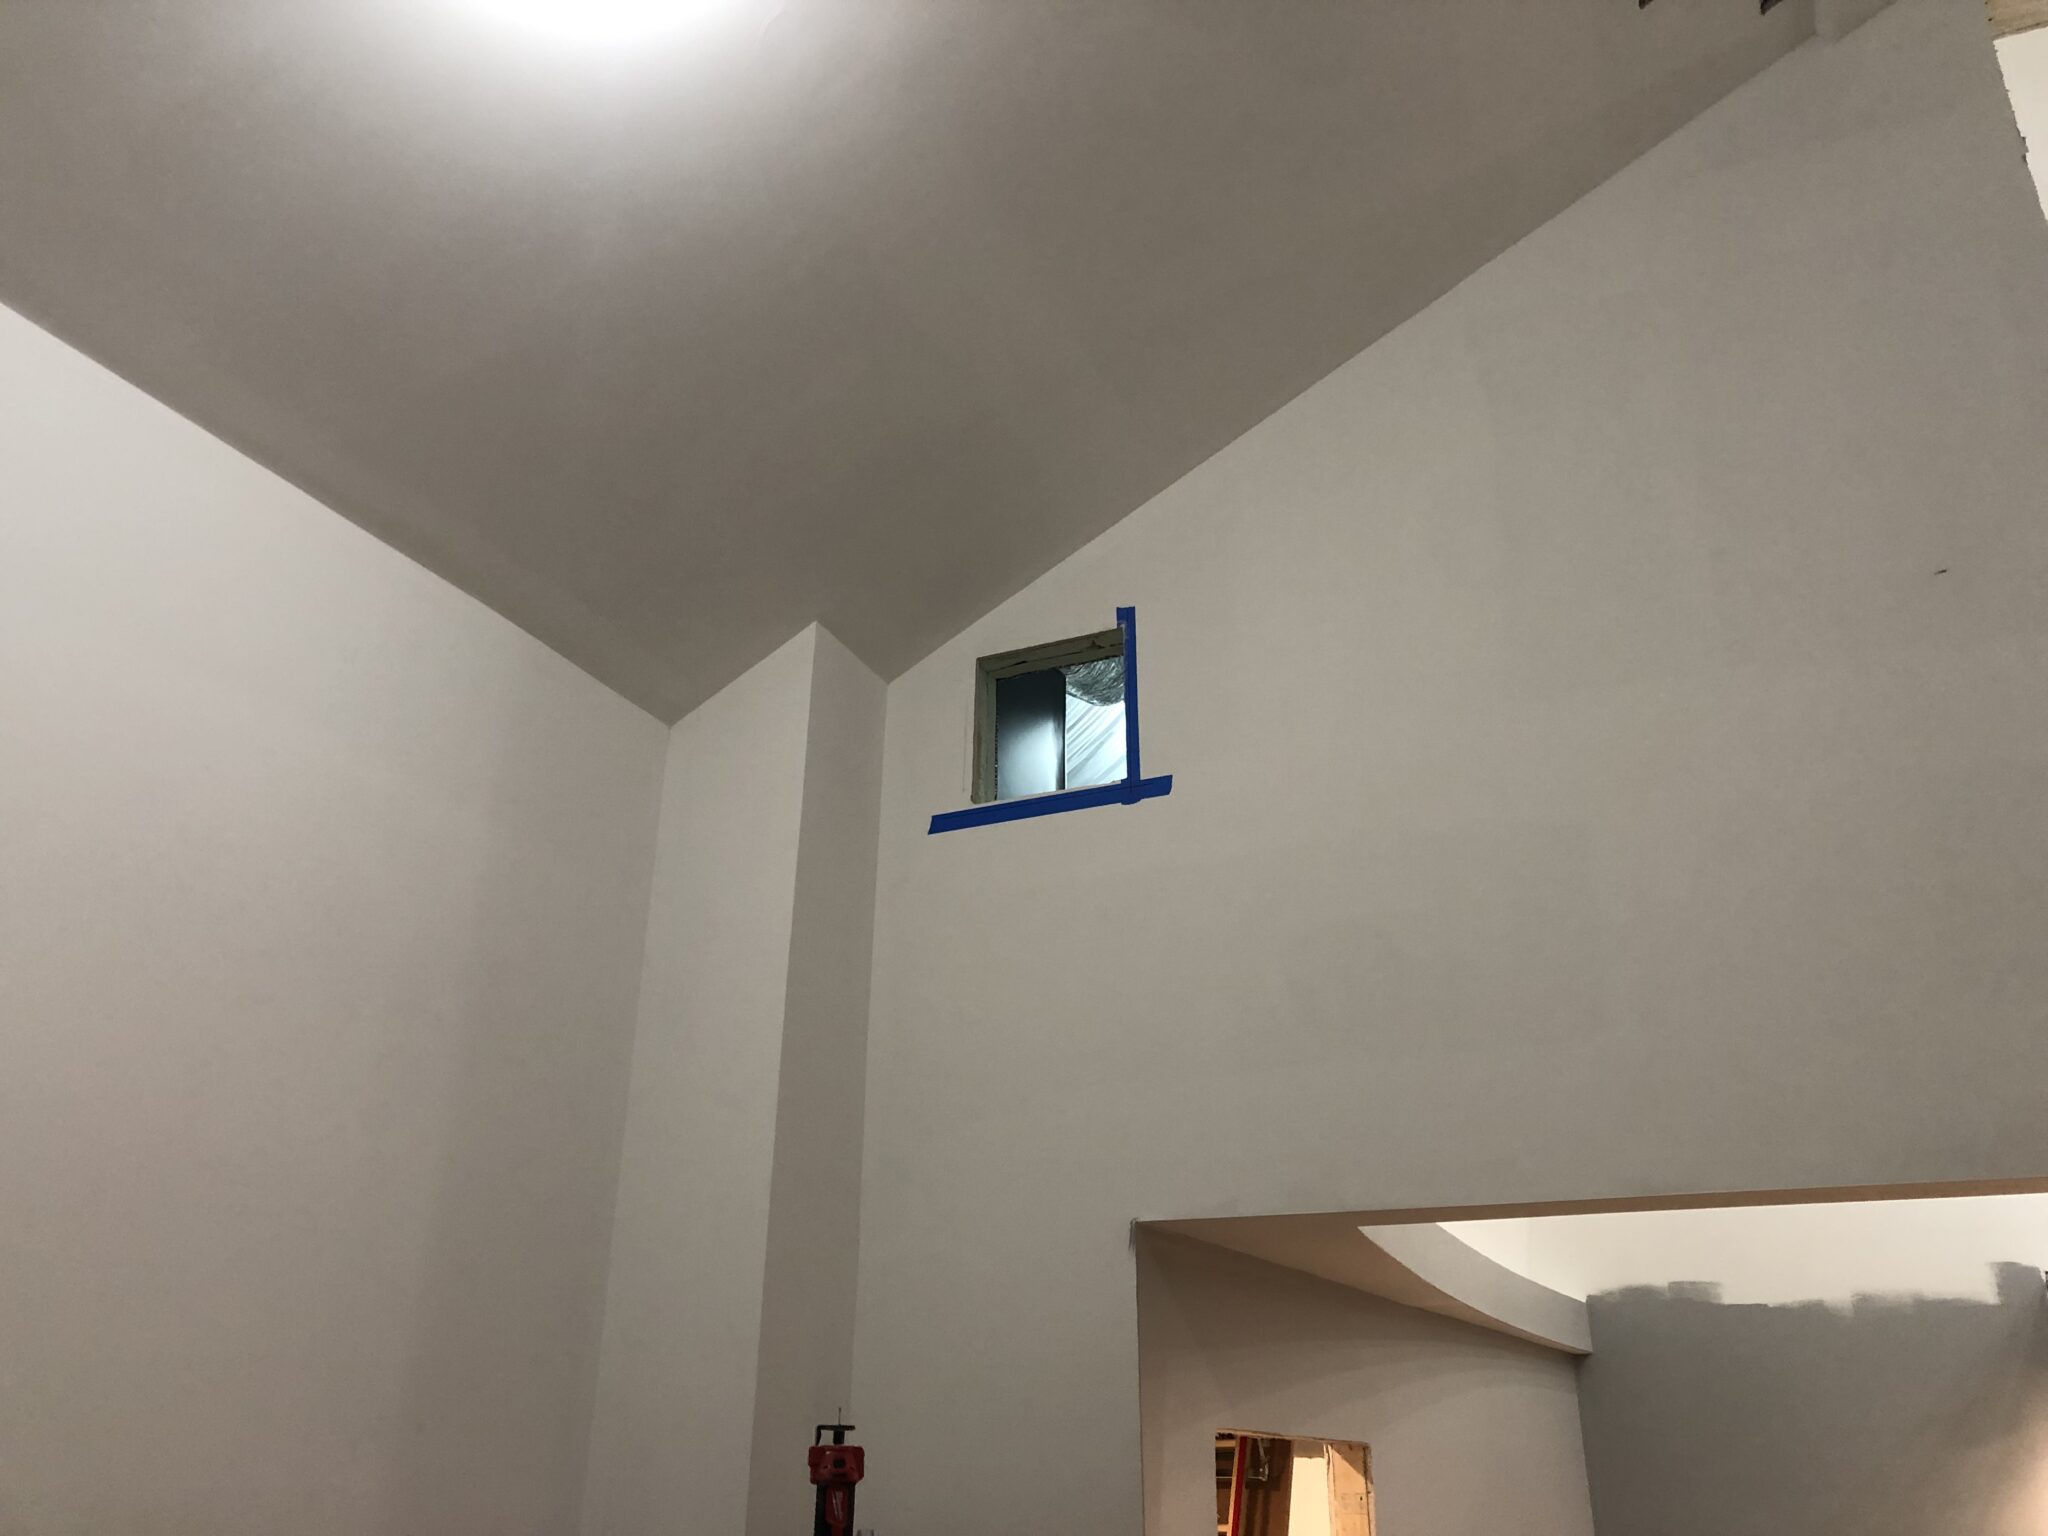
The hole on the other side is up high enough that a register will be well out of the way.
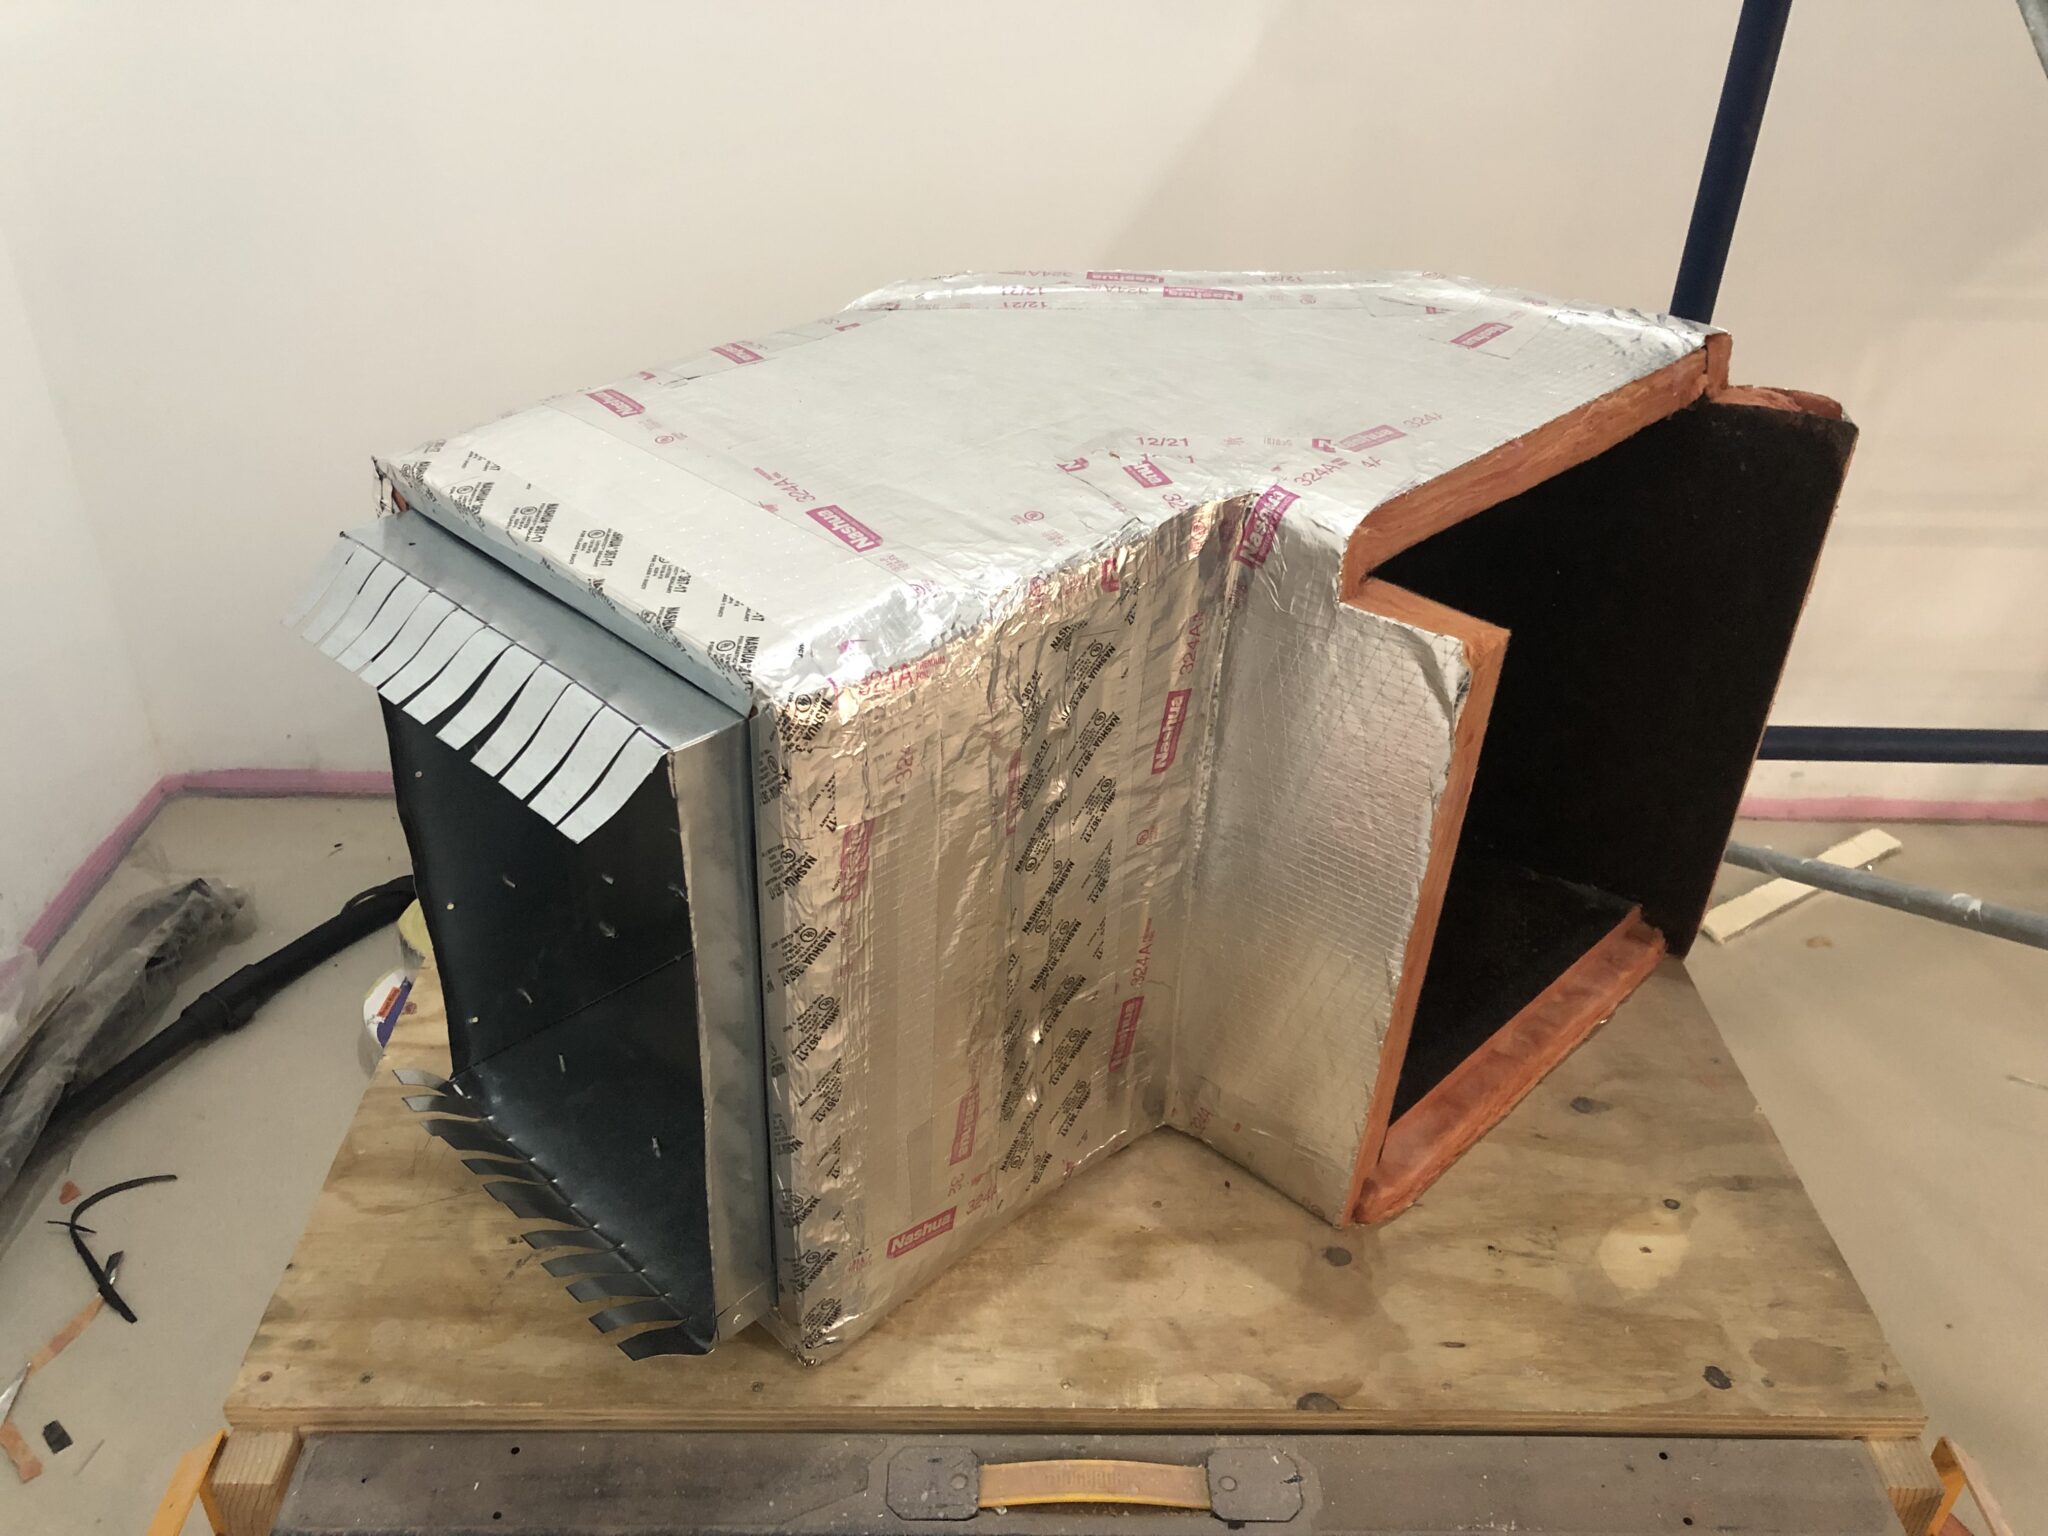
I constructed some new ductwork out of duct-board and sheet metal, which would fit snugly into place to extend the supply plenum, venting a massive amount of air directly into the live room.
And then I attached it into a hole I cut in the bottom of the supply plenum.
I used some spray foam to bridge the gap between the ductwork and the drywall and seal up any openings between the live room and the attic.
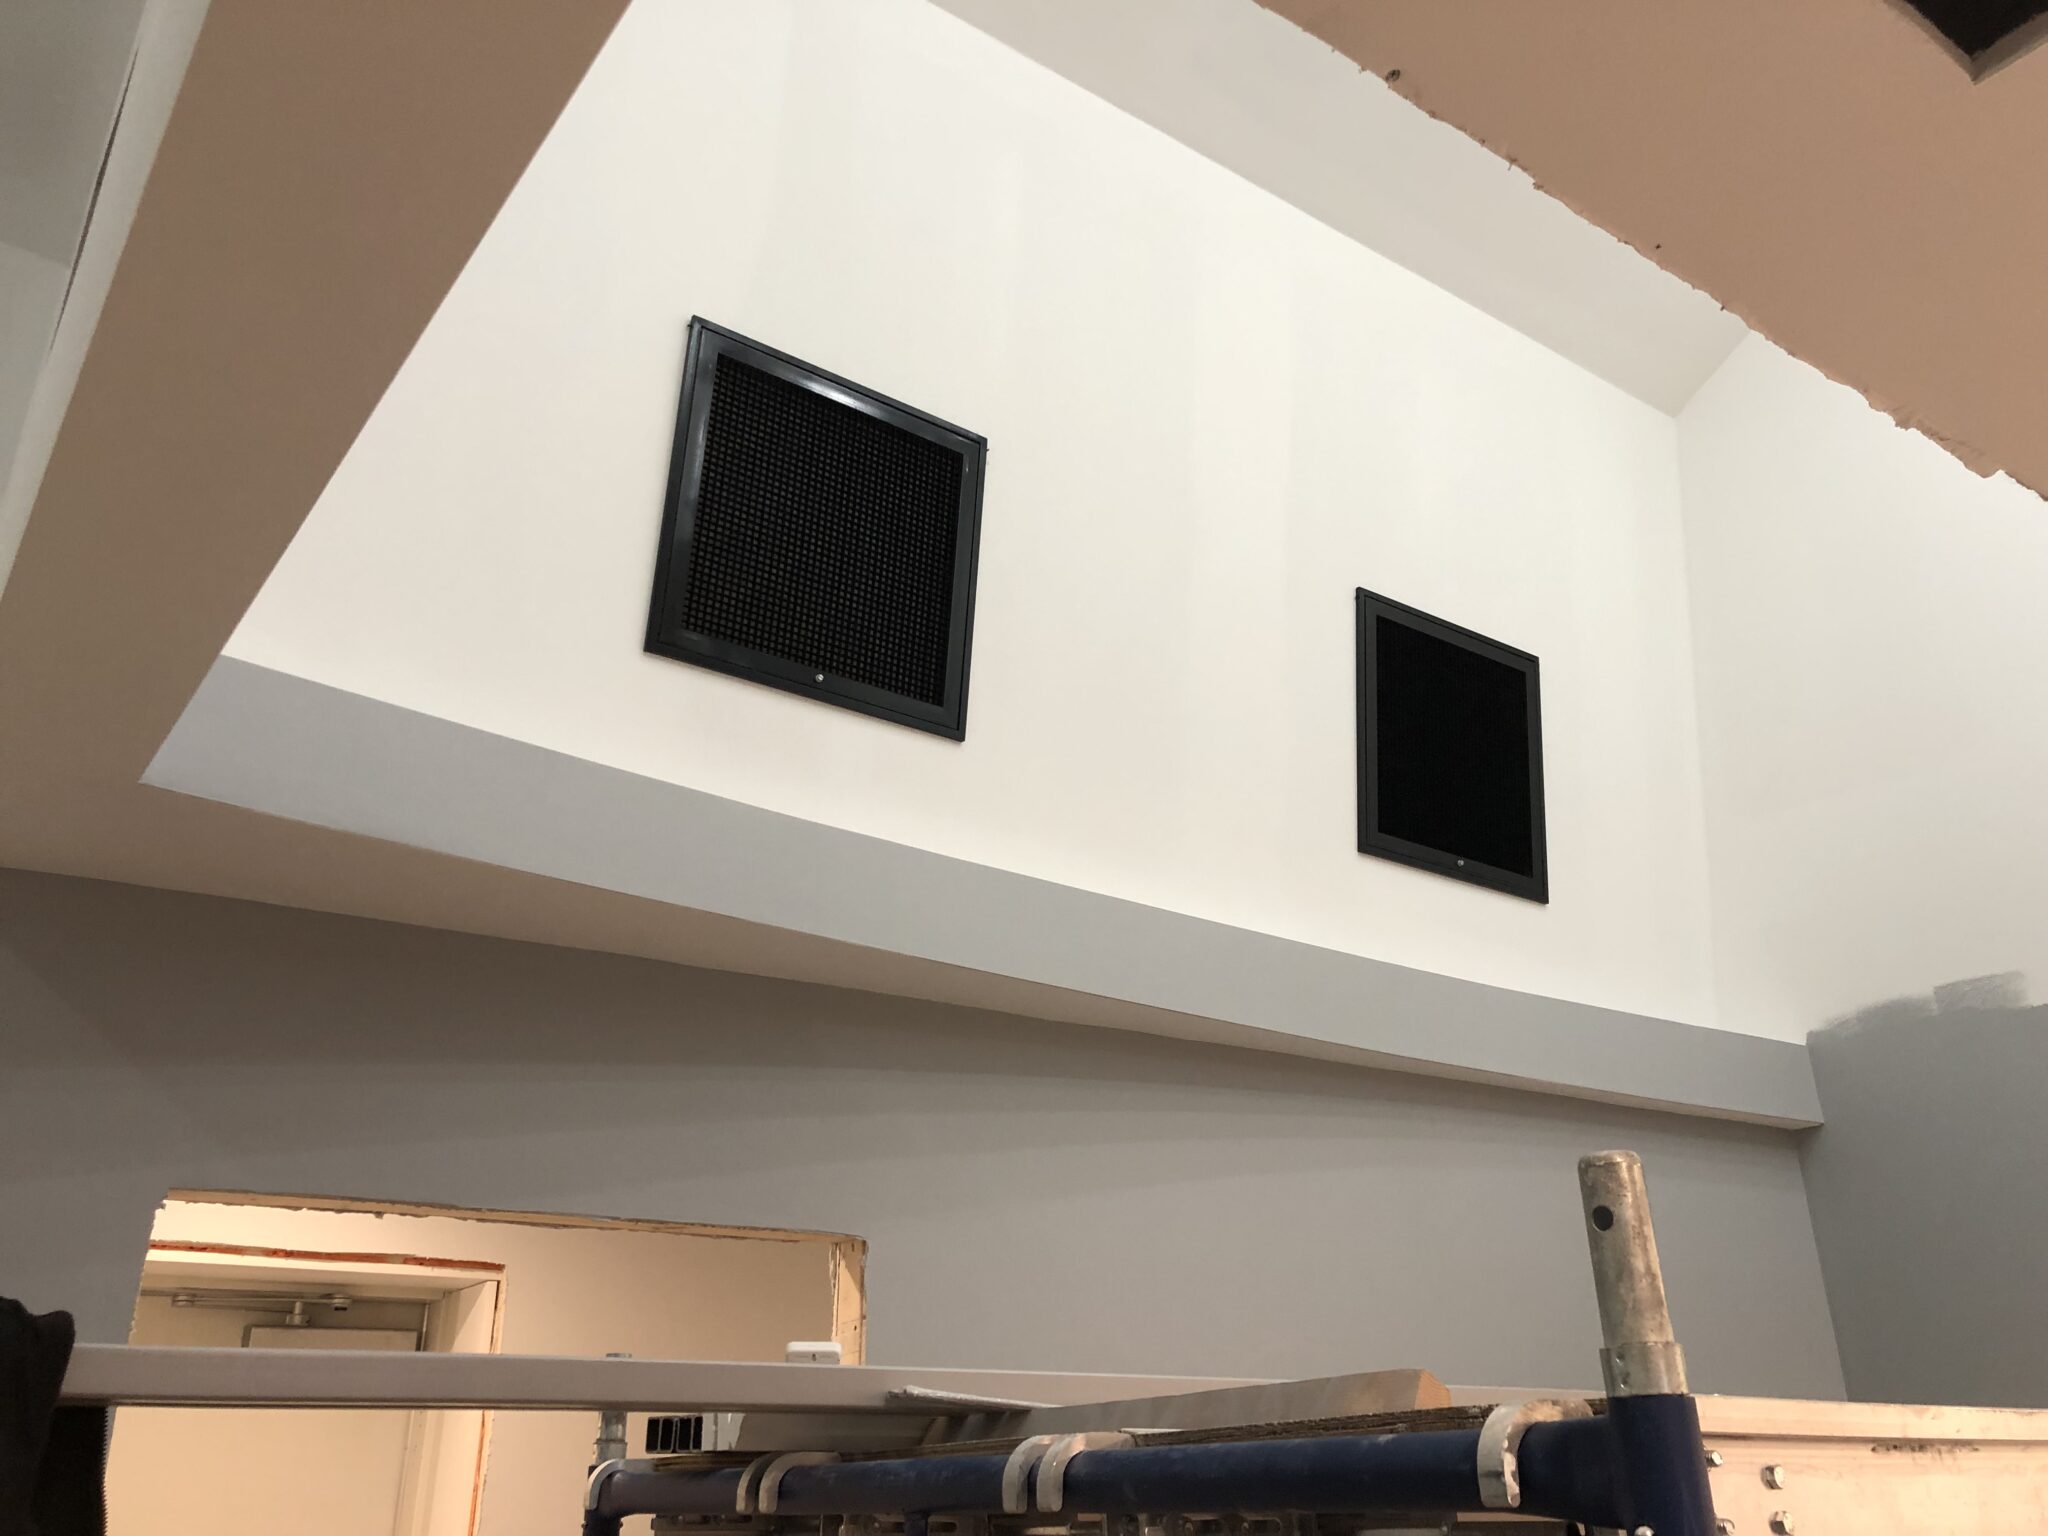
And then finally I installed the filter return grilles which have very low-friction filters designed to catch dust, thus keeping the ductwork clean.
I turned the system on again and it was about 10db quieter. However, there’s still a lot of low frequency rumbling due to the air bouncing around in the corners of the square duct-board plenums. My plan is to add turning vanes in six locations where air is changing direction around a square corner. This is likely to make a major impact in efficiency and noise level. However, it’s less critical, so I’ll be putting that off for a bit to focus on some other more pressing tasks.
- Categories
- Construction