Rafter Sheathing Complete
June 6, 2021
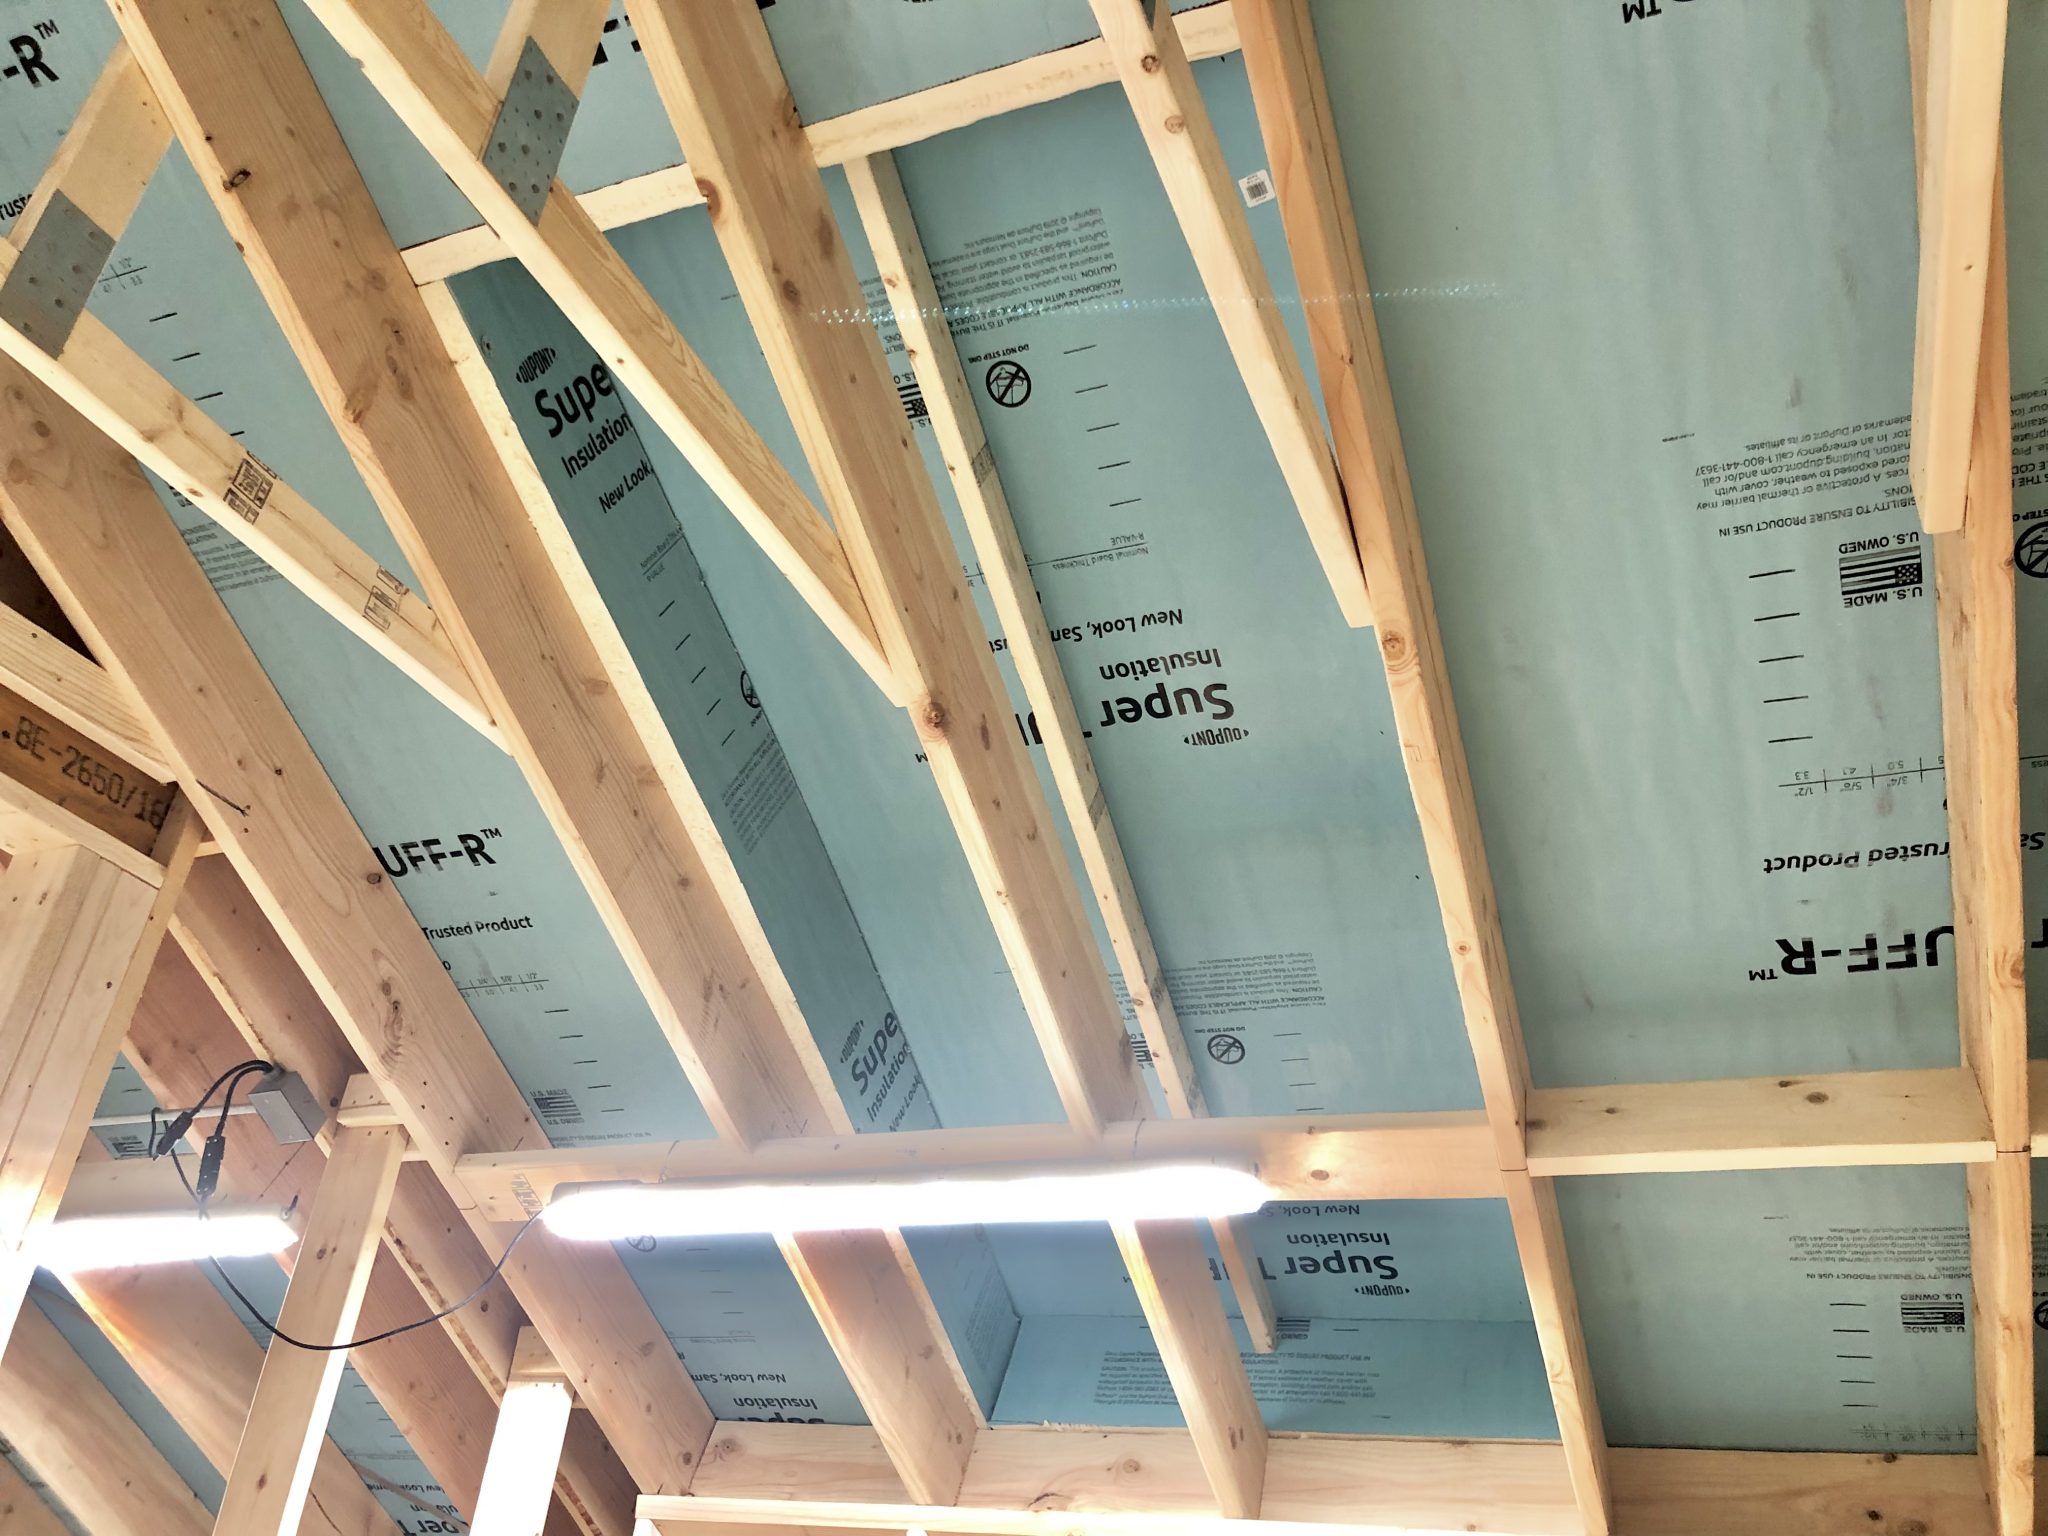
This weekend we completed the rafter sheathing.
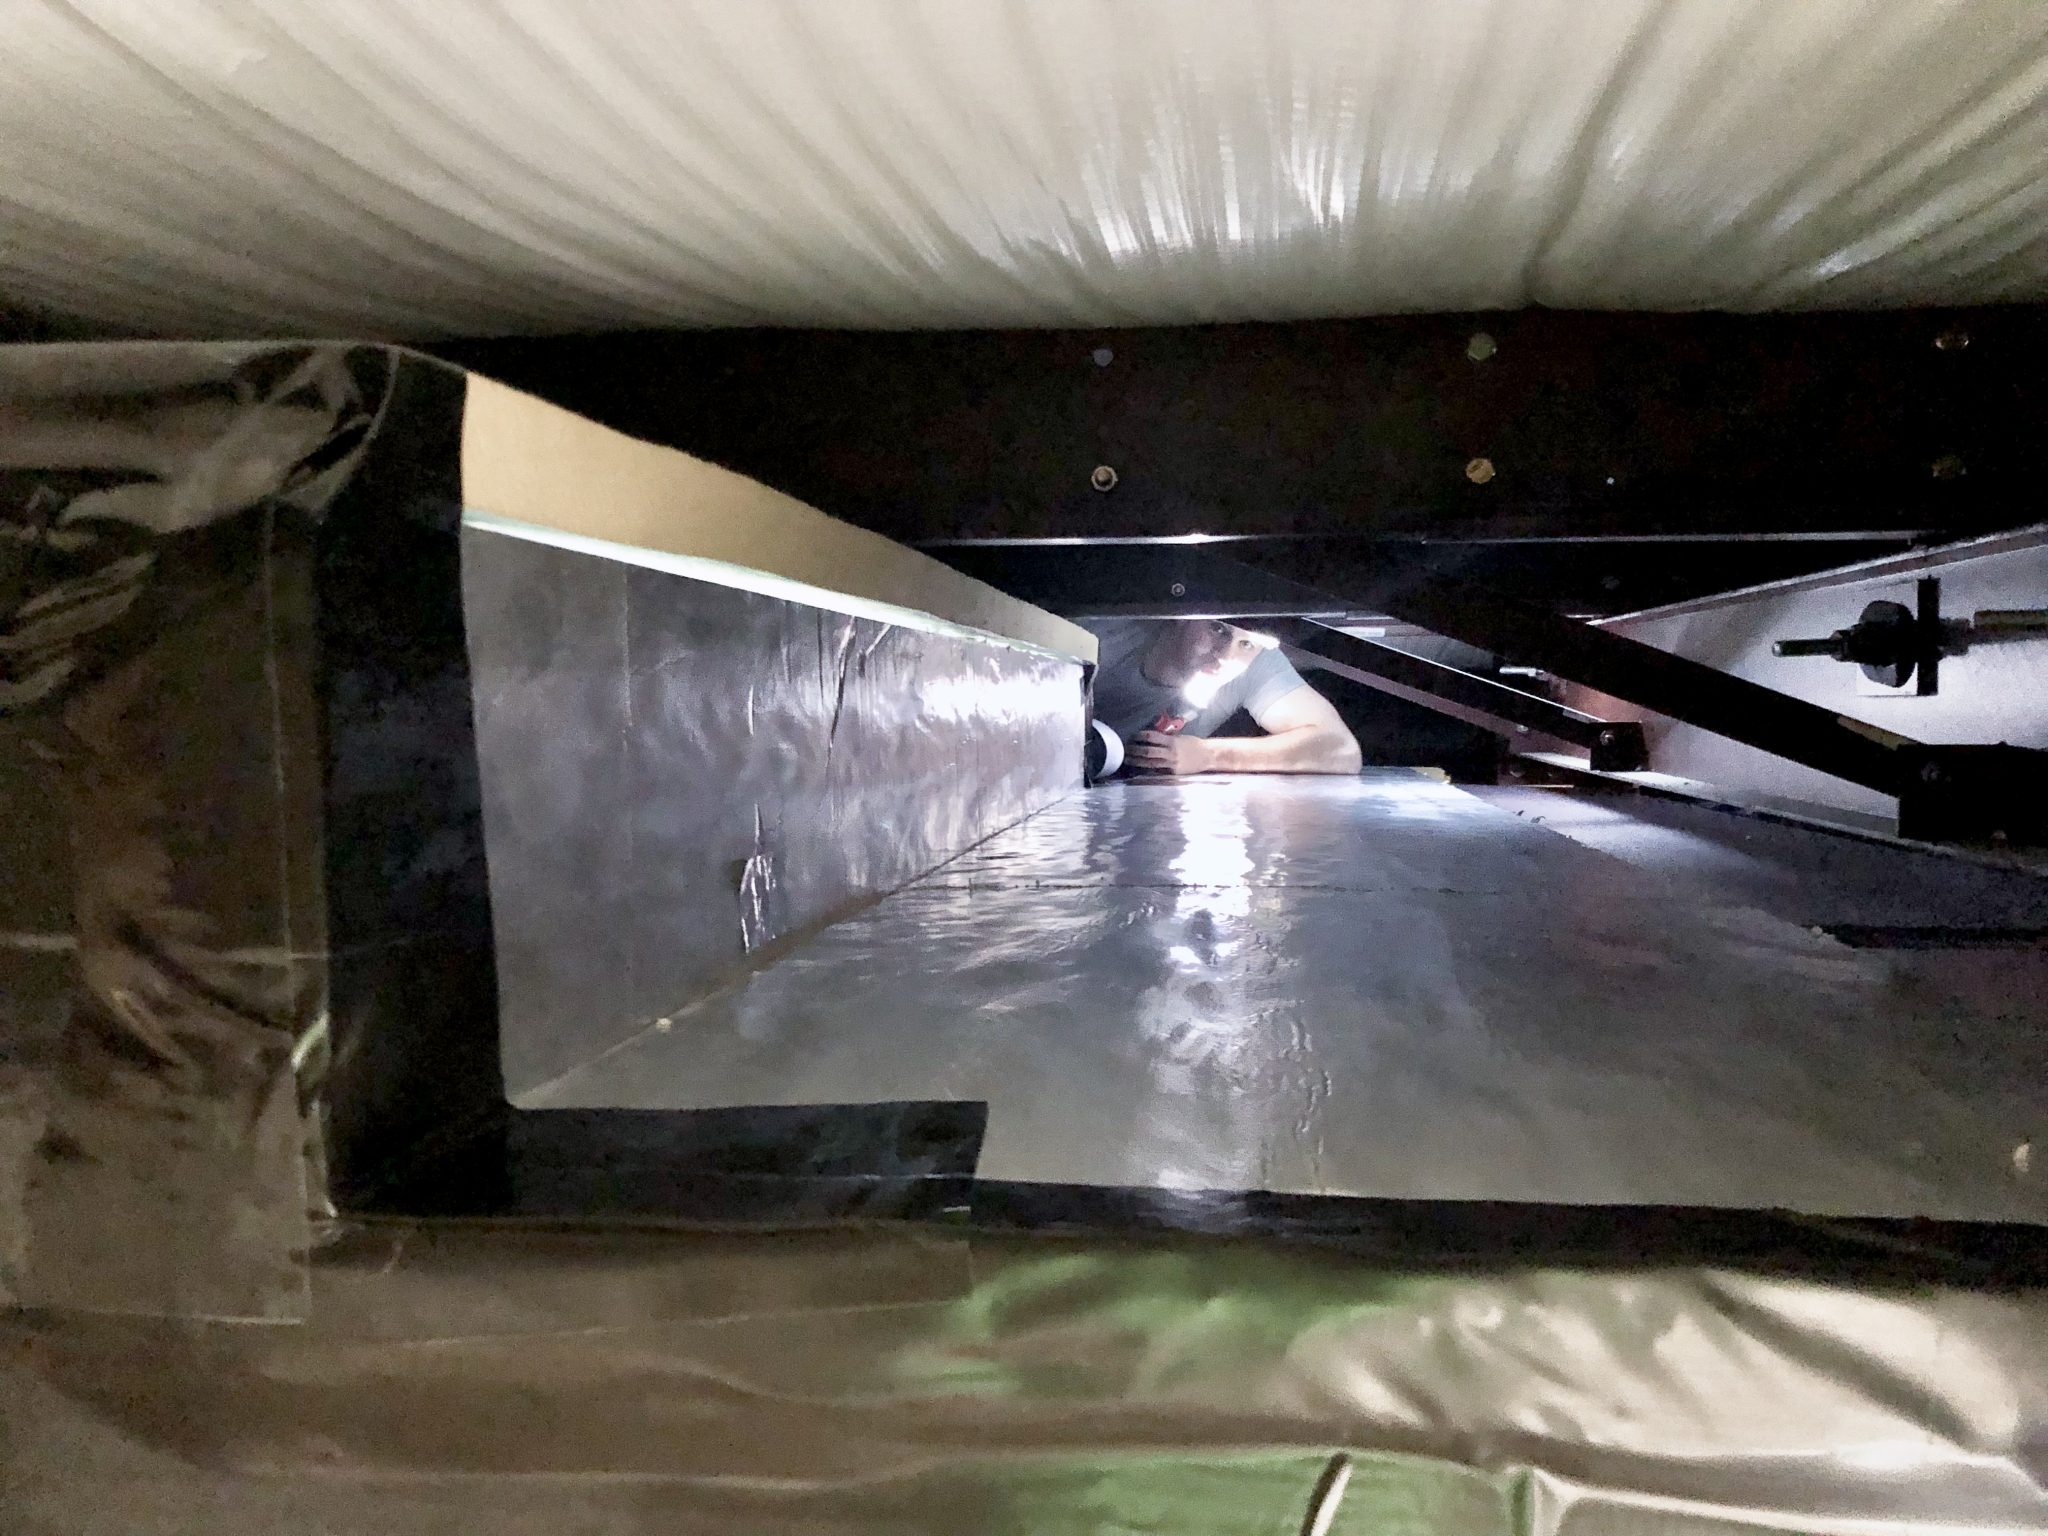
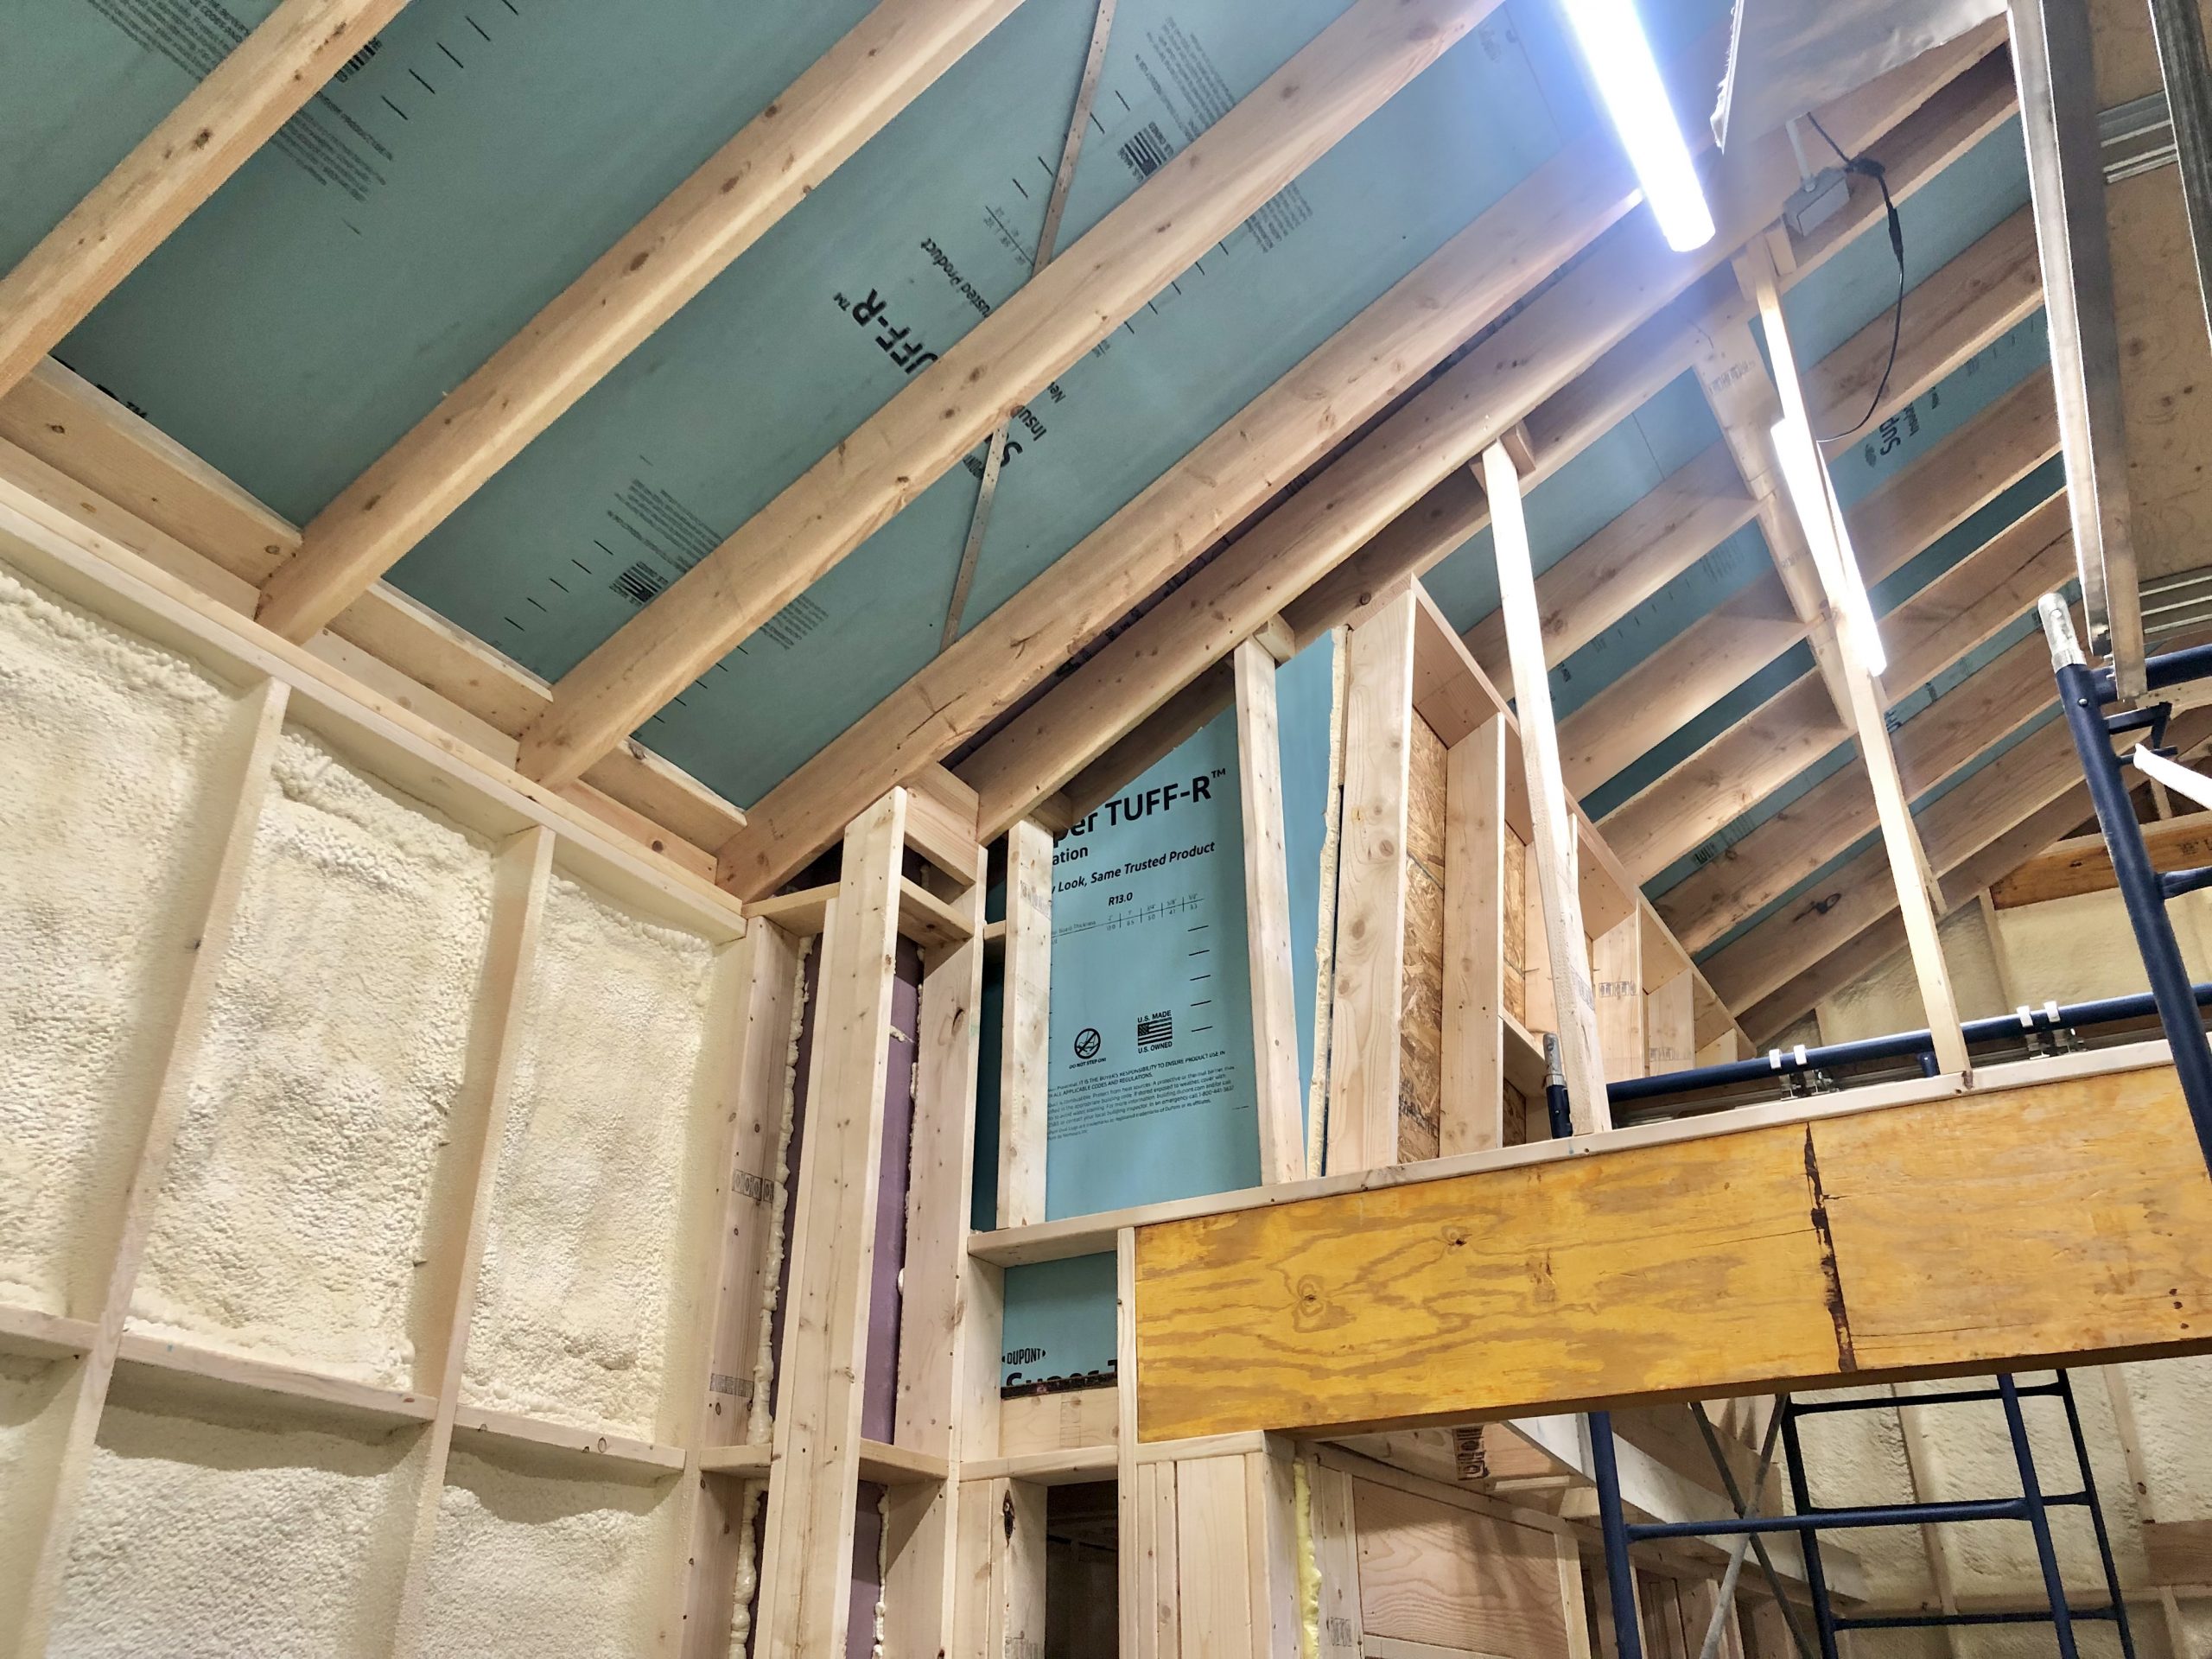
Ryan did most of the work, and thankfully was willing and able to navigate some very tight spaces to do so. This final area was a bit easier since we had attic access, but also harder because it required building a box to provide extra space for air ducts.

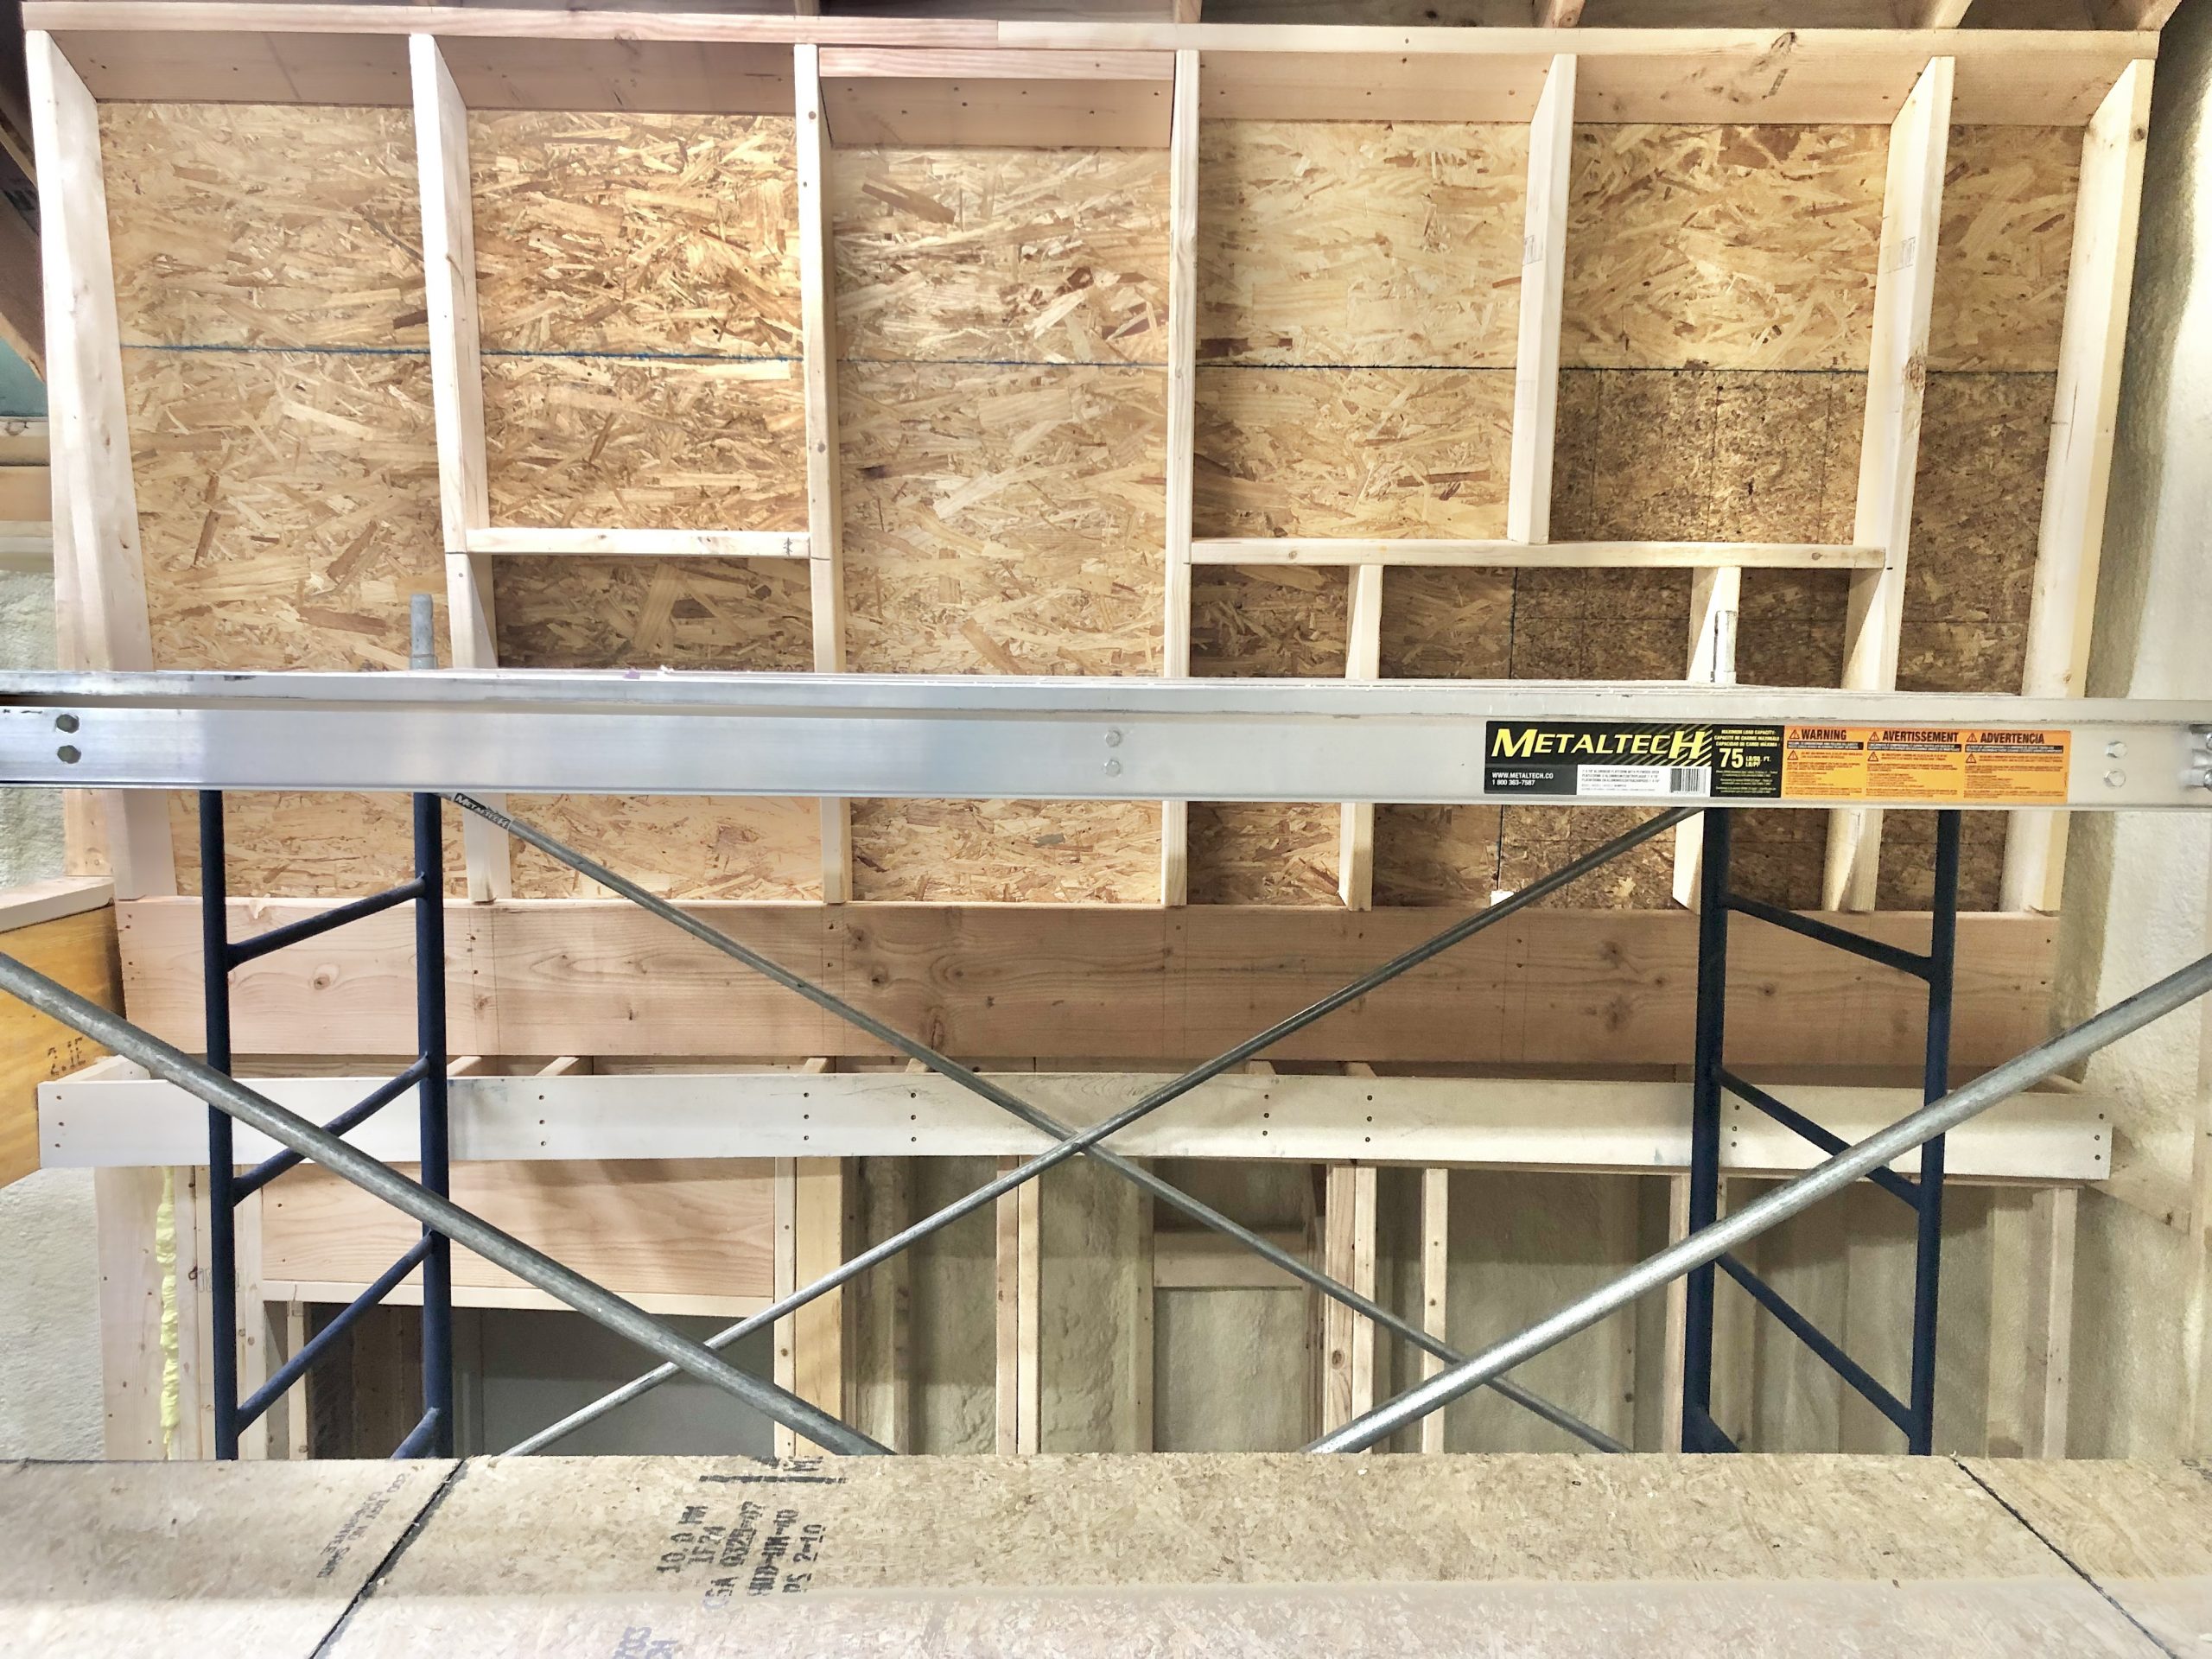
I used the flattest sheathing board I had, but because I left so little clearance and and the board was still somewhat cupped, it ended up making contact with the steel purlins above.
To remedy this, we added a 2×4 down the center of the inside of the box, pulling the center of the sheathing board down, making it perfectly flat.
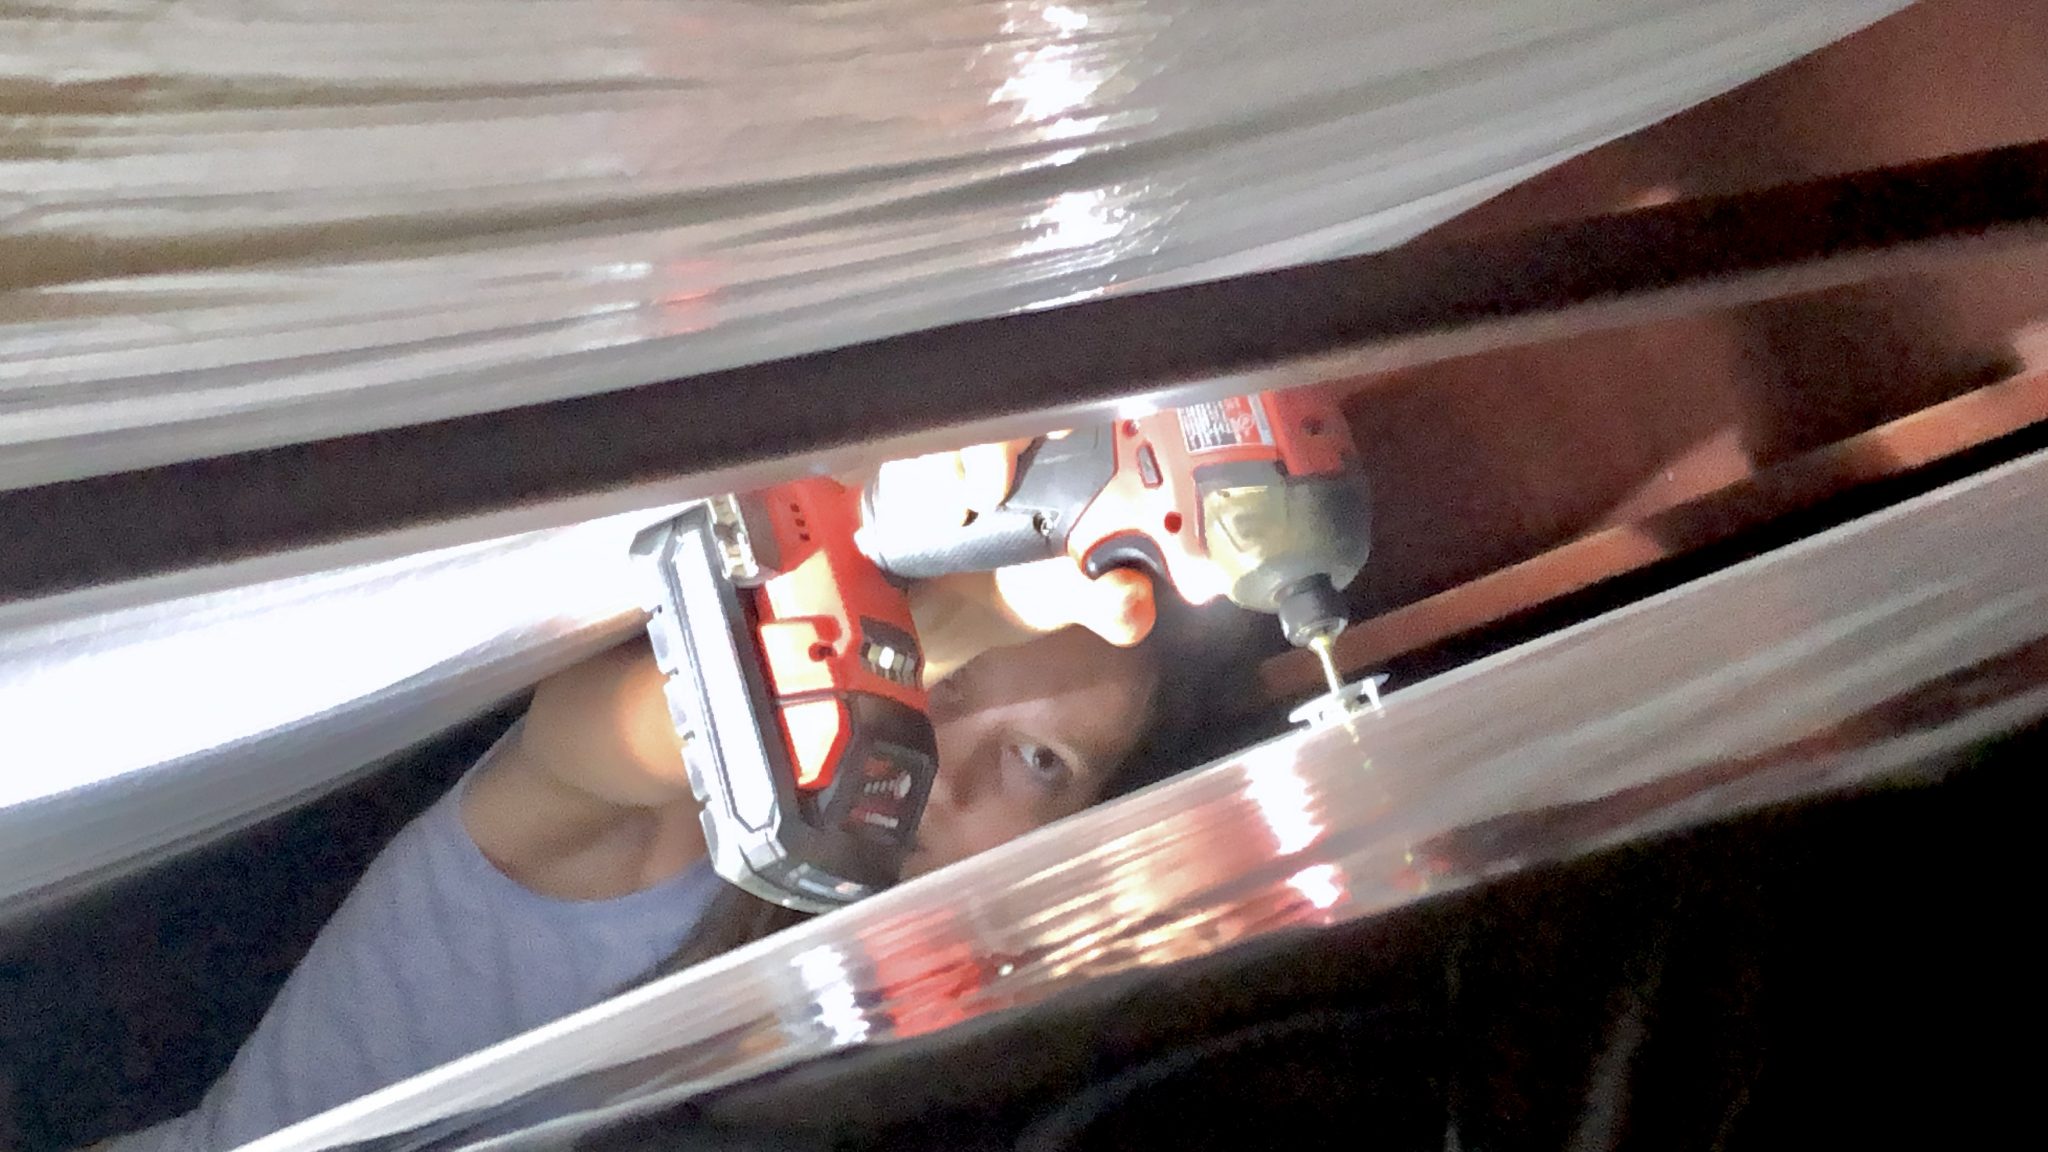
My daughter was able to get in to the tightest of spaces and operate the screw gun to attach the board.

The result was about an inch of clearance, which will ensure no vibration from the roof transfers into the sheathing.
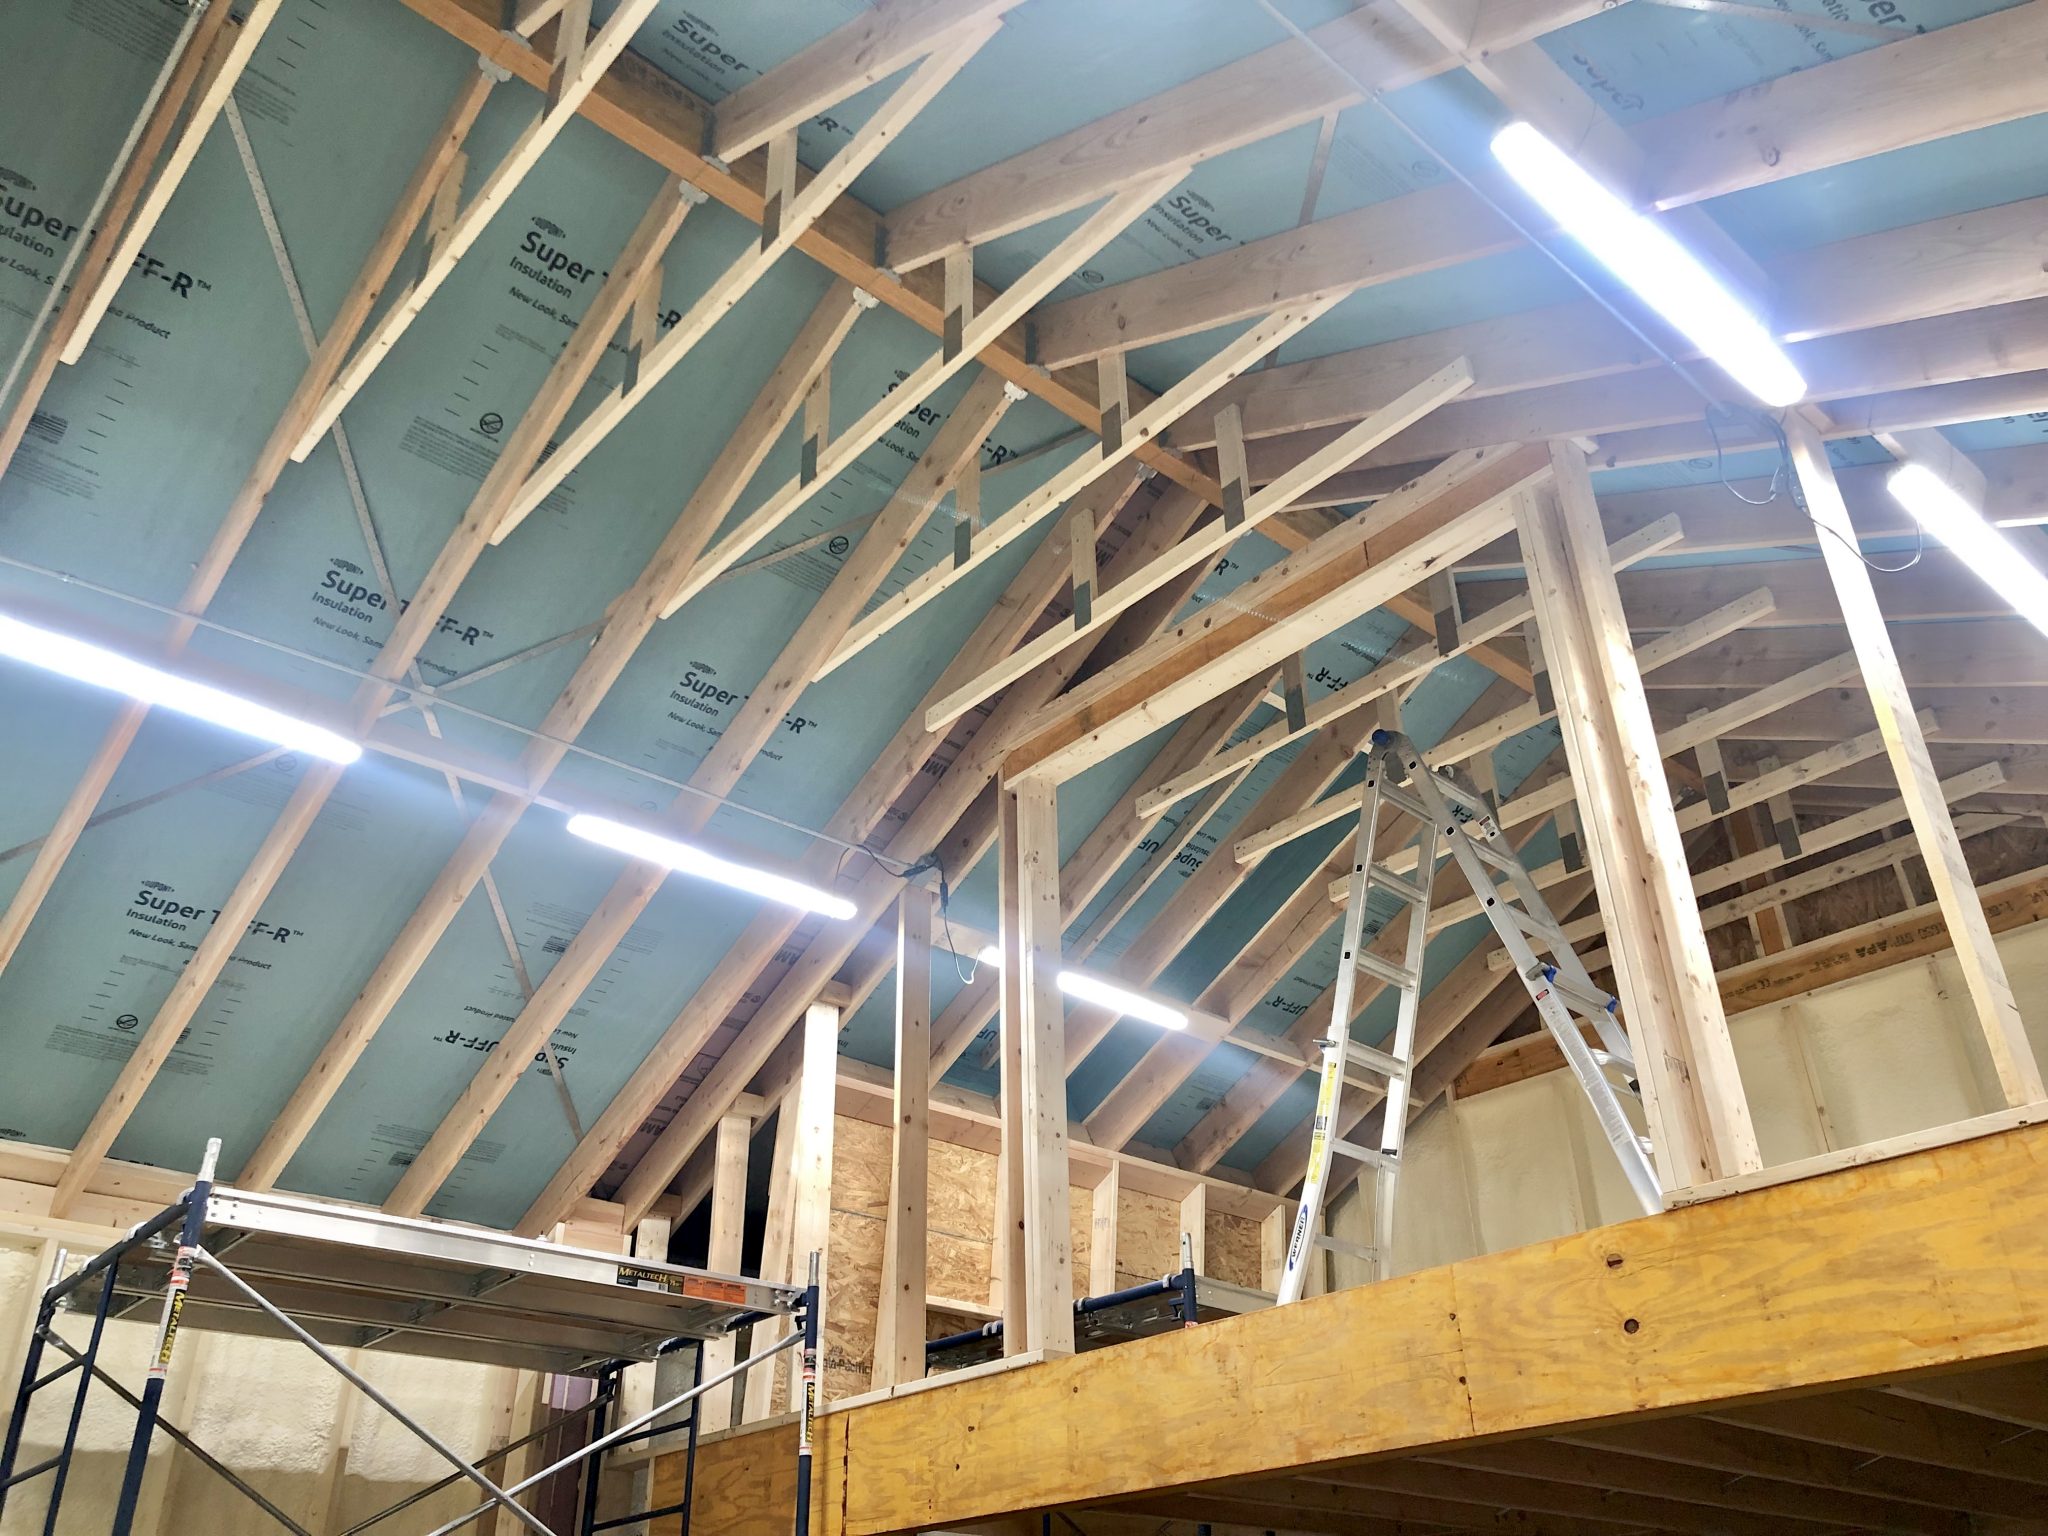
The rafter sheathing is finally complete. I have a few final spots to close up and then I’m ready for closed-cell insulation to be sprayed on the ceiling, gable ends, attic walls and center columns.
- Categories
- Construction