Attic Wall
September 9, 2020
Recently I made changes to how the attic would be built and finished the final wall that separates the attic from the loft.

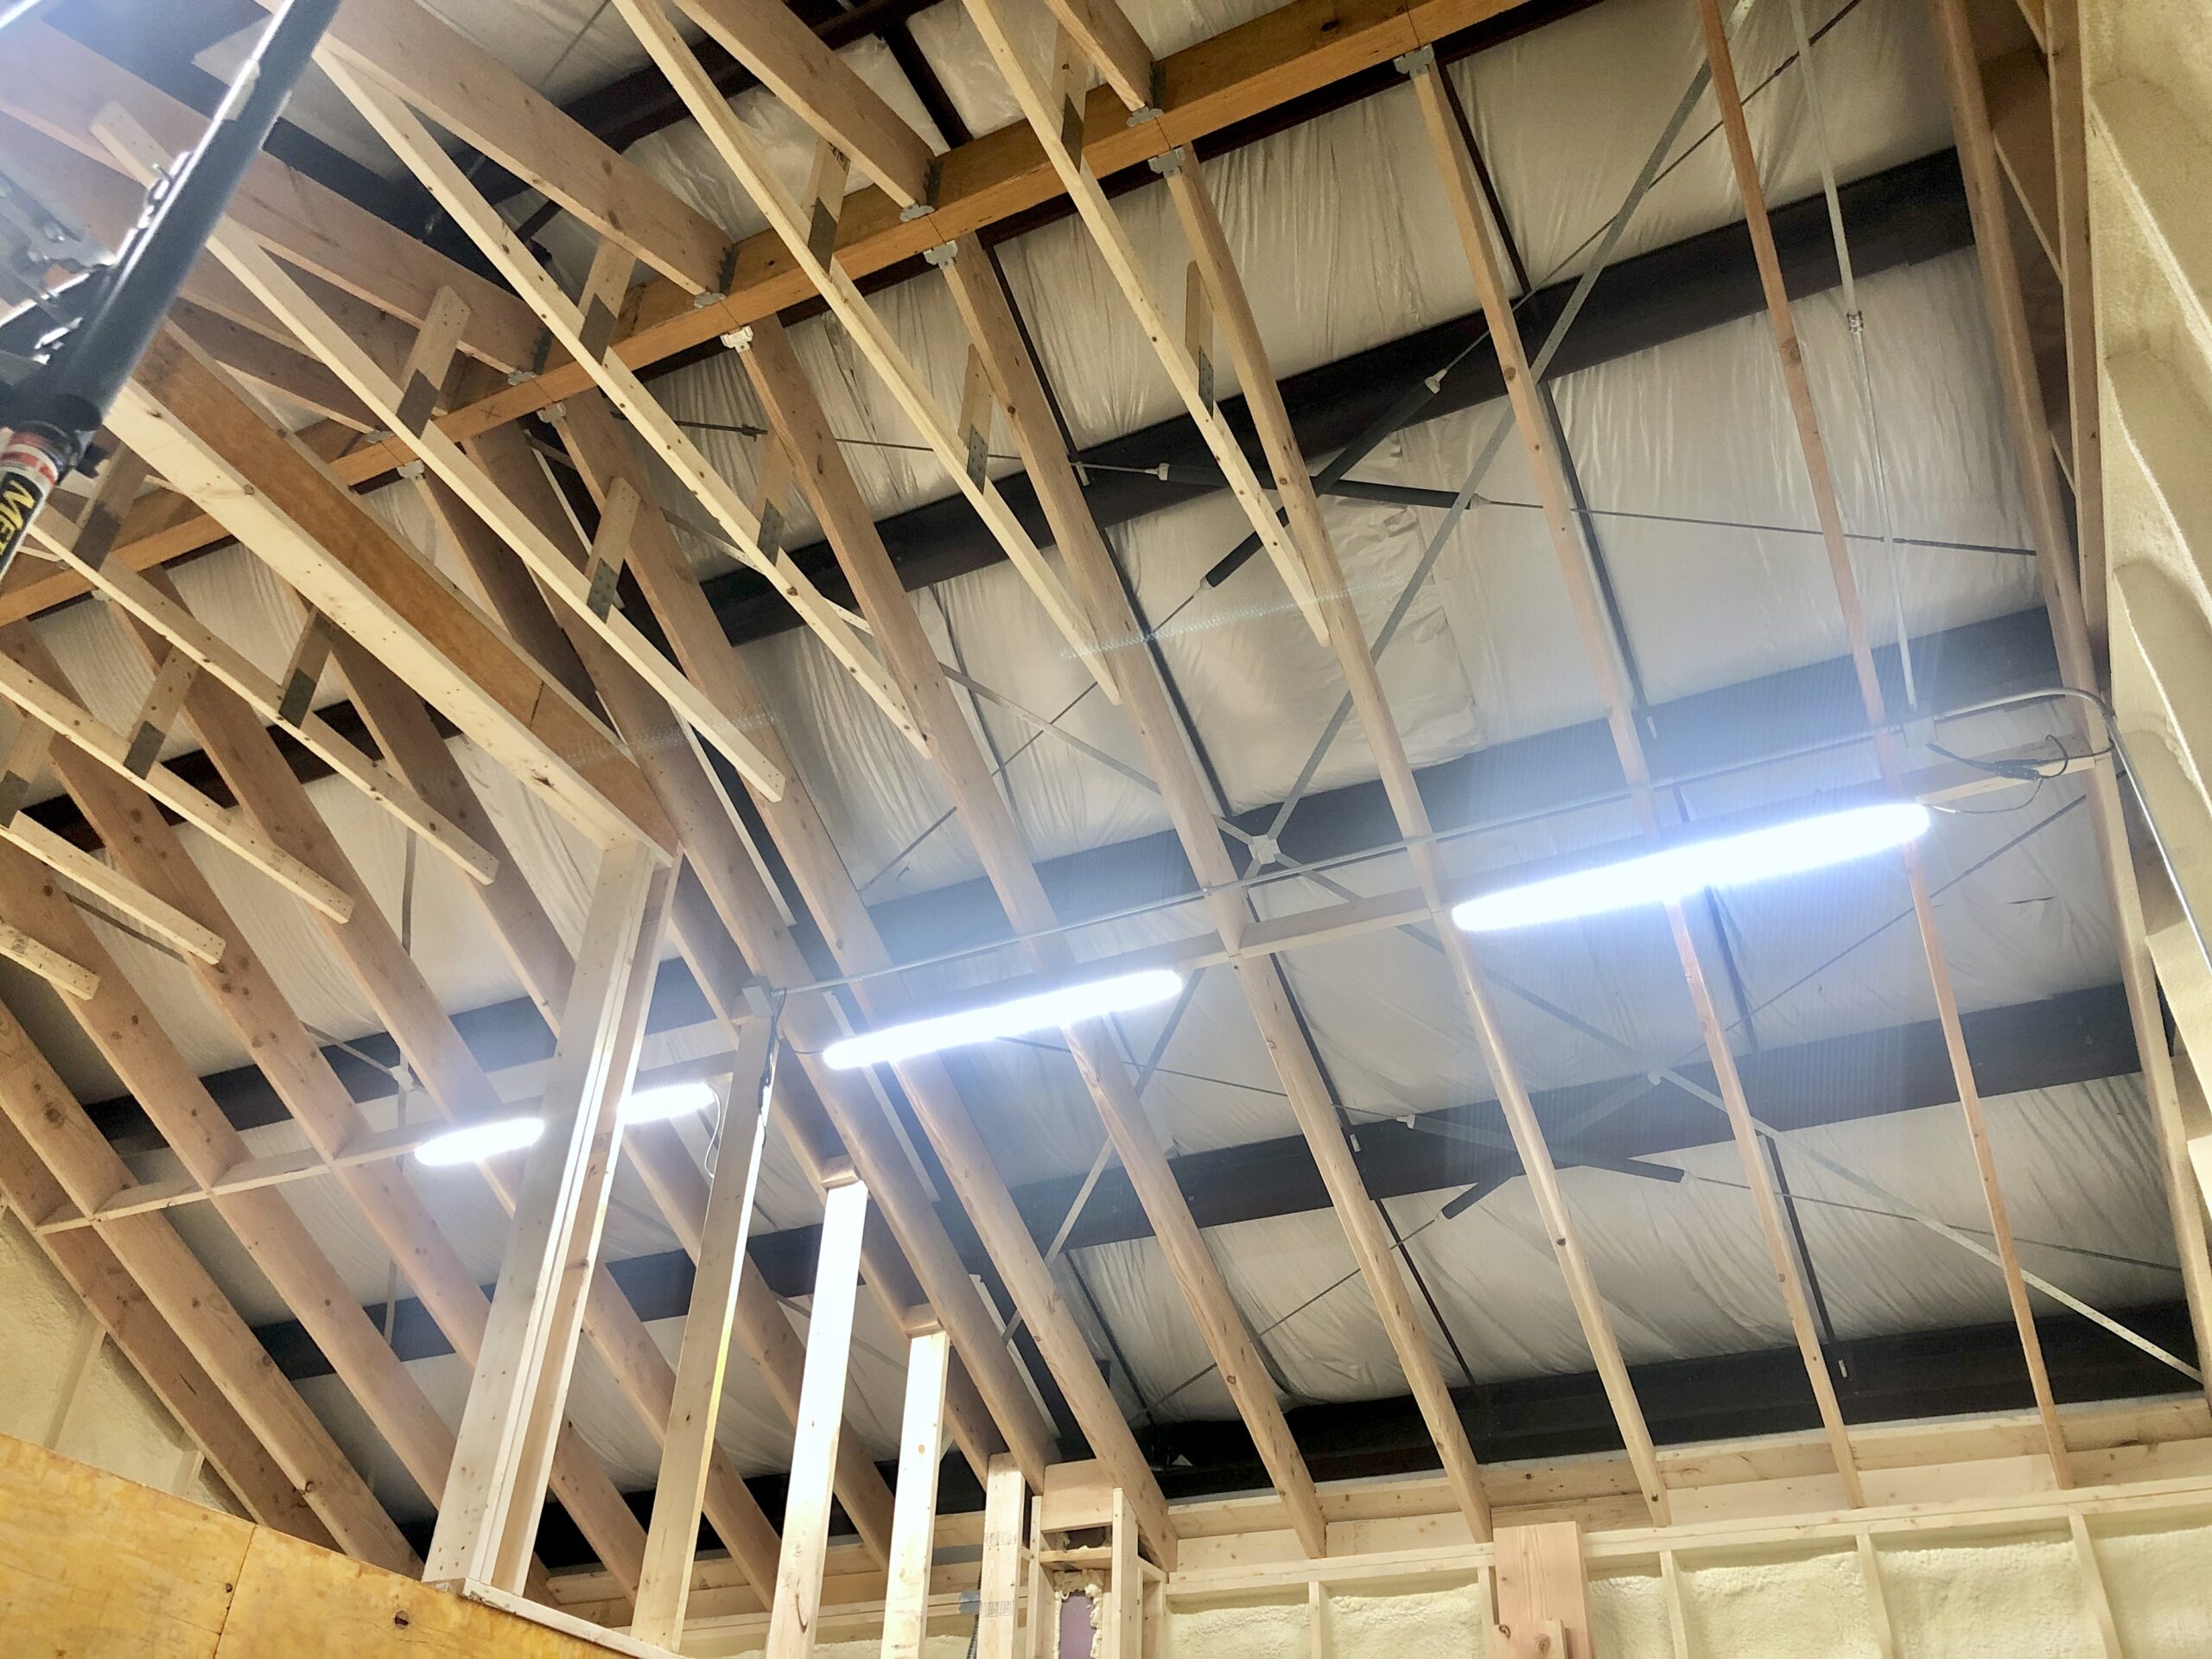
After many iterations and much consulting with Adam and Peter, I was starting to think I needed to use whatever space above the attic I could to make the ceiling taller. Eventually Adam suggested I leave it open and just insulate the walls and floor really well. Brilliant.

Having permanent access to the space above the structure also meant I could push back many tasks that were blocking closing up the ceiling and will have more access for maintenance in the future without having to rip up finished walls.

Though small, this is the most complex wall in the build. I checked measurements between the model and the building and then crafted the 2×6 studs for the angled wall.
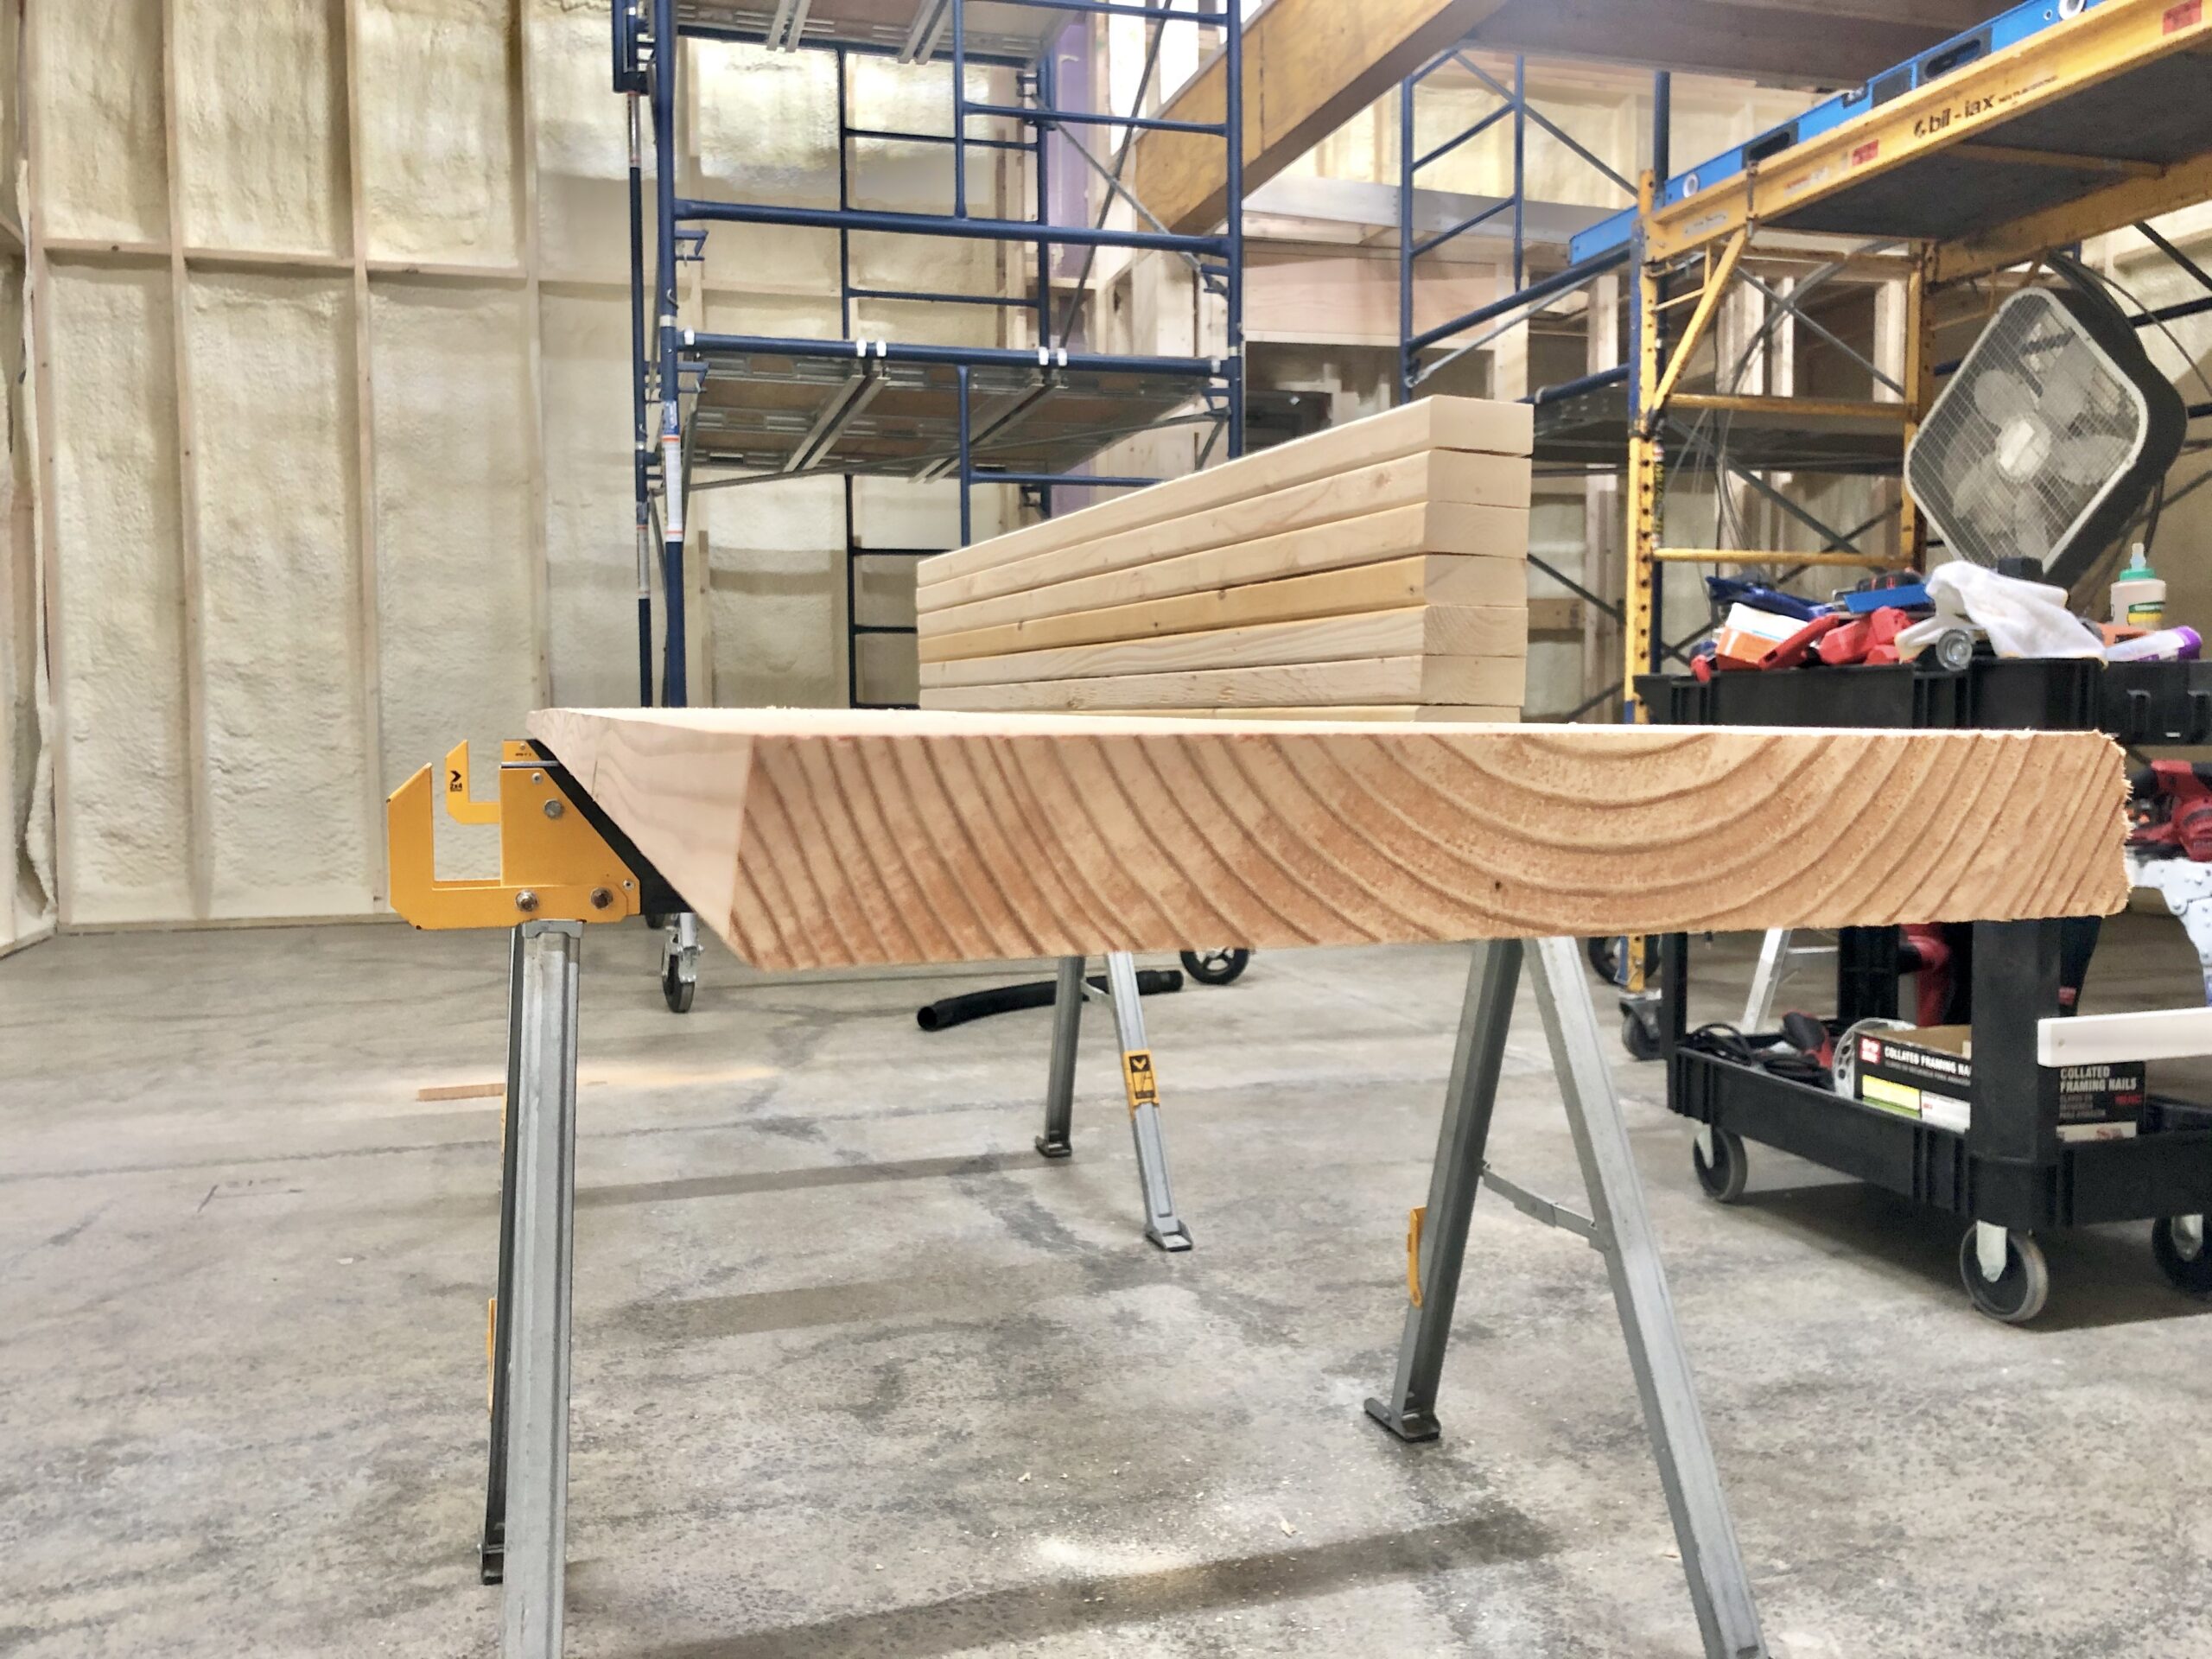
The design places the studs directly beneath the rafters but the wall and subfloor below have a different pattern entirely. To overcome this, I used a spare 12ft 2×12 to distribute the downward force along the subfloor evenly.
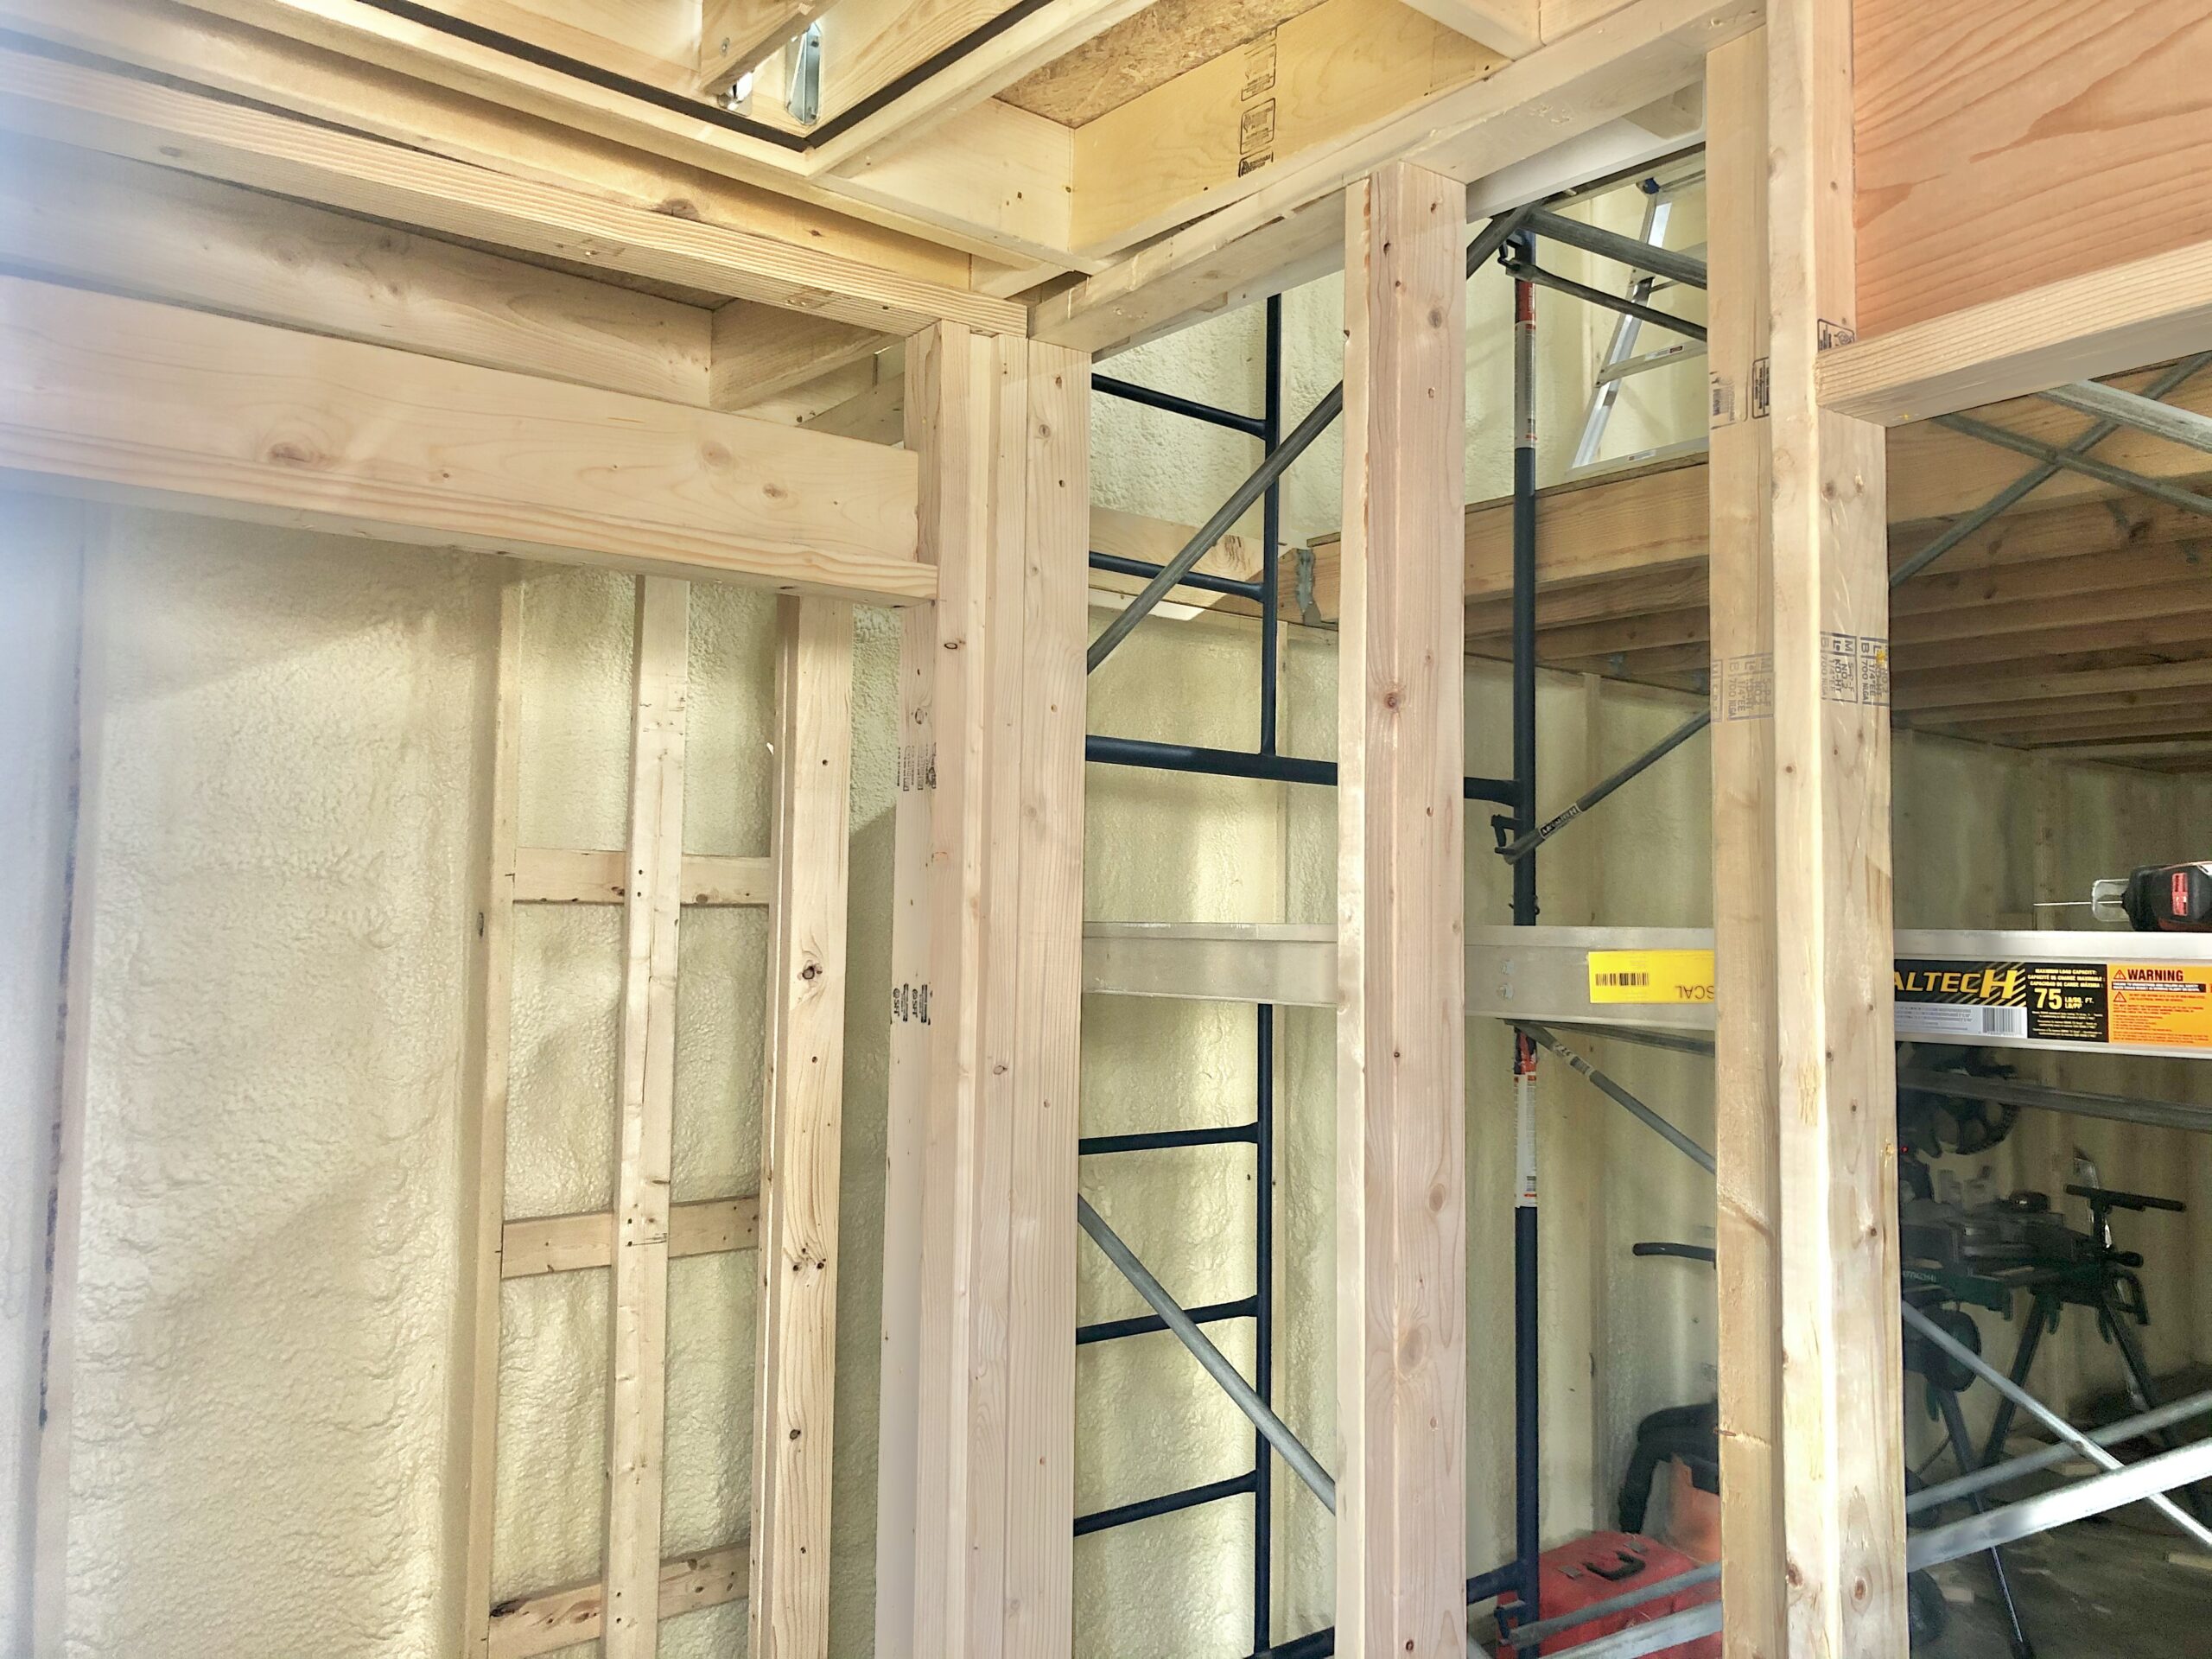
The wall below was originally framed with 2x4s, 24 in. OC. Now that it’s a load bearing wall, it needed to be strengthened. So I sistered in additional 2x4s to increase the wall’s vertical load capacity.
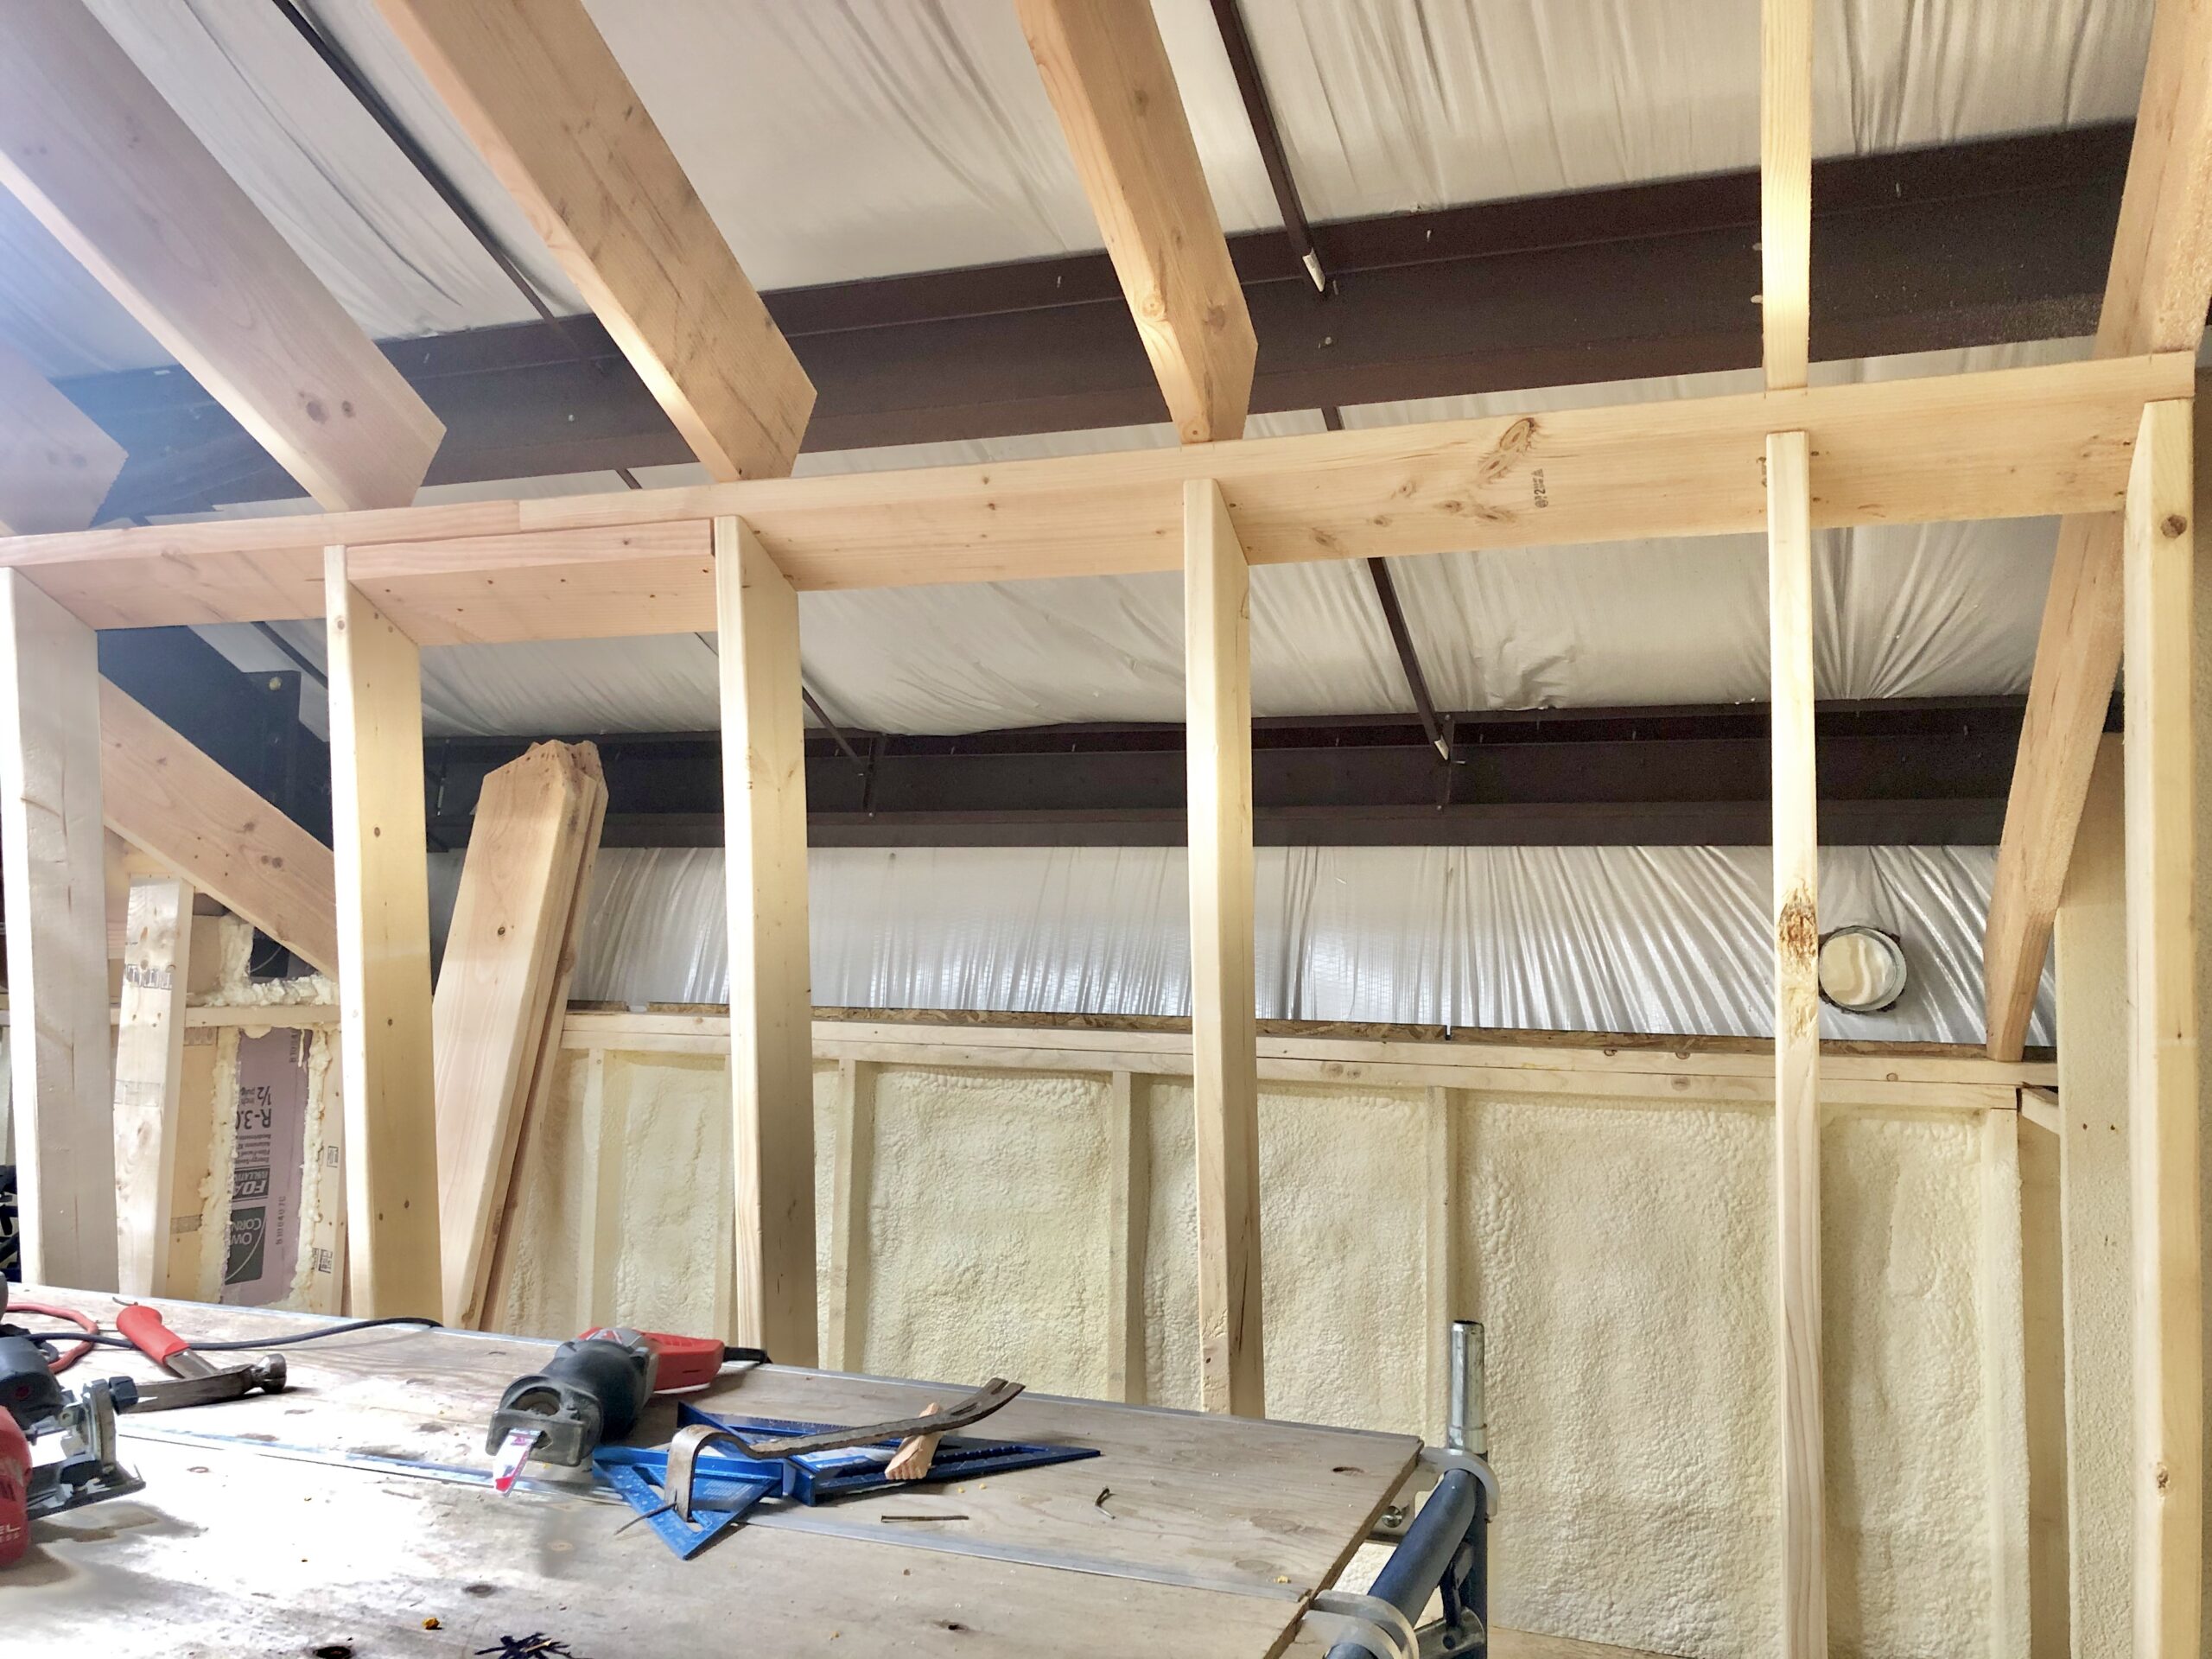
Then I framed the wall and removed the remaining rafter segments to open up the attic.
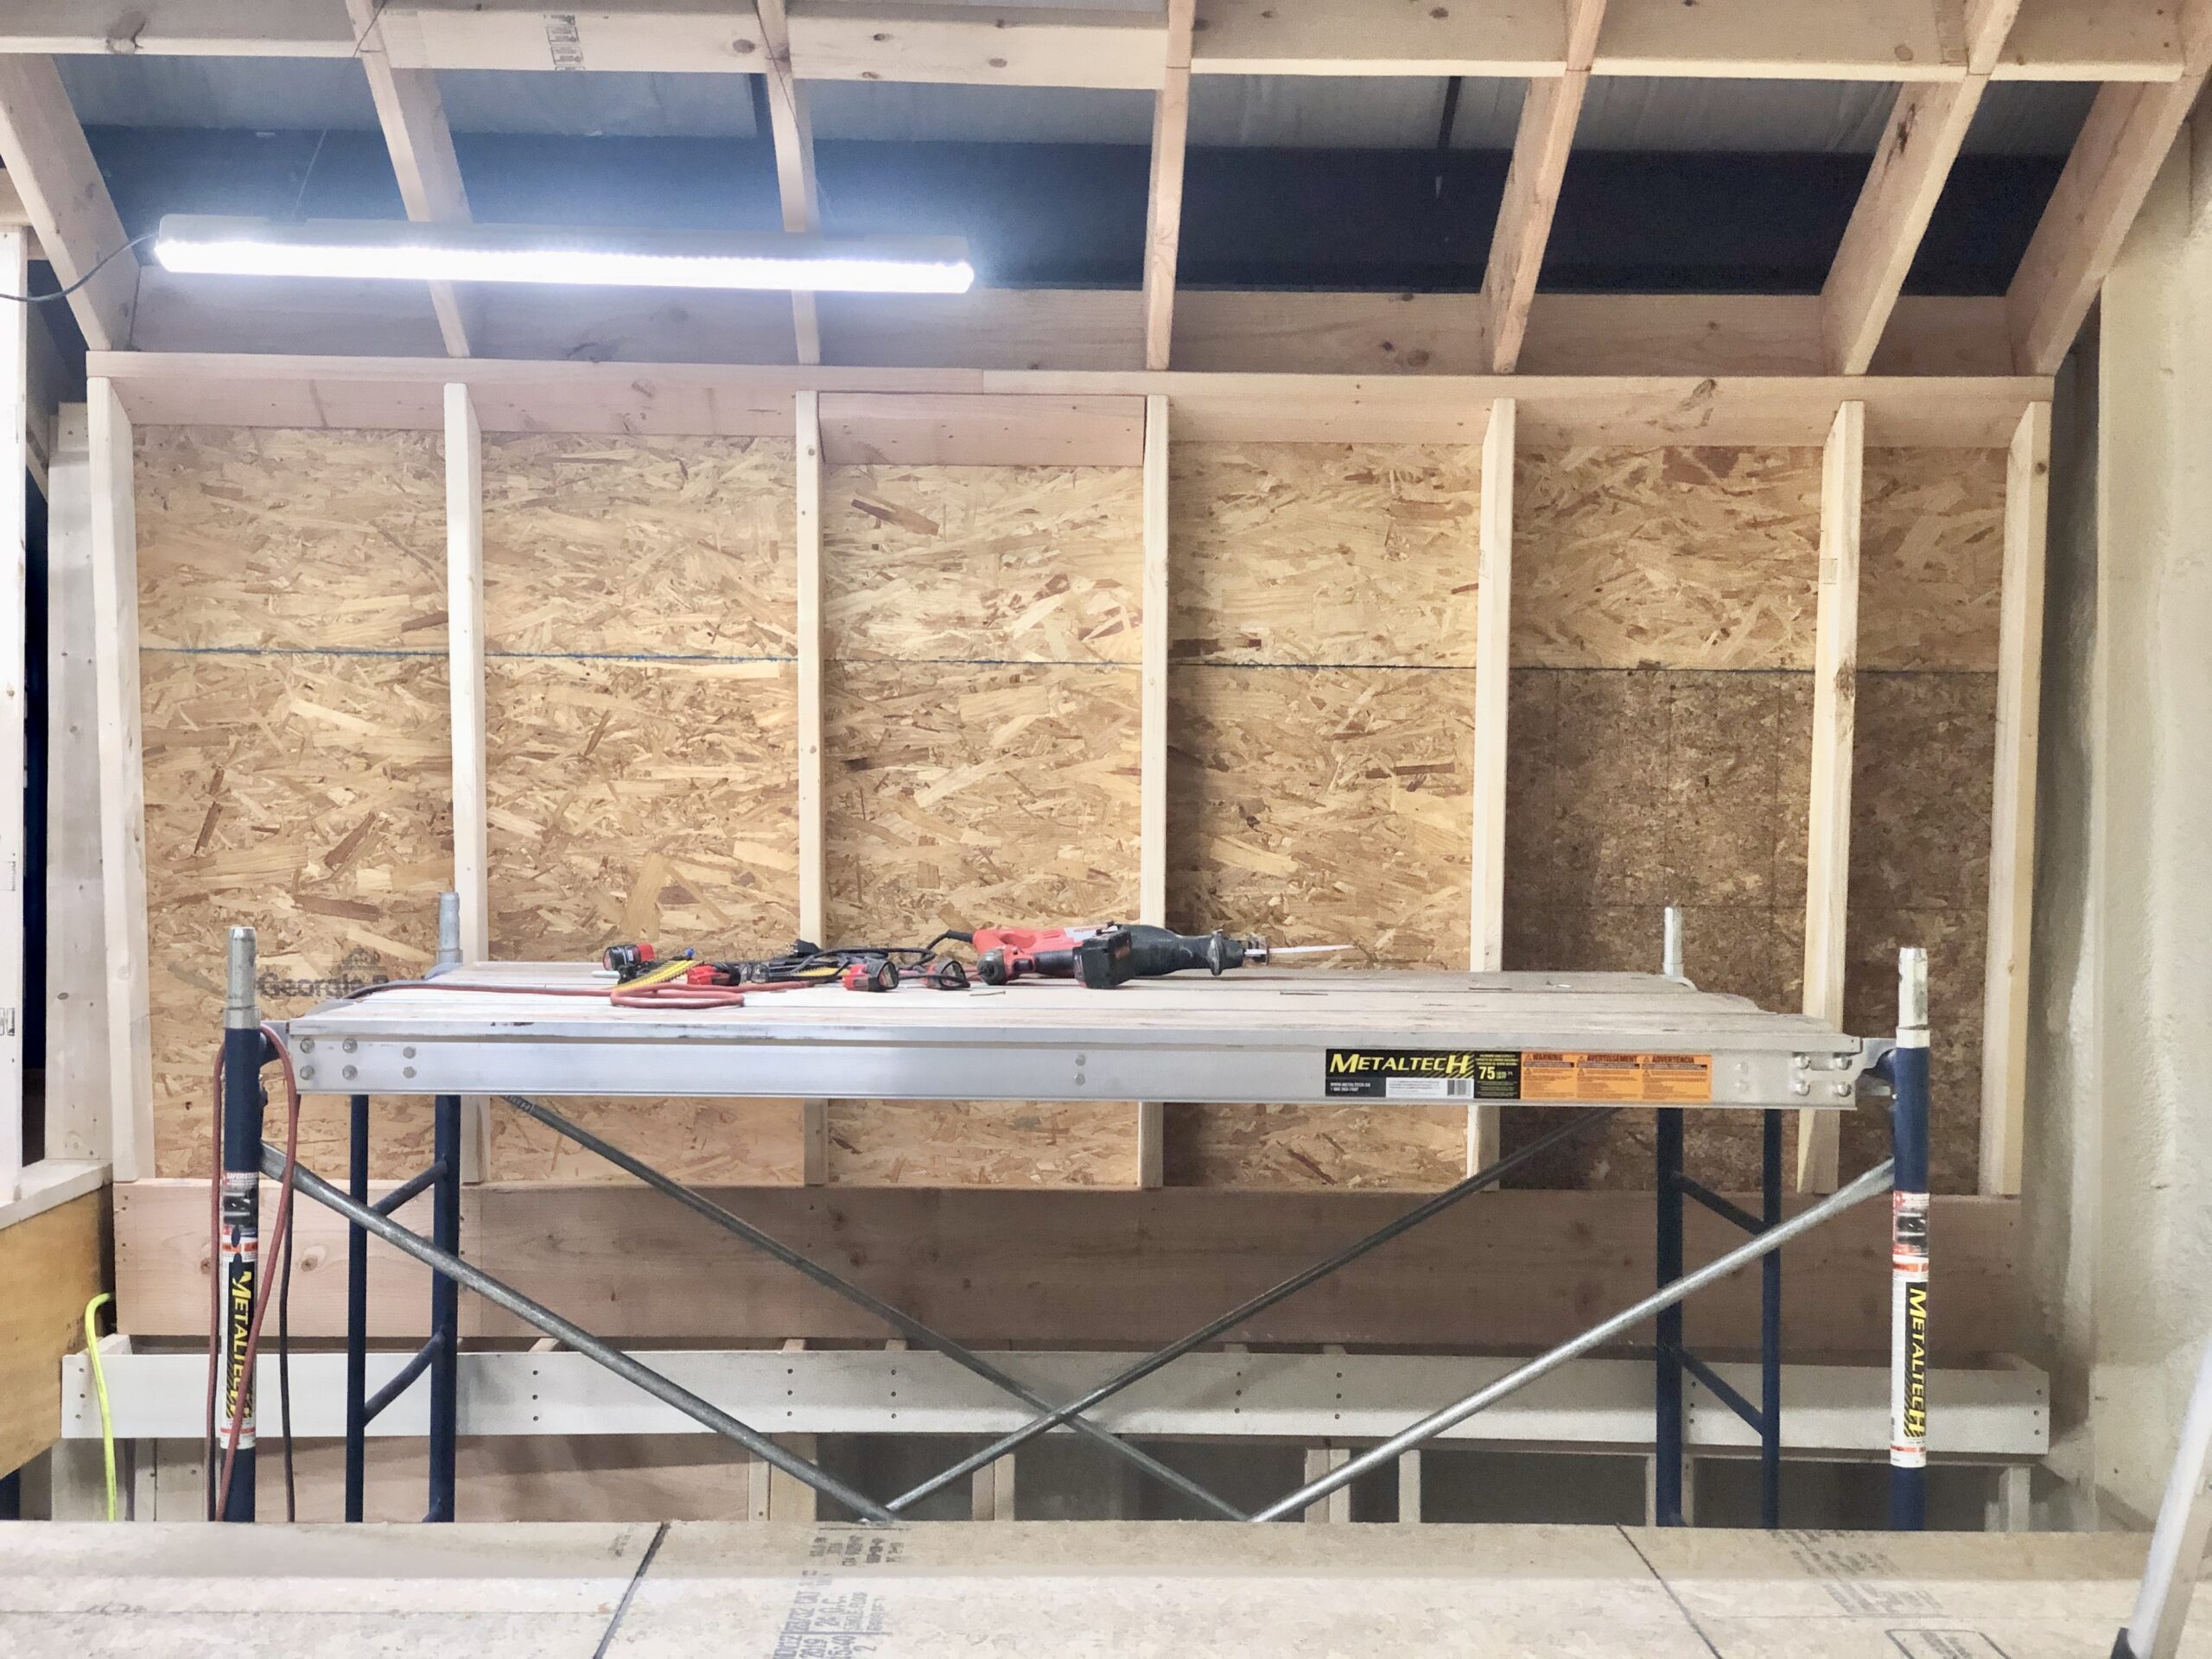
Finally, I terminated the rafters with a 2×10 and sheathed the back side of the wall with OSB to add shear strength and provide a backer for the closed cell spray foam that will go into those cavities.
- Categories
- Construction
- Design